


1. Introduction
In this last part of the series, we are going to run a simple CNN model in our Ultra96v2 after we quantize and compile it for the board. The CNN is trained on MNIST and the original plan was to identify the test number using the CNN and then blink the LED to show the binary equivalent of the identified number but because of time limitation, I have not had the chance to do everything. Therefore, I will be finishing off with just running the CNN in Ultra96v2.
This blog is based on the following tutorial series provided by Xilinx (AMD?), so if you want to tag along, you should follow it until where they start compiling for their board.
Link: Vitis-AI-Tutorials/Design_Tutorials/09-mnist_pyt at 1.4 · Xilinx/Vitis-AI-Tutorials (github.com)
All the files for this blog are available here: https://github.com/rajivbishwokarma/element14_p2p_blogs
2. Training
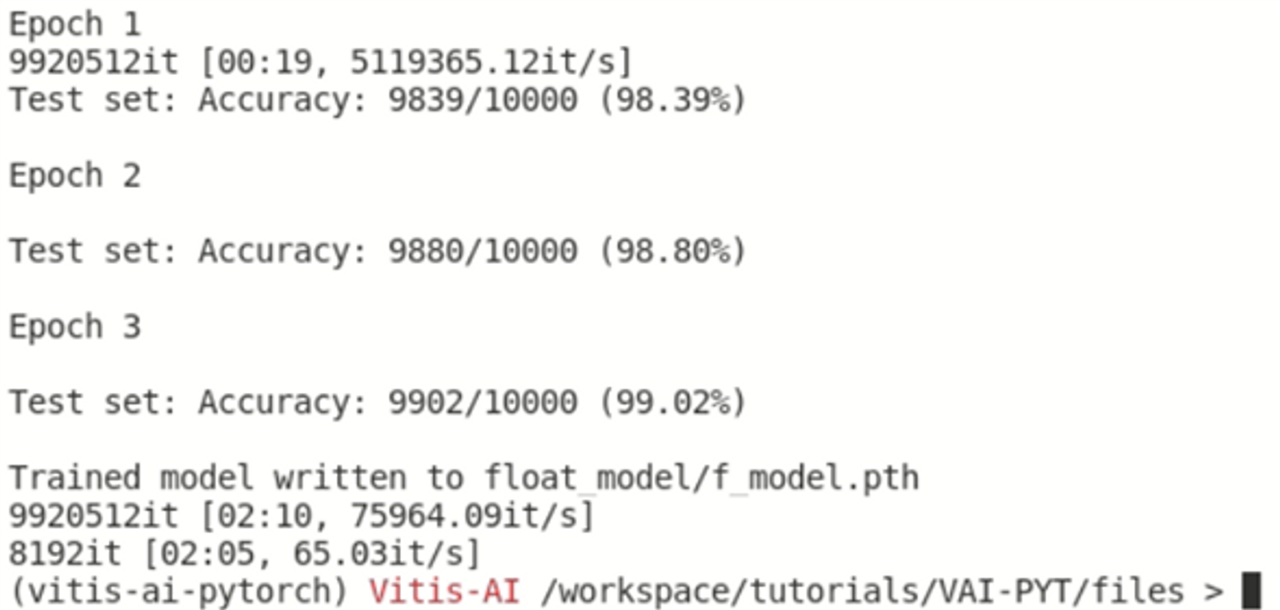
The network that is used in this tutorial is a custom CNN created in PyTorch. It is described in the common.py.To start the training process for the custom CNN using MNIST dataset, use the following command. You can change the number of epochs from 20 to 10 and batch size to 16 if you have low memory.
python -u train.py
Something like the following is seen during the training.
3. Quantizing the model
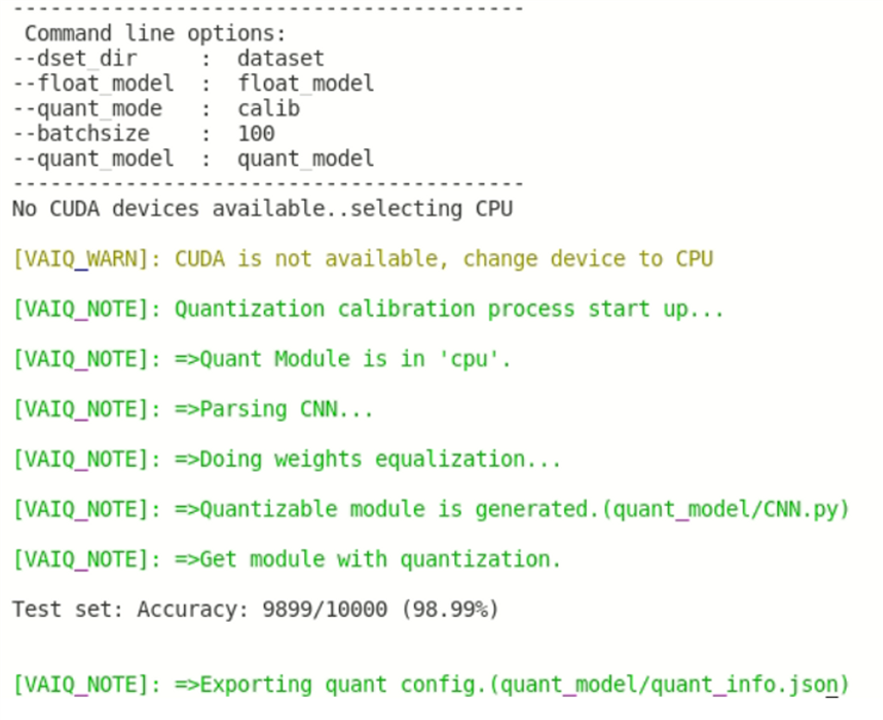
Quantization process converts a 32-bit floating point model into a fixed 8-bit integer model. This reduces the size of the weight file significantly so that it can be run efficiently in the FPGA. We can execute the following command to quantize the model.
python -u quantize.py --quant_mode calib
In the above step, we are running the quantize.py script in the calibration mode. In this mode, we are calibrating the quantized model and exporting the configuration for the network. This will result in the following screen.
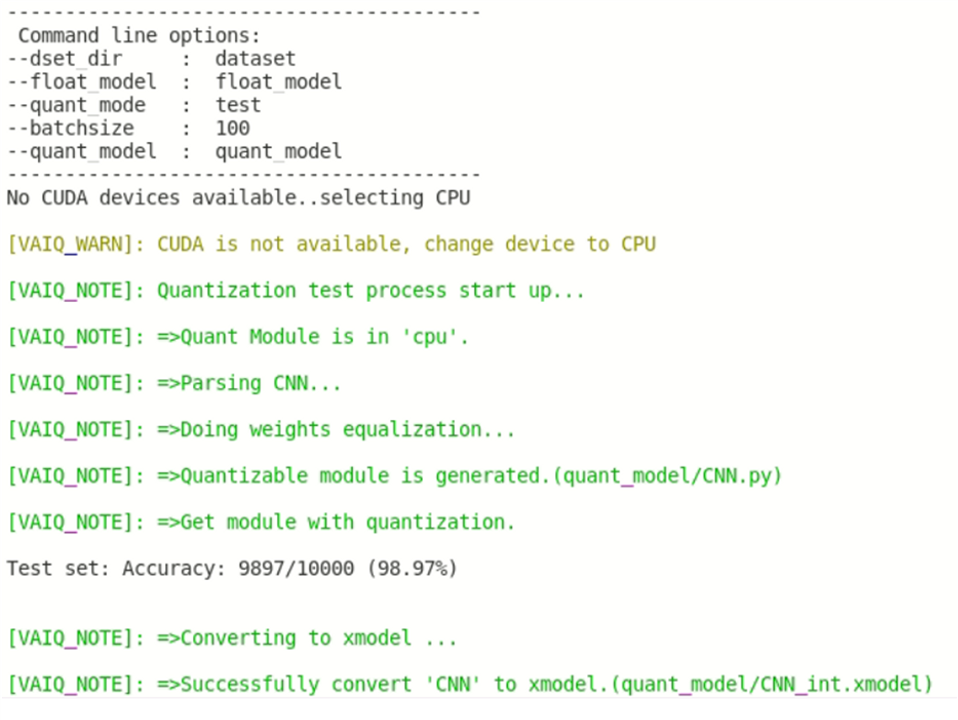
Next, we will be converting the above files to xmodel. To do this, we use the quantize.py script in test mode. In this mode, the script creates the xmodel file. We will get the following output when this script successfully runs.
python -u quantize.py --quant_mode test
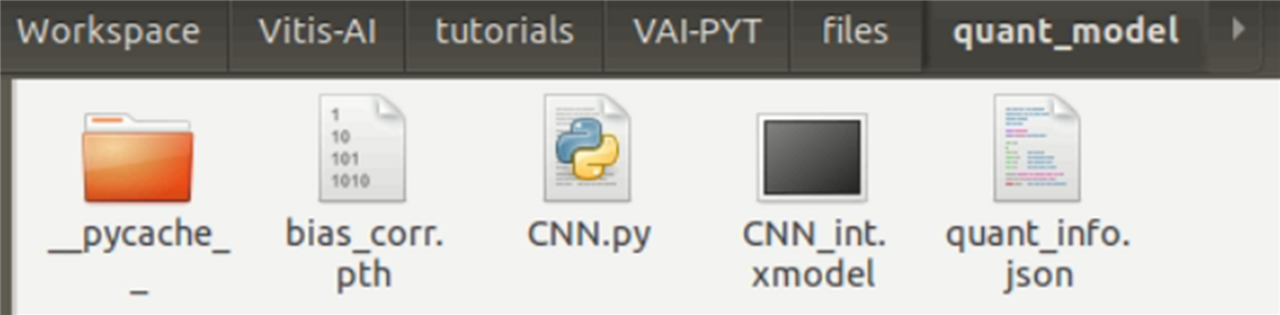
We will have the following files after this step in our quant_model folder.
4. Compiling the model for Ultra96v2 board
Now, we need to compile the quantized model so that it can be run with the most efficiency in the given Ultra96v2’s DPU. To do this, we will utilize the arch.json file for the Ultra96v2 board. To run the compilation, we use the vai_c_xir command with the quantized weight file, architecture file for the DPU and the CNN architecture as the parameters.
However, before we move on to compiling the model, we will need to run some edits. The scripts available in the repo folder are not designed to be compatible with Ultra96v2 board. Therefore, we will edit these scripts before compiling the network.
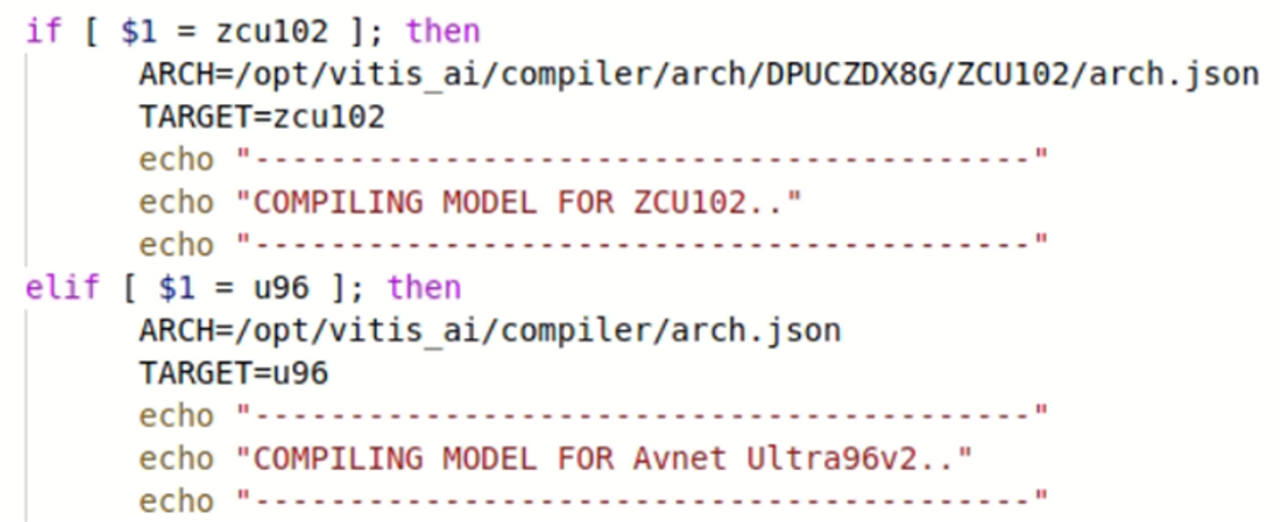
First, copy the arch.json file provided with this tutorial to the /opt/vitis_ai/compiler/ directory within the vitis environment. Then open the compile.sh file in your favorite editor, then add the following lines of code after the condition for ZCU102 board.
elif [ $1 = u96 ]; then
      ARCH=/opt/vitis_ai/compiler/arch.json
      TARGET=u96
We then run the compile script to compile the network using the following command.
source compile.sh u96
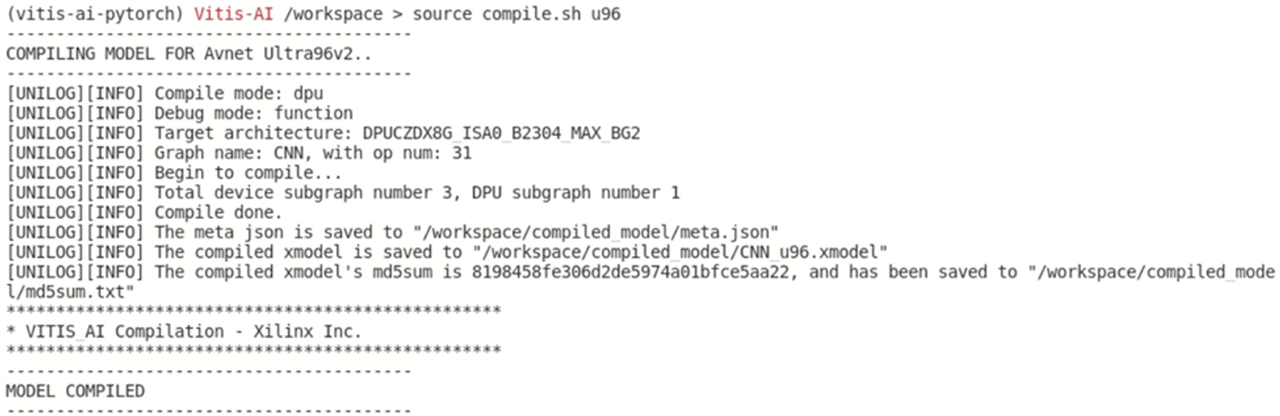
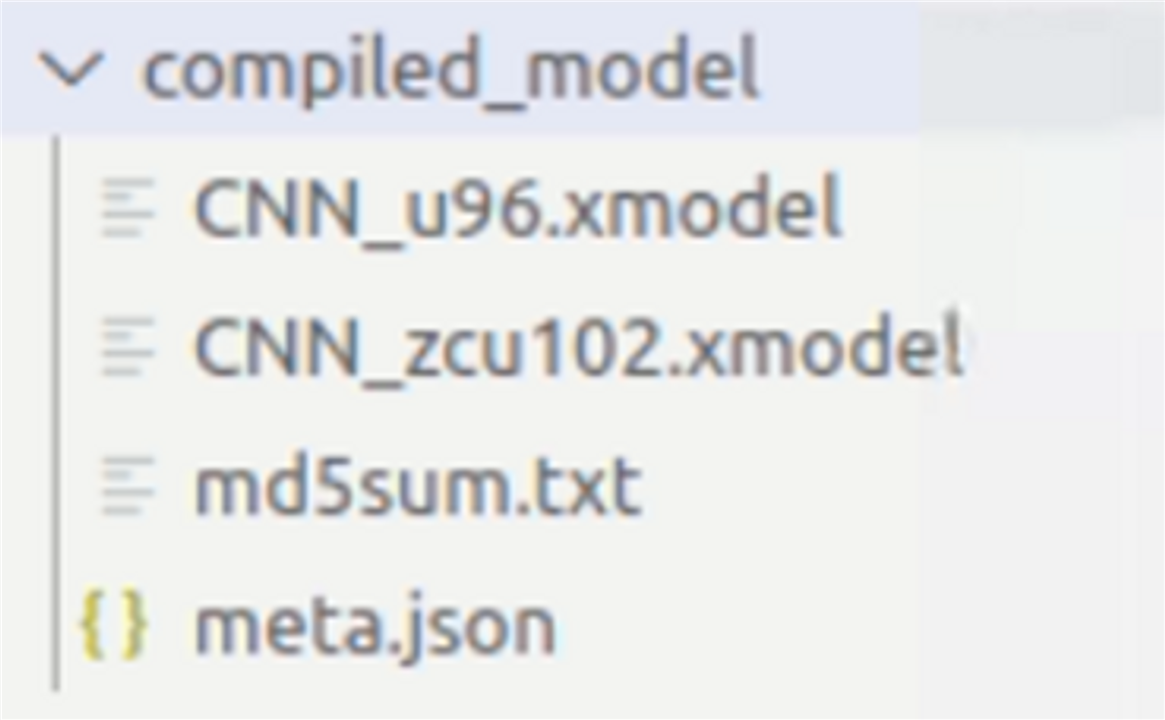
Following files will be created, after the compilation is successful.
6. Creating deployable files for the Ultra96v2 board
Finally, we will create the target files that can be used to deploy the compiled model on the Ultra96v2 board. To do this, we will first have to edit the target.py script and app_mt.py script.
Open the target.py in your favorite editor and edit the arguments as shown below and save it. Notice the ‘target’ parameter had ‘u96’ as the default argument and the choices now includes ‘u96’ in the list.

Then, open the app_mt.py script in your favorite editor and edit the following line and save it. Notice the ‘-model’ argument has ‘CNN_u96.xmodel’ as the default parameter.

Now, execute the target.py script using the command:
python -u target.py –target u96
We can see something like below.

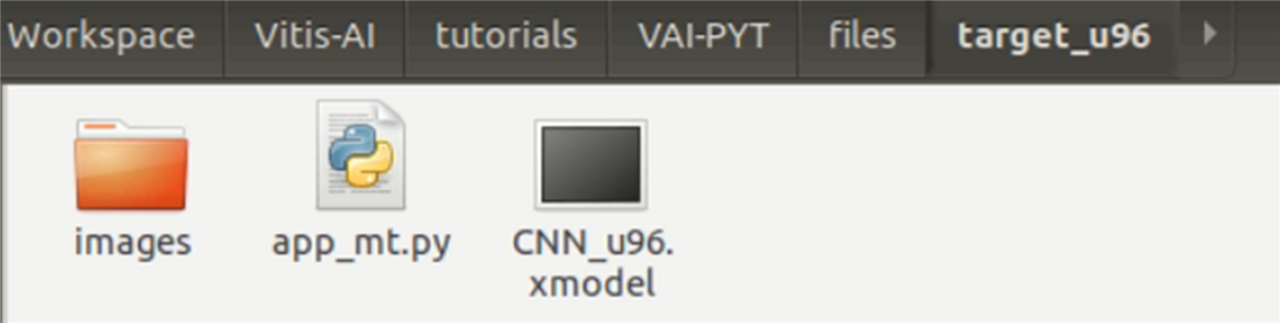
After execution of the target.py script, the target_u96 folder in the <code_dir> directory will have the following files.
Now, all we have to do to run the model in our FPGA is copy the target_u96 folder into the SD card that has bootable image burned into it and execute the app_mt.py script located inside the target_u96 directory using the following command.
python3 app_mt.py -m CNN_u96.xmodel
Follow the tutorial on preparing the ultra96v2 image to create the bootable image and run the model. Then, we will get the following result, signifying the successful run. After running the model in the Ultra96v2, we can get the following image through UART using baud rate of 115200.
We can see the execution of our model in the Ultra96v2 device.

7. Conclusion
Sadly I was not able to complete the last section where we can use identified number to blink the LED connected to our FPGA. Also, please note that the accuracy is extremely low because I just trained this in my laptop for 3 epochs, so if you want to get a better accuracy, train for at least few hundred epochs.