


This is my first blog in the Path to Programmable III Contest. This is going to be my first big journey toward the FPGA world. I have a master's degree in electrical & electronic engineering but I never practically worked with FPGA seriously. I have only very basic knowledge of FPGA and tried with only an out-of-the-box demo of a Xilinx FPGA development board. Working with FPGA is hard and even harder for beginners like me. So, undoubtedly I started a rough ride and in the next few blogs, I will share my good and bad experiences of this ride. I want to start with the MiniZed board with my mini knowledge. Thanks to Element14 and AMD for choosing me as one of the sponsored challengers and sending me the MiniZed Board. Before entering the path let's unbox the MiniZed board first.
Unboxing the MiniZed
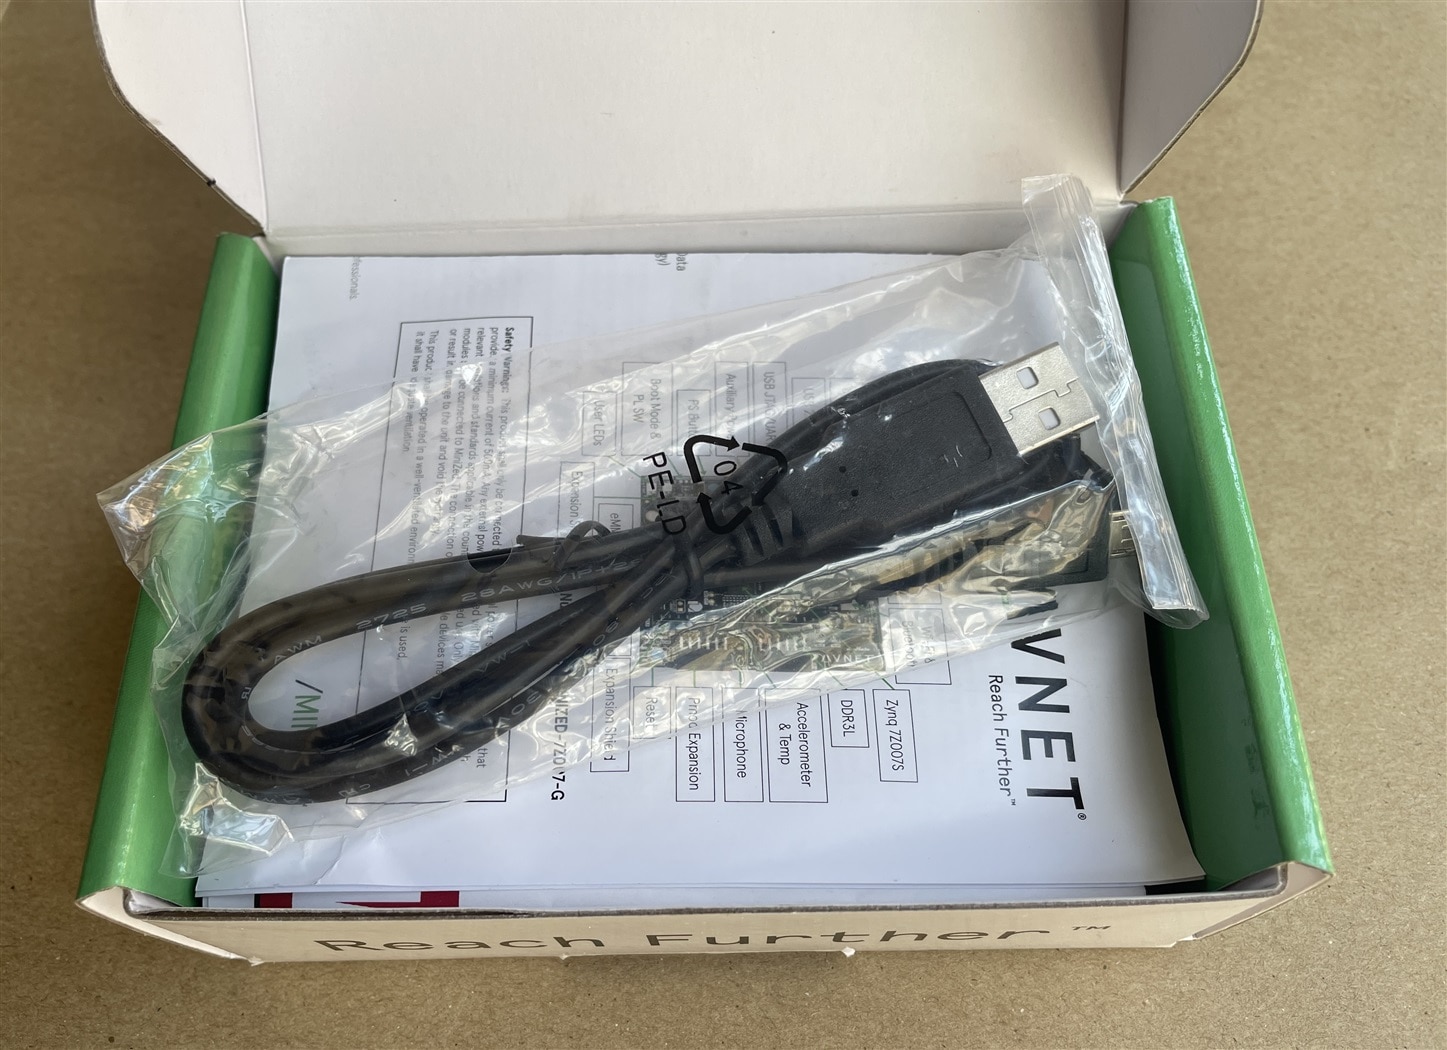
This is the result of the first iteration of unboxing. Hope the MiniZed Kit is inside the green box.

The second iteration completed. Still, MiniZed is not visible. Rather I can see a micro USB cable with some paper manual.
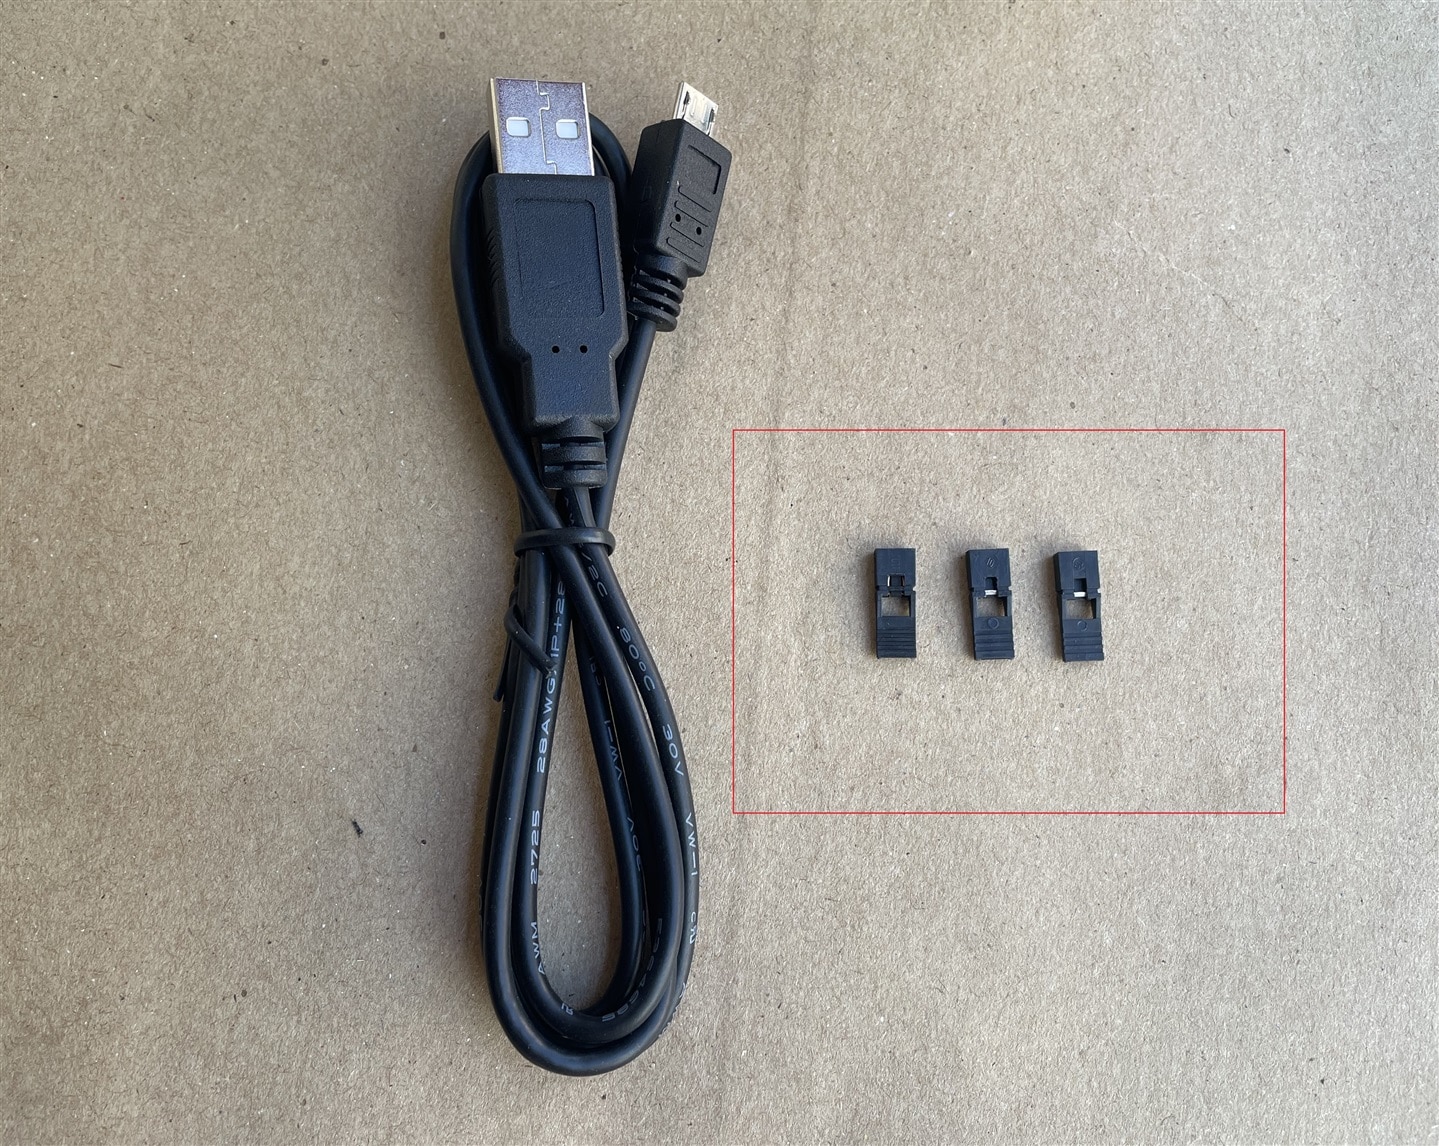
After entering inside of the packet of the micro USB cable I discovered three jumpers. I am not sure yet where I will use those. The micro USB cable is 1 meter long. More than enough for using with laptop. But you may need to use extension cable if you use desktop and the CPU is under the table like me.
The third iteration is done. All the treasures are shown in the photo.

The last iteration. The appealing black MiniZed board is now completely visible. It is decorated with lots of nice silicon chips.

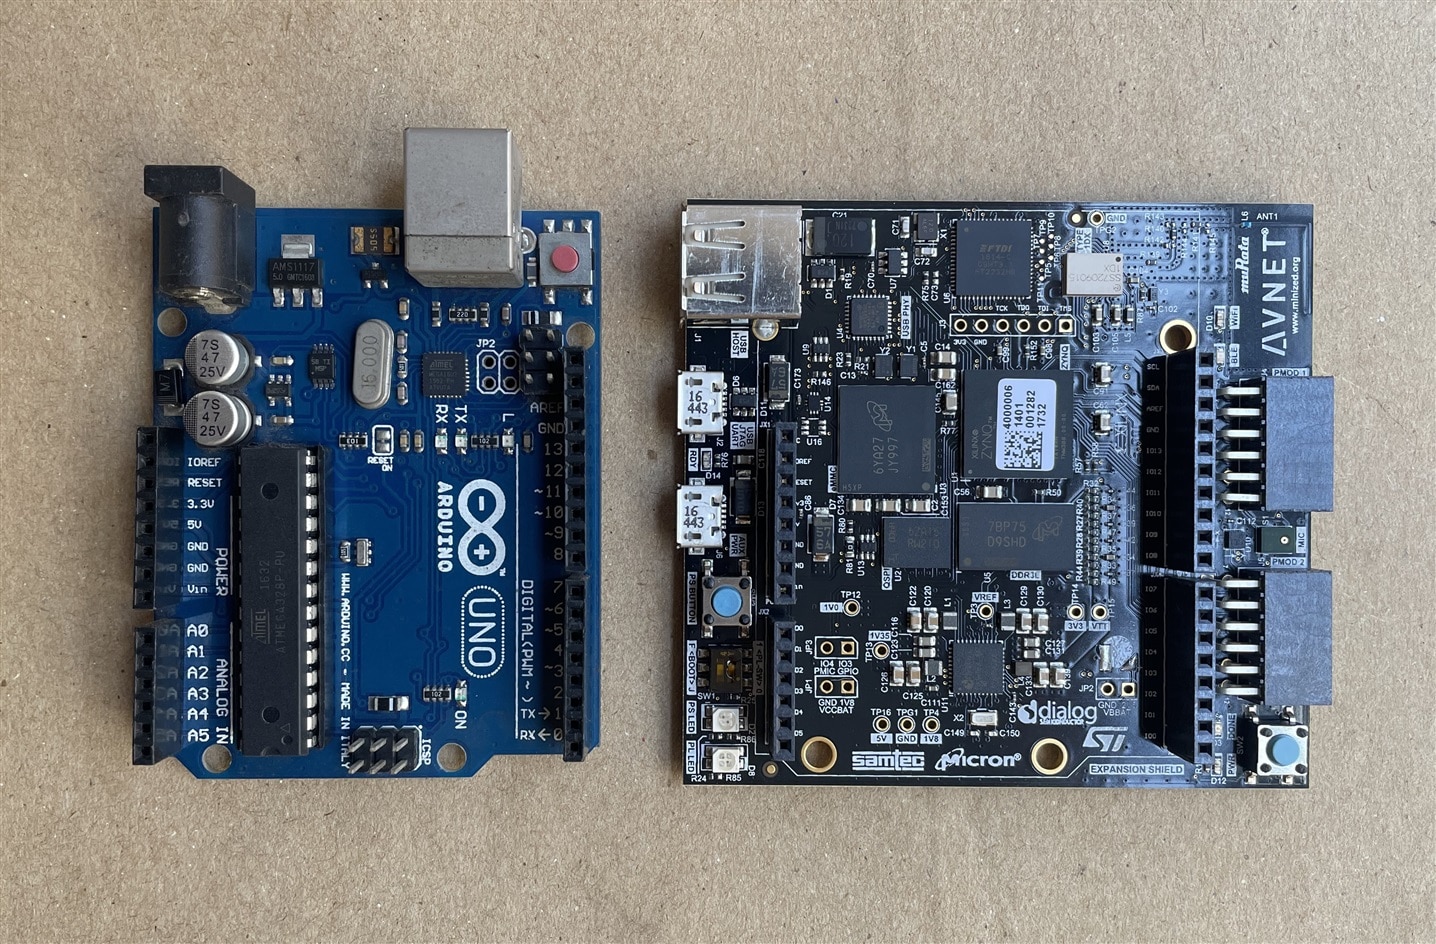
The MiniZed is not so mini either in terms of size or power! In height it is almost similar to Arduino but a bit fatter than Arduino UNO.
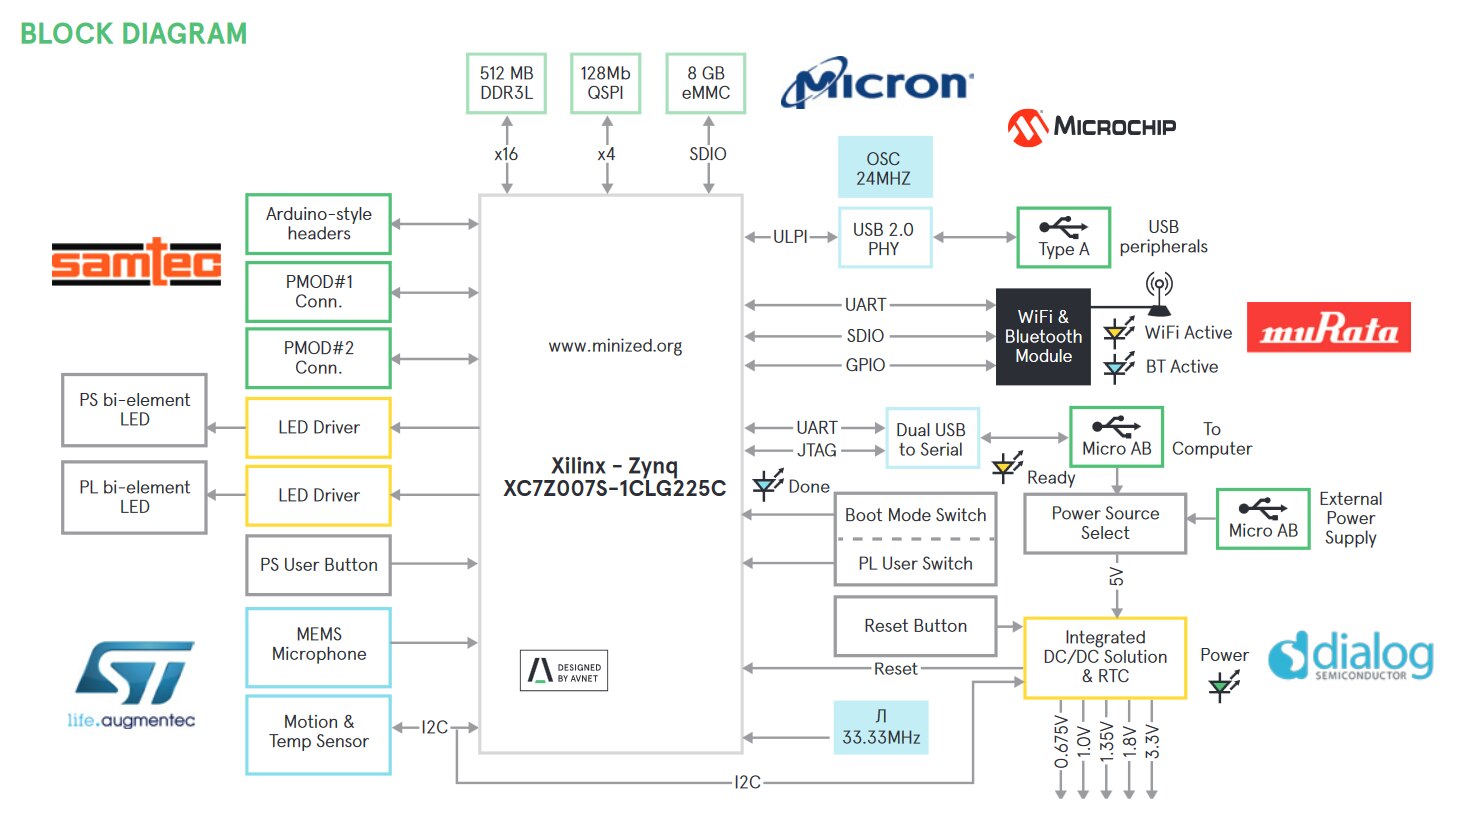
All the organs of the MiniZed are marked in the figure below.

This is inside the MiniZed
Setting up the Software Environment
There are two parts to a design using any Xilinx development FPGA board: the base hardware design in Vivado and the software project in either Vitis or PetaLinux. So, we need to install Vivado, Vitis and PetaLinux in our computer. Vivado & Vitis works in both Windows and Ubuntu OS but PetaLinux only works with Ubuntu. I am going to install all these tools in my fresh Ubuntu 22.04 machine which I prepared for this purpose. You can use Ubuntu virtual machine inside your Windows machine if you have enough storage.
I installed the latest version of Vivado & Vitis in my machine. Current latest version is 2023.1. This installation guide by Whitney Knitter on hackster.io helped me to successfully install the Vitis as well as PetaLinux.
For Vivado & Vitis 2023.1 you need to install the following dependencies (thanks to abhishek2018 for compiling those together). Keep in mind that installing dependencies is important otherwise you may not be able to install Vitis successfully.
sudo apt install libncurses5
sudo apt install libtinfo5
sudo apt install libncurses5-dev
sudo apt install libncursesw5-dev
sudo apt-get install libtinfo-dev
sudo apt-get install libncurses-dev
sudo apt-get install gitk
sudo apt-get install libdpkg-perl
sudo apt-get install git-gui
sudo apt-get install libstdc++6
sudo apt-get install libusb-dev
sudo apt-get install libgtk2.0-0
sudo apt-get install libc6-dev-i386
sudo apt-get install dpkg-dev
sudo apt-get install libegl-mesa0
sudo apt-get install libegl1-mesa
sudo apt-get install libgbm1
sudo apt-get install python3-apport
sudo apt-get install fxload
sudo apt-get install build-essential
sudo apt update
After following the guidelines provided by Whitney Knitter and with the updated dependencies list by abhishek2018 I was successfully able to install and run the Vitis 2023.1 in my Ubuntu 20.04 machine.

For installing PetaLinux 2023.1 I followed the same guide and this time I installed the following dependencies.
sudo apt-get install iproute2
sudo apt-get install gawk
sudo apt-get install gcc
sudo apt-get install net-tools
sudo apt-get install ncurses
sudo apt-get install zlib
sudo apt-get install openssl
sudo apt-get install flex
sudo apt-get install bison
sudo apt-get install libselinux1
sudo apt-get install xterm
sudo apt-get install autoconf
sudo apt-get install libtool
sudo apt-get install texinfo
sudo apt-get install zlib1g
sudo apt-get install gcc-multilib
sudo apt-get install build-essential
sudo apt-get install automake
sudo apt-get install screen
sudo apt-get install pax
sudo apt-get install libstdc++6
sudo apt-get install g++
sudo apt-get install python3-pip
sudo apt-get install xz-utils
sudo apt-get install cpp-9
sudo apt-get install patch
sudo apt-get install python3-git
sudo apt-get install python3-jinja2
sudo apt-get install python3-pexpect
sudo apt-get install diffutils
sudo apt-get install debianutils
sudo apt-get install iputils-ping
sudo apt-get install libegl1-mesa
sudo apt-get install libsdl1.2-dev
sudo apt-get install python3
sudo apt-get install cpio
sudo apt-get install tftpd-hpa
sudo apt-get install gnupg
The PetaLinux 2023.1 was successfully installed without any problem.

This is the end of this blog.