


In this lab we will learn how to use a hardware debugging interface to to perform run-time interactions with IP cores.
1. Adding a IP JTAG-AXI core to the design
Please select Add IP and choose JTAG to AXI Master Core from IP catalog. After that please run connection automation.

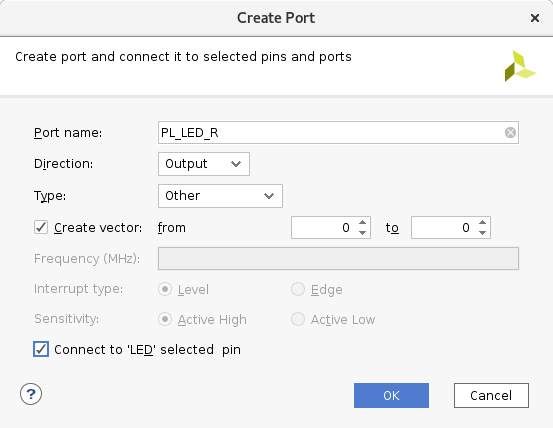
After that we could add a LED constraints to PWM_w_Int IP. Please right click on LED[0:0] pin located on the PWM_w_Int_v1.0 IP then select crate port.
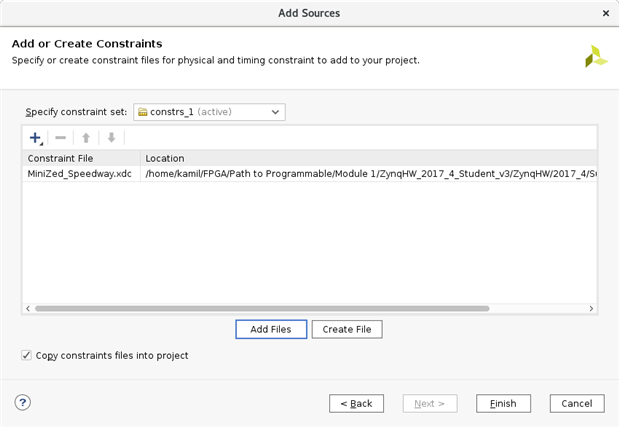
Now please select option Add Sources from Flow Navigator menu. Choose Add or create constraints and load constraints from Speedway support documents.
Now we could reset output product and generate bitstream.
2. Import test application for LED control
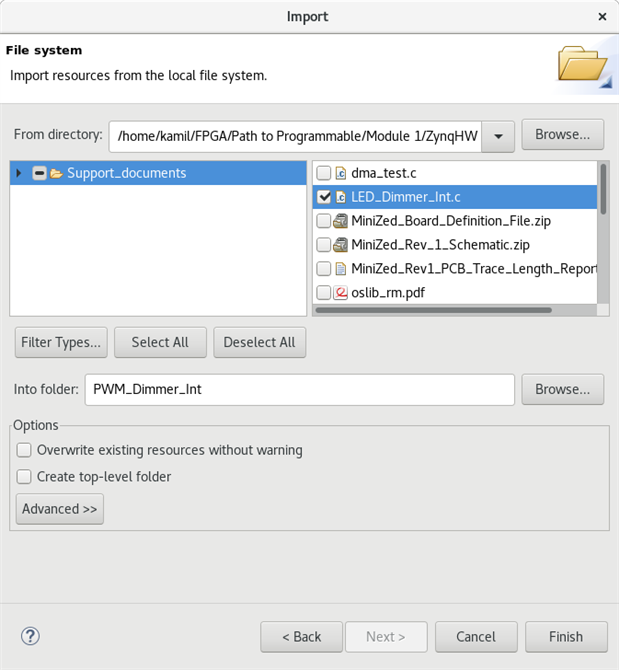
In SDK select File->New->Application Project, enter the name of application then choose empty application and press Finish. After that select import and from Speedway support documents choose LED_Dimmer_Int.c.
3. Interaction with Vivado Hardware Analyzer
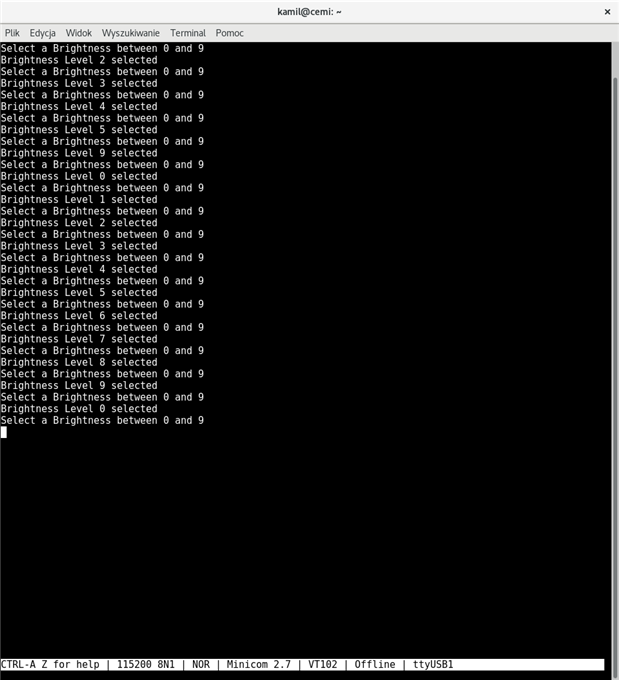
Now please Program the FPGA. After that please choose option Run -> Launch on Hardware(System Debugger) the LED_Dimmer_Int application. From command line application you will be able to change the Red PL Led brightness.
Please open hardware manager from Flow Navigator and select option Open target -> Auto Connect. After that please select the ILA core.
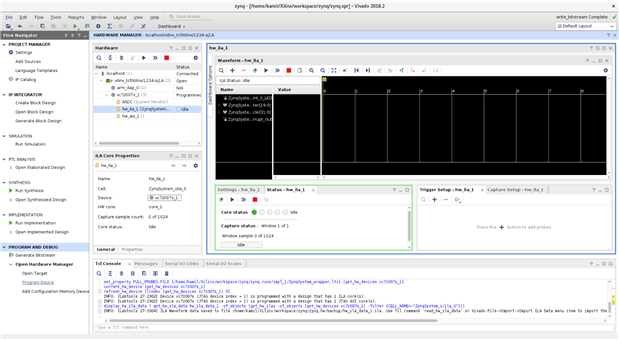
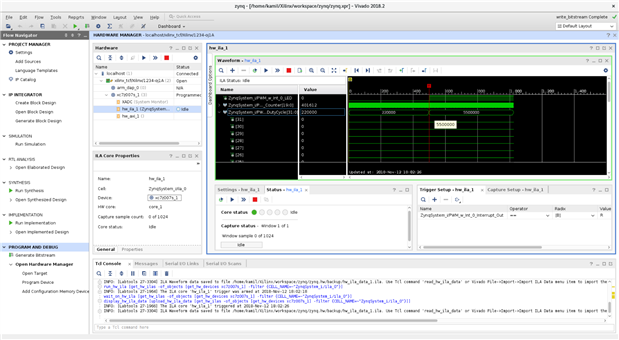
Now we could press: Run Trigger Immediate for this ILA Core button. You should see following waveform:
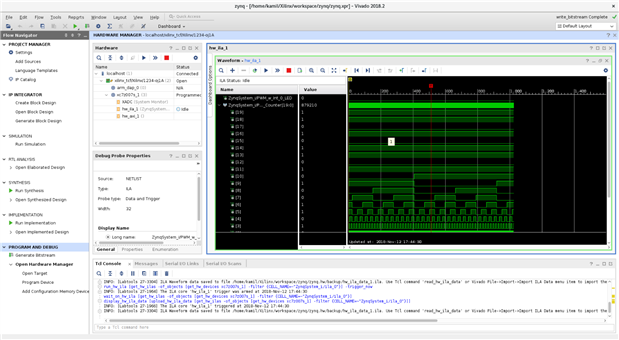
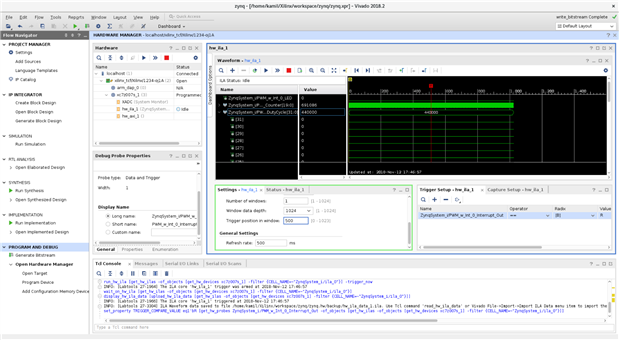
You could configure the radix of PWM_Counter and DutyCycle by choosing Unsigned Decimal option. Now when you type 4 on terminal and choose again Run Trigger Immediate you should get following waveform:
The DutyCycle ise set to 440000 because of the value 4 that was entered into the terminal. Software in the PS multiplies the entered number by 110000. The period parameter sets the counter depth of the PWM counter. The period default is 20, the counter counts to roughly 1 million. So any number over 1 million should create an exception interrupt. We will try to catch this exception by trigger in ILA.
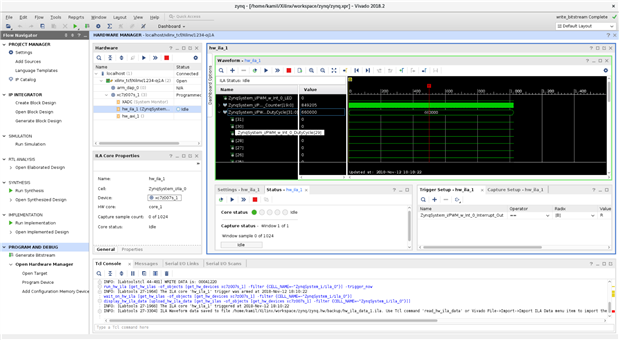
Please go to the Trigger Setup window and select the Interrupt_out signal. Please select the value to R and the trigger position in window to 500. Now you could click Run Trigger.

Now you could type into the terminal few digits then letter. The trigger status should change from Full to idle.
4. Run-time interactions with the AXI core
In case when the software code is not ready we could test our IP with usage of AXI JTAG Master via TCL commands. To do that please find TCL console in hardware manager. The first step is to reset the AXI interface by following command:
reset_hw_axi [get_hw_axis hw_axi_1]
Now you could create the AXI transaction with following command:
create_hw_axi_txn write_txn [get_hw_axis hw_axi_1] -type WRITE -address 43C00000 -len 1 -data 000A1220
where:
- write_txn it is the name of the transaction,
- [get_hw_axis_hw_axi_1] - it is a handle to hw_axi_1 object,
- address 43C00000 it is a start address,
- len 1 - sets the AXI burst length to one words,
- data 000A12220 - it is a data to send (brightness set to 6)
Now we could run this transaction with following command:
run_hw_axi [get_hw_axi_txns write_txn]
When you press Trigger Immediate in the waveform you should the brightness set to 660000.
To change the value of data to write we could use following command (this command simply edit the data field of the command):
set_property DATA 000FFFFF [get_hw_axi_txns write_txn]
When you press run trigger there should be present exception.
To read data from BRAM we could run following command:
create_hw_axi_txn read_txn [get_hw_axis hw_axi_1] -type READ -address 40000000 -len 4
You should get following output:
create_hw_axi_txn read_txn [get_hw_axis hw_axi_1] -type READ -address 40000000 -len 4
read_txn
run_hw_axi [get_hw_axi_txns read_txn]
INFO: [Labtoolstcl 44-481] READ DATA is: 00000000000000000000000000000000
To write data to BRAM please use following command:
create_hw_axi_txn write_bram [get_hw_axis hw_axi_1] -type WRITE -address
40000000 -len 4 -data {44444444_33333333_22222222_11111111}
Now you should get following output:
create_hw_axi_txn write_bram [get_hw_axis hw_axi_1] -type WRITE -address 40000000 -len 4 -data {44444444_33333333_22222222_11111111}
write_bram
run_hw_axi [get_hw_axi_txns write_bram]
INFO: [Labtoolstcl 44-481] WRITE DATA is: 44444444_33333333_22222222_11111111
run_hw_axi [get_hw_axi_txns read_txn]
INFO: [Labtoolstcl 44-481] READ DATA is: 44444444333333332222222211111111
To sum up, with JTAG to AXI Master Core we could easily debug and interact with any AXI-based slave peripheral in design. This JTAG-AXI core could be easily removed in case of delivery HW platform for software developers. We could do that by just removing this IP core from block design and customize of AXI Interconnect IP by changing the number of slave interface to proper value. After that we could generate the output products.
Top Comments