


In the previous weeks I finished the lab 6 and lab 7 together.
In lab 6 I learned how to establish the data flow between the programmable logic PL and processing system PS using the PS DMA. The PS DMA controller improves data transfer between PS and PL. This lab 6 is pretty easy to be done and continues from lab 5.
Lab 6 Theme & Main Objectives
In the last lab 5, PL-based Block RAM (BRAM) memory space is added to the block design. The BRAM buffers data going between the PS and PL. In this lab 6, a software application to enable the PS DMA engine is added. It shows how efficiency gains can be achieved when passing data between the PL-based BRAM and external DDR3 memory.
When you have completed Lab 6, you will know how to do the following:
• Create a new C Software Application and import C source code
• Use PS DMA and GIC controllers
• Perform DMA operations using the PS DMA
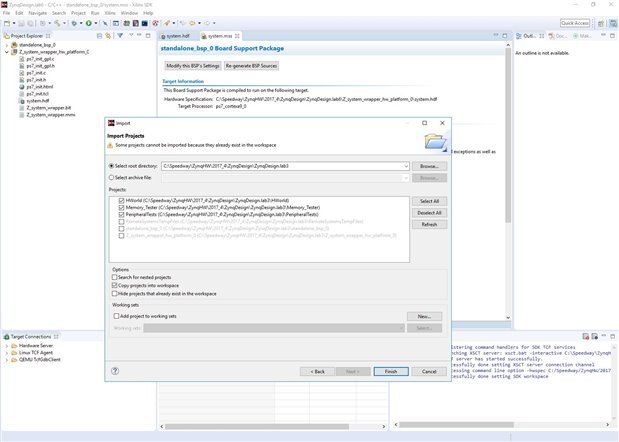
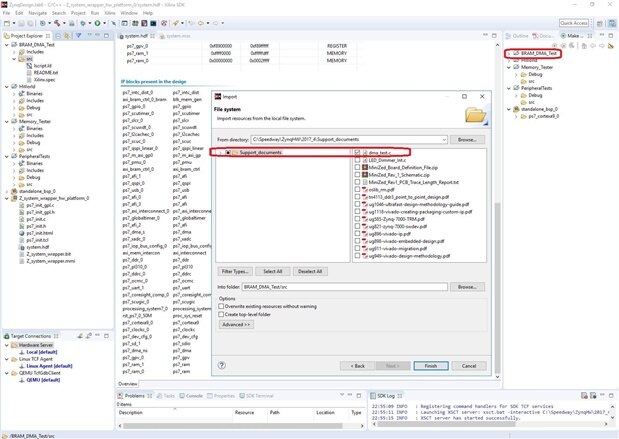
Adding software files from the lab5 to the lab6 SDK.
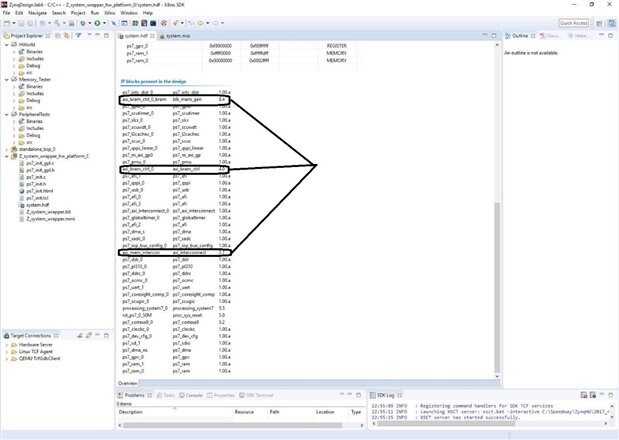

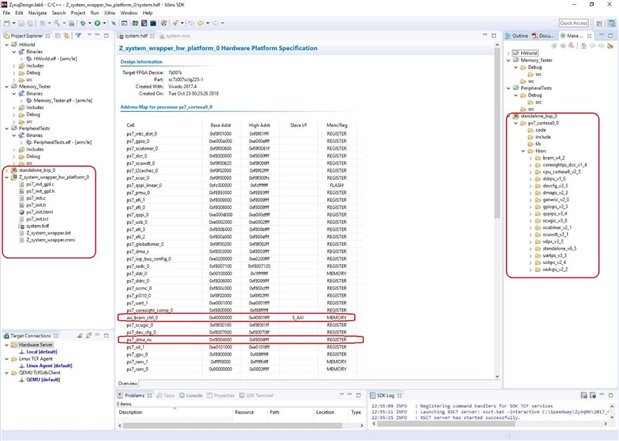
The changes in the peripherals can be seen here with the IP blocks present after adding the software files
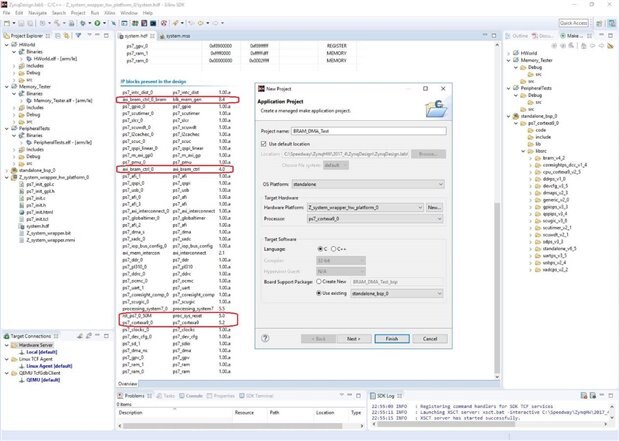
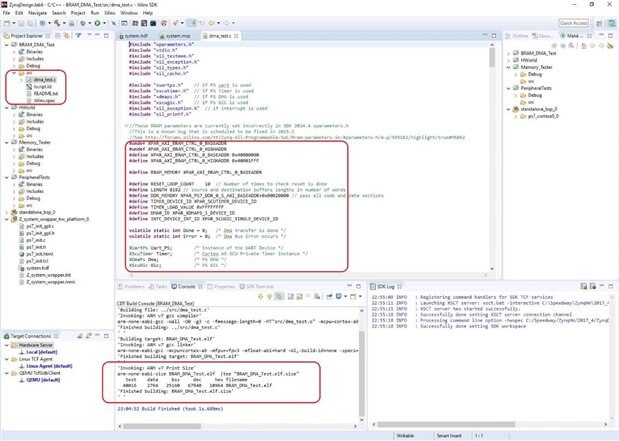
Creating an new software application project for the BRAM DMA testing
Below we got a sample program from the support guys to add the dma_test.c to the software application.
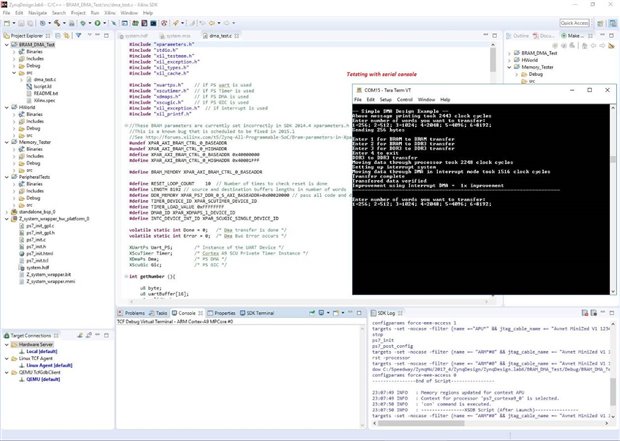
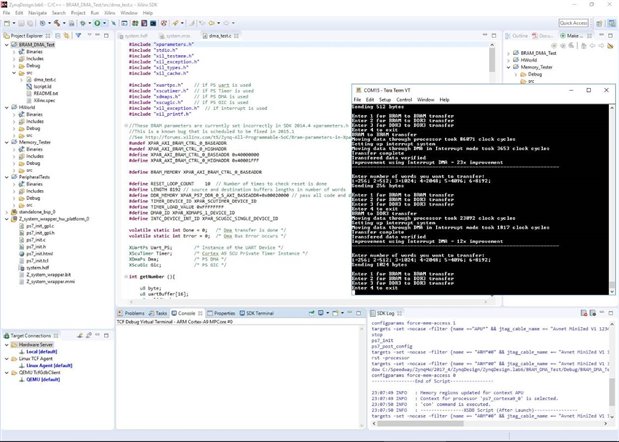
Testing Lab 6 with the serial port
Running the BRAM DMA test by launching the project on the hardware. The serial port is set to @11520 baud rate with the COM port.
Conclusion
This lab was mostly focused on re-using the hardware from the last lab with BRAM memory and add an application software C project to this existing hardware in vivado. This was tested in the standalone bsp mode.