


Last two weeks I was traveling and also busy running a summerschool (Successful Summer School Plant Phenotyping - Wageningen UR ), but now the holiday started and I have more time to continue to work on my project.
The Smarti Pi cases, I talked about in my previous post arrived, and I'm quite happy with them.
In this post I will describe how the cases are used. Furthermore I installed and tested the camera with a small python script.
Previous posts:
[Pi IoT] Plant Health Camera #3 - First steps
[Pi IoT] Plant Health Camera #2 - Unboxing
[Pi IoT] Plant Health Camera #1 - Application
Intro
As already explained I'm planning to use the Pi 3 as main board and the Pi 2 as slave system. Each system will have a camera connected. The interconnection between the two boards is with ethernet, while the main connection to the Pi 3 is via WiFi. Although It also might be an option to use the WiFi Dongle in the second Pi. Since that was missing in my kit, I hope element14Dave will send it soon, along with the Sense Hat and PiFace Digital 2.
Wifi setup appeared to be very easy, it appeared to be installed by default in the current version of Raspbian and I only needed to connect to my router via the menu (https://www.raspberrypi.org/documentation/configuration/wireless/README.md ).
Case
In my previous blogspot I told you that I planned to buy the 'Smarti Pi Touch' case. For the additional Pi B I decided to use the plain 'Smarti Pi'. Although this case is quite expensive, it has its benefits. Like the 'Smarti Pi Touch' it is also LEGO compatible. And it also comes with a LEGO compatible case for the camera. So now I have two LEGO compatible cases and two LEGO compatible camera cases. For mounting the 'Smarti Pi' to the 'Smarti Pi Touch' I made a small plate of LEXAN which I mounted on the back of the 'Smarti Pi Touch'. With the supplied bracket the second case is mounted. The camera's can now be put on the LEGO plate covering this case.
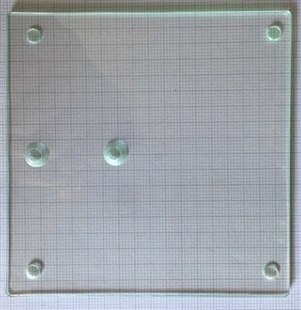
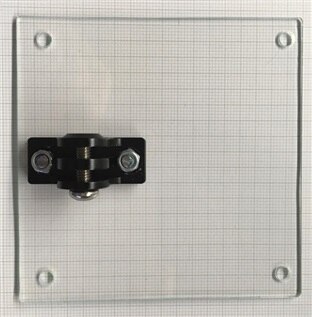
LEXAN plate, bracket mounted.
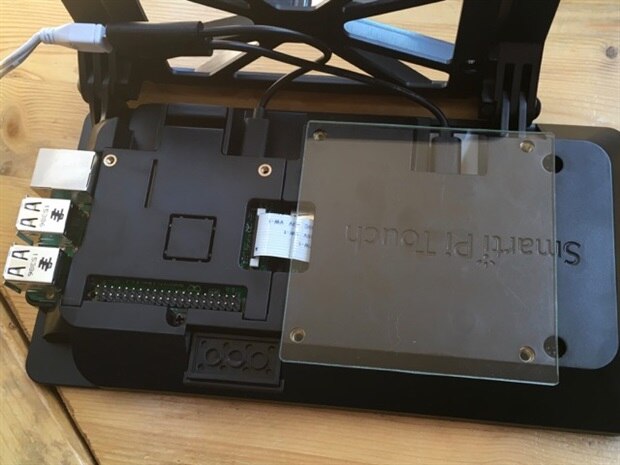
Plate will fit on the back.
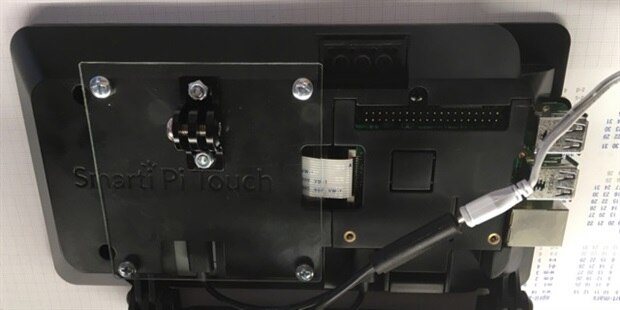
Like here.
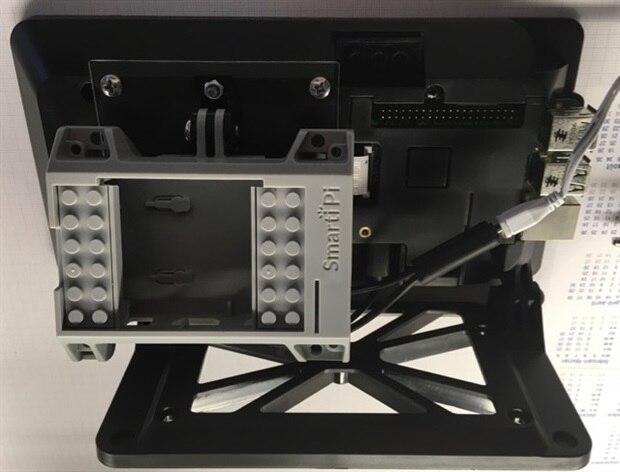
Second case added.
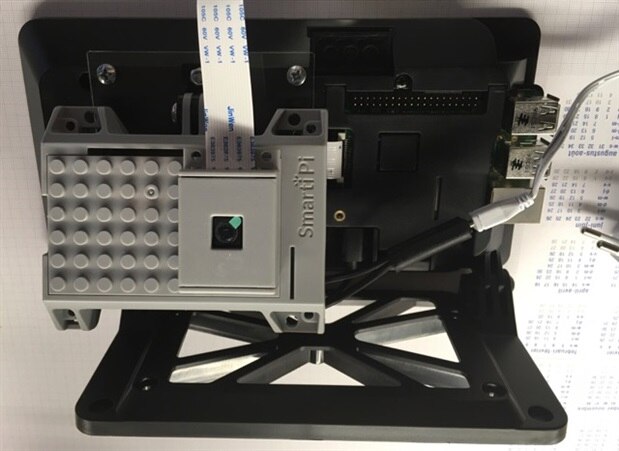
One camera added.
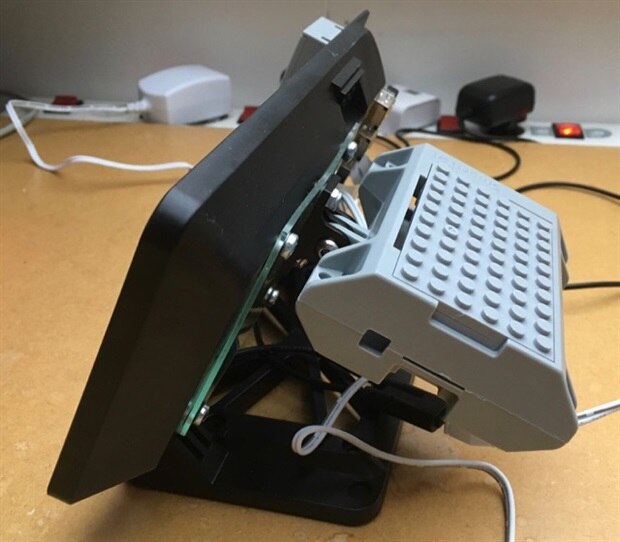
View from the side
Camera setup
I started to connect the color camera to the Pi 3 using the instructions found on https://www.raspberrypi.org/learning/getting-started-with-picamera/worksheet/. The camera software was initially disabled, so I enabled it using the configuration tool.
After a reboot I tested the camera with a small python program:
from picamera import PiCamera
from time import sleep

camera = PiCamera()

camera.start_preview()
sleep(10)
camera.stop_preview()
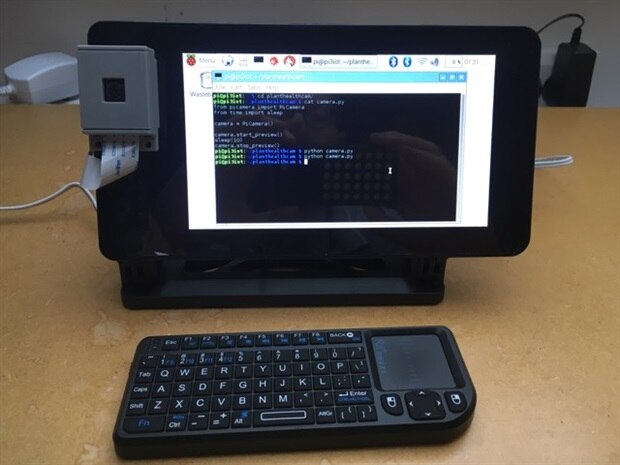
Although I preferably control the Pi via a remote connection from my laptop, in this case I'm using a small wireless keyboard and touchpad.
For testing the camera is placed on the front of the case. (I really like this LEGO approach).
Here is a 10 seconds live video shot using the python script above.
In the mean time I started to install OpenCV, which I need to combine the different spectral bands from the two camera's in order to obtain a NDVI image. This will be the subject of my next blogpost.
stay tuned.
Top Comments
-

pettitda
-
Cancel
-
Vote Up
0
Vote Down
-
-
Sign in to reply
-
More
-
Cancel
-

gpolder
in reply to pettitda
-
Cancel
-
Vote Up
+1
Vote Down
-
-
Sign in to reply
-
More
-
Cancel
Comment-

gpolder
in reply to pettitda
-
Cancel
-
Vote Up
+1
Vote Down
-
-
Sign in to reply
-
More
-
Cancel
Children