element14 Community
element14 Community
    Register Log In
  • Site
  • Search
  • Log In Register
  • Community Hub
    Community Hub
    • What's New on element14
    • Feedback and Support
    • Benefits of Membership
    • Personal Blogs
    • Members Area
    • Achievement Levels
  • Learn
    Learn
    • Ask an Expert
    • eBooks
    • element14 presents
    • Learning Center
    • Tech Spotlight
    • STEM Academy
    • Webinars, Training and Events
    • Learning Groups
  • Technologies
    Technologies
    • 3D Printing
    • FPGA
    • Industrial Automation
    • Internet of Things
    • Power & Energy
    • Sensors
    • Technology Groups
  • Challenges & Projects
    Challenges & Projects
    • Design Challenges
    • element14 presents Projects
    • Project14
    • Arduino Projects
    • Raspberry Pi Projects
    • Project Groups
  • Products
    Products
    • Arduino
    • Avnet & Tria Boards Community
    • Dev Tools
    • Manufacturers
    • Multicomp Pro
    • Product Groups
    • Raspberry Pi
    • RoadTests & Reviews
  • About Us
  • Store
    Store
    • Visit Your Store
    • Choose another store...
      • Europe
      •  Austria (German)
      •  Belgium (Dutch, French)
      •  Bulgaria (Bulgarian)
      •  Czech Republic (Czech)
      •  Denmark (Danish)
      •  Estonia (Estonian)
      •  Finland (Finnish)
      •  France (French)
      •  Germany (German)
      •  Hungary (Hungarian)
      •  Ireland
      •  Israel
      •  Italy (Italian)
      •  Latvia (Latvian)
      •  
      •  Lithuania (Lithuanian)
      •  Netherlands (Dutch)
      •  Norway (Norwegian)
      •  Poland (Polish)
      •  Portugal (Portuguese)
      •  Romania (Romanian)
      •  Russia (Russian)
      •  Slovakia (Slovak)
      •  Slovenia (Slovenian)
      •  Spain (Spanish)
      •  Sweden (Swedish)
      •  Switzerland(German, French)
      •  Turkey (Turkish)
      •  United Kingdom
      • Asia Pacific
      •  Australia
      •  China
      •  Hong Kong
      •  India
      • Japan
      •  Korea (Korean)
      •  Malaysia
      •  New Zealand
      •  Philippines
      •  Singapore
      •  Taiwan
      •  Thailand (Thai)
      • Vietnam
      • Americas
      •  Brazil (Portuguese)
      •  Canada
      •  Mexico (Spanish)
      •  United States
      Can't find the country/region you're looking for? Visit our export site or find a local distributor.
  • Translate
  • Profile
  • Settings
PiCasso Design Challenge
  • Challenges & Projects
  • Design Challenges
  • PiCasso Design Challenge
  • More
  • Cancel
PiCasso Design Challenge
Blog HoloPiBot #3 : The Display
  • Blog
  • Forum
  • Documents
  • Polls
  • Files
  • Events
  • Mentions
  • Sub-Groups
  • Tags
  • More
  • Cancel
  • New
  • Share
  • More
  • Cancel
Group Actions
  • Group RSS
  • More
  • Cancel
Engagement
  • Author Author: dubbie
  • Date Created: 3 Apr 2019 11:37 AM Date Created
  • Views 734 views
  • Likes 8 likes
  • Comments 4 comments
  • lcd display
  • picasso design challenge
  • holopibot
Related
Recommended

HoloPiBot #3 : The Display

dubbie
dubbie
3 Apr 2019

For my unofficial contribution to the Picasso Design Challenge the holonomic mobile robot will support or carry a colour graphic display showing the magnified image of the artwork that is underneath. The four corner direction and drive motor units will maintain the orientation of the display as it moves about over the artwork. I haven't yet decided on how the movement should be controlled, it could be some systematic approach, or maybe random or even allow some user interface, perhaps via WiFi or Bluetooth.


The colour graphic display will need to be large enough to be visible from a reasonable distance with enough resolution to show useful information, plus, not be too heavy, not need a mains power supply and not cost too much money! I do have access to a flat screen PC monitor which has a 12V DC input but it is fairly large, probably a 18 or 19 inch display, with a wide bezel and is quite heavy. Rather than use that I have decided initially at least, to start with a much smaller 7 inch LCD graphics display, which is lighter, (only 380 g) has a smaller bezel, can be powered from a USB connection (to the Raspberry Pi) and comes with a Raspberry Pi casing already designed to be fitted to the back of the display. The resolution of 800 x 480 isn't as great as I would have liked, but with this smaller screen I think it should be OK. Life is usually a compromise afterall.


The displays arrives as a self-assembly kit, with laser cut plastic pieces. I hadn't realised this when I purchased it, thinking it was moulded pieces which would be stronger and smoother but it should still be OK.


You don't have permission to edit metadata of this video.
Edit media
x
image
Upload Preview
image


It was relatively easy to assemble all the pieces although the instruction leaflet is quite small with some tiny diagrams.  A good job I have a good magnifying glass. The instructions are OK but some common sense had to be utilised, so I'm hoping I got that part correct. I didn't have the Raspberry Pi to include into the assembly so I just put the case together without it, see below. I may have to dis-assemble it all again later but that should not be too much of a problem.


You don't have permission to edit metadata of this video.
Edit media
x
image
Upload Preview
image


Not having a Raspberry Pi to hand to test it with I decided to just plug it into my Win 10 laptop to see if it would work, as it is a general HDMI display anyway. I was really pleased to see that it was immediately recognised by the laptop, with presumably the drivers already loaded into Windows and came up as a second display, mirroring what was on the main display. What was most satisfying was that the touch screen part was also recognised and seemed to work as well. My fingers are a bit too fat for fine control, but it does actually work. I didn't purchase it for the touchscreen part but it is nice to know that option is available, should I ever need it in the future.


The back of the display has the Pi case roughly in the middle and there might just be enough space for the four corner motor units, if I am careful. The cables connecting the display to the Pi are a little unsightly as they will stick out one side. I will have to think about what I can do to remediate this unsightly aspect.


You don't have permission to edit metadata of this video.
Edit media
x
image
Upload Preview
image


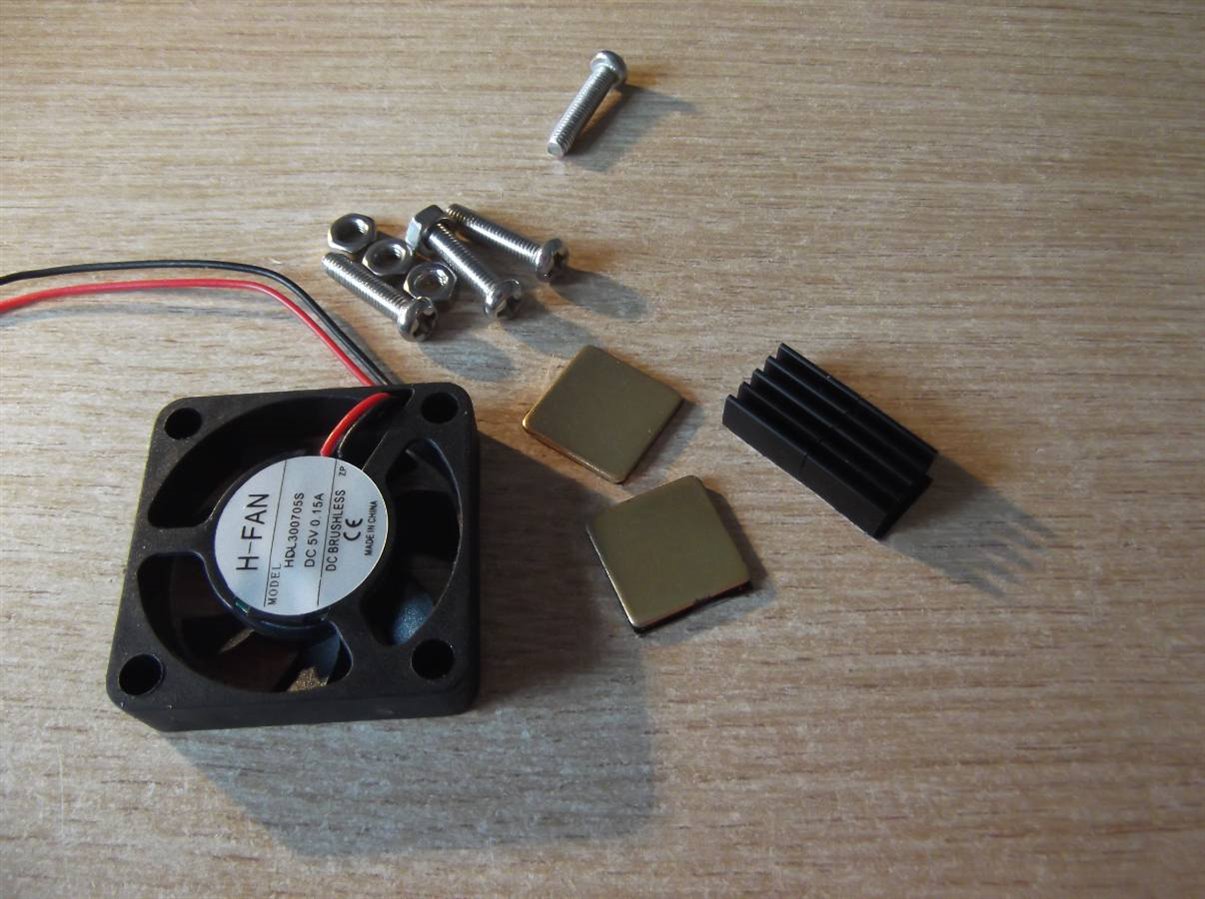
I did have some parts left after assembling the display, one is a fan, presumably to try and keep the Pi cool as I guess a hot Pi may melt the plastic. plus what look like a couple of small heat sinks. Not sure where they might go. There was nothing in the instructions. Anybody any ideas?


image


So, the display has arrived and my next step will be to design and fix on the four corner units. That will just leave all the software and getting it all working together. Easy!


Dubbie

  • Sign in to reply

Top Comments

  • fmilburn
    fmilburn over 6 years ago +2
    Hi Dubbie, Great progress and looking good. It is a very interesting project. The heat sinks are for the Broadcom chip and some others can be cooled as well. I have used the aluminum ones with the fins…
  • fmilburn
    fmilburn over 6 years ago in reply to fmilburn +2
    RPi with fan and heat sink. Heat sink peeking out under left side of fan opening. The RPi won’t melt the plastic but it will slow down under a heavy load to keep the chip from overheating when heavily…
  • dubbie
    dubbie over 6 years ago in reply to fmilburn +2
    Frank, That's useful to know. shabaz provides a very comprehensive outline of the heating situation. It seems surprising that the Pi does get so hot in what seems like fairly normal operation. Dubbie
  • dubbie
    dubbie over 6 years ago in reply to fmilburn

    Frank,


    That's useful to know. shabaz provides a very comprehensive outline of the heating situation. It seems surprising that the Pi does get so hot in what seems like fairly normal operation.


    Dubbie

    • Cancel
    • Vote Up +2 Vote Down
    • Sign in to reply
    • More
    • Cancel
  • fmilburn
    fmilburn over 6 years ago in reply to fmilburn

    image

    RPi with fan and heat sink. Heat sink peeking out under left side of fan opening.  The RPi won’t melt the plastic but it will slow down under a heavy load to keep the chip from overheating when heavily loaded without the fan.


    EDIT:  I have only used this on 3B and not 3B+

    • Cancel
    • Vote Up +2 Vote Down
    • Sign in to reply
    • More
    • Cancel
  • fmilburn
    fmilburn over 6 years ago

    Hi Dubbie,


    Great progress and looking good.   It is a very interesting project.  The heat sinks are for the Broadcom chip and some others can be cooled as well.  I have used the aluminum ones with the fins and they help but adding the fan cools much better.  See this post by Shabaz: Raspberry Pi 3 Cooling / Heat Sink Ideas    My experience using a case similar to yours was the same as the observations by Shabaz.


    EDIT:  also see part 2 of the post by Shabaz here: Raspberry Pi 3 Dynamic Current Consumption, Power and Temperature Tests

    • Cancel
    • Vote Up +2 Vote Down
    • Sign in to reply
    • More
    • Cancel
  • genebren
    genebren over 6 years ago

    That is looking very good!  Surprising how well that display is working with your laptop, touch screen and all.


    Well done, keep up the good work!


    Gene

    • Cancel
    • Vote Up +1 Vote Down
    • Sign in to reply
    • More
    • Cancel
element14 Community

element14 is the first online community specifically for engineers. Connect with your peers and get expert answers to your questions.

  • Members
  • Learn
  • Technologies
  • Challenges & Projects
  • Products
  • Store
  • About Us
  • Feedback & Support
  • FAQs
  • Terms of Use
  • Privacy Policy
  • Legal and Copyright Notices
  • Sitemap
  • Cookies

An Avnet Company © 2025 Premier Farnell Limited. All Rights Reserved.

Premier Farnell Ltd, registered in England and Wales (no 00876412), registered office: Farnell House, Forge Lane, Leeds LS12 2NE.

ICP 备案号 10220084.

Follow element14

  • X
  • Facebook
  • linkedin
  • YouTube