Bake Mate - Pi Chef Blog #5 - Testing the weighing scale: load cell + HX711
Status Update:
I had a hectic week and couldn't work on the project on any of the weekdays.
I set out to build the weighing scale on Saturday and realised that due to the nature of the load cell I'm using, I'll need to spend more time with the mechanical design to ensure that its stable & doesn't tip over.
However, I didn't want to wait a another week, so I set out to build a 'test article' using a few parts that I found.
Strain gauges & load cells:
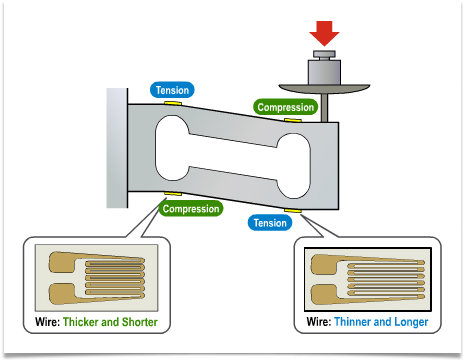
A strain gauge indirectly measures strain by measuring changes in the electrical resistance of the wire/gauge. When a force is applied (in a particular direction), the gauge flexes, which causes the wires to either stretch out or contract, which changes the electrical resistance. A load cell is a block of metal that has strain gauges attached to it:
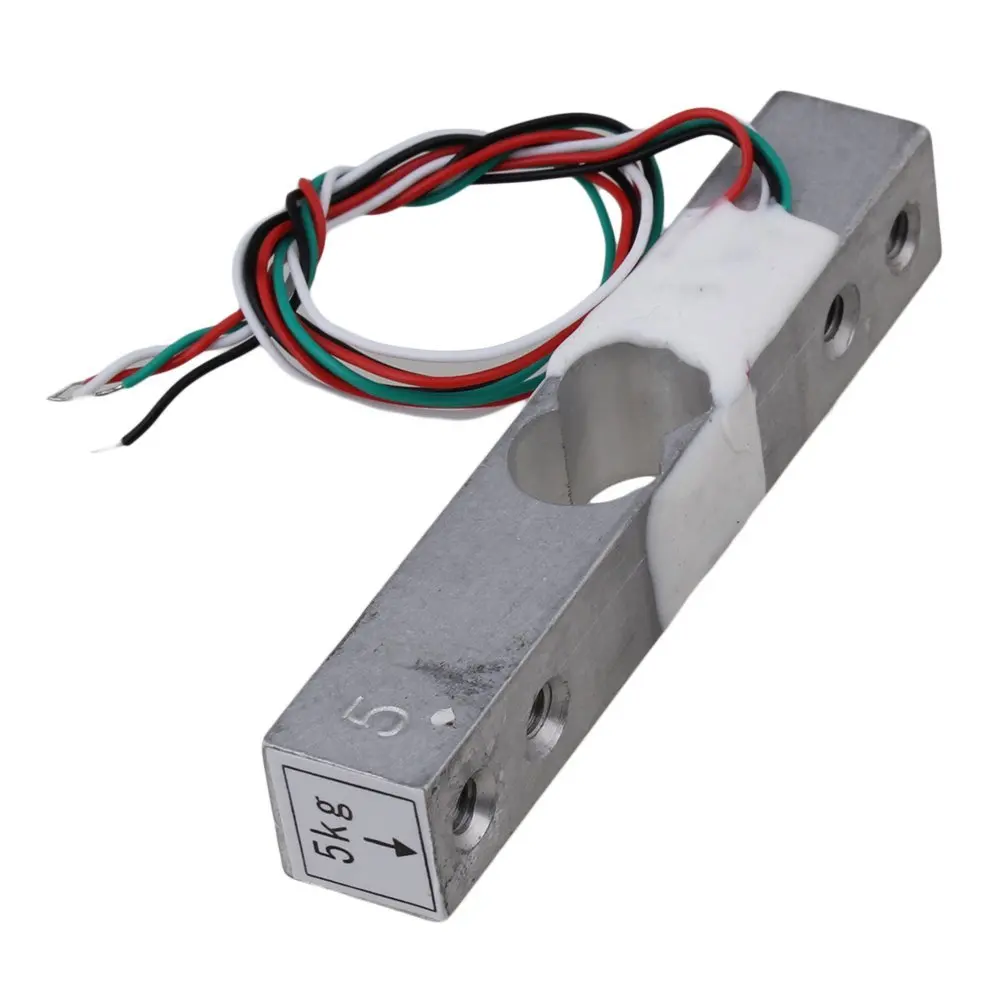
I'm using a horizontal load cell (like the one above): the weight is applied on side, which makes the bar bend since it's held stationary on the other side.
Another type is a 'disk' load cell, where weight can be applied directly from the top. These are certainly easier to use since it's just a matter of attaching a flat pan/plate on top, but I couldn't find any for sale that would measure weights less than 5 kilograms.
The horizontal bar load cell is more difficult to use because it isn't balanced, since the weight isn't distributed. The base needs to be heavy and wide to keep the center of gravity low, or there are chances of it tipping over. The top plate on which the mixing bowl is kept will also need to be strong so that it doesn't bend.
I didn't have a good design, but since I wanted to test out the load cell this weekend, I searched around for stuff to prototype with.
I found a spool of magnet wire: the dimensions weren't ideal because the base wasn't very wide & the height resulted in a high center of mass, but this seemed okay to start with. I didn't have the right screws at home, so I went out and bought some at a hardware store. I cut away some of the plastic so that the load cell would fit, and drilled two holes for the screws.
I couldn't find anything nice to make the 'pan' that would hold whatever was being measured, I drilled a holes in the cover of a tin can.
I forgot to buy spacers (which ensure that the 'pan' maintains adequate clearance), so I used a couple of nuts.
The strain gauges in the load cell are arranged as a Wheatstone's bridge and the actual change in resistance is very small, so the voltage generated needs to be be amplified. The HX711 has an internal programmable gain amplifier and a 24 bit ADC, and the data can be read by any microcontroller over a serial interface.
The rest was easy: connect the 4 wires from the load cell to the HX711 amplifier, and connect the HX711 to the Raspberry Pi (+3.3V, GND and the DT & SCK which can go to any GPIO).
The Display HAT uses many pins on the 40 pin header of the Pi 3, but I still have more than enough left over for the MAX31856 & HX711, plus some more to spare.
I used tatobari's HX711 Python Library
It's easy to use: to calibrate the load cell, comment out the reference and run the sketch. I had to make a few modifications because Python threw a couple of errors, which I think are due to a few updates in Python 3, but they were easy to fix. The script sets the reading it detects when it first starts as 0, so add a known weight after the script displays a few near zero readings. Take the new readings (due to weight) and divide them by the actual weight in grams to obtain the reference unit. Uncomment the line and enter the reference unit: when you run the sketch next time, you should get accurate readings.
I tested out the weighing scale with a couple of weights ranging from 100gm to a kilogram. I did another test where I stacked and removed weights in order to see how the precise the reading was, and it was generally within 10 grams for a stacked weight exceeding 500 grams.
Getting the HX711 to work was definitely easier than the MAX31856: I got readings without any issues (except for the few modifications I had to make to the library because Python threw a couple of errors).
Next on the list:
- Design the GUI layout & backend for the screen that displays the steps. This is where all the different parts I've completed will come together: parsing the instructions from the JSON file, measuring & keeping track of weight and moving between steps of the recipe.
- Design and build a better weighing scale


Top Comments