

Goals for this Blog
Whilst I am still waiting for a case to arrive for the Raspberry Pi3. During this blog I will be going through the installation of Raspbian on the Pi3. Configuring parts of the OS I deem both an improvement in security and person preferences. The LCD display will be installed and software setup for it to function as I need.
Throughout my build process, I will be using the console to configure and construct SafeDegree
SD-Card Initialisation
After downloading the latest Raspbian Stretch image I use Etcher to install the image on to the SD Card, using a Mac I have found Etcher to be both reliable and easy to use. Check it out here
Before booting the SD Card, I prefer to enable SSH. To do this I simple create an empty file named ‘SSH’ on the boot partition of the SD Card. I will use ethernet on the Pi3 so configuring the wireless settings on the Headless Pi will not be required. I will go through the procedure for enabling WiFi on a headless Pi in a later blog.
First Boot
Being a Headless Pi, meaning there is initially no connected Display or Keyboard / Mouse. I only connect an ethernet cable, insert the SD Card and finally connect the power. Fingers crossed the Pi lives.
After the Pi has booted for the first time, I always start by updating the base software. So logging in using SSH and the default username of “pi” and password “raspberry”. Followed by a reboot
$ sudo apt-get update
$ sudo apt-get upgrade
$ sudo rbi-update
$ sudo reboot
Display Setup
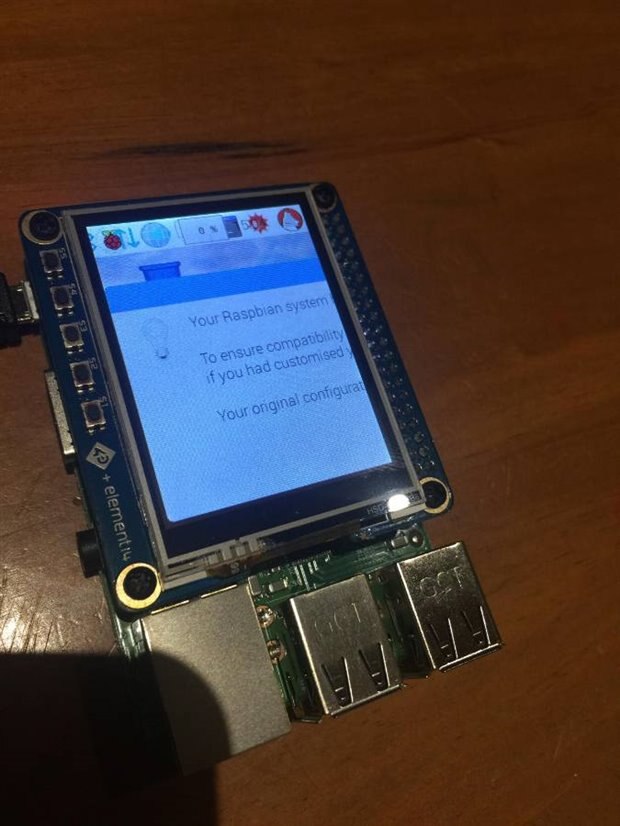
Next I need to get the display working. This proved to be quite easy. Firstly, and foremost, I decided I should probably get the manual and have a quick read through. Unfortunately when I first went to the 4DPI they were obviously experiencing technical issues and that was the end for the night. The follow day I downloaded the manual and followed the instructions and managed to have the display working in a five minutes.
$ sudo wget http://www.4dsystems.com.au/downloads/4DPi/All/4d-hats_4-9-35_v1.0.tar.gz
$ sudo tar -zxvf 4d-hats_4-9-35_v1.0.tar.gz -C /
$ sudo poweroff
Finally, I connected the display to the Pi, I used the standoffs and screws supply with the Sense Hat to help keep the display secure. And reapplied powered.
Yay, it worked!
Security Measures
To ensure I can always find my Pi, I configure it have a Static IP address.
$ sudo vim /etc/dhcpcd.conf
Scroll to the bottom of the file and insert the following two lines
interface eth0
static ip_address=192.168.100.20
Making sure the IP address you enter is not in use by another device on your network and is in an accessible subnet
Reboot, and log back in using your now static IP address.
Whilst you can simply change the default password, I like to create a complete new username and associated password. It just adds that little bit extra security - especially if you have you Pi connected and available to outside world.
$ sudo adduser mark
# Enter new UNIX password:
# Retype new UNIX password:
$ sudo touch /etc/sudoers.d/mark
$ sudo vim /etc/sudoers.d/mark
mark ALL=(ALL) NOPASSWD=ALL
The last couple of lines allows the new user to run sudo commands and without having to enter their password every time.
Next I recommend login in with the new user and checking both the ability to log in successfully and run sudo commands. Assuming all is successful, you can safely disable or delete the default pi user.
To disable a users account run:
$ sudo passwd pi -l
And to re-enable
$ sudo passwd -u
If you’re comfortable in not ever wanting the pi user, and have backed up any files
$ sudo userdel pi
Moving on, as another security addition, I utilise SSH Keys and disable password logins. Two reasons for this; firstly, it prevents password based brute force attacks and secondly it saves me having to enter a password each time I want to login using SSH.
To create a key pair, on my local machine (MacOS) I run
$ ssh-keygen
I accept the default storage location and leave the passphrase blank. Next I need to copy the public key to the Pi.
$ ssh-copy-id mark@192.168.100.20
Now I can login with having to enter a password. Finally, I disable password login from SSH.
$ sudo vim /etc/ssh/sshd_config
You will need to find the the line
#PasswordAuthentication yes
And change it to
PasswordAuthentication no
Save the file and restart the SSH service
$ sudo systemctl restate ssh
Conclusion
Well that is pretty much a wrap on the initial and basic setup of my Pi devices and in particular my SafeDegree Pi3 Master Controller.
Next time, I will begin the installation the the required software packages on the Master Controller and for those interested… in the future I will cover the configuration of Headless WiFi access - this will be based on the Pi ZeroW
-

genebren
-
Cancel
-
Vote Up
0
Vote Down
-
-
Sign in to reply
-
More
-
Cancel
Comment-

genebren
-
Cancel
-
Vote Up
0
Vote Down
-
-
Sign in to reply
-
More
-
Cancel
Children