


1. Summary
MCUxpresso IDE shall be normally used for FRDM-MCXA153 development board.
Software development environment setup, and example project execution start with validating hardware functionality by connecting a Type-C USB cable to the J15 interface; then importing the SDK_2.x_FRDM-MCXA153, configuring UART (with parameters like 115200 baud rate) to get started with this Arm Cortex-M33 coreboard. Here is how getting start up shall go.
2. Detailed
I. Hardware Basics & Initial Validation
-
Core Board FeaturesBased on the Arm Cortex-M33 microcontroller, the board operates at a maximum frequency of 96 MHz, with high-speed connectivity, serial peripherals, timers, analog functions, and low-power characteristics. It comes pre-loaded with an LED blinky demo for out-of-the-box functionality verification.
-
Hardware Connection & Testing
- Connection Method: Use a Type-C USB cable to connect the board’s J15 interface (MCU-Link USB) to a computer or power supply.
- Verification Phenomenon: Upon successful power-up, the RGB LED should blink at a steady rhythm, that is about 1 second interval.
II. Software Development Environment Setup
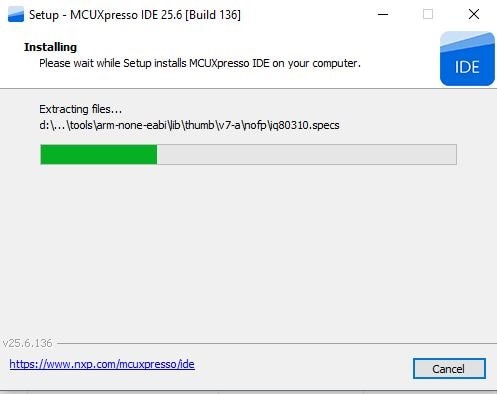
Install Mcuxpresso IDE and SDKs
After start up, the new version change with new UI
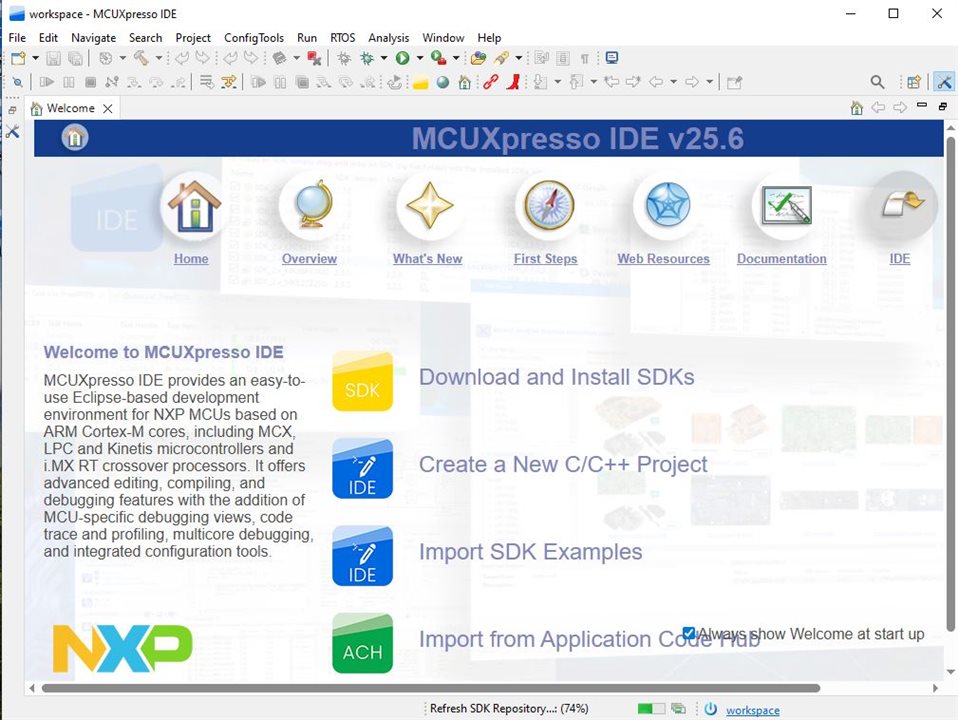
Then goes to deshboard page
| Tool Type | Recommended Version/Configuration | Core Purpose | Key Settings |
|---|---|---|---|
| Primary IDE | MCUXpresso IDE 11.8.0+ | End-to-end project creation, compilation, debugging | Supports SDK import and CMSIS-DAP probe connection |
| Cross-Platform IDE | VS Code + MCUXpresso Extension | Development on Windows/macOS/Linux | Requires importing local SDK archive (e.g., SDK_2_14_0_FRDM-MCXA153.zip) |
| Other IDEs | IAR Embedded Workbench 9.40.1+ | Development for Cortex-M33 core | Set debugger to CMSIS-DAP; target device = NXP MCXN947_core0 |
| Other IDEs | Keil µVision 5.33+ | Requires CMSIS device pack (MCXNXXX_DFP) | Select J-LINK in debug options |
III. SDK Import & Project Workflow
-
SDK Acquisition & Import
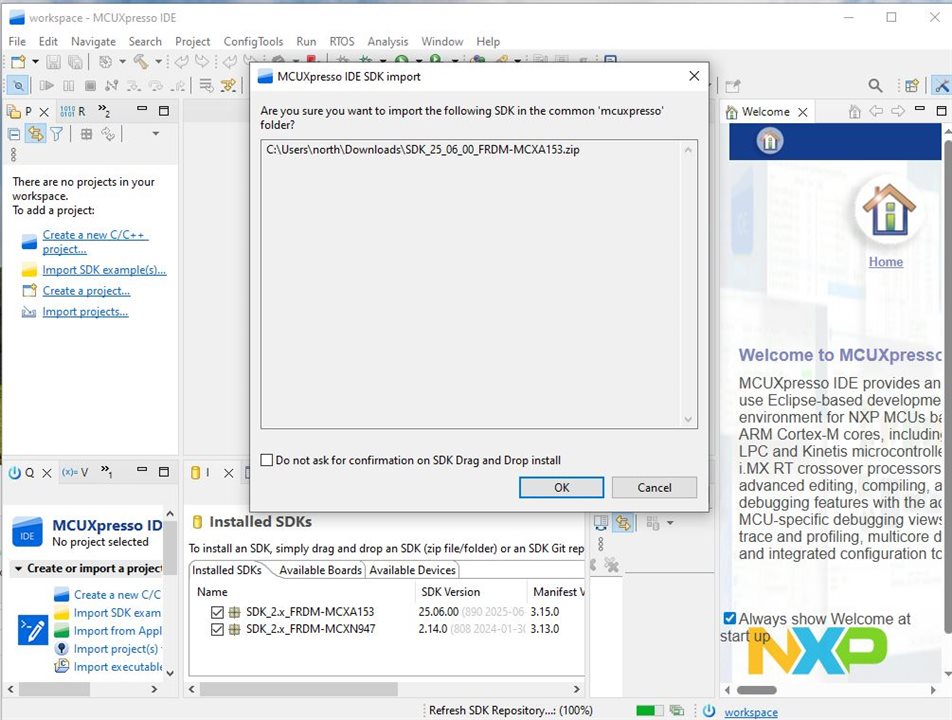
- SDK Version: Recommended SDK_2.x_FRDM-MCXA153 which must be unzipped in advance.
- Import Path: In the IDE’s "Quickstart Panel", click Import SDK example(s) and select the FRDM-MCXA153 board and corresponding SDK.
Drap and install the sdk automatically
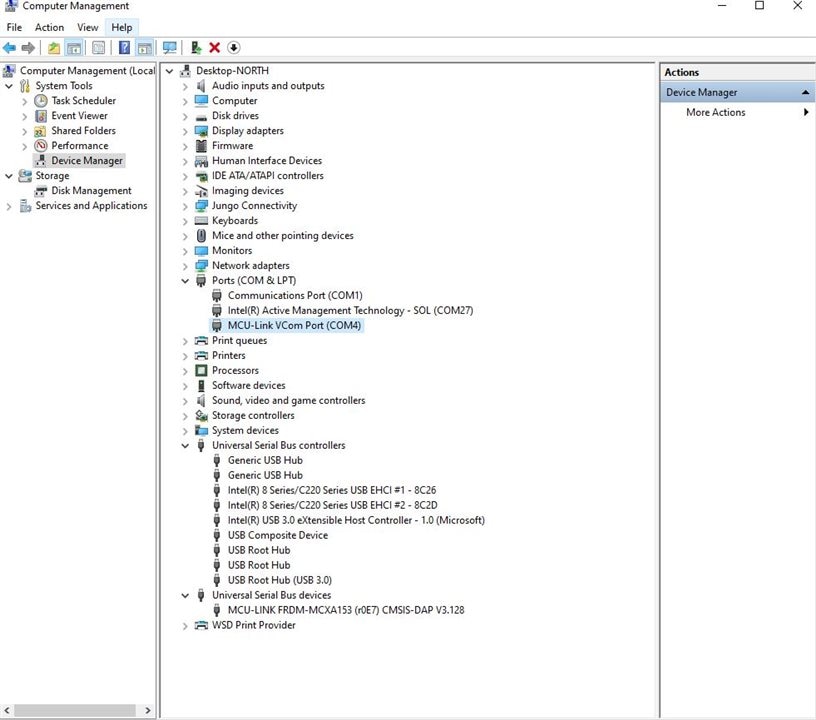
Plug in the board, the CMSIS-DAP driver is installed automatically and virtual port is added.
3. MCUXpresso IDE Project Operations
| Step | Details |
|---|---|
| Project Selection | Expand demo_apps to select hello_world, or expand driver_examples to select ctimer_match_interrupt_example |
| Configuration | Check UART as the SDK Debug Console (replacing default semihosting) |
| Project Build | Click the "Build" button; success is indicated by 0 errors and 0 warnings in the console (takes ~15 seconds) |
| Program Download | Click the "Debug" button, select the MCU-Link CMSIS-DAP probe, and the program will be automatically downloaded to the board |
| Result Verification | Open the terminal (configured as per the table above) and view output like "Hello World" after running the program |
The power up of FRDM-MCXN236 is similar with with blink as out-of-factory demo.
It is well and ready to code .

