Table of contents
Abstract
The aim of this project is to develop a 3D printed exoskeleton assisted device for individuals with minimal muscle activity using the TMC7252 eval kit. I got inspiration from other exoskeletons that rely on myoelectric sensors like MyoWare to detect muscle activity. For this design, I will use the TMC7252 motor driver with its StallGuard and Tricoder feature to enable precise detection of small muscle movements and assistance during limb motion.
Project
Introduction
The aim of this project is to develop a 3D printed exoskeleton assisted device for individuals with minimal muscle activity using the TMC7252 eval kit. I got inspiration from other exoskeletons that rely on myoelectric sensors like MyoWare to detect muscle activity. For this design, I will use the TMC7252 motor driver with its StallGuard and Tricoder feature to enable precise detection of small muscle movements and assistance during limb motion. I will evaluate the system by accessibility, cost-effective, and efficient solution for mobility assistance. The exoskeleton is designed to help users regain mobility by amplifying weak muscle activity, providing support for rehabilitation, daily tasks, or improving independence for individuals with conditions such as muscular dystrophy, stroke recovery, or other neuromuscular disorders.
The Kit
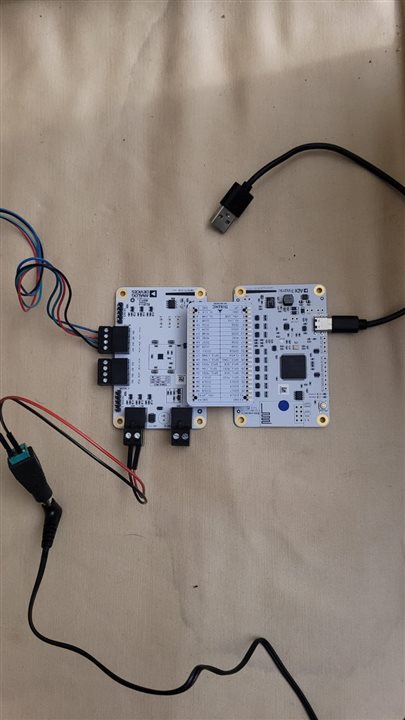
The TMC7252 is a highly efficient dual-channel BLDC (Brushless DC) motor driver developed by Trinamic Motion Control, designed for precise motor control in applications requiring accurate feedback and smooth motion. Two of my favorite features (and the main features for this project) is StallGuard and Tricoder, which allows the detection of motor load changes without the need for external sensors. This makes it an ideal choice for applications where physical feedback is required, such as in an exoskeleton-assisted device.
The kit came with a stepper motor by Trynamic (QSH4218-35-10-027) which will be the only motor used for this project because I have no others.

The installation
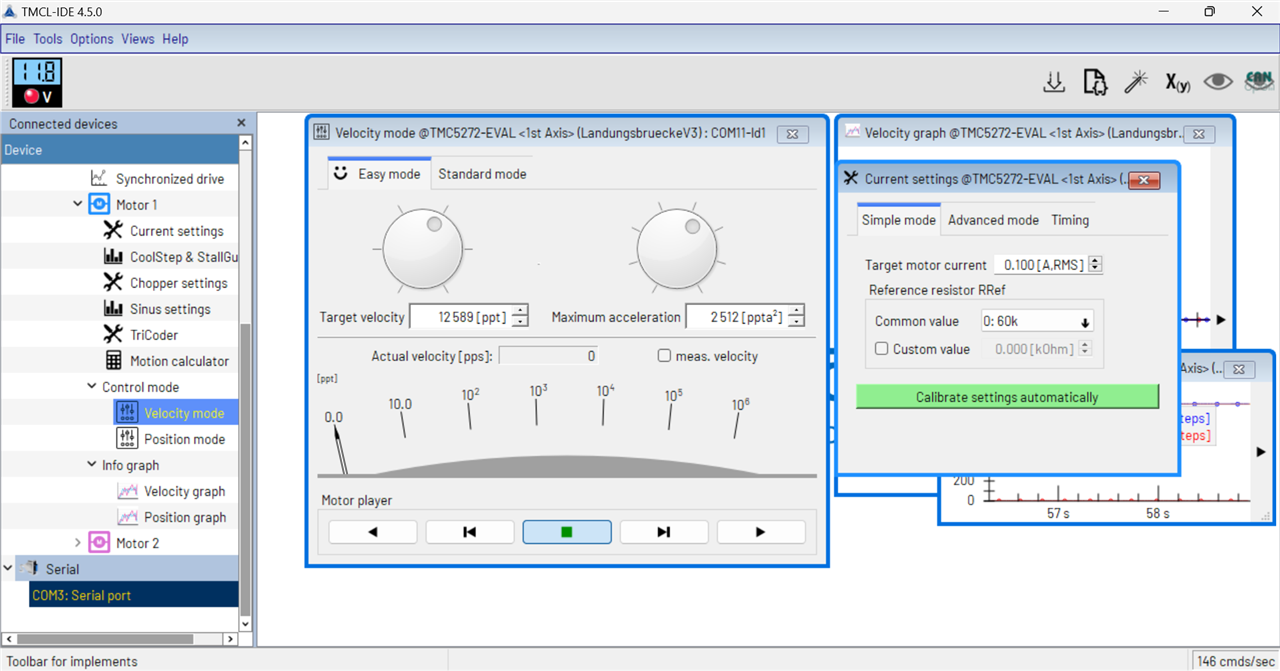
Mainly, I am using the TMCL-IDE software for testing the motor. Dougw already made a very good blog explaining the installation. I would only say I use 0.1A to control my motor and not 0.5A. If I use any current higher than 0.1A I would get an error message and there wouldn't be enough actuation for the exoskeleton.

The exoskeleton
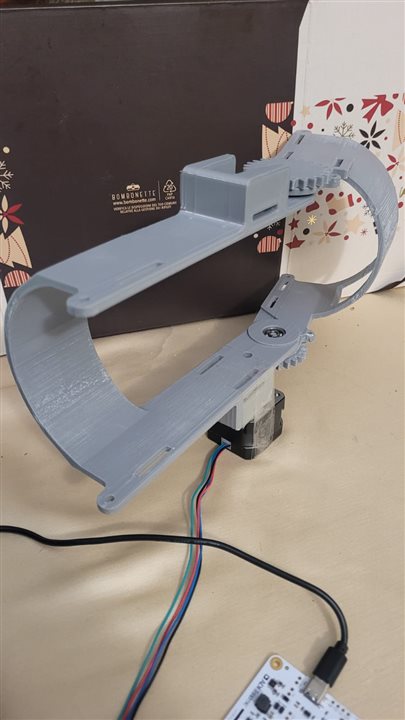
I have used the same exoskeleton as in the MyoAssisted exoskeleton for comparison reasons. The entire structure plus the gears are 3D printed using PLA+ except for the ball bearings. I have changed only the big gear design to fit into my ball bearings. Unfortunately, the stepper motor doesn't fit into the motor slot of the exoskeleton (it was designed for a servo motor). I just used some tape to fix the stepper motor until I change the design and print a new one. Before doing that, I am evaluating if I need to buy a different stepper motor. The one from the kit seems too big and heavy for a wearable technology.

First test and StallGuard feature
I had ran a first test using the basic velocity window from the TMCL-IDE to test the right speed and acceleration.
Following, I have test the StallGuard feature. For this test, I placed an object and as soon as the exoskeleton collided with it, it stopped. Since the system detected a stall, it stopped the motor but for my design I want to do the exact opposite. The motor should stay at rest and once it detects a movement, it should activate and follow the movement.
Unfortunately, at the moment the StallGuard feature can't trigger a movement. The Tricoder can be used instead. The TriCoder function is a sensorless standstill steploss detection feature making use of the motor back-EMF (BEMF). The BEMF decoder allows the detection of motor motion while the motor is disabled (i.e., no active current is driven into the motor coils). The setup for the Tricoder is explained on pages 90 and 91 of the datasheet.
Python code
Since I am a big fan a Python and not so much of GUIs, I am trying the PyTrinamic library. I had some issues with the installation. I have used pip install pytrinamic
to install the library in different environments (Anaconda, PyCharm, and locally via a Terminal) and computers. Everytime, I was having the same issues that was missing a library. I fixed that on my Anaconda environment. You need to go on the Github page and download the zip folder. Then, unzip it and copy everything inside your python library directory. For me it was: ~anaconda3\Lib\site-packages\pytrinamic. I have used this example code to run and it works (make sure the board is not connected to the GUI otherwise you will get a ConnectionError). I am now getting comfortable with the code and see how I can detect any changes to trigger a movement.

