


This post will mostly concentrate on the parts provided for this design challenge.
Unboxing
It was a fine day, the 22nd of November, when I decided to step outside for a bit and saw a box on my doorstep. All of a sudden, without any notification or warning, my kit had arrived!
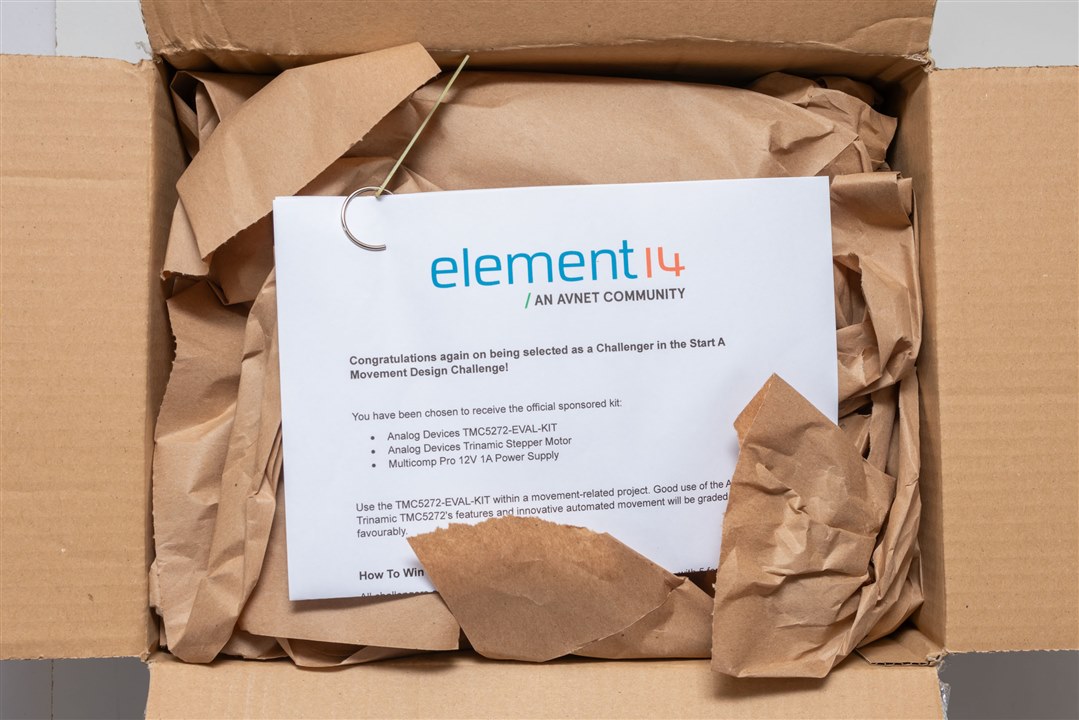
Opening it up, I was even greeted by a nice letter reminding me what this bundle was for and it even had a Raspberry Pi GPIO quick-reference keychain:
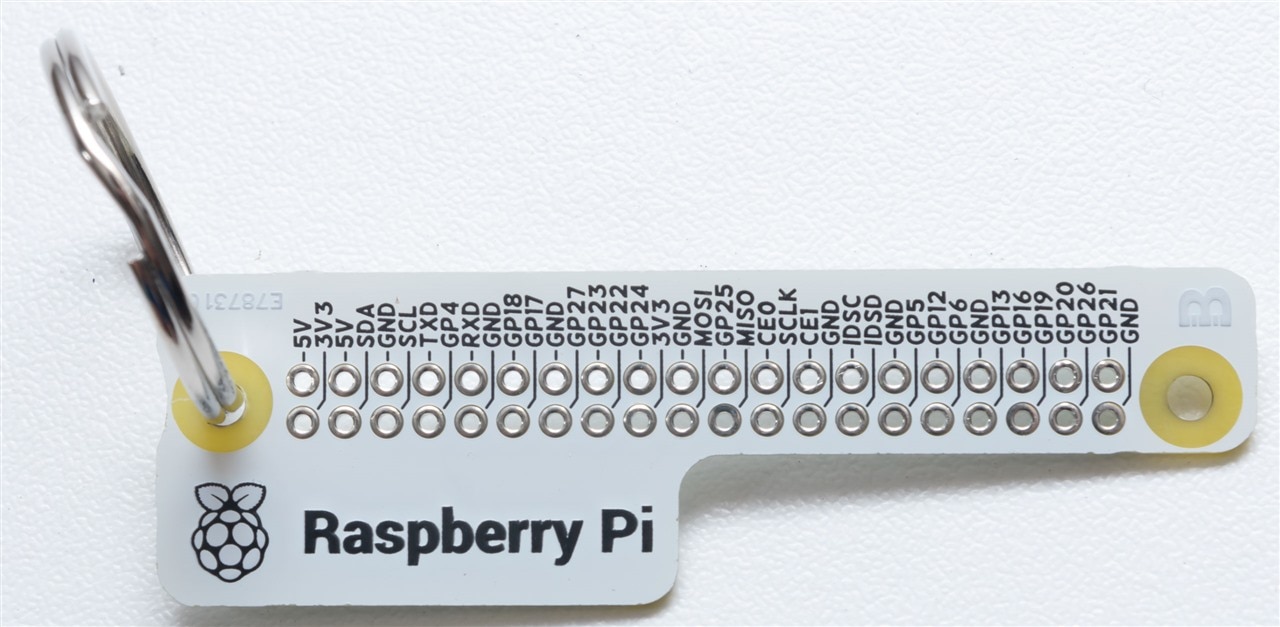
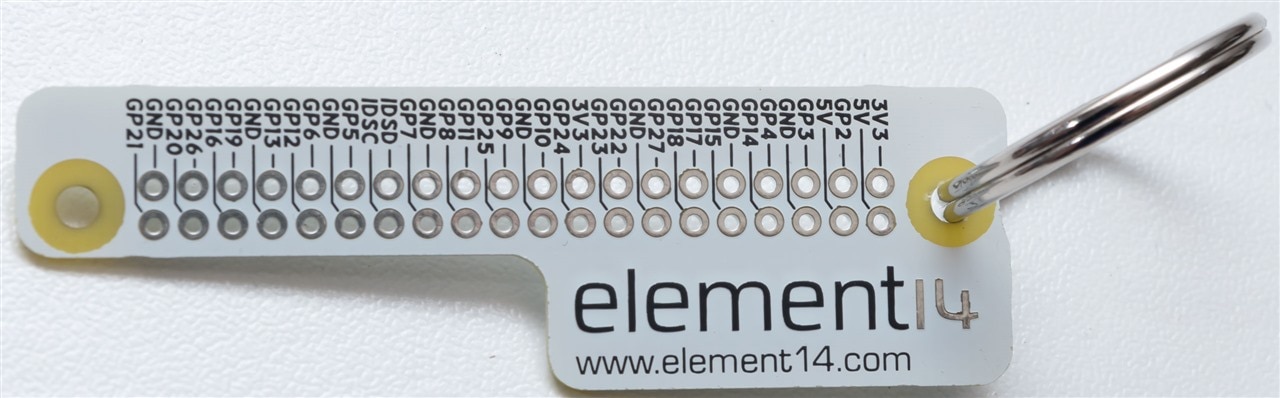
So I guess PCBs are great not only for rulers and front-panels ... they'll even do as keyrings.
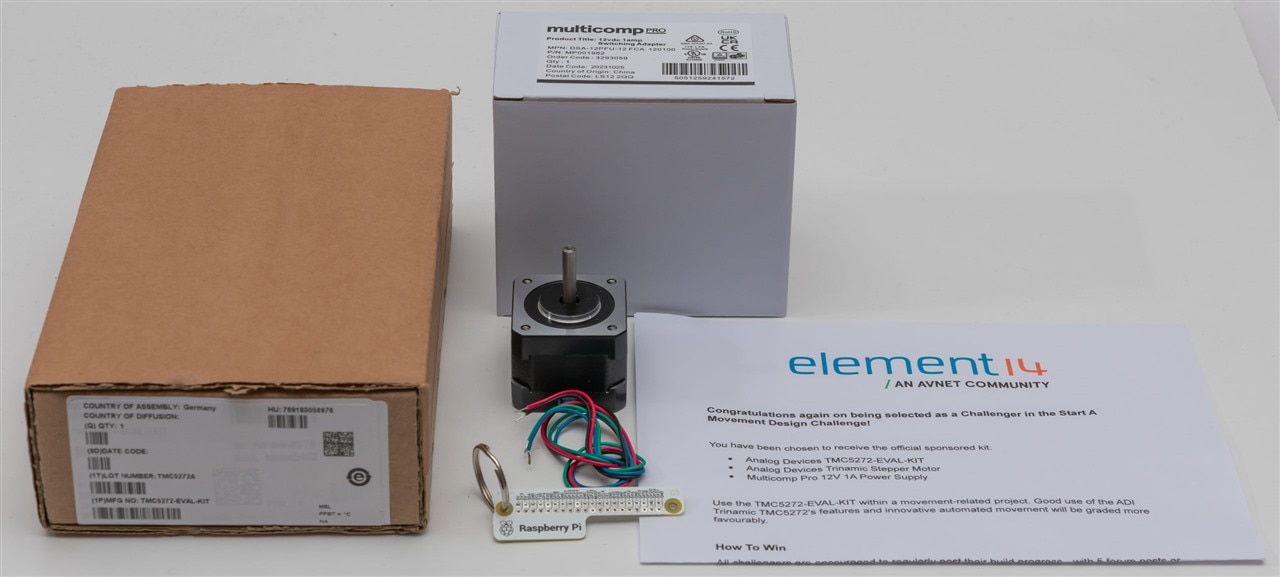
The main stars of the show are the electronics from ADI Trinamic on the left, the power supply (top) and the stepper motor (middle).
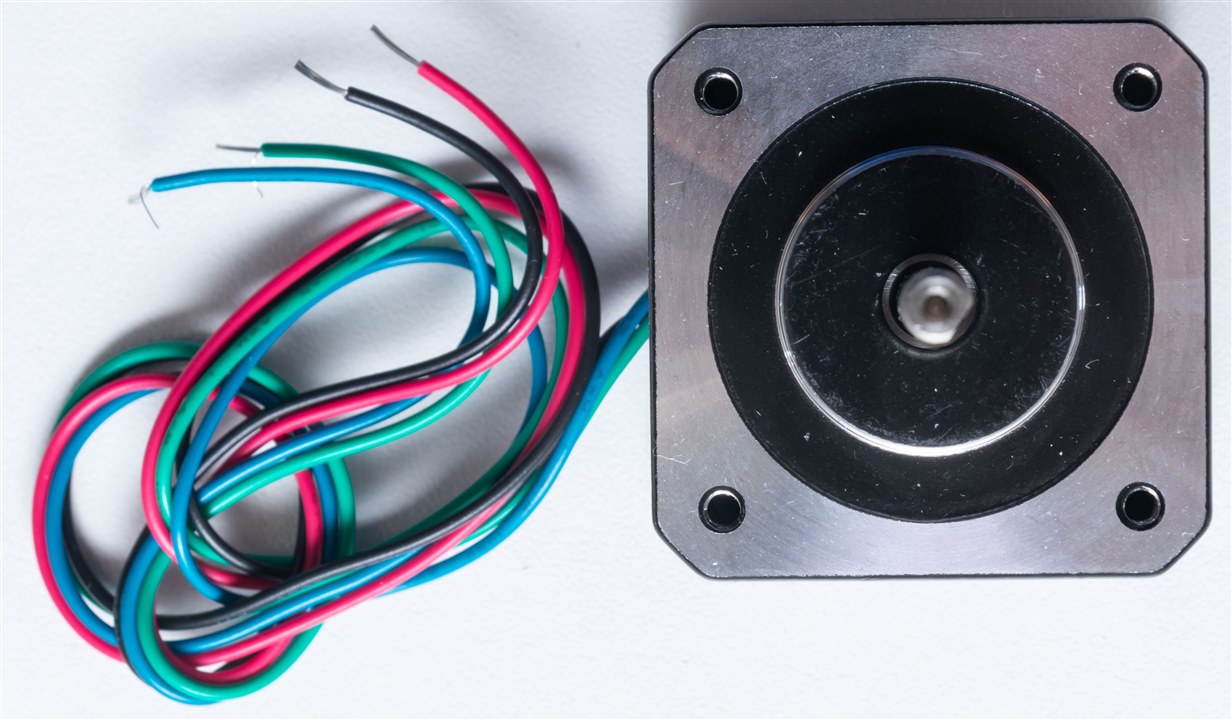
The stepper motor looks to be a NEMA-style unit, similar to what you might find on consumer hobby-level 3D printers (at least, visually).
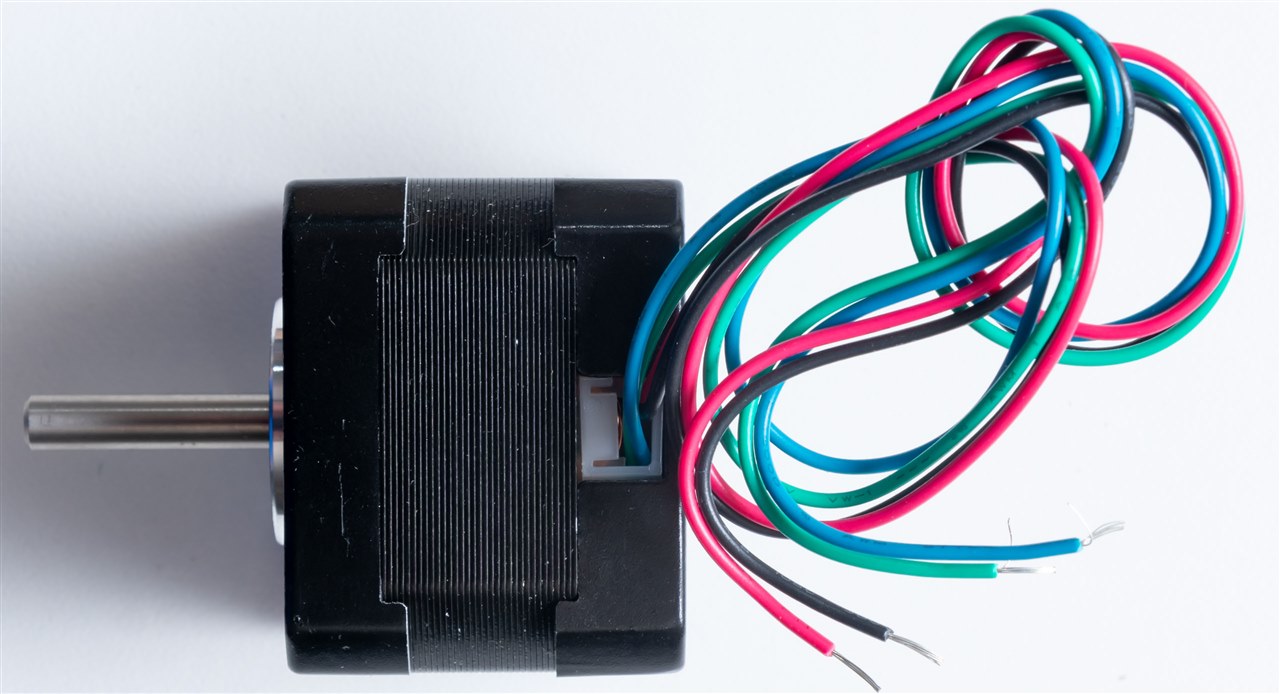
The four wires are coloured red, black, blue and green and emerge from one side of the motor housing. The windings inside are barely visible.
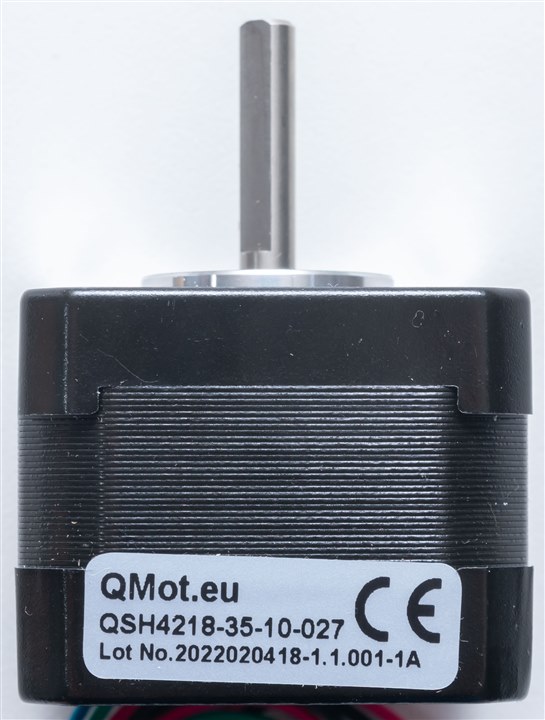
The motor is marked QMot.eu and has a model of QSH4218-35-10-027, which is apparently now an ADI Trinamic product. Based on the hardware manual, I was originally expecting a motor with an encoder, but this one doesn't have the encoder. Otherwise, it should be identical in functionality.
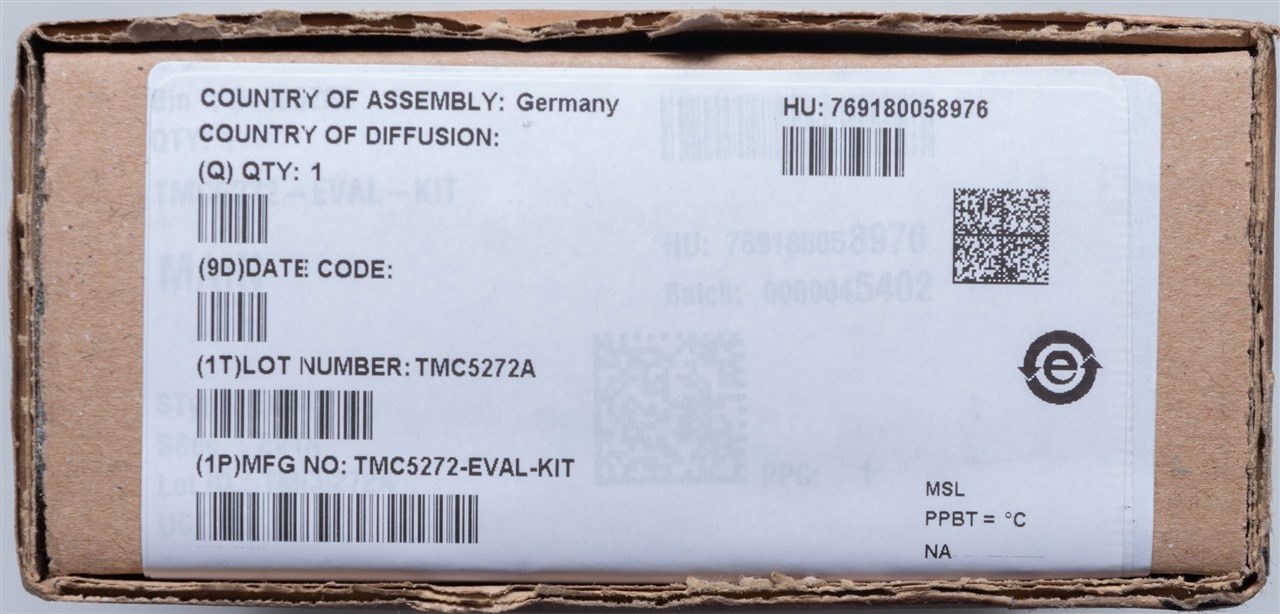
The TMC5272-EVAL-KIT comes in its own box, apparently assembled in Germany which is a rare find.
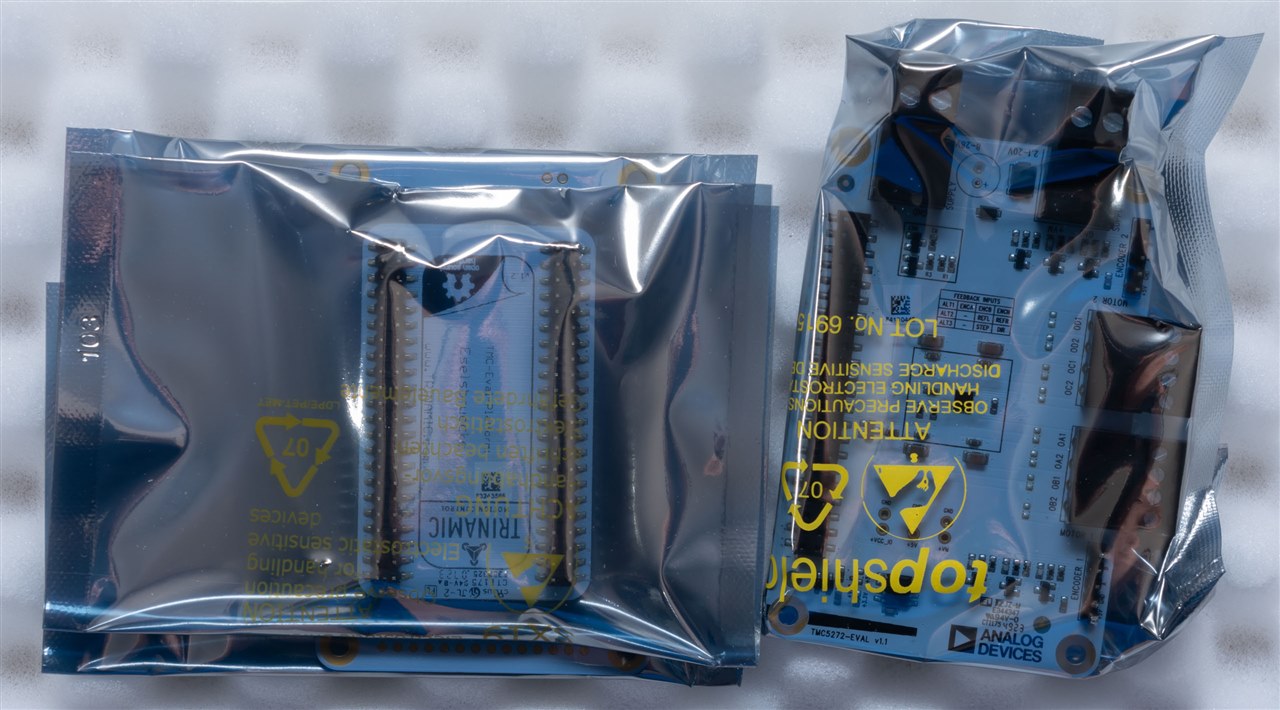
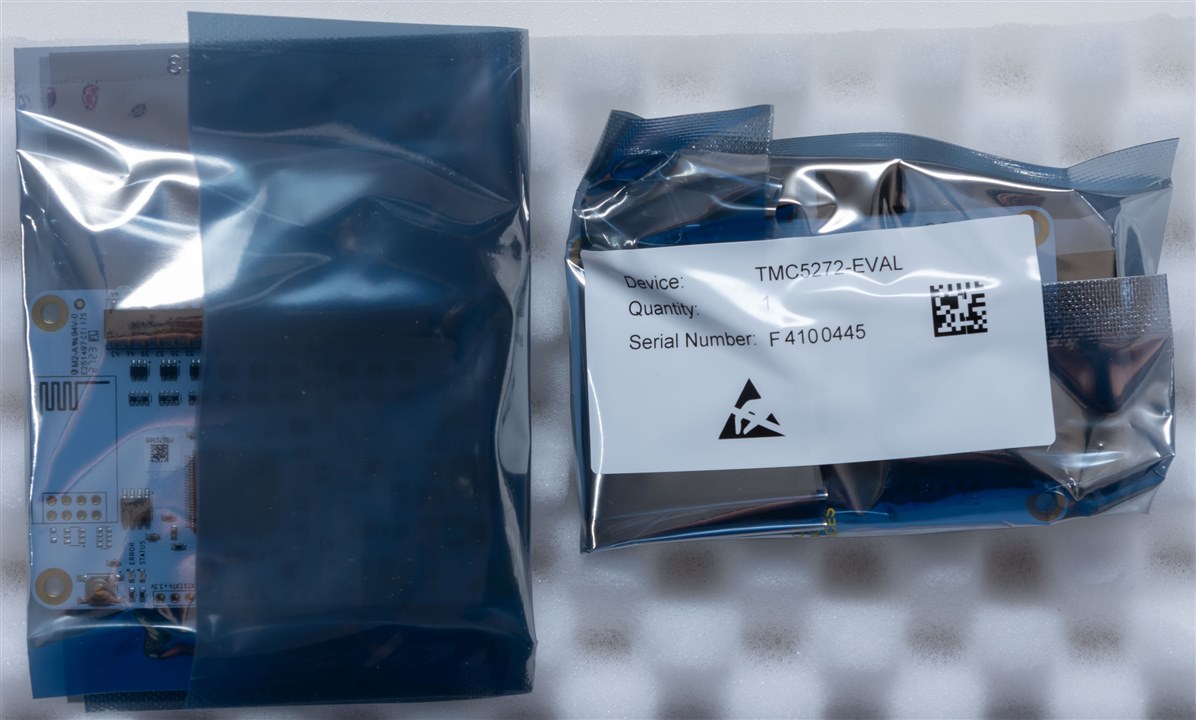
Inside, it seems three boards are packed into two static-shielding bags, carefully wrapped with egg-crate foam.
The three boards are as above - two of which have very decidedly-German names.

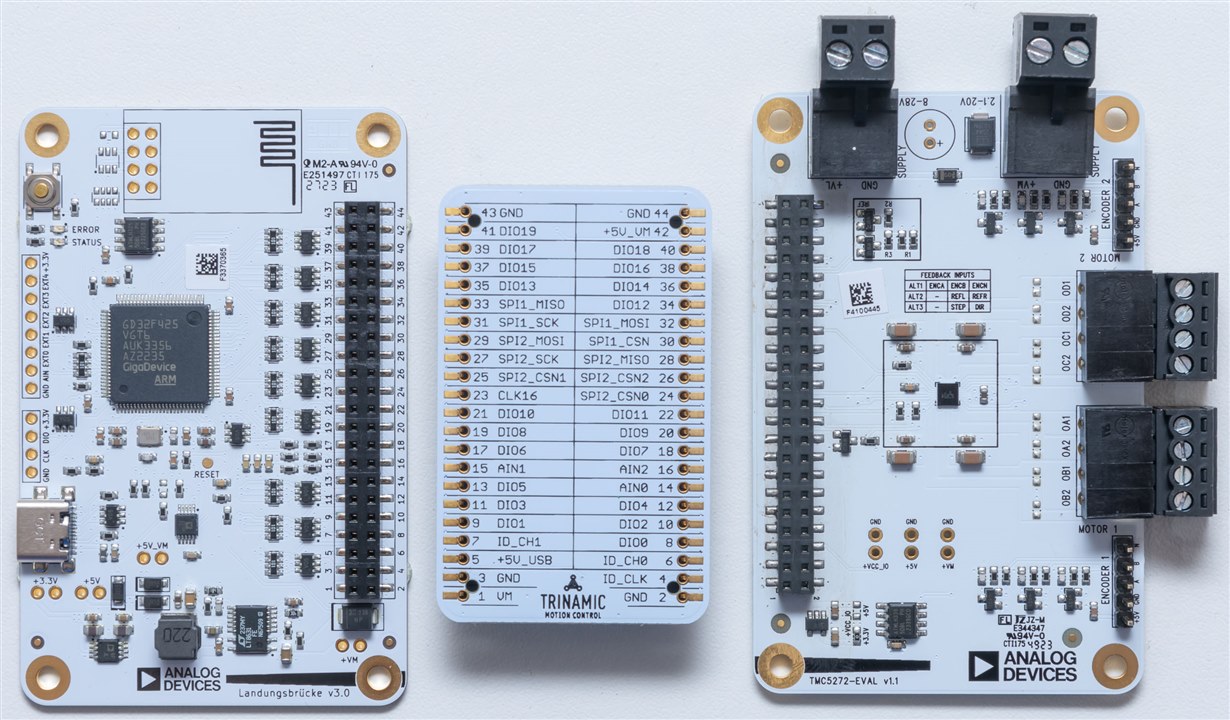
The board on the left appears mostly to be a computer USB interface board. It uses a GigaDevice ARM-based SoC to co-ordinate its operations and has a USB-C connection for data and power. There is a spot for an ESP-01 module for Wi-Fi connectivity, but this is not fitted. The name for this board? Landungsbrucke which translates into "landing bridge" or something similar. This is a fitting name, I suppose, given its function.

The board has a black silkscreen on white soldermask design and claims to be Open Source Hardware, which should mean that it's easy to modify and adapt for individual applications.
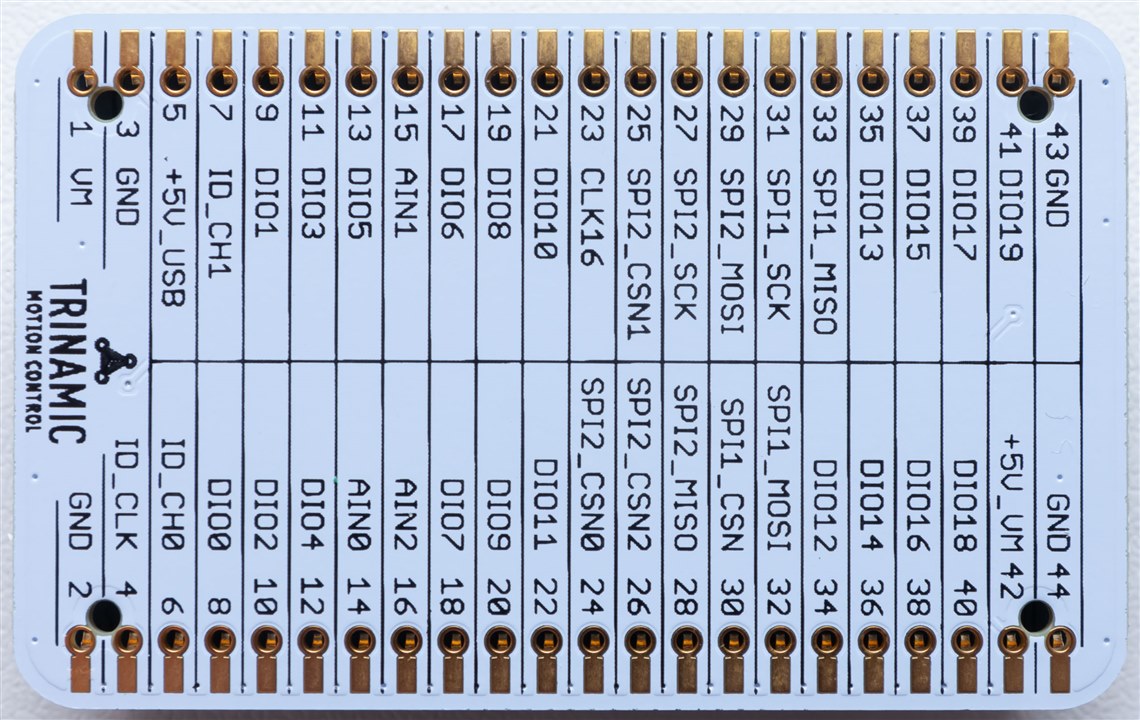
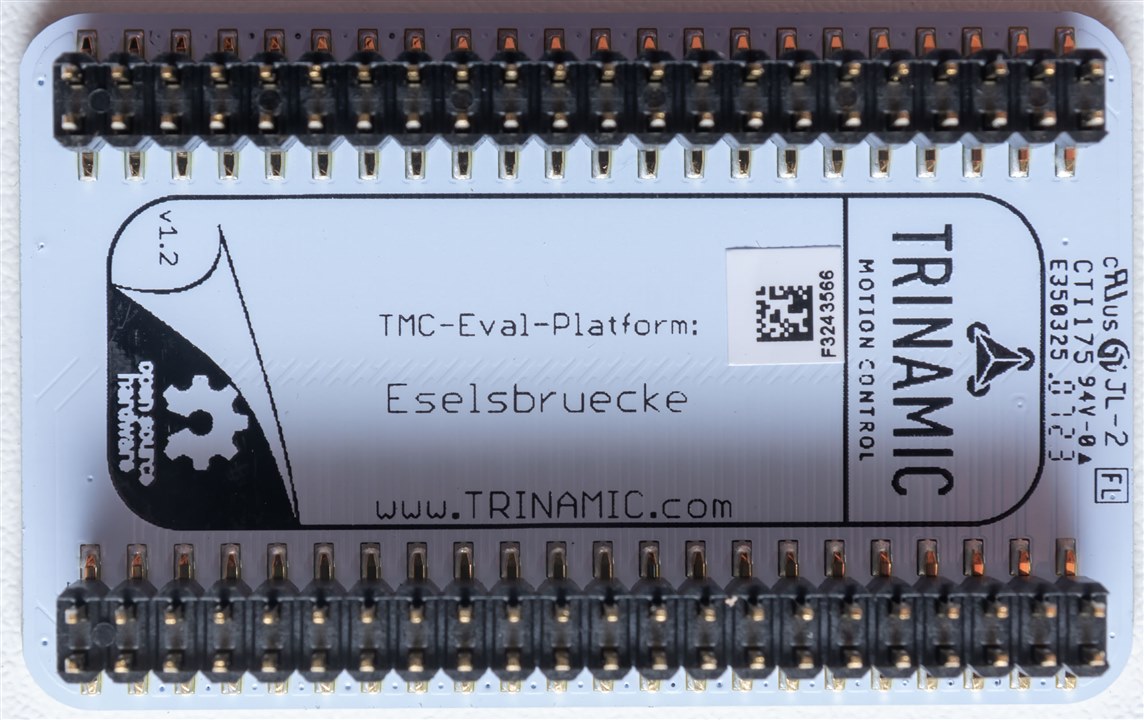
The next board is the Eselsbruecke which appears to directly translate to "donkey bridge" but also "mnemonic". It's function is a bridge for signals between boards, but perhaps the mnemonic function is the labelling of the signals. Or perhaps I'm just reading too deeply into this.
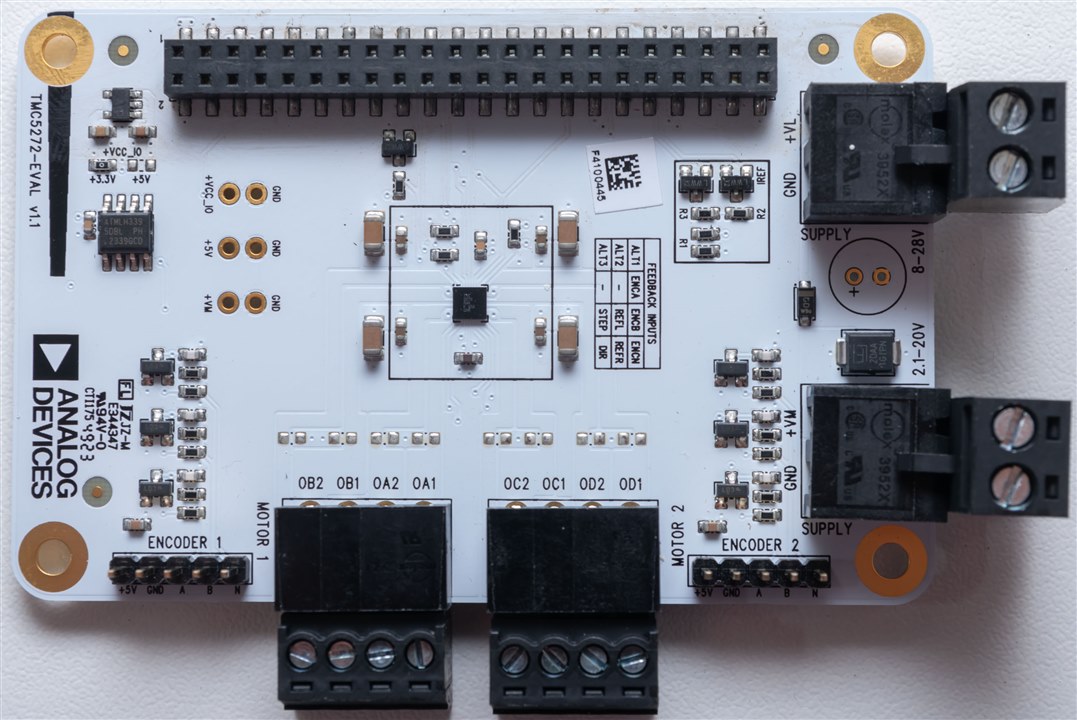
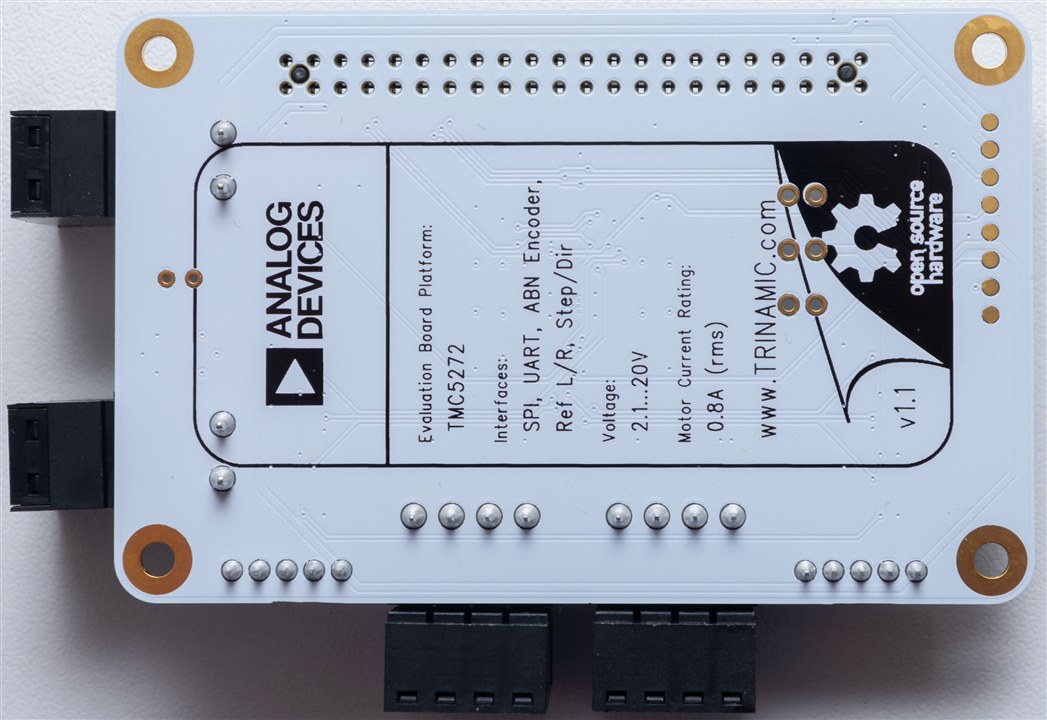
The final board is the stepper board itself, the TMC5272-EVAL. This particular board shows just how amazing the stepper driver chip is - just the small black square package inside of the black border. Apparently supporting two bipolar motors and two encoders, with up to 20V 0.8A drive. The size of the IC and the supporting components is just amazingly small.
I didn't detect any German-names on this board, which was a slight disappointment. But that's okay - I've already seen a lot more here than I normally do.
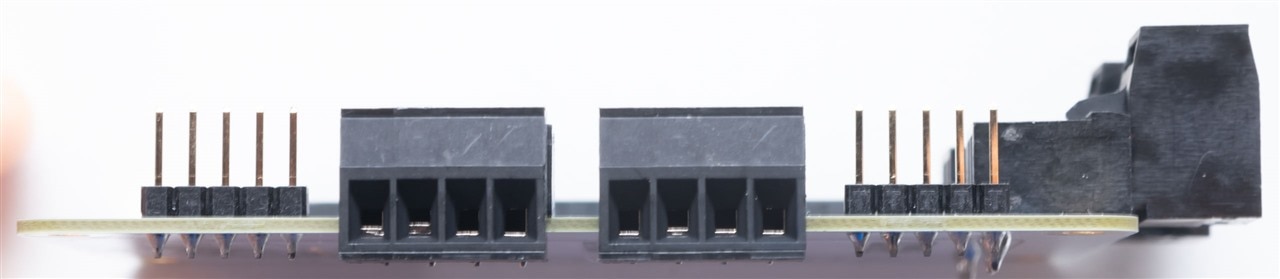
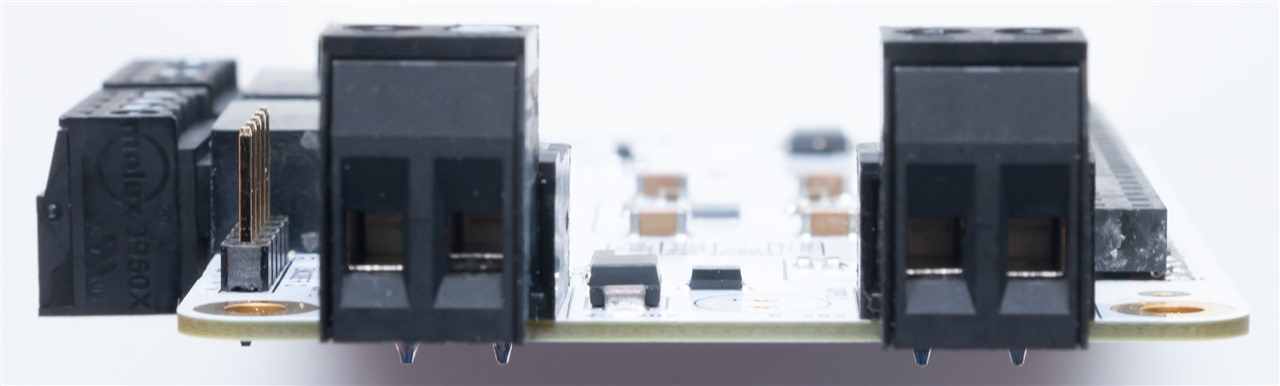
One thing I really appreciated about the board is the fact they didn't skimp out on the use of pluggable terminal blocks to make connecting and disconnecting connections easy. That being said, we are warned not to do this when power is applied - back EMF can be quite the risk!

I suppose this is how the three boards come together, with the headers lined up and pushed into place. One thing that annoys the perfectionist in me is just how the board edges and holes on the left board don't line up with the right board once they're snapped together. They're offset by a few millimeters. That won't affect the function, and seeing that these boards are not really intended for end-product usage, I suppose it's not a big deal as long as it doesn't annoy you when you're testing it.
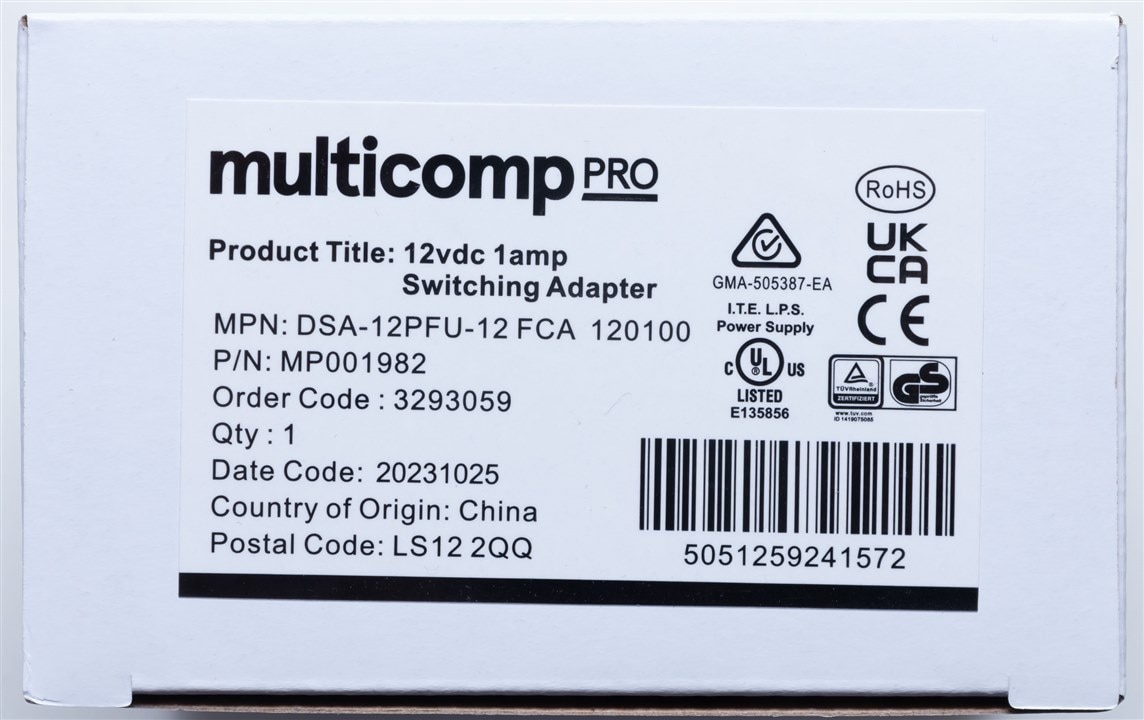
Finally, we come to the included 12V 1A DC power supply from Multicomp Pro, an element14 brand.
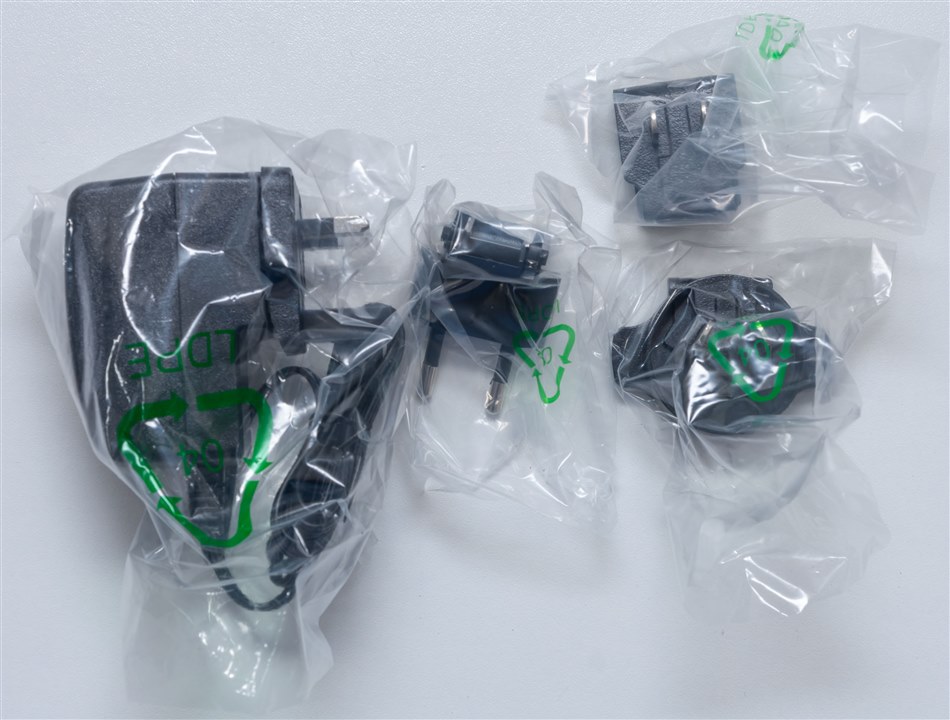
Opening it up, I already like the fact there are multiple plugs for different countries and Australia is included!
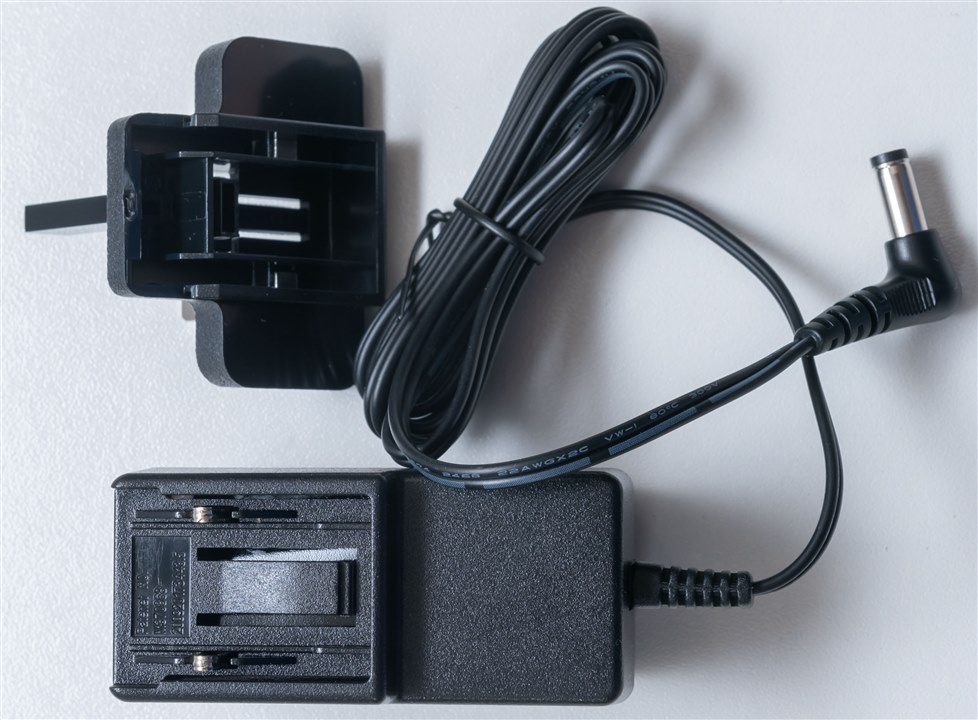
Swapping plugs was rather easy, pushing down to release a tab that allows the plug module to slide out and a new plug to be clicked into place.
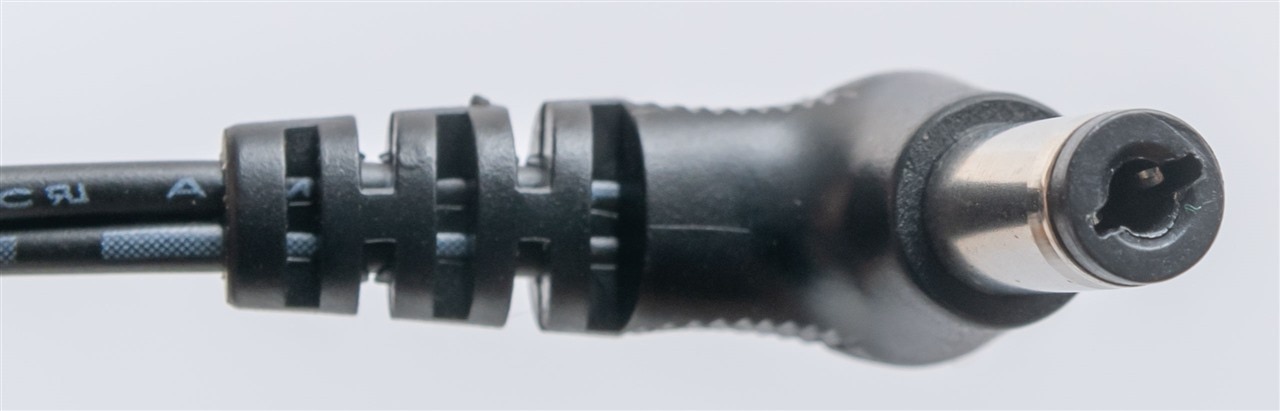
The output appears to be a 5.5mm outer diameter, 2.1mm inner diameter DC barrel plug, although this will need to be removed for use with the kit.
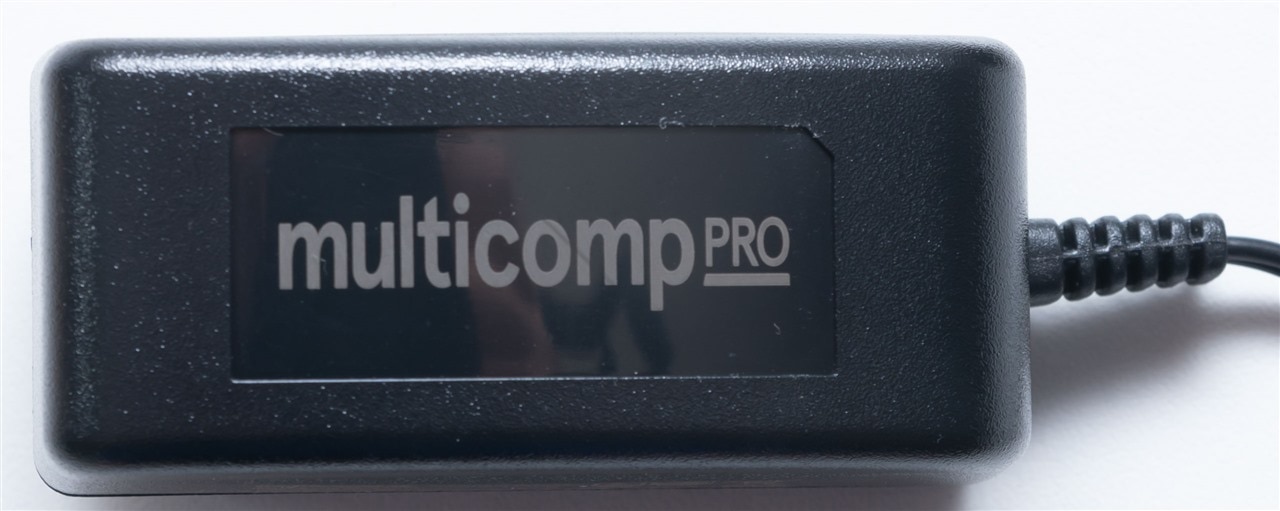
The branding is printed on the back side of the power supply, perhaps by laser etching.
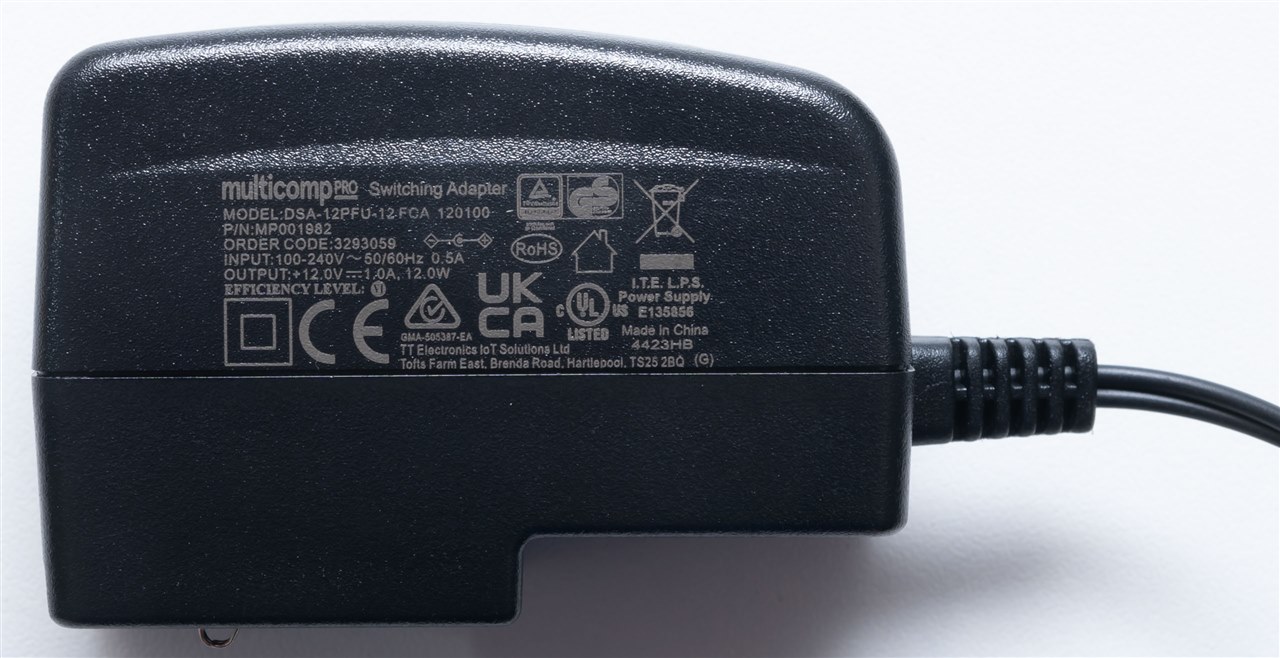
The specifications and ratings are printed on the side, along with all of the inclusions. The model is DSA-12PFU-12FCA 120100 with a part number of MP001982 and order code 3293059.
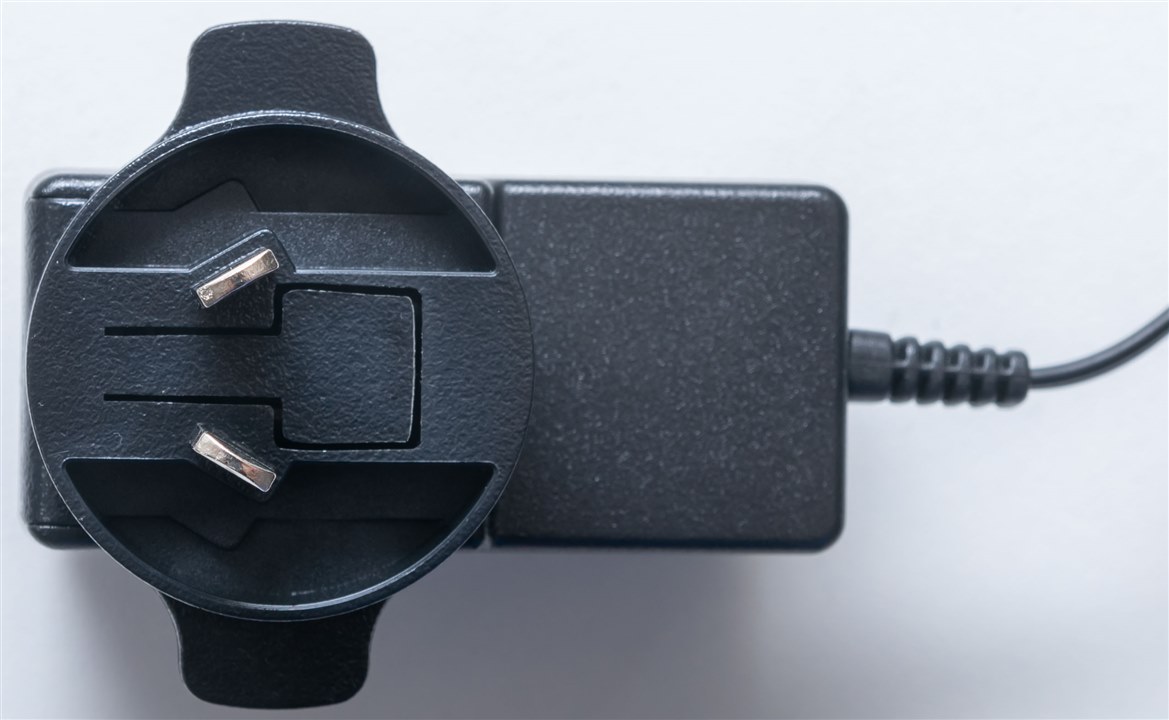
Once all assembled, it fits into Australian plugs fine, and those "wings" can be "clipped" to help it fit better side-by-side with other plugs. No complaints here.
Conclusion
As it can be seen, everything that was promised did arrive on time, although the stepper motor wasn't quite the one we were originally expecting as this one doesn't have an encoder on it. But I don't see that as a major issue for me, as I'm not looking to have high-precision microstepping feedback or anything like that. Aside from that, I guess I'll need to do a little testing and hook everything up.
P.S.
Originally, I was aiming for a "one-a-day" posting regime to try and catch-up, but alas, the pain of my ankle condition has meant that even that is not achievable right now. I did make a start on a tiny-bit more, but not by much, so we'll see how much further I get by the due date. As I had feared in my first posting, there's a good chance I won't make it to the finish. Nevertheless, let it be on the record that at least I tried.
