Welcome to my #4th blog of the Summer of Sensors Design Challenge. I shared my approach to making Smart Container Tracker and the unboxing for TAG You’re it, Challenger. We had configured the STEVAL-SMARTAG1 and connected it to the ST asset tracking app in the previous blog. In this post, we will see how to track SMARTAG using the web DSH-asset tracking web dashboard.
- Open the Asset-Tracking Dashboard on your browser. Log in with your ST.com account to track and monitor your devices.


After creating your personal device group in the web dashboard, register a new device to the asset-tracking cloud application. This can be only added using the ST Asset Tracking mobile application. Install the ST Asset tracking app on your mobile, and add the SmarTag 1 to register the device.
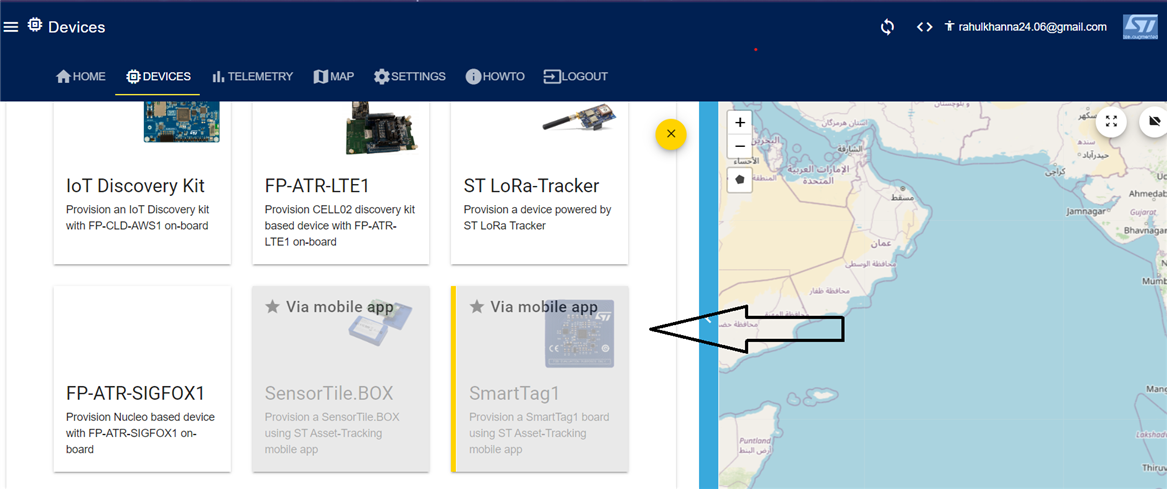
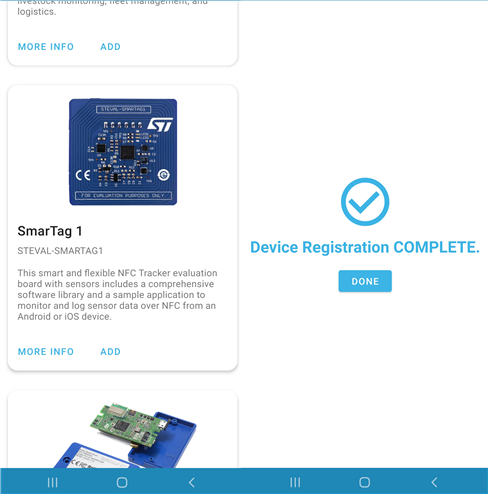
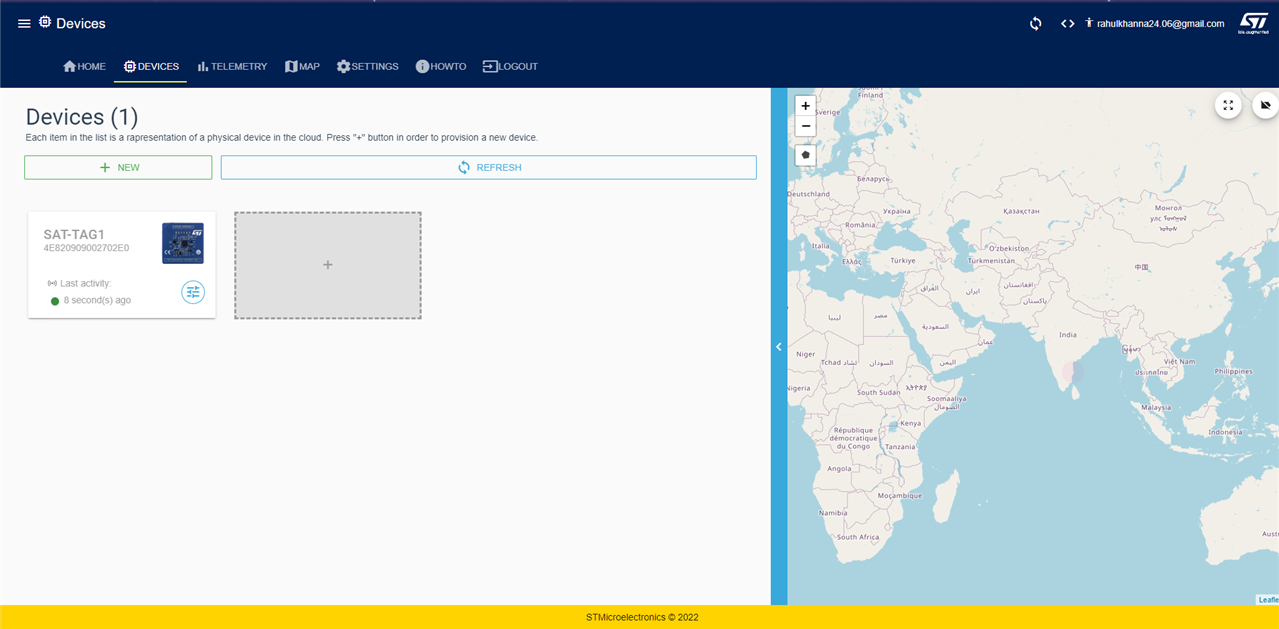
Now the new device is connected to the cloud application. You can check the device status and its network connection (a device is considered disconnected if it does not send data for more then 10 minutes). Select the Devices tab.
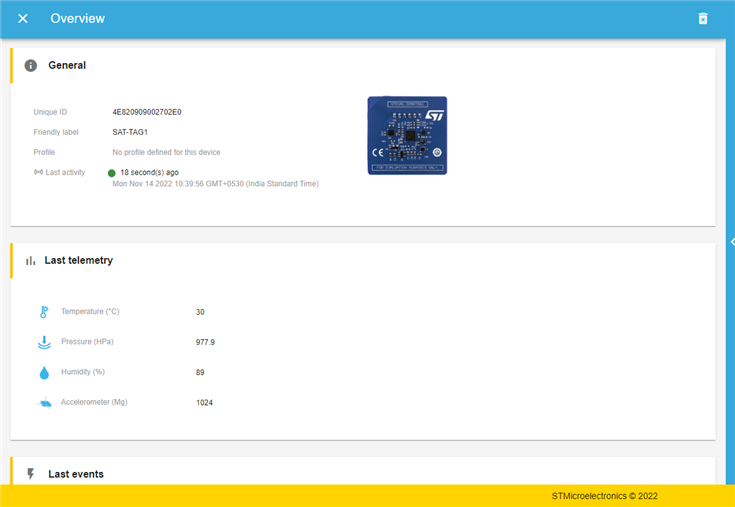
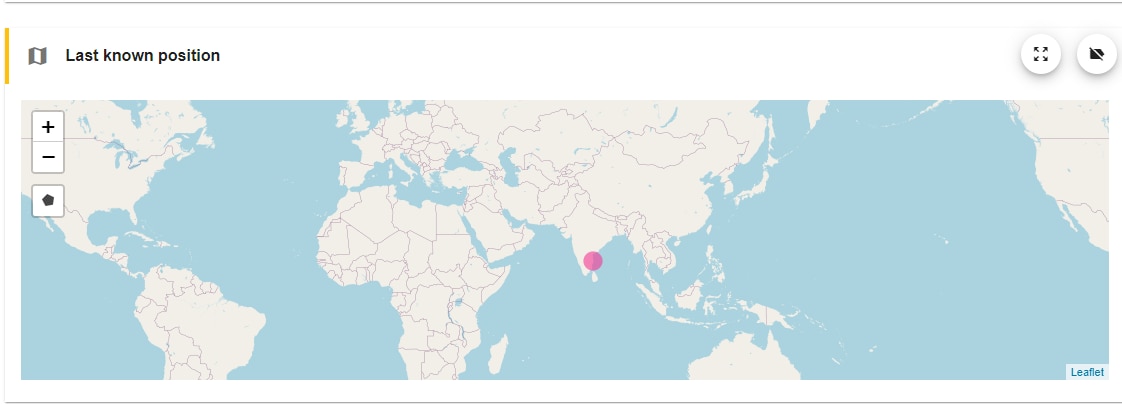
In the Devices tab, select the overview icon to see the device details and the last telemetry & events data. You can also find the last known position on a map view.
Open the MAP tab, and in the filters, select the device. Here, I've selected the SAT-TAG1 device, and choose a particular time window. view telemetry data sent by your devices. This will give us the exact location of the NFC tag. We have a geo-fencing option that triggers an alert if the tag is outside the geo-fence parameters. To draw a geo-fence for the selected device, click on the draw polygon option on the map. Draw a geofence polygon on the map as shown.
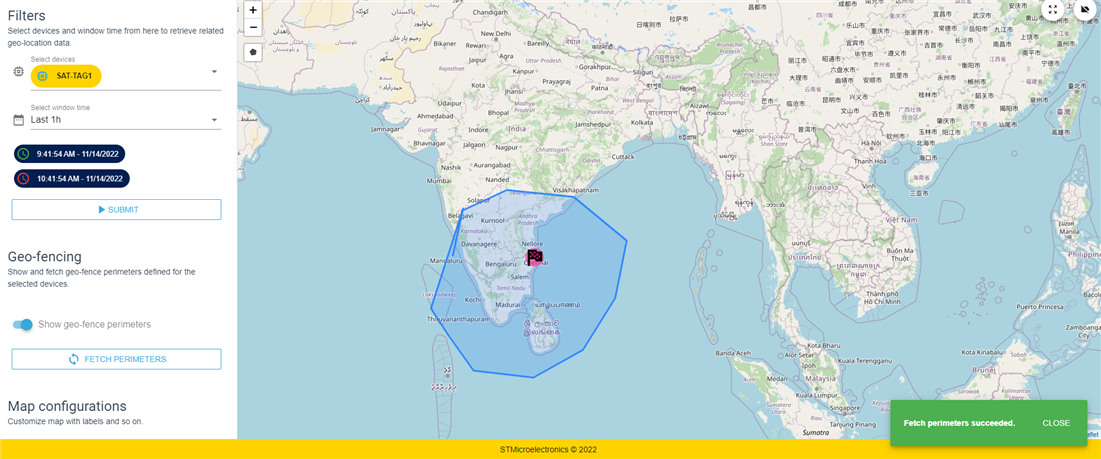
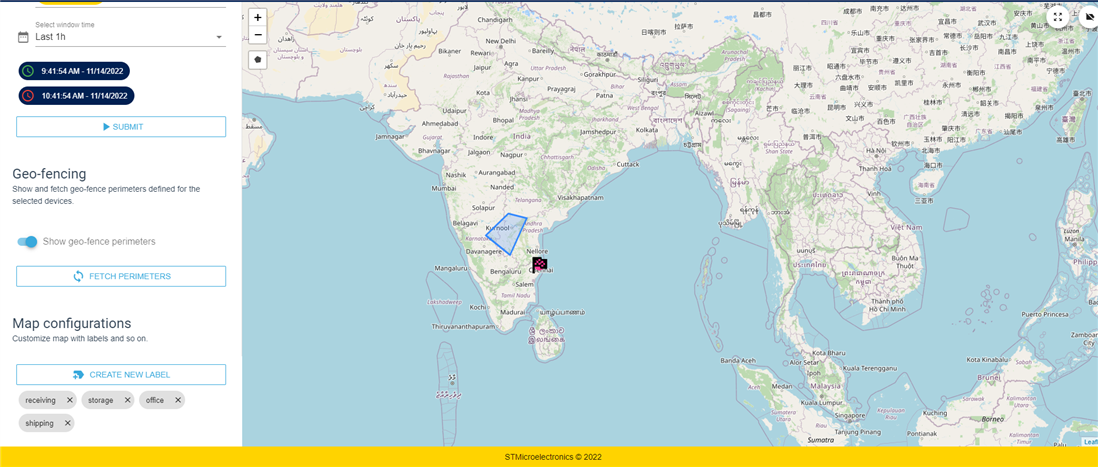
I've drawn two possible conditions
- The SMARTAG is within the geo-fence
- The SMARTAG is outside the geo-fence
When the tag is outside the geo-fence, this may be used to send an alert. We will make our final blog using this.
We have reached the conclusion of this blog. The SMARTAG1 has been set up to work with the DSTasset tracking dashboard. The enjoyable portion was reading sensor data and geolocating the SMARTAG. I hope you enjoyed reading my blog. To learn what was created with the STEVAL SMARTAG1, keep reading the following blog.
Thanks for reading.

