Challenger - ZMOD4510 - Outdoor Air Quality Sensor
Hello element14 Family,
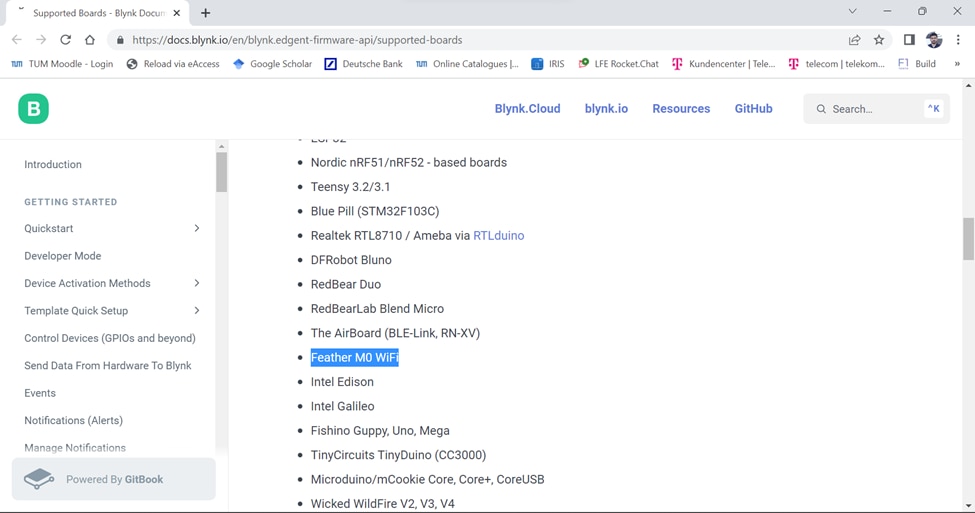
Let's investigate configuring the Blynk IoT Platform for ongoing reporting and tracking of the individual exposure to noise and air pollution. The Feather M0 WiFi board was listed under "Hardware that can operate with Static Tokens" when I initially looked to see whether it was supported.
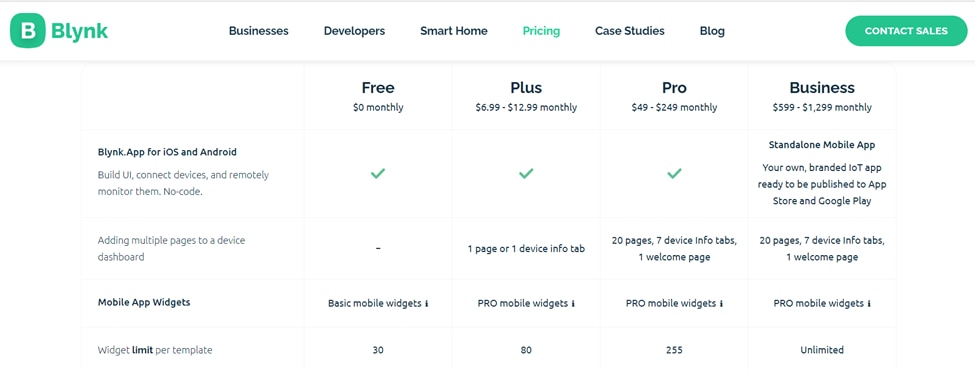
The free plan tier is enough for the current project presentation and experimentation, despite the fact that the pricing is somewhat steep:
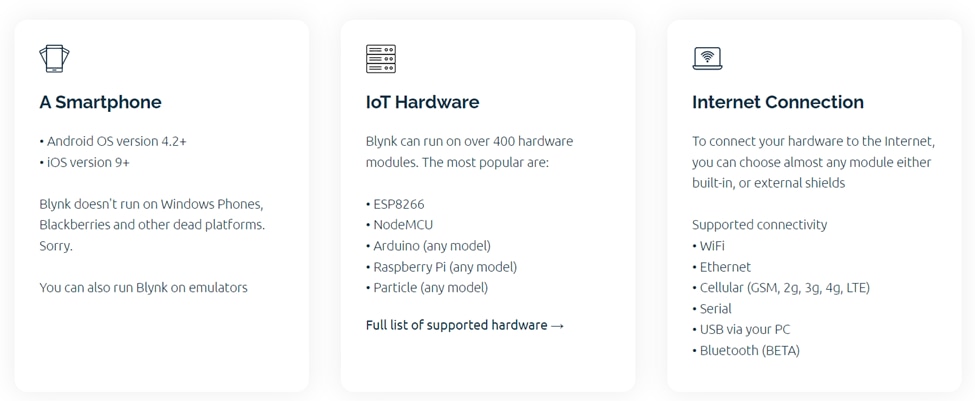
It does support connections through WiFi, cellular, and Bluetooth, all of which are relevant for the design options of the current device. Let's first verify the WiFi connection as we have the Feather M0 WiFi board integrated into the device.
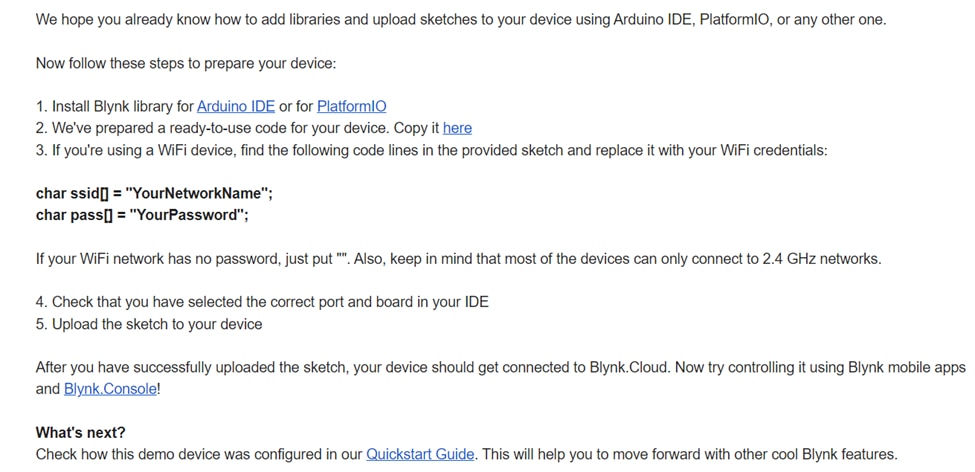
Upon registering on the website, I received an email with the following instructions:
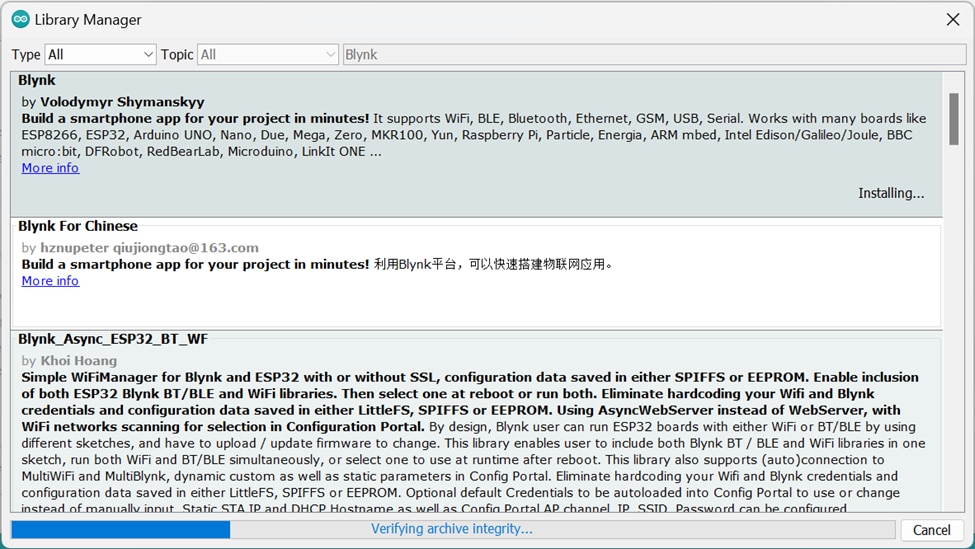
Step 1: Hence, I first installed the Blynk Library using the Arduino Library Manager
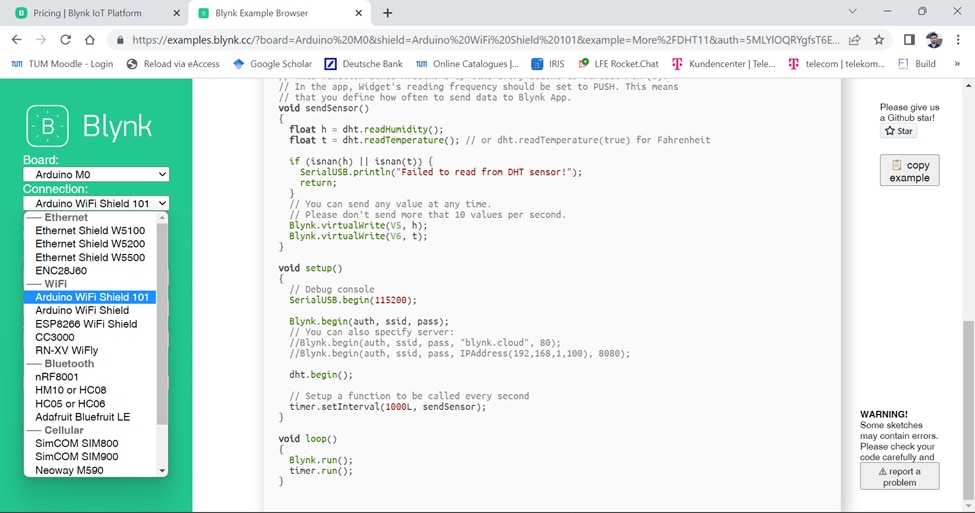
Step 2: I selected the M0 board, along with the WiFi Shield 101 as the connection (as suggested here: https://community.blynk.cc/t/adafruit-feather-m0-w-atwinc1500/11193/8).
I downloaded the Blynk IoT Android application and utilized the Quickstart Device Template on my phone (the majority of the customers seem to have voiced complaints about the pricing)
I used the Feather M0 sample application from the Blynk Library, which also includes the line below that is typical of utilizing the WiFi library with the Feather M0 WiFi, to execute the program.
WiFi.setPins(8, 7, 4, 2);
The reference example was contributed by a user who was waiting for some “official” support
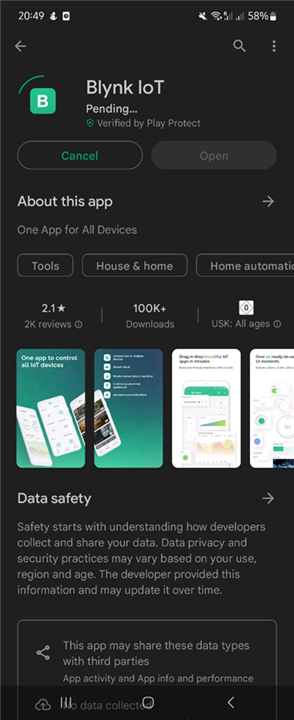
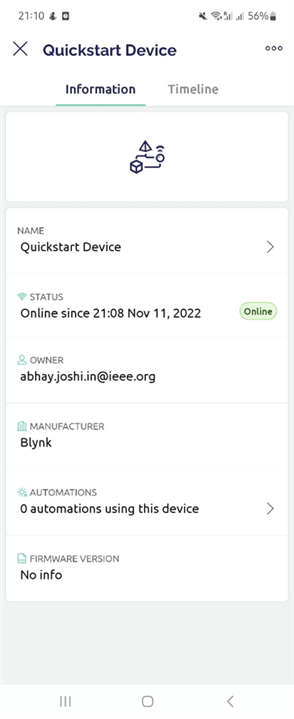
When I removed the DHT references from the example and only attempted to confirm the application's connection, the device's status instantly changed to "online" on the mobile app.
So, what did I do as soon as possible?
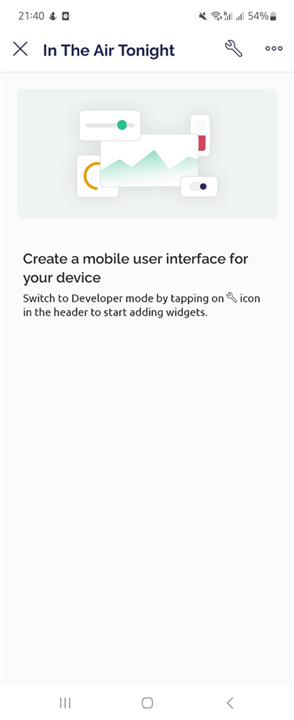
Just changing the name to – “In The Air Tonight!”
Now, all I have to do to incorporate the reporting values into my Arduino program is insert the so-called Virtual Pins, which the Blynk architecture employs to communicate data.
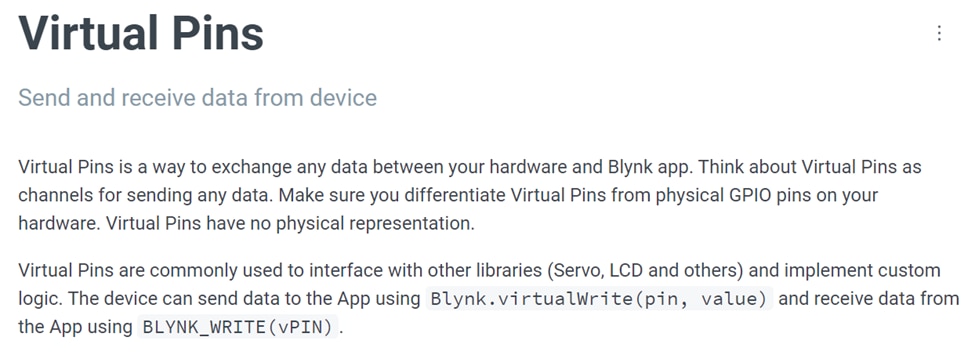
Blynk.virtualWrite(V5, sensor.readTemperature());
Blynk.virtualWrite(V6, sensor.readHumidity());

if (lib_ret == OAQ_2ND_GEN_STABILIZATION) {
    display.print(F("Warming Up... "));
    Blynk.virtualWrite(V7, -1);
}
else {
    display.print(algo_results.EPA_AQI);
    Blynk.virtualWrite(V7, algo_results.EPA_AQI);
}

Blynk.virtualWrite(V8, decibels)
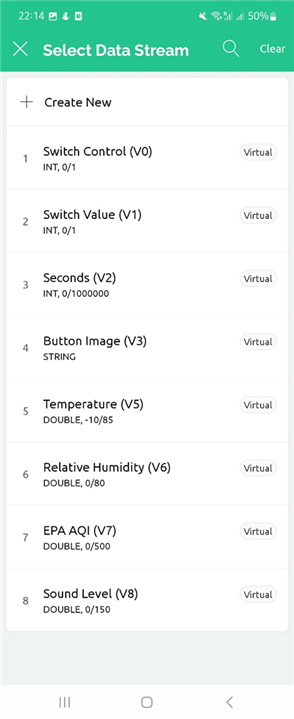
I now needed to set up equivalent calls on the mobile app. I added the data streams in a similar manner and mapped them to the appropriate widgets in the app (value displays for temperature and humidity, and gauges for AQI and sound level), along with a historical exposure chart.
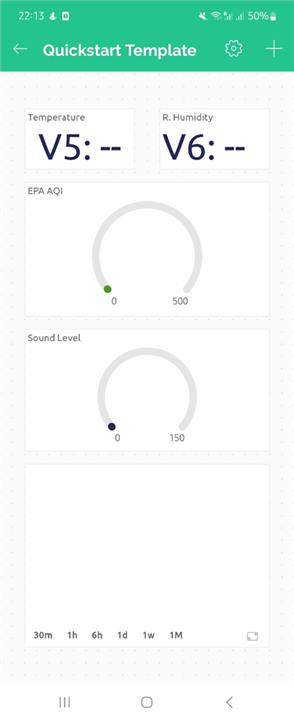
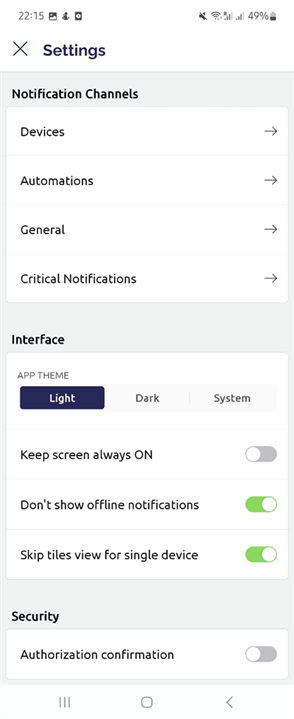
We can see the dashboard as soon as we launch the Blynk IoT application after leaving the settings page and selecting the "Skip tiles view for single device" option:
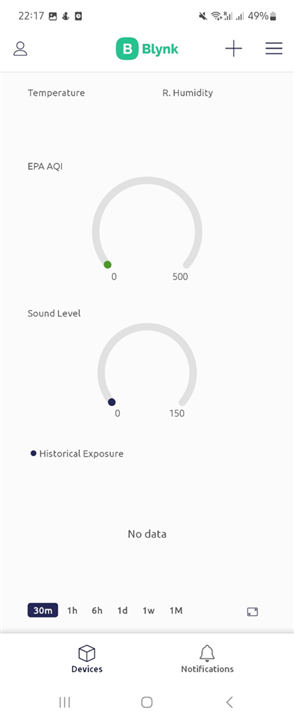
And now for the moment of truth: after turning on the device with the code incorporated, it immediately established a connection with the Blynk server, enabling us to view the data reported over time (indoors, outdoors, next to the kitchen, etc.):
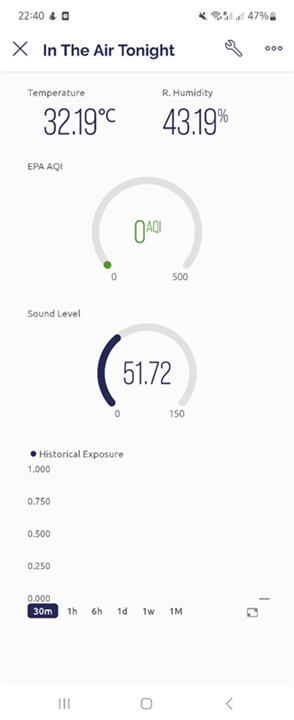
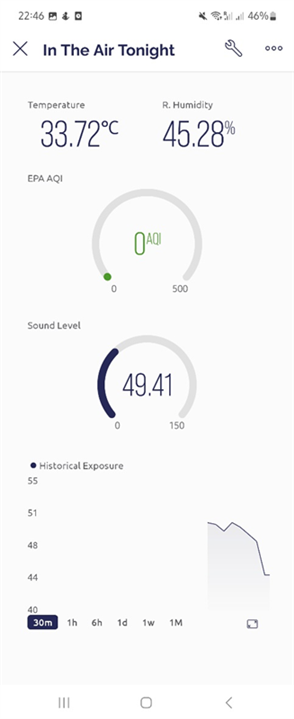
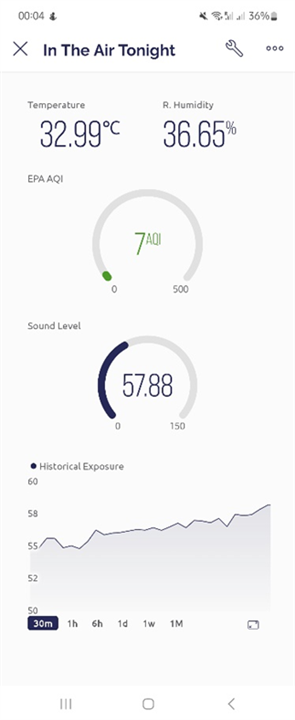
The historical exposure is reported for the Sound Level and we can add similar charts for AQI as well by simply mapping the incoming data stream on the virtual pin. Please note that for the Outdoor Air Quality 2nd Generation algorithm operation a response to ozone will be seen after a warmup time of 30 min
Using a BLE-based device that can easily log the values to the mobile application would now be the optimal answer. The BLE Serial Profile is used in the Blynk examples to implement the functionality (currently, the Adafruit Bluefruit LE is also supported). In due time, I'll look for a form factor board that supports the ZMOD4510 library in order to implement an integrated solution.
Thus, the gathered information may be processed to determine exposure levels and offer tailored advice -which we will explore in the next blog posts!
Next Blog Series: Summer of Sensors Design Challenge - In The Air Tonight – Blog #8 (Hardware, Software & Code)
