Title: Wearable Tracking Device for Miners
By: sunnyiut
| Previous Blogs | |
|---|---|
| 01: Introduction | 02: The Kit |
Design Challenge: Safe and Sound Wearables
Blog number: 03
The heart of this project is the TI MSP-EXP432P401RMSP-EXP432P401R
In this blog I am presenting my first experience with this chip and Launchpad.
I have demonstrated couple of example codes provided in the tool-chain of MSP432 support.
example codes: 1. out of box experience
2. gpio interrupt
3. PWM controlled LED brightness
IDE: Code Composer Studio v7.1.0
Resource: Resource Explorer [dev.ti.com/tirex]
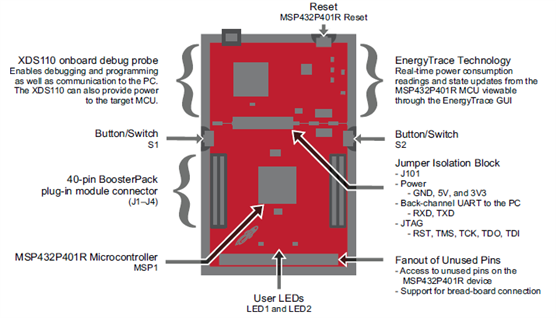
Launchpad Features:
There is no need to mention the features for this project blog post. But still I am highlighting some....
- MCU: MSP431P401R ARM Cortex M4F microcontroller
- 48MHz
- 40 pin booster pack plug in module connector
- Access to unused MCU pins
- two input button switches
- two user LEDs [red and RGB]
- Backchannel UART to PC communication
- both 5v and 3.3v power
- JTAG ports and emulator terminals are isolated and connected with jumpers
- onboard XDS110 emulator for programming, debugging and power supply
- EnergyTrace technology for real-time power consumption reading through GUI
image taken from TI MSP432 Launchpad User Guide
Example Code:
Description -
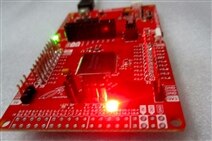
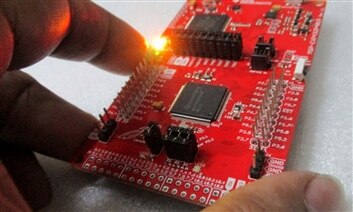
This example code comes pre-programmed. It turns the RGB LED on and off with default 60 pulse per minute.
Initially it's RED, but color can be selected by pressing the S2 switch.
S1 button switch can be used to blink the LED at different speed.
by pressing S2 different colors can be selected - green, blue, white, red
GUI - [could not connect in CCS v7.1.0]
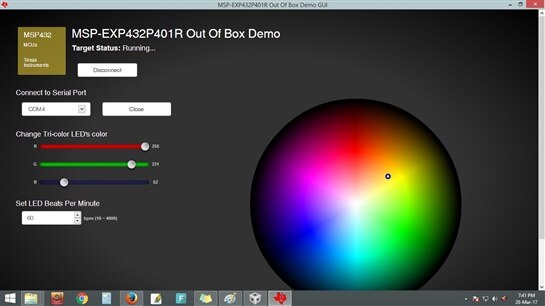
This example code comes with a GUI that communicates with the Launchpad through serial COM port. Blinking speed and color can be selected from the GUI.
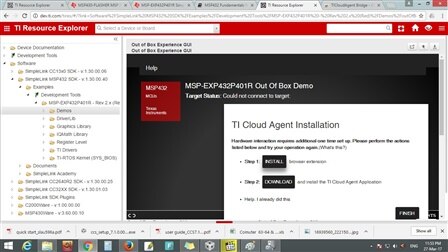
However, I could program and debug this example code from CCS v7.1.0 and the GUI gets started, but could not connect to the launchpad.
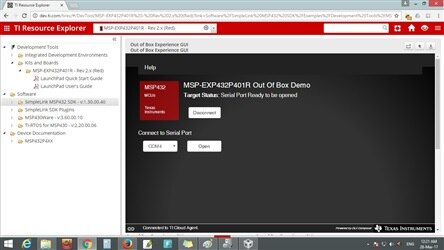
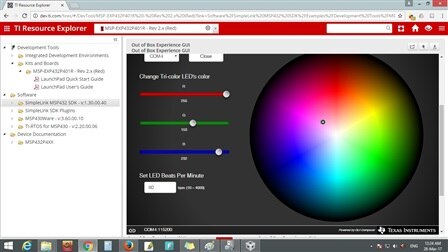
So, I tried to check out the online resource explorer and found that the GUI runs smoothly on both Chrome and Mozilla after installing the TI Cloud Agent addon.
CCS v7.1.0 shows 'connecting' but could not connect to Launchpad Resource Explorer runs the GUI on Chrome and asks for TI Cloud Agent Installation
GUI can connect to the device after installing TI Cloud Agent on Chrome GUI runs smoothly on Chrome to change blinking speed and color
Later on, I tried another approach to run the GUI offline from my desktop. I installed the 'software example' bundle from the product page of TI and found a standalone executable file for the GUI. This time it runs without any problem. However, I'll try to figure out whats wrong with CCS v7.1.0 later on.
Example code:
02 - gpio interrupt
Description -
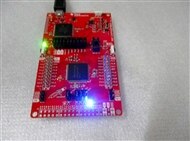
This example code takes input from button switches S1 and S2 and generates interrupt to toggle LED1 and LED2 [red] respectively.
LED1 turns on by default, LED2 turns off by pressing S1, LED1 toggles and turns off by pressing S2, LED2 toggles and turns on
Example code:
03 - PWMLED
Description -
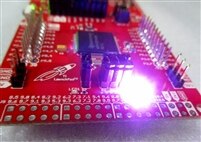
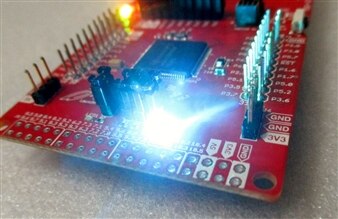
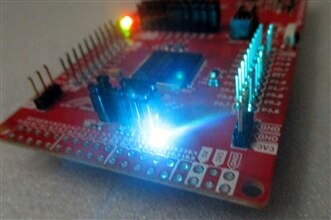
This example code generates a PWM on the P2.0 pin where the RGB LED [red] is connected. The duty cycle of the PWM signal gradually increase and decrease within a time period.
With respect to that the brightness of the LED also increases and decreases gradually.
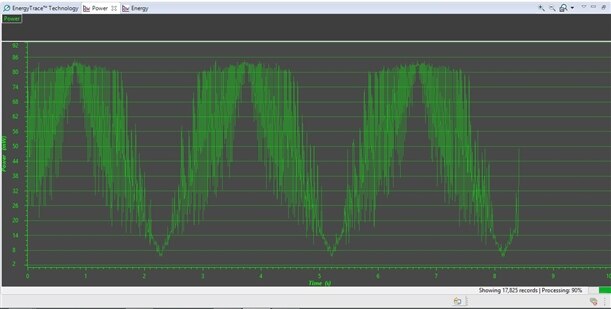
My aim for trying this code was to check out the EnergyTrace Technology of the Launchpad and CCS.
Brightness of the LED changes with the duty cycle of the PWM signal
Energy Trace:
MSP-EXP432P401RMSP-EXP432P401Rlaunchpad supports Real-time power consumption reading and the CCCS v7.1.0 has nice GUI to view those traces I tried PWMLED example code mentioned above to check out this function As the brightness of the LED increases and decreases the power traces follow a gradual increment and decrements This tool generates an assumption of battery life based on the energy consumption too
overview on energy consumption [10sec] Power trace - real time
energy trace - 10 sec long
MikroC Pro for ARM and UNI FLASH:
I am a big fan of Mikroelektronika MikroC compilers. They have recently added support for MSP432 microcontrollers in their MikroC Pro for ARM compiler.
Therefore, I liked to go for a test drive with this compiler. To download the hex into the MSP432P401R through the launchpad programmer, I used TI's web based programmer UNI FLASH.
My experience is pretty good. I made a simple program to blink both LED1 and LED2 with 300ms delay. UNI FLASH connects to the launchpad smoothly and load the hex with a very simple GUI.
void main() {
  GPIO_Digital_Output(&DIO_P1IN, _GPIO_PINMASK_0 | _GPIO_PINMASK_1);
  GPIO_Digital_Output(&DIO_P2IN, _GPIO_PINMASK_0 | _GPIO_PINMASK_1);

  DIO_P1OUT = 0;
  DIO_P2OUT = 0;
  DIO_P1OUT.B0 = 0;
  DIO_P2OUT.B0 = 0;

  while (1) {
    DIO_P1OUT.B0 = 1;
    Delay_ms(300);
    DIO_P2OUT.B0 = 1;
    Delay_ms(300);
    DIO_P1OUT.B0 = 0;
    Delay_ms(300);
    DIO_P2OUT.B0 = 0;
    Delay_ms(300);
  }
}
This is what I experienced with the MSP432 launchpad so far. In my next blog I'll post a review on the Sharp96 memory LCD booster Pack.










Top Comments
-

DAB
-
Cancel
-
Vote Up
+2
Vote Down
-
-
Sign in to reply
-
More
-
Cancel
Comment-

DAB
-
Cancel
-
Vote Up
+2
Vote Down
-
-
Sign in to reply
-
More
-
Cancel
Children