


Sorry I been away guys. So much has been going on with my new job, moving to a different state, life has been very hectic. It doesn't mean I have not been working on the project, but I just haven't been able to collect my notes to write you guys blogs. So this week, I will be collecting my notes and trying to send you all my information, and updates from our project. Today I have a short blog, but it is a short blog on information that kept us from moving forward.
Update:
For the sake of keeping everyone updated, this is how the system looks:
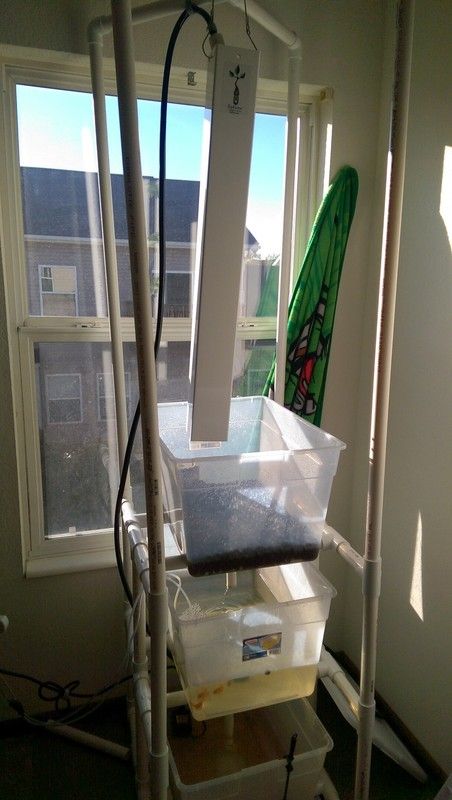
We are trying out Bright Agrotech Grow tower to add extra growing space. I think it will do well. We added a few practice plants to get started. We plan on adding maybe two more towers, and have the growbed under the towers to allow other plants to grow that are not supported by the tower. Out of 10 fish, 6 are alive. I do want to point out how it is funny that Luke, Leia, and Dave are still alive. Han died. =C Hopefully that is not foreshadowing……
Anyway, in memory of Han, let us get on with the remote switch system.
Setting Up the Pi to Turn Off the Pump (or any electronic appliance for that matter):
Today I am going to talk about how to turn off the pump using an RF signal with the RPi. We are going to make sure the water does not spill all over my apartment's carpet, so the plan is to shut off the pump when the water reaches a certain level. I have not found a pump that turns off with some wireless (or wired for that matter) signal, so we had to turn off the pump using a RF remote outlet switch. Let me just tell you guys how amazing this little hack to controlling remote outlet switches is. There are several tutorials out there that already explain how to set up the RPi RF remote outlet switches,and here are the links to my favorite explanations:
https://www.samkear.com/hardware/control-power-outlets-wirelessly-raspberry-pi
(Here is a more concise method tutorial: http://timleland.com/wireless-power-outlets/ )
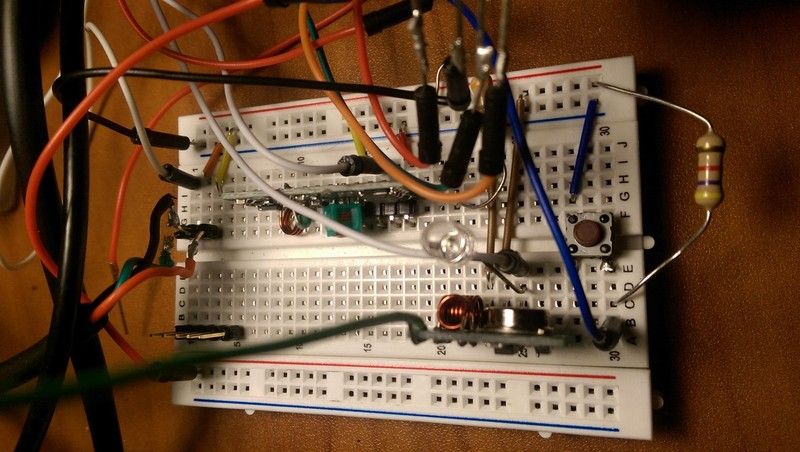
Here is our breadboard during the time we were working on the RF outlet switch. (The button is a foreshadowing of a blog to come). Note that I added an LED to the signal , and the ground of the transmitter to let me know if the RF message is being transmitted. Super useful during troubleshooting.
I have seen others use the same method to control appliances, and I figured this would be the simplest solution to our problem. As beautiful and fully documented this solution seemed at first, the documentation for this method is a bit outdated with the new Jessie Raspberry Pi update, so let me tell you guys how we got around this.
Like I said before, our main controller is the RPi, so this guide was straightforward, except if you are using the latest version: Jessie. The guides on the links work well until you try to send an RF message. If you followed the link's instructions, you will find that the RF signal is not being transmitted. The problem lies with the Apache2 install.
The only problem with how this (and all other similar tutorials) on installing this RF receiver and transmitter, is the placement of the folder containing the RF transmitter and receiver information. The tutorials tell you to download the folders to:
$ /var/www/
But from my understanding of reading several forums, it seems Apache's new root folder is:
$ /var/www/html/.
After installing the changes, I had to reset the Apache server with:
$ sudo /etc/init.d/apache2 restart
From this point forward, using the sniffer or sending out RF signal comes through this directory.
This change in directory fixes both the problems of sending out the RF signal, and seeing the nice PHP webpage control layout the great tutorials mention. I do also have to note that the antenna you solder onto the transmitter needs to be long to get a strong message. I have my RF outlet switch just under the table, and it wasn't until I attached an 8 inch wire, that there was a 100% successful message transfer.
The next step was to have the "OFF" message transmitted during the event of a water level rise in any of the containers. We used a simple, button on-off logic to send the message. I can get deeper in the details of this in an upcoming blog post.
If you guys have any questions, or maybe need help setting up your own RF remote transmit with your raspberry pi, leave a comment. I have been stuck long enough in this problem to consider myself an expert. =P
Closing Notes:
I would like to thank Dave for helping us obtain the challenger kit. We were having problems UPS problems with our challenger kit, but Dave pulled some strings, and got us the kit. Thank you very much for your help Dave.
Thank you all, and again, sorry for being MIA. As things are now settling, I will be able to come back, and finish this competition strong.
Before, I turn in for the night, I also want to say how amazing every competitor is doing. Such beautiful work.
Erik
Top Comments