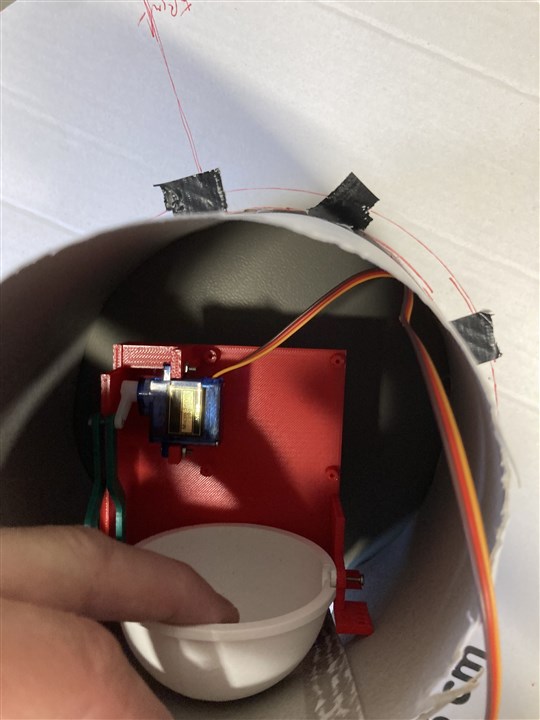
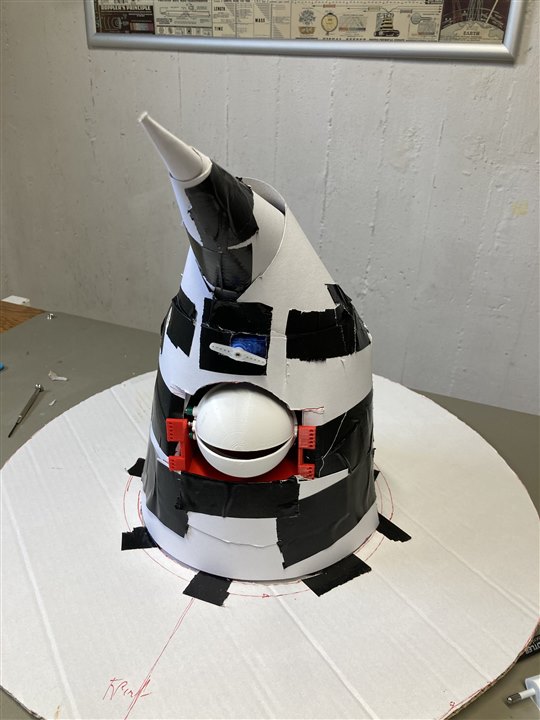
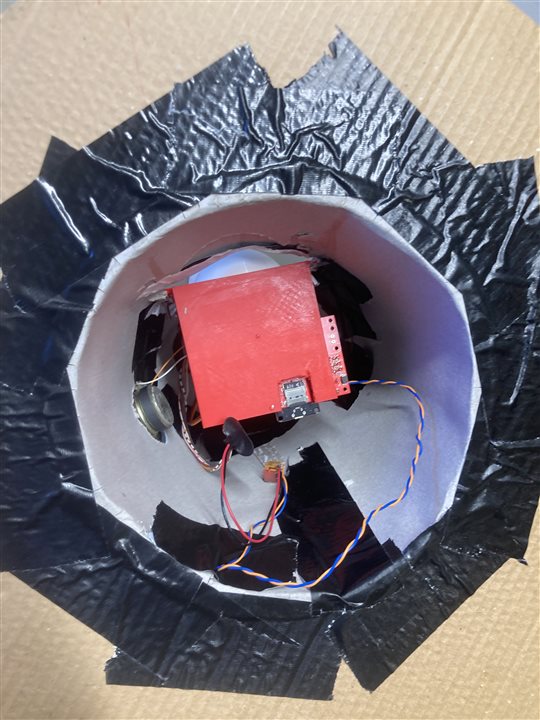
Intro
Before we can insert any kind of electronics, we need something to insert it to: we need a hat. I decided to build a hat from scratch, using paper and glue
The base of the hat
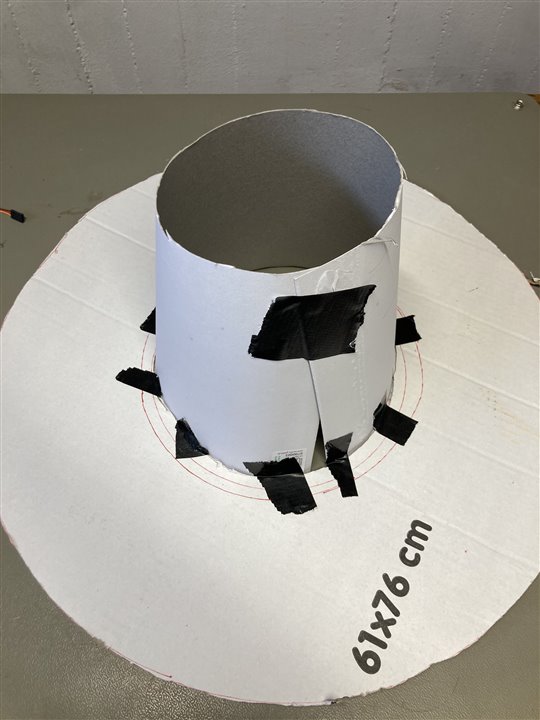
I created a base from cardboard. I simply used a pen and a wire to draw two big circles.
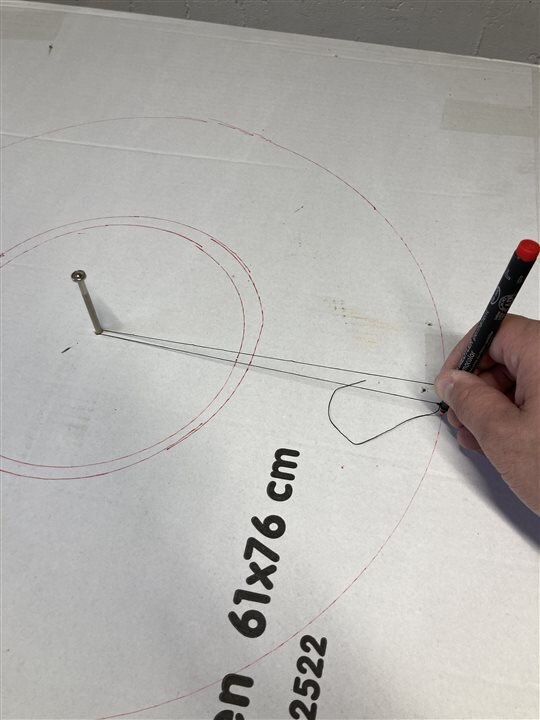
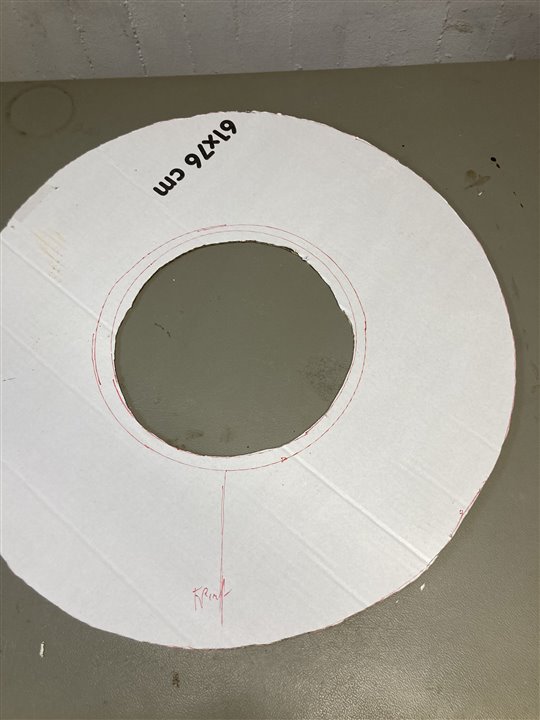
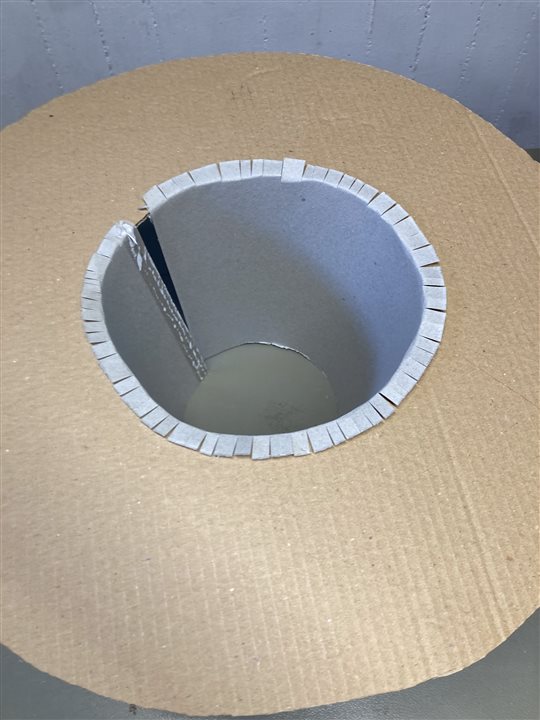
Then I cut out the two circles to create a nice base for the hat.
For the cone shape I used a cardboard cone that i found in a German supermarket. If you cannot find one, it's easy to build your own using a large piece of thin cardboard or paper.
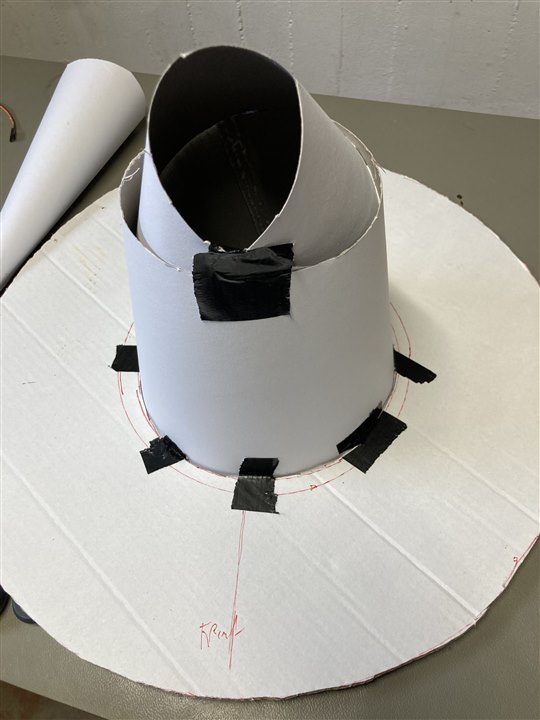
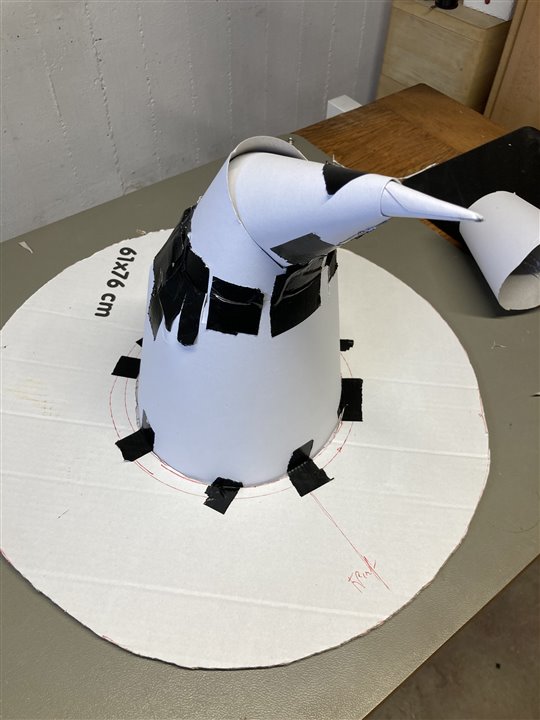
To make the crooked angle of the cone, I cut it up into several pieces; then put all back into place creating wicked angles.
|
|
|
|
|
|
|
|
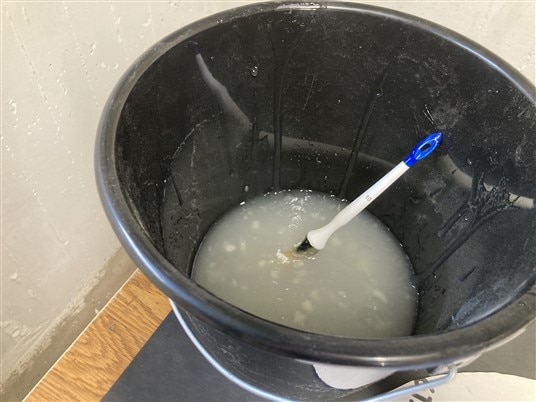
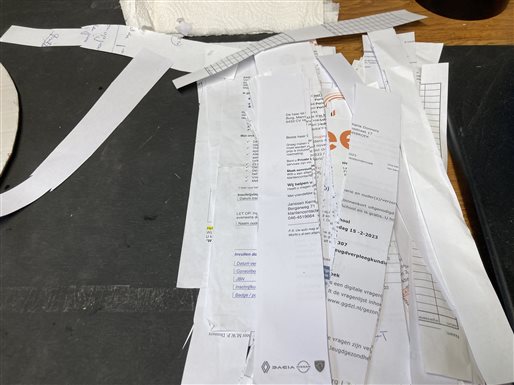
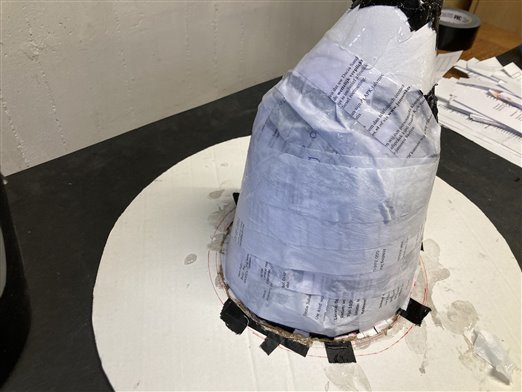
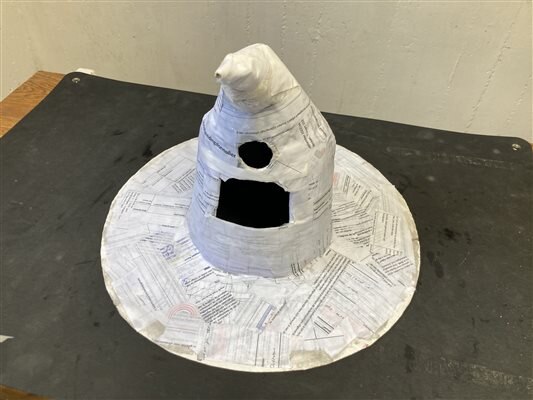
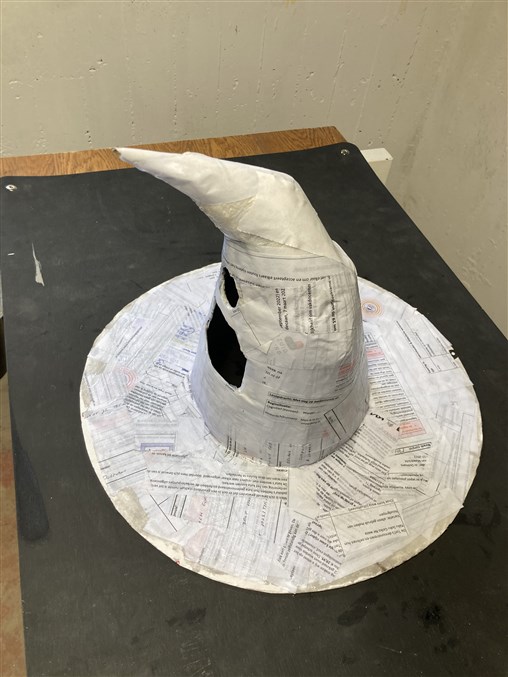
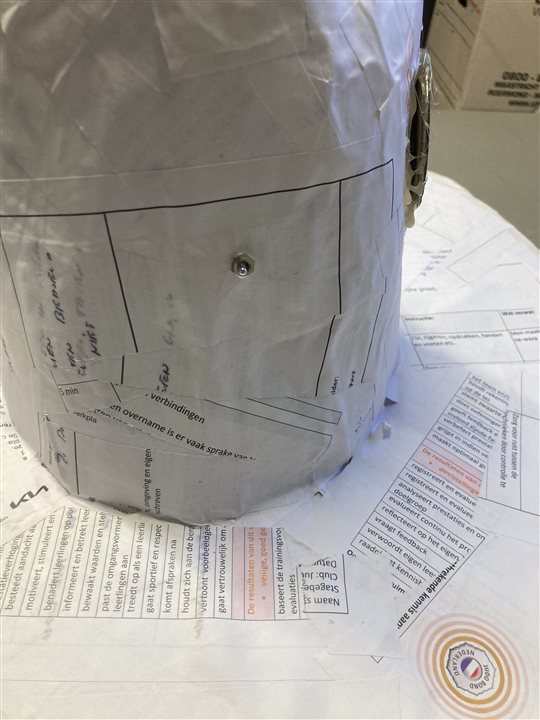
After I cut the holes for the mouth, eye display and uni brow, it was time to get messy. I used paper stripes and glue. The glue I used is the kind of glue that you would use to attach wallpaper to your living room wall.
 |
 |
 |
 |
 |
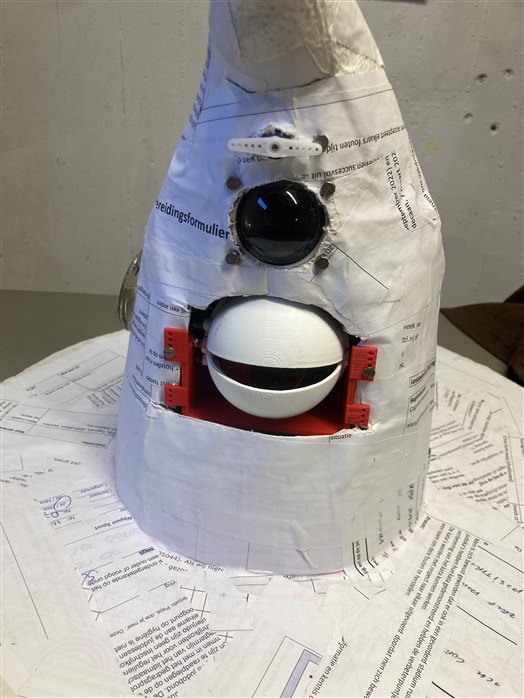 |
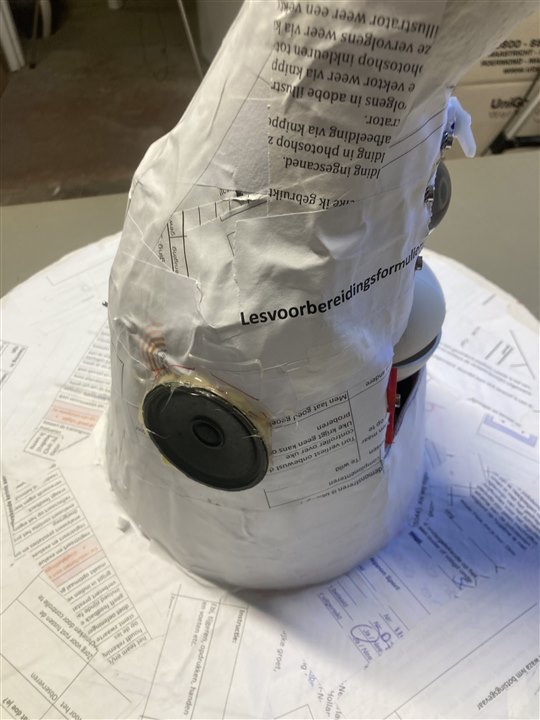
I let everything dry for about 1 week before I mounted the mouth mechanism and the other parts.
 |
 |
|
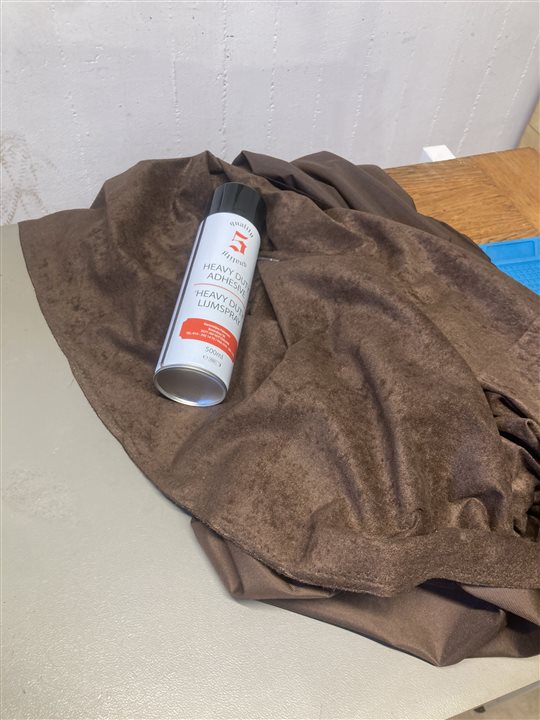
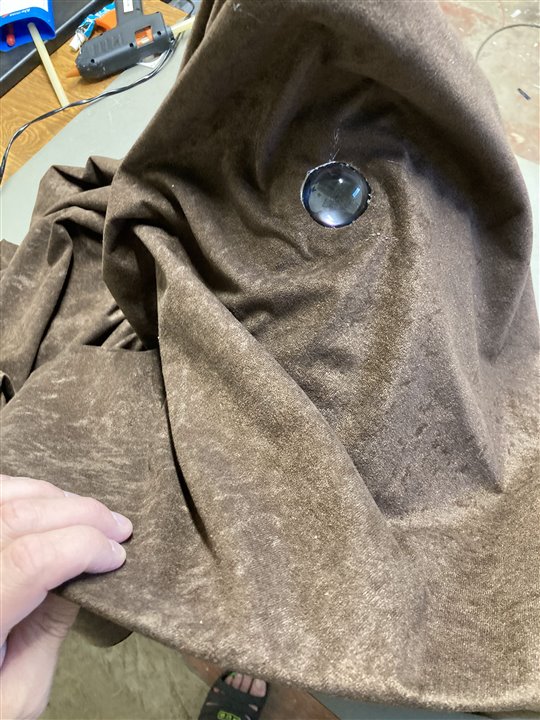
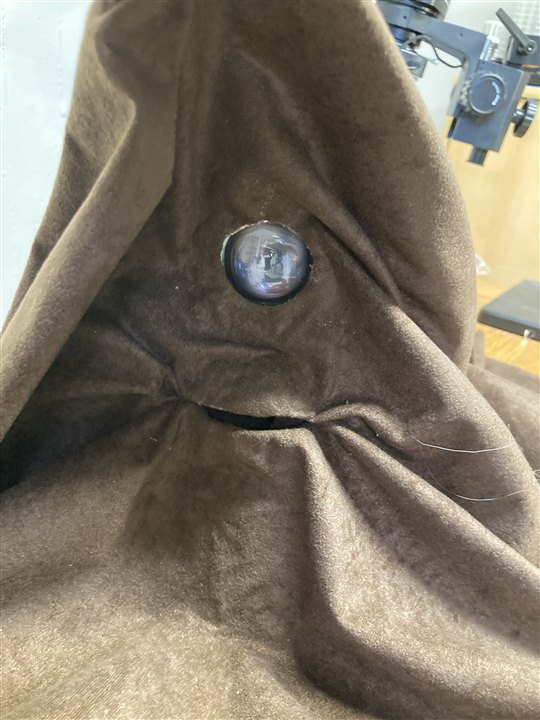
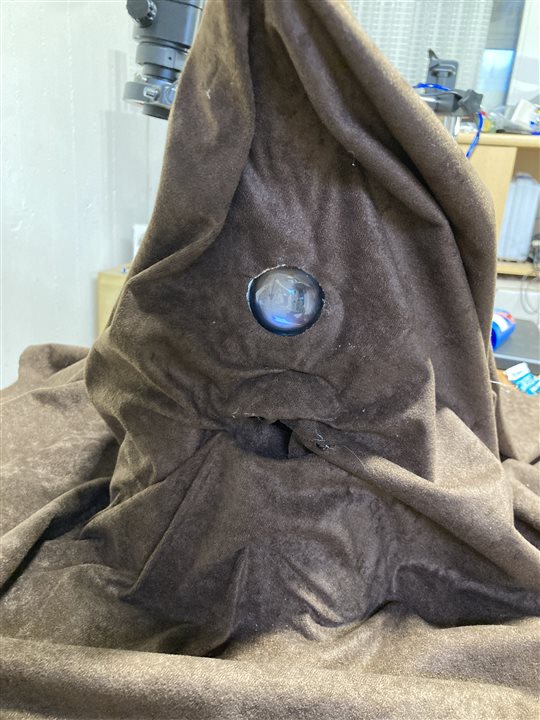
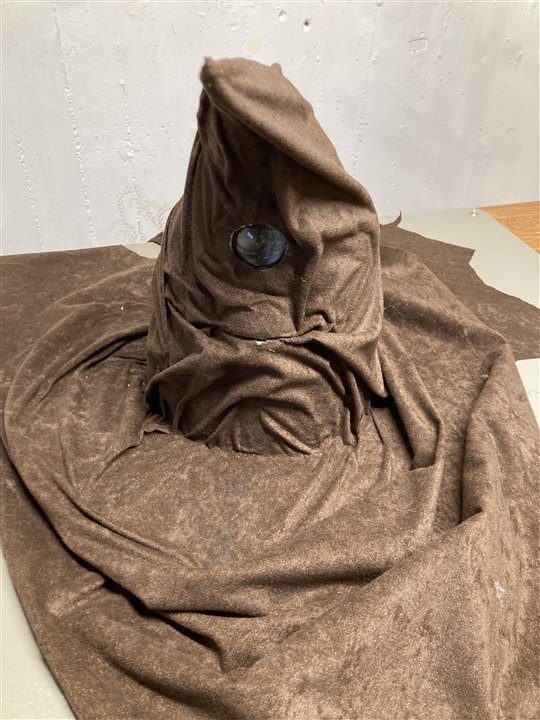
After doing a quick test to see that all was working, I attached the brown fabric cover. I started by cutting out a hole at the position of the eye, glued the cover in place and worked my way around the hat from there. Each time I attached the cover using glue until the hat was completely covered. I made sure that there was some extra fabric around the lips, enabling the mouth to move freely.
 |
 |
 |
 |
 |
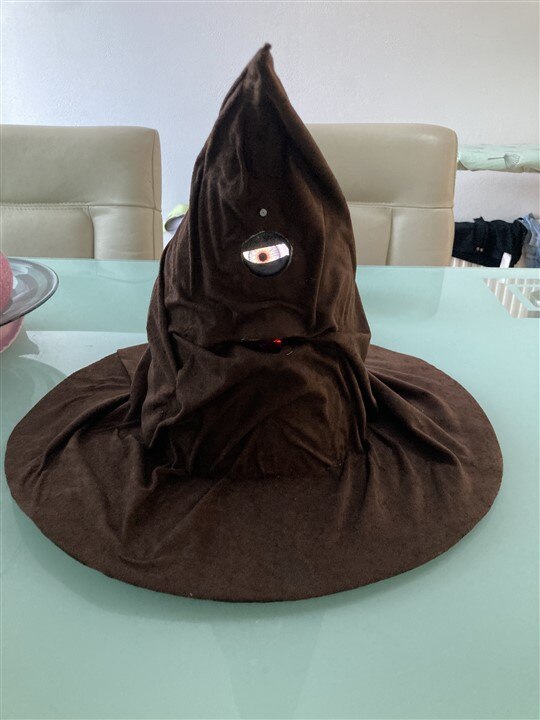 |
Now, This is beginning to look like a hat!

