element14 Community
element14 Community
    Register Log In
  • Site
  • Search
  • Log In Register
  • About Us
  • Community Hub
    Community Hub
    • What's New on element14
    • Feedback and Support
    • Benefits of Membership
    • Personal Blogs
    • Members Area
    • Achievement Levels
  • Learn
    Learn
    • Ask an Expert
    • eBooks
    • element14 presents
    • Learning Center
    • Tech Spotlight
    • STEM Academy
    • Webinars, Training and Events
    • Learning Groups
  • Technologies
    Technologies
    • 3D Printing
    • FPGA
    • Industrial Automation
    • Internet of Things
    • Power & Energy
    • Sensors
    • Technology Groups
  • Challenges & Projects
    Challenges & Projects
    • Design Challenges
    • element14 presents Projects
    • Project14
    • Arduino Projects
    • Raspberry Pi Projects
    • Project Groups
  • Products
    Products
    • Arduino
    • Avnet Boards Community
    • Dev Tools
    • Manufacturers
    • Multicomp Pro
    • Product Groups
    • Raspberry Pi
    • RoadTests & Reviews
  • Store
    Store
    • Visit Your Store
    • Choose another store...
      • Europe
      •  Austria (German)
      •  Belgium (Dutch, French)
      •  Bulgaria (Bulgarian)
      •  Czech Republic (Czech)
      •  Denmark (Danish)
      •  Estonia (Estonian)
      •  Finland (Finnish)
      •  France (French)
      •  Germany (German)
      •  Hungary (Hungarian)
      •  Ireland
      •  Israel
      •  Italy (Italian)
      •  Latvia (Latvian)
      •  
      •  Lithuania (Lithuanian)
      •  Netherlands (Dutch)
      •  Norway (Norwegian)
      •  Poland (Polish)
      •  Portugal (Portuguese)
      •  Romania (Romanian)
      •  Russia (Russian)
      •  Slovakia (Slovak)
      •  Slovenia (Slovenian)
      •  Spain (Spanish)
      •  Sweden (Swedish)
      •  Switzerland(German, French)
      •  Turkey (Turkish)
      •  United Kingdom
      • Asia Pacific
      •  Australia
      •  China
      •  Hong Kong
      •  India
      •  Korea (Korean)
      •  Malaysia
      •  New Zealand
      •  Philippines
      •  Singapore
      •  Taiwan
      •  Thailand (Thai)
      • Americas
      •  Brazil (Portuguese)
      •  Canada
      •  Mexico (Spanish)
      •  United States
      Can't find the country/region you're looking for? Visit our export site or find a local distributor.
  • Translate
  • Profile
  • Settings
Project Videos
  • Challenges & Projects
  • element14 presents
  • Project Videos
  • More
  • Cancel
Project Videos
Documents Making Music with a Lego Guitar and Capacitive Touch -- Episode-637
  • Documents
  • Members
  • Mentions
  • Sub-Groups
  • Tags
  • More
  • Cancel
  • New
Join Project Videos to participate - click to join for free!
Related
Recommended
Engagement
  • Author Author: tariq.ahmad
  • Date Created: 10 Jan 2024 9:35 PM Date Created
  • Last Updated Last Updated: 11 Jan 2024 2:42 PM
  • Views 3055 views
  • Likes 11 likes
  • Comments 30 comments

Making Music with a Lego Guitar and Capacitive Touch -- Episode-637

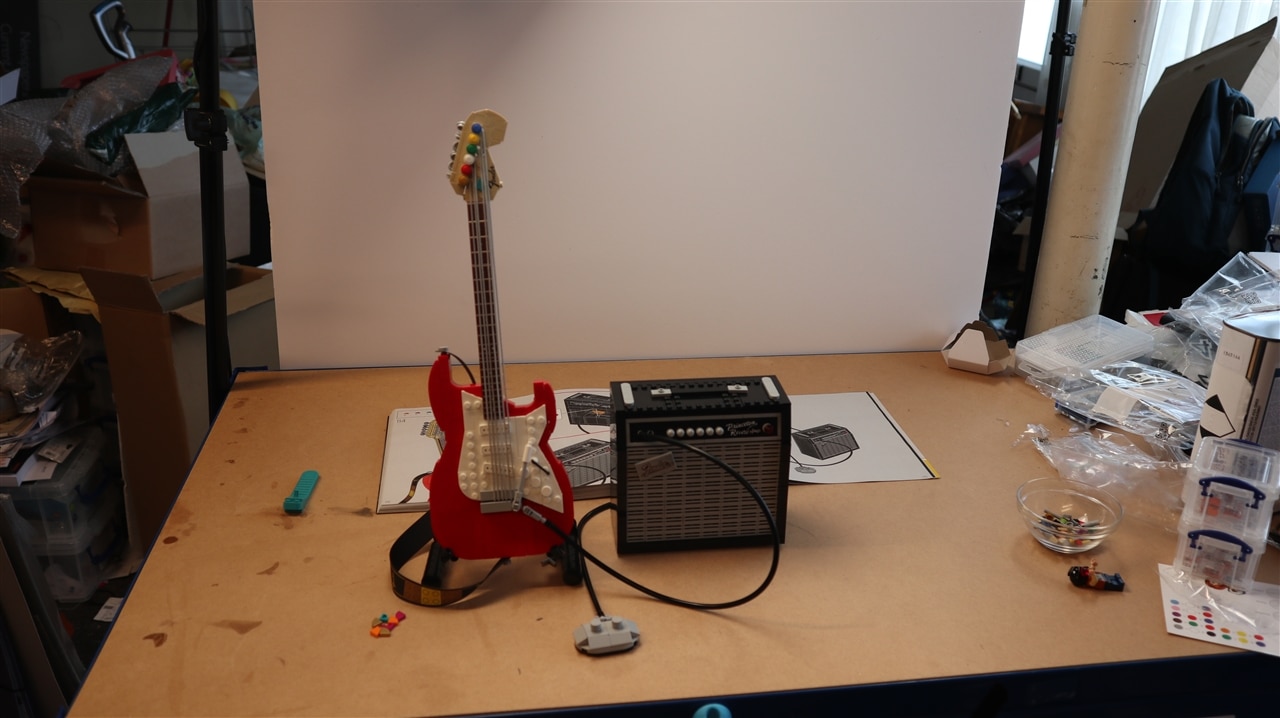
In this latest episode of element14 presents, Katie and John embark on the challenge of transforming a Lego guitar into a fully functioning musical instrument. The duo starts by connecting a Raspberry Pi 3A to a robot mini-amplifier, which is then linked to a speaker. The primary challenge is incorporating functional buttons into the guitar without compromising its aesthetics. 

Watch the Video:

You don't have permission to edit metadata of this video.
Edit media
x
image
Upload Preview
image
 

Downloads and Links | Discussion

Initially, physical buttons were considered, but concerns about protrusion through the strings led them to explore an alternative solution. Katie introduces a Seeed Studio 12-key capacitive touch sensor (MPR121), allowing for touch-sensitive buttons. The team contemplates placing these buttons on the back of the guitar neck, making them invisible from the front while the guitar is in its stand. 

 image

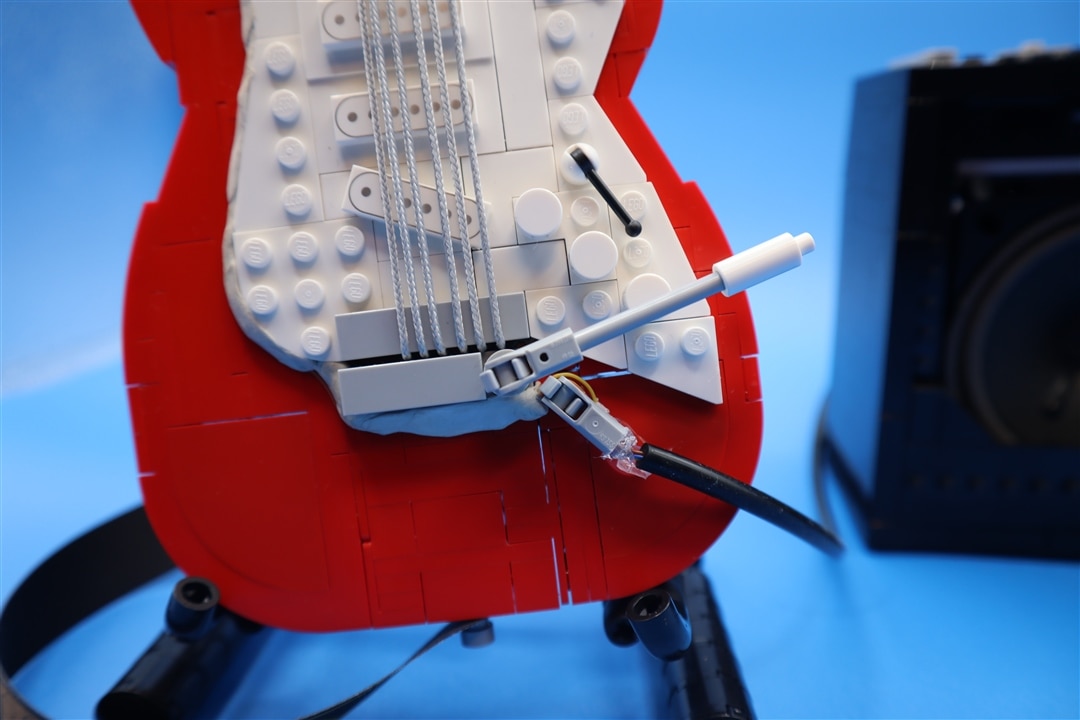
The capacitive touch solution appears promising, offering a more discreet approach compared to physical buttons. Challenges arise in finding the right material to conceal the wiring. Katie experiments with conductive paint and tape, ultimately opting for copper tape covered with vinyl sheets to achieve a seamless integration.  

image

Another critical aspect is the programming of the Raspberry Pi to interpret signals from the capacitive touch sensor. Katie describes a Python program she developed that plays various guitar chords at the push of a button. The Pi is connected to the touch sensor, enabling chords to be triggered from the guitar. 

image

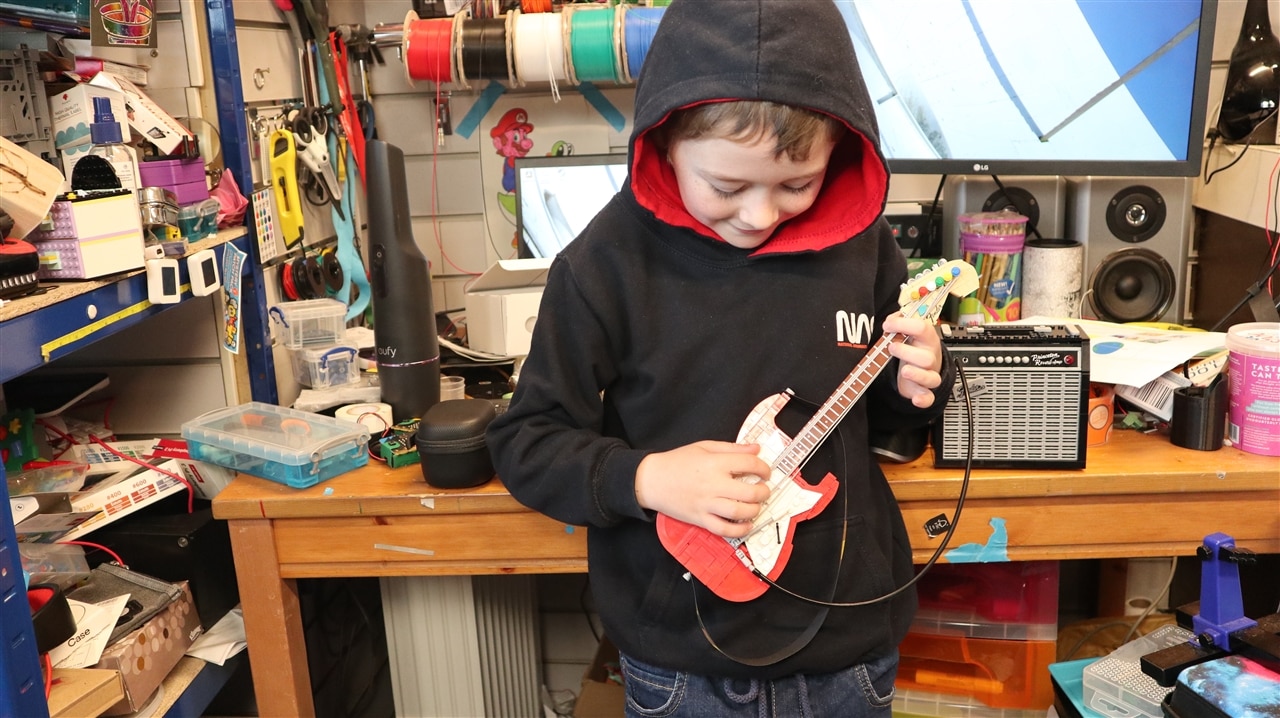
The final reveal showcases a Lego guitar that not only looks like the original, but also functions as a musical instrument with touch-sensitive controls. The team discusses the challenges they faced, providing valuable insights into the technical aspects of programming and problem-solving for electronics enthusiasts combining Lego builds with functional components. 

image

Links and Downloads:

  • Download Code and Files

Bill of Material:

Product Name Quantity Buy Kit
RASPBERRY-PI SBC, Raspberry Pi3 A+, BCM2837B0, ARM Cortex-A53, 512MB RAM, MicroSD, Wifi, HDMI, 1×USB 2.0 1 Buy Now
MULTICOMP PRO MicroSD Card, 32 GB, Raspberry Pi 1 Buy Now
SEEED STUDIO Touch Sensor Board, with Cable, Capacitive, I2C, Arduino & Raspberry Pi Board 1 Buy Now
MULTICOMP MC001814 Tape, General Purpose, Copper Foil, 10 mm x 50 m 1 Buy Now
DFROBOT Evaluation Board, Mini Audio Stereo Amplifier, 3.3 V to 5.5 V Supply, Class D Amplifier 1 Buy Now
VISATON Speaker, Full Range, 2 W, 8 ohm, 150 Hz to 20 kHz 1 Buy Now
PRO SIGNAL 3.5MM JACK PLUG TO BARE ENDS -1M 1 Buy Now
 

element14 presents

element14 presents  |  About Katie Dumont |  Project Videos

  • e14p_KD
  • Creative Lego builds with Raspberry Pi
  • Lego guitar technical challenges
  • Raspberry Pi guitar chords project
  • DIY Lego guitar with touch controls
  • Raspberry Pi touch-sensitive Lego creation
  • Electronics engineering in hobbyist projects
  • Capacitive touch sensor programming
  • Seeed Studio touch sensor I²C communication
  • Raspberry Pi musical instrument
  • Raspberry Pi Python programming tutorial
  • Lego guitar electronics project
  • Seeed Studio 12-key touch Sensor
  • Functional Lego musical instrument
  • Lego electronics and programming
  • friday_release
  • Electronics integration in Lego builds
  • Share
  • History
  • More
  • Cancel
Actions
  • Share
  • More
  • Cancel
  • Sign in to reply

Top Comments

  • beacon_dave
    beacon_dave over 1 year ago in reply to beacon_dave +1
    Oh, and since there is a video output on the R-Pi going spare... https://www.youtube.com/watch?v=F9jHKhvw4Tg could double as a control interface for all those virtual effects pedals
Parents
  • beacon_dave
    beacon_dave over 1 year ago

    Not sure how feasible any of this is but could you perhaps use 6 touch pads on the front of the fretboard and then attach a potentiometer to the pivot of the tremolo bar ?

    If so, that way you could select a chord with the touch pad (one for each string) and then strum it using the tremolo bar ?

    Feed the potentiometer into a AtoD and you could trigger each note in the selected chord separately dependent on the position of the tremolo bar.

    • Cancel
    • Vote Up 0 Vote Down
    • Sign in to reply
    • More
    • Cancel
  • beacon_dave
    beacon_dave over 1 year ago in reply to beacon_dave

    Oh, and since there is a video output on the R-Pi going spare...

    https://www.youtube.com/watch?v=F9jHKhvw4Tg

    could double as a control interface for all those virtual effects pedals Slight smile

    • Cancel
    • Vote Up +1 Vote Down
    • Sign in to reply
    • More
    • Cancel
Comment
  • beacon_dave
    beacon_dave over 1 year ago in reply to beacon_dave

    Oh, and since there is a video output on the R-Pi going spare...

    https://www.youtube.com/watch?v=F9jHKhvw4Tg

    could double as a control interface for all those virtual effects pedals Slight smile

    • Cancel
    • Vote Up +1 Vote Down
    • Sign in to reply
    • More
    • Cancel
Children
  • kmikemoo
    kmikemoo over 1 year ago in reply to beacon_dave

    hifromkatie I agree with beacon_dave  that John needs effect pedals for his guitar.  Maybe some LEDs in his amp so it looks like an old school tube amp. Laughing

    • Cancel
    • Vote Up 0 Vote Down
    • Sign in to reply
    • More
    • Cancel
  • hifromkatie
    hifromkatie over 1 year ago in reply to kmikemoo

    Yes, the kit had a little foot pedal included, but it was just a lump of lego bricks, so adding in any interaction would be hard, as was trying to think of how to add a hinge and sprung action etc. But now you mention it covering the top in conductive tape and linking it in to the touch sense board would be possible.

    I was really impressed with the lego design of the amp, we had to pull lots of the lego "workings" out to make room, but it had a circuit board inside with little lego valves made from clear tubes some with grey rods in the centre and others were glowing with a lego lipstick in the middle of the tube (half red half grey)

    • Cancel
    • Vote Up 0 Vote Down
    • Sign in to reply
    • More
    • Cancel
element14 Community

element14 is the first online community specifically for engineers. Connect with your peers and get expert answers to your questions.

  • Members
  • Learn
  • Technologies
  • Challenges & Projects
  • Products
  • Store
  • About Us
  • Feedback & Support
  • FAQs
  • Terms of Use
  • Privacy Policy
  • Legal and Copyright Notices
  • Sitemap
  • Cookies

An Avnet Company © 2025 Premier Farnell Limited. All Rights Reserved.

Premier Farnell Ltd, registered in England and Wales (no 00876412), registered office: Farnell House, Forge Lane, Leeds LS12 2NE.

ICP 备案号 10220084.

Follow element14

  • X
  • Facebook
  • linkedin
  • YouTube