


Miloš builds a custom Duolingo-inspired owl that sits on his monitor and reminds him to complete his Spanish lessons. Using an ESP32-C6, dual LCD displays for expressive eyes, a DFPlayer Mini for sound, and a 3D printed model, the owl can show emotions, play sounds, and even get angry if lessons are skipped. All design files, code, and details are available below.
Watch the Project
Why Build a Real Duolingo Owl?
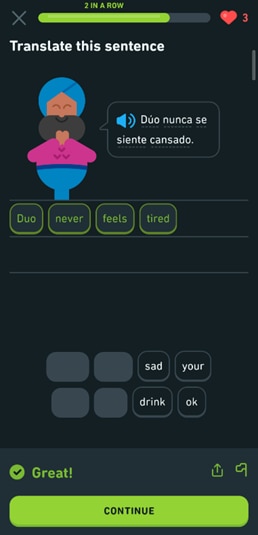
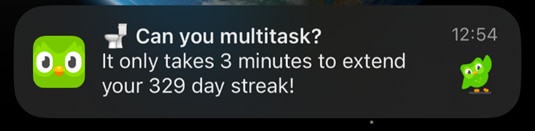
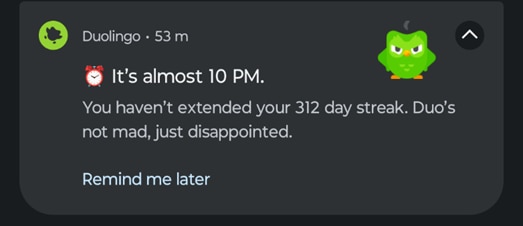
If you’ve ever tried learning a language with your phone, chances are you’ve come across Duolingo, the world’s most popular language learning app. Duolingo is well known not only for its lessons but also for its persistent notifications that remind users to keep their streak alive.
Miloš, who uses the app to study Spanish, knows those reminders all too well. In fact, he thought it would be fun, and a little unsettling, to bring the experience off the screen and onto his desk. His idea was to create a physical version of the Duolingo mascot, the green Duo owl, that would sit on his monitor and remind him to complete his daily lesson. Inspired by the app’s playful (and sometimes intimidating) prompts, Miloš set out to design and build a small owl that could react with sounds and animated eyes depending on whether he had done his Spanish practice for the day.


Turning the Owl into a Desktop Reminder
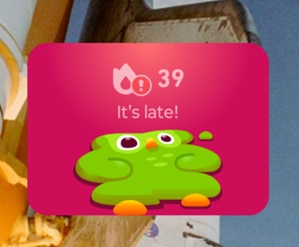
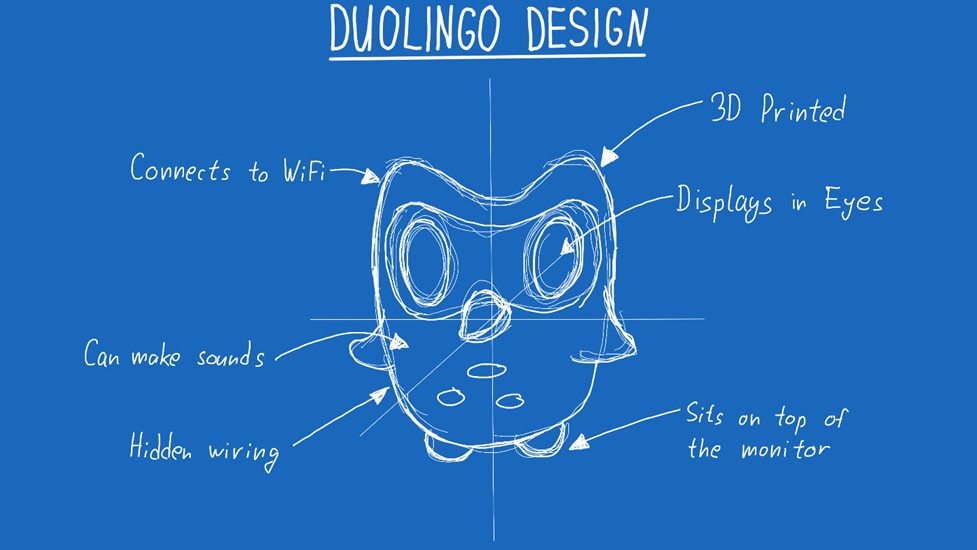
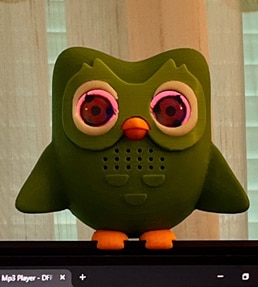
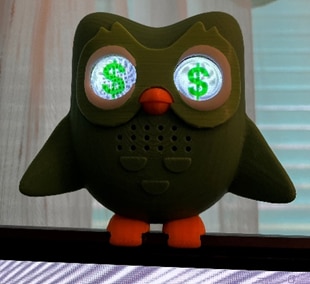
Miloš wanted his project to go beyond a simple 3D print. His goal was to create a small green Duolingo owl that could track whether he had completed his Spanish lesson each day and then react accordingly. To achieve this, he planned to connect the owl to Wi-Fi so it could check his Duolingo streak online and compare it to the current date. If the streak was updated, the owl would look happy, but if it was not, the owl would become increasingly angry as the day went on.
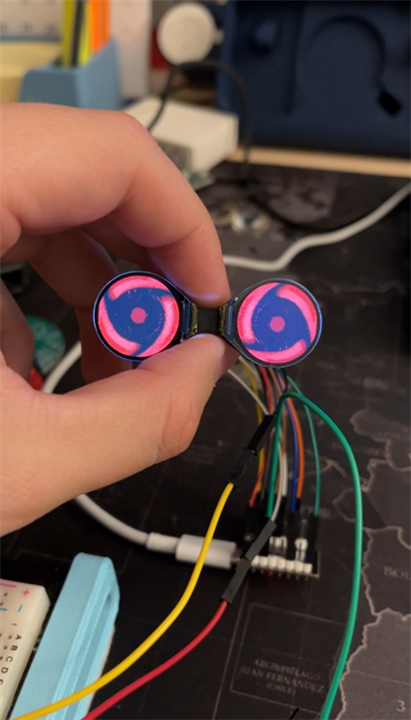
To make the owl expressive, Miloš decided to use a dual round LCD module placed behind Duo’s eyes. These screens would display animations ranging from normal and happy eyes to progressively more intense expressions such as cat eyes, dragon eyes, and even Sharingan-style eyes. Alongside the displays, he added a DFROBOT MP3 Player Mini and a small speaker so the owl could also produce sounds. These ranged from neutral tones early in the day to more aggressive noises if lessons were still left undone.
The owl was designed to sit on top of a monitor, so Miloš modelled custom feet in CAD that could clip securely to his own screen.
Choosing Components and Overcoming Software Challenges
Choosing the right electronics turned out to be pretty easy for this project, since Milos found the perfect module made by WaveShare in the form of two round LCDs, mounted on a single PCB with a single SPI connector.
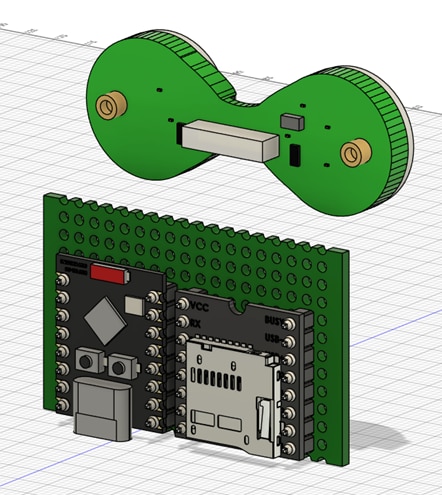
Milos decided to use a small ESP32 C6 and the DFROBOT Player Mini. While the component count is small, the issues started appearing when he tried writing software for this module. This LCD module uses a LCD driver that is not well supported, and to get it to work, he had to jump through a lot of hoops, using modified libraries and specific board versions. He goes into more detail for what it took in the video, but you can find the module in question as well as the manufacturers demo on this link below.
The MP3 player by DFROBOT was really easy to use with the official library, but here are a few pointers and tips from Milos if you end up using this module:
- Make sure that the files are named 0001.mp3, 0002.mp3 and so on. Make sure that they are in the xxxx.mp3 format.
- Besides this, even if you have all of the files named like this, there is still a chance that they might not be played in the sequence you expect, to ensure that you are playing the audio file that you want (library calls allows you to just play the number of the file without specifying the name), Milos recommends copying all of the files to a microSD in the order by one from 0001.mp3 and so on. In this way, when you use the library call to play for example track 3, you will be sure that it will play the file 0003.mp3.
While audio files are the standard MP3 type, all of the GIFS and pictures you want to load into the ESP32 need to be in .h or .c format. To do this, there is an amazing free tool available on GitHub that you can find below.What this allows you to do is to select any image using the GUI and it will convert it into the adequate format so that you can easily play it on the LCDs!
Milos had issues with flipping just one of the LCDs using this library, so make sure that the GIFs and images you want to use are symmetric, since the displays are flipped compared one to the other.
Designing and 3D Printing Duo
Last thing left to do was to design Duo in CAD and to 3D print it. While searching the web, Milos came across this free 3D model. While the model was in mesh form, he managed to convert it into a solid so he can easily edit it in Fusion 360. It really helped him with this project to find such a nice model, and it wasn’t a lot of work to modify it so that all of the electronics fit inside.
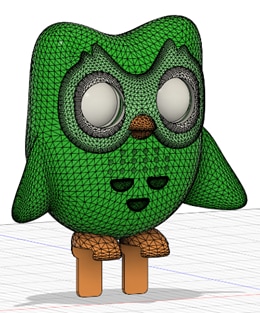
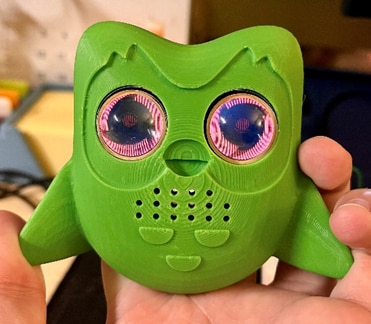
If you want to get the full Duo look, you will need 2 shades of green filament, white filament and orange filament. In the resources for this video, you will be able to find all of the STL and STEP files so you can easily adjust any of them if you wish to recreate this project. Milos designed the feet to fit his monitor, so this is one part that will probably need some adjustment from your end! Here are some of the eyes of the Duolingo!

Supporting Links and Files
- https://www.waveshare.com/wiki/0.71inch_DualEye_LCD_Module
- https://github.com/bitbank2/image_to_c
- https://sketchfab.com/3d-models/duo-owl-b44dc9c1bd6843868ab341c5c35327fa
Bill of Materials
| Product Name | Manufacturer | Quantity | Buy Kit |
|---|---|---|---|
| DFR0299 | DFROBOT | 1 | Buy Now |
| MC011451 | MULTICOMP PRO | 1 | Buy Now |
| PA06006 | POLYMAKER | 1 | Buy Now |
| MP015135 | MULTICOMP PRO | 1 | Buy Now |
Top Comments
-

Workshopshed
-
Cancel
-
Vote Up
0
Vote Down
-
-
Sign in to reply
-
More
-
Cancel
-

milosrasic98
in reply to Workshopshed
-
Cancel
-
Vote Up
0
Vote Down
-
-
Sign in to reply
-
More
-
Cancel
Comment-

milosrasic98
in reply to Workshopshed
-
Cancel
-
Vote Up
0
Vote Down
-
-
Sign in to reply
-
More
-
Cancel
Children