

Clem shows how to reverse engineer a cheap breathalyser key-fob and re-purpose it into an Arduino-compatible sensor module. By dissecting the circuit, discovering the LM339 comparator at its core, and reducing current draw by removing LEDs, he adapts the device for safe use with 3.3V logic micro-controllers like the Arduino MKR WiFi 1010. The project demonstrates how to integrate salvaged electronics into Arduino projects, including building voltage dividers for level shifting, handling warm-up delays, and logging sensor data. Follow along to learn techniques that can be applied to countless other gadgets.
Watch the Project
Why Reverse Engineer Gadgets?
In this episode Clem explores how inexpensive gadgets can be repurposed into modules for Arduino projects. The process is not limited to breathalysers. Almost any device with the right properties could be adapted. With the supply of electronic parts not always guaranteed, learning to reverse engineer common items can give makers new ways to source components for their builds.
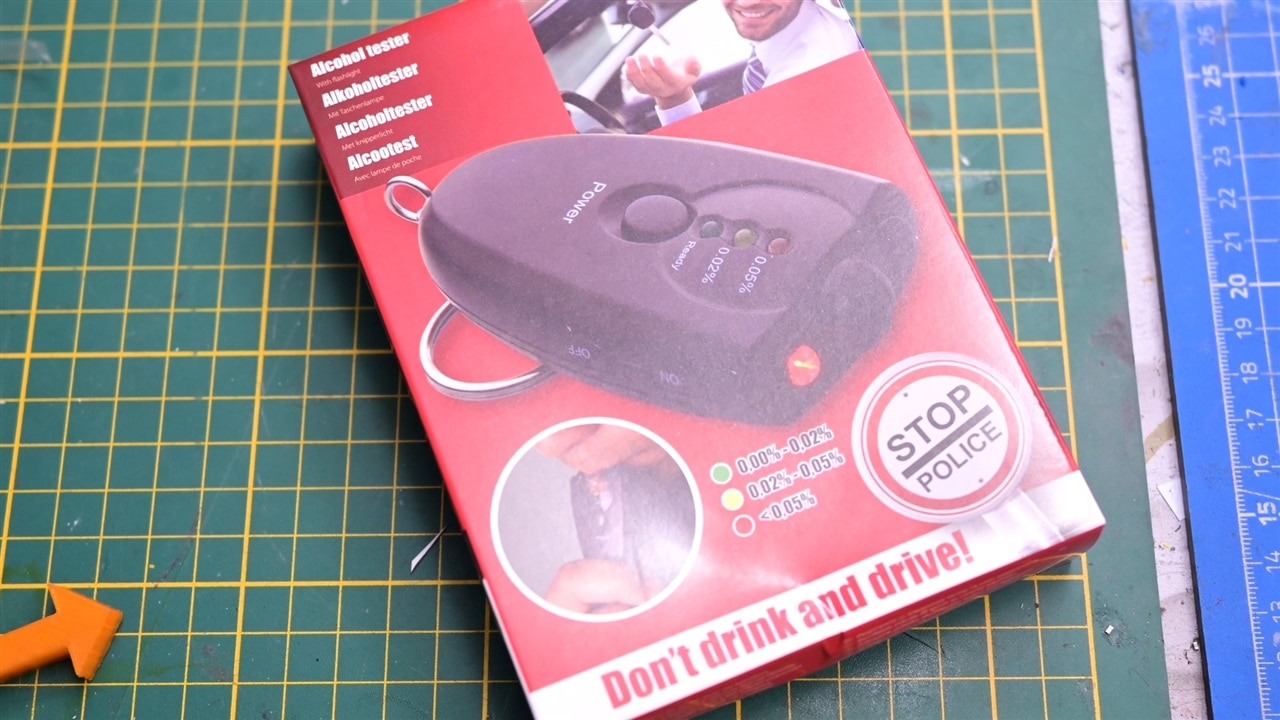
First Look at the Breathalyser Keyfob
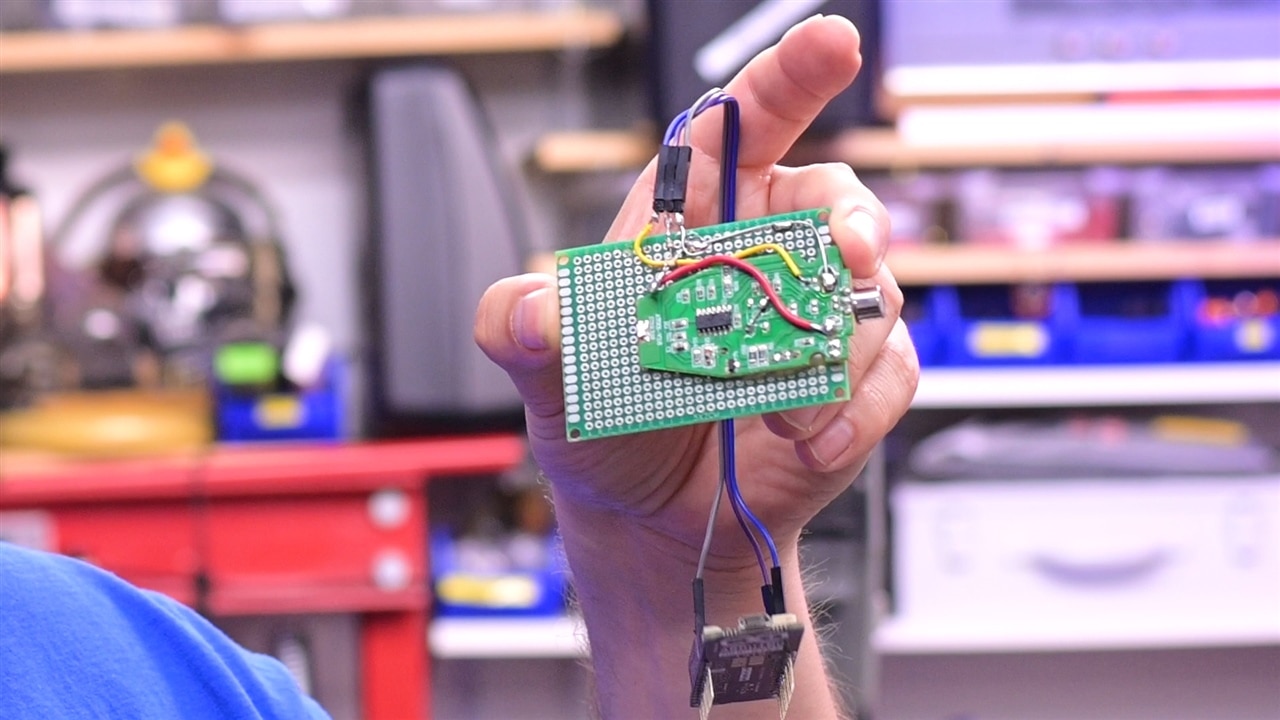
Clem starts by powering the breathalyser keyfob and observing its basic function. The device has a startup sequence, LEDs, and a clear indication of “ready” status. At first glance, it appears to contain a micro-controller under epoxy. However, after opening it, Clem finds it runs entirely on an LM339 quad comparator IC, a standard analog component often used for comparing voltages.
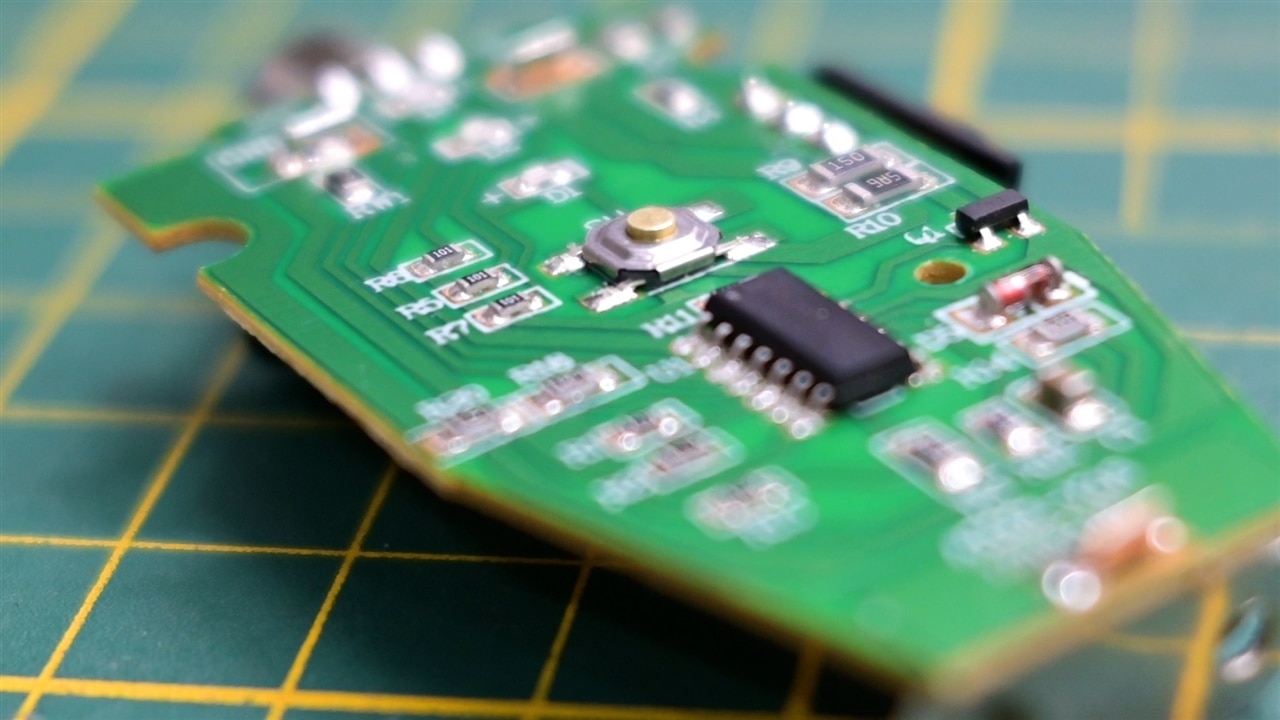
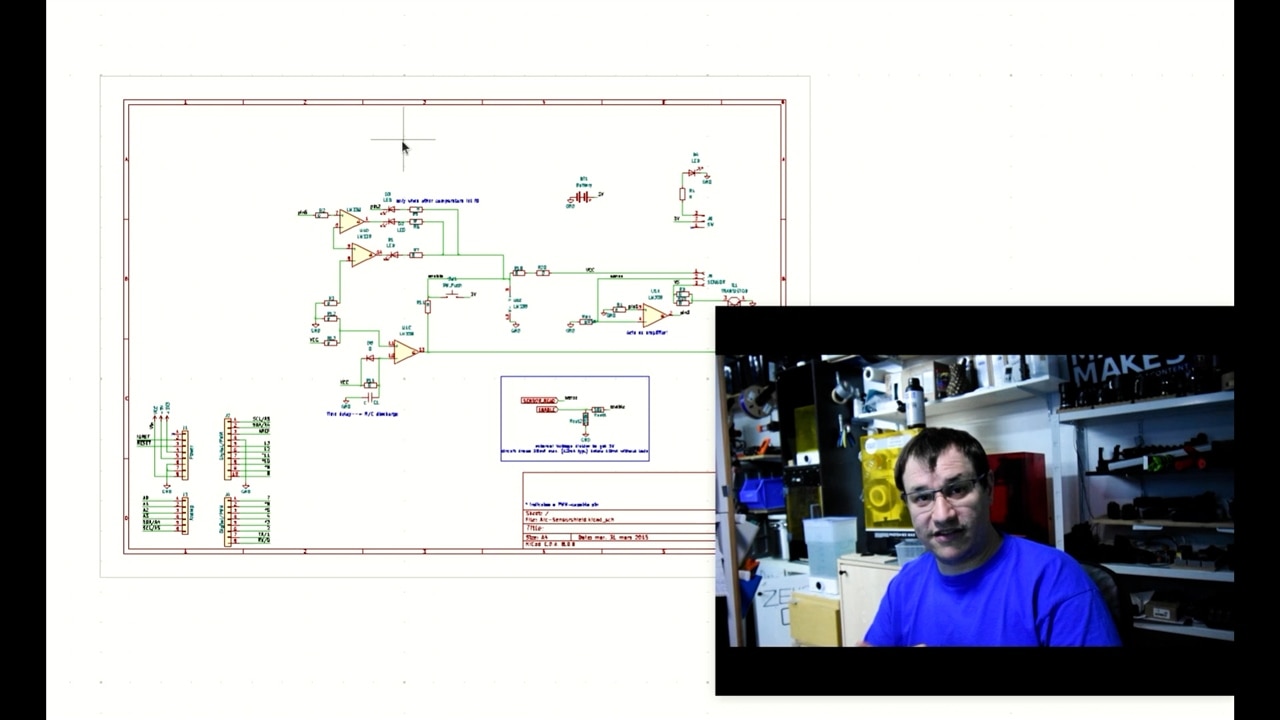
Understanding the Circuit
Tracing the single-sided PCB makes reverse engineering simpler since there are no hidden layers. By mapping connections with a multi-meter, Clem identifies a clever RC delay circuit that allows the onboard gas sensor to preheat before measurements begin. Instead of using software timers, the designers relied on analogue components like resistors, capacitors, and comparators to achieve sequencing. This makes the breathalyser both cheap and surprisingly robust.
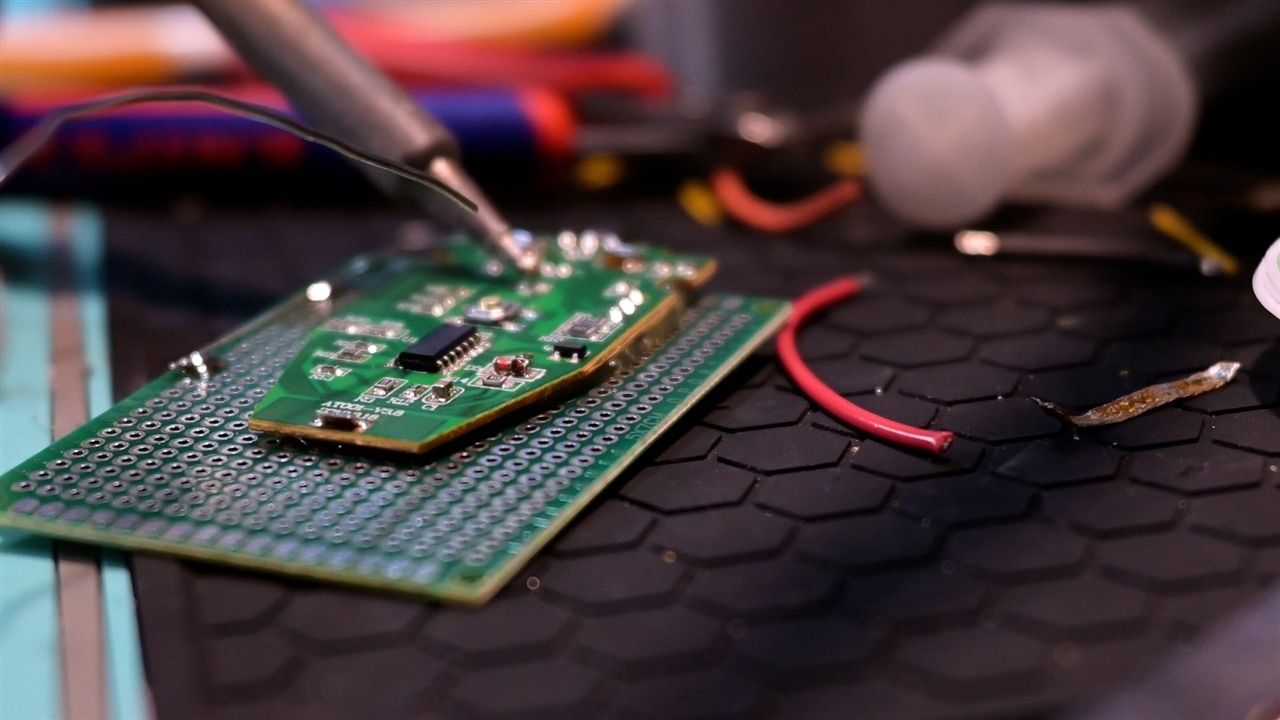
Modifying the Circuit for Arduino Use
To adapt the device for Arduino, Clem reduces unnecessary current draw. The LEDs consume most of the power, so removing them drops the current consumption to below 10mA. This makes it possible to power the circuit directly from an Arduino pin. He then adds a voltage divider to match the device’s 3V requirement, ensuring safe interfacing whether using a 3.3V micro-controller like the Arduino MKR WiFi 1010 or a 5V board like the Arduino Uno.
Interfacing and Coding
With hardware sorted, Clem connects the sensor output to an Arduino analog pin and uses another pin to enable the circuit. A short Arduino sketch logs sensor readings and averages them over one second to smooth out noise. The module can now detect alcohol vapours, whether ethanol, methanol, or isopropanol, making it useful for experiments such as controlling fans during 3D printer cleaning.

Lessons from the Project
Clem points out that this kind of work follows a simple process that can be applied to many devices:
-
Identify and test a gadget’s basic operation.
-
Open it up and trace the circuit.
-
Remove unnecessary components to reduce power draw.
-
Adjust voltage and current to fit Arduino logic levels.
-
Write simple test code to capture sensor data.
The breathalyser key-fob is just one example. By using this approach, makers can salvage parts from cheap or discarded devices and turn them into functional modules!
Supporting Files and Links
Bill of Materials
| Product Name | Manufacturer | Quantity | Buy Kit |
|---|---|---|---|
| Arduino MKR wifi 1010 | ARDUINO | 1 | Buy Now |
| Nordic Power profiler kit | Nordic | 1 | Buy Now |
| Resistor 10k | Multicomp | 1 | Buy Now |
| Resistor 100k | Multicomp | 1 | Buy Now |
Top Comments