


Introduction
I'm currently waiting to receive the hardware for the Raspberry Pi Compute Module 5 Development Kit RoadTest. My motivation for applying for that roadtest is to replace a Home Assistant (HAOS) home automation system that I have running on an RPi4. My present system runs HAOS with a Frigate NVR add-on and a Coral USB AI accelerator. During last winter's storms we had multiple power outages that caused corruption of the system SD card multiple times and I decided that I'd like to go with faster and more persistent (reliable) storage like the eMMC flash storage available on a compute module.
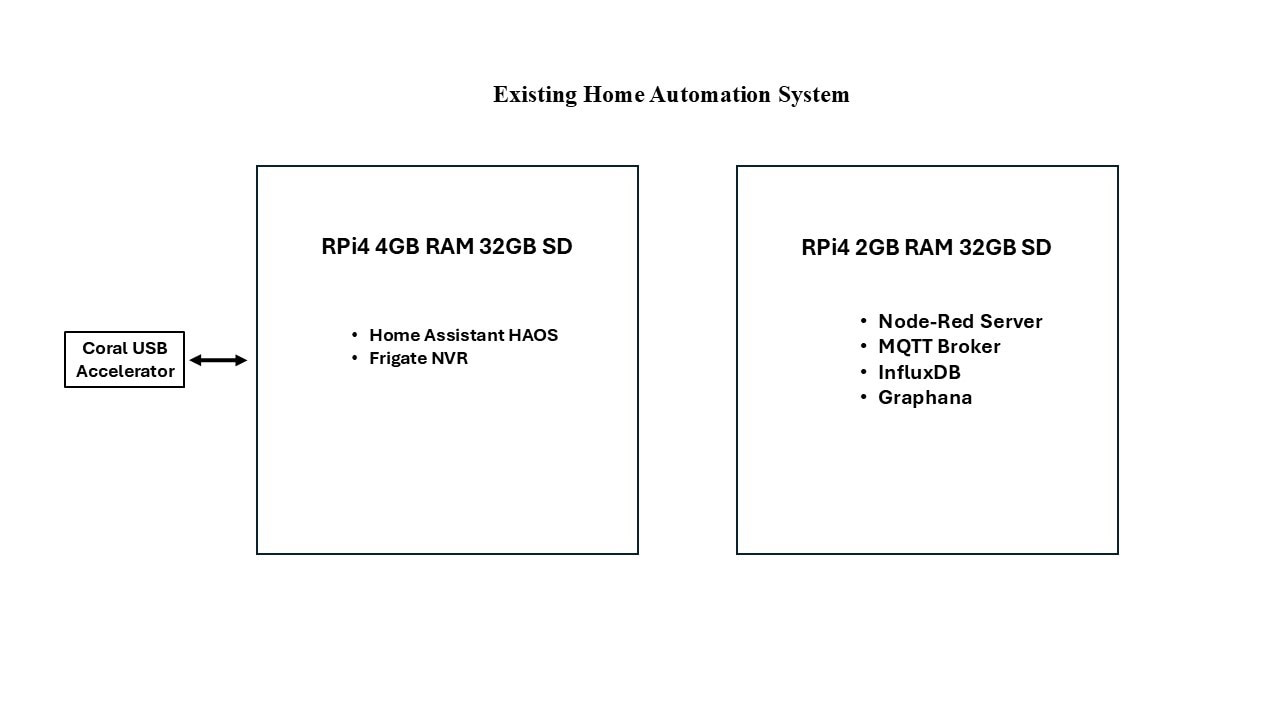
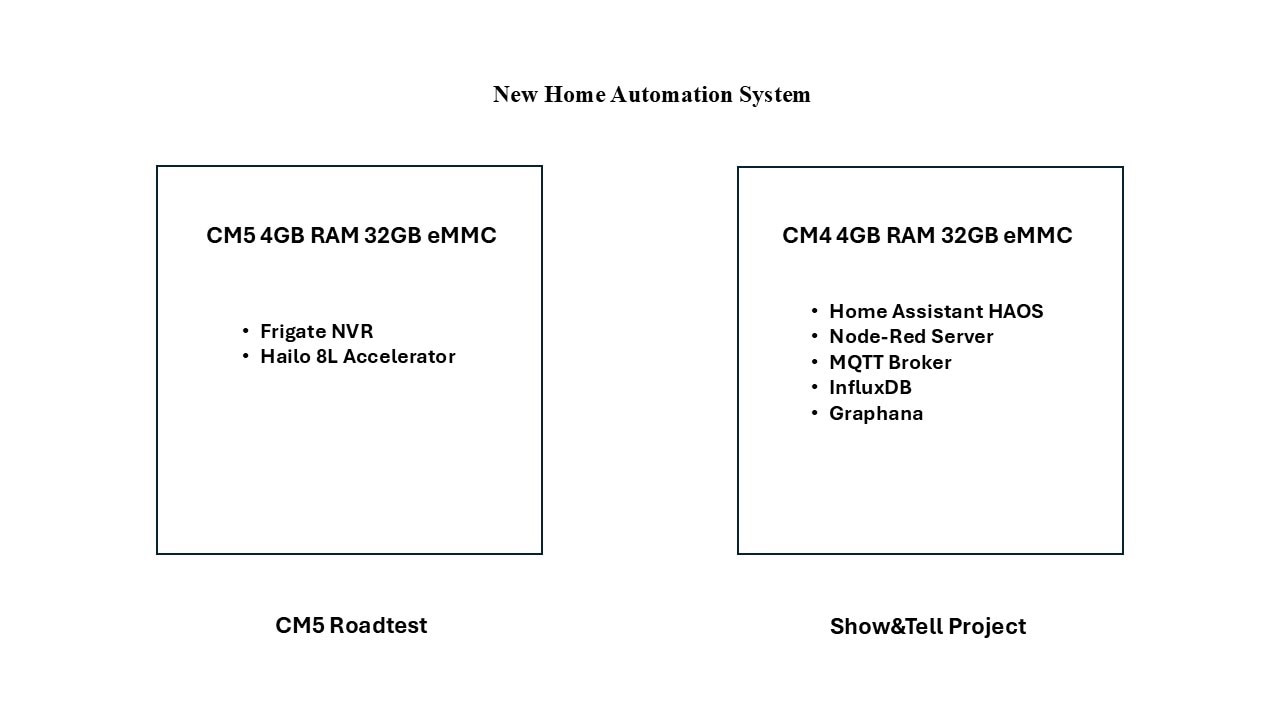
In assessing my existing function partitioning, I decided that I would take this opportunity to reorganize my system configuration. Here are diagrams of my existing setup and my restructured one.
My existing setup evolved over time. I originally had a requirement to create local dashboards for my environment sensors (temperature, humidity), so I started using an RPi4 with Node-Red and MQTT for messaging. Then I added database and graphing capability for analysis. Later I wanted a home automation tool that I could use to aggregate control for switches and lights from the various vendors and their apps, so I added another RPi4 flashed with Home Assistant (HAOS). Then I wanted to add object detection and storage for my security cameras, so I added the Frigate add-on to Home Assistant. Then I added a Coral USB AI accelerator to improve detection performance. One thing that I learned from this setup is that I had difficulty adding more than a couple of cameras before it started to impact the operation of Home Assistant. Therefore, I will partition the new setup with a CM5 dedicated to running Frigate (this is the RoadTest kit). And use a separate CM4 for HAOS and the other utilities (Node-Red, etc) will be HA add-ons. The CM4 setup is the subject of this Show&Tell project.
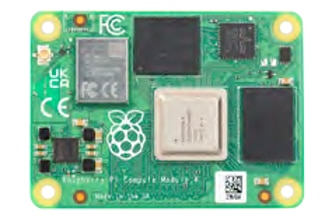
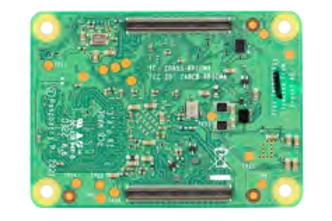
RPi CM4 with HAOS
CM4104032
| Specification | Details |
|---|---|
| Processor | Broadcom BCM2711 quad-core Cortex-A72 (ARM v8) 64-bit SoC @ 1.5GHz |
| Memory | 4GB LPDDR4 |
| Storage | 32GB eMMC |
| Connectivity | Optional wireless LAN, 2.4GHz and 5.0GHz IEEE 802.11b/g/n/ac wireless, Bluetooth 5.0, BLE with onboard and external antenna options |
| Onboard Gigabit Ethernet PHY supporting IEEE1588 | |
| 1 × USB 2.0 interface | |
| PCIe Gen 2 x1 interface | |
| 28 GPIO signals | |
| SD card interface for SD card or external eMMC | |
| Video | Dual HDMI interface (up to 4Kp60 supported) |
| 2-lane MIPI DSI display interface | |
| 2-lane MIPI CSI camera interface | |
| 4-lane MIPI DSI display interface | |
| 4-lane MIPI CSI camera interface | |
| Multimedia | H.265 (4Kp60 decode); H.264 (1080p60 decode, 1080p30 encode); OpenGL ES 3.0 graphics |
| Input power | 5V DC |
| Operating temperature | 0 to +80°C |
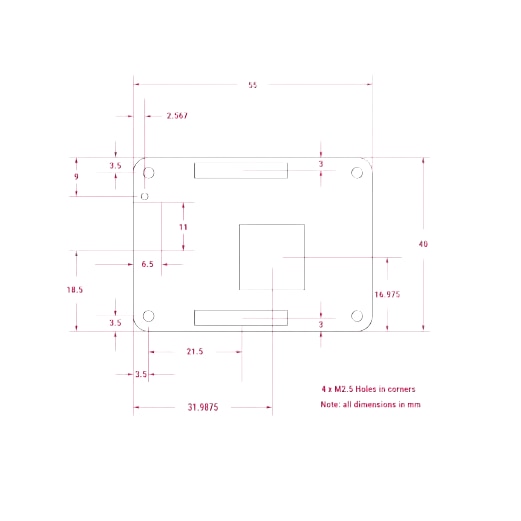
| Dimensions | 55 mm × 40 mm |
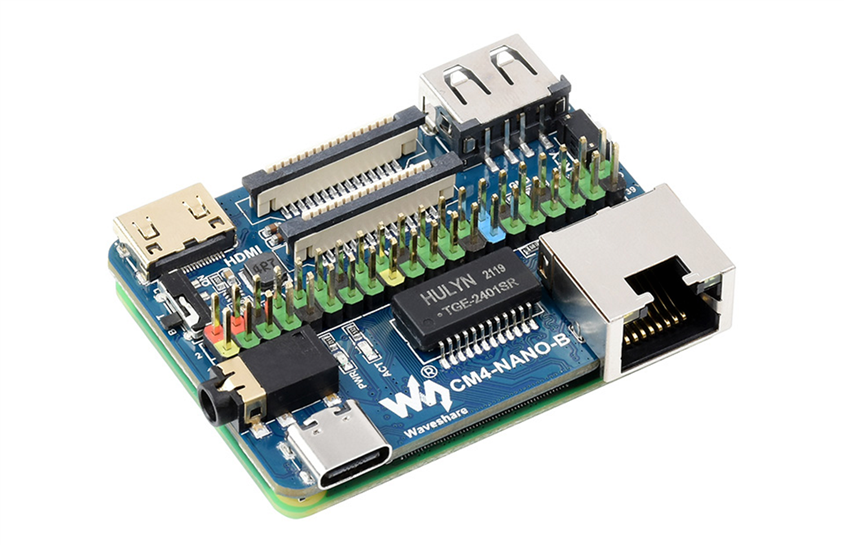
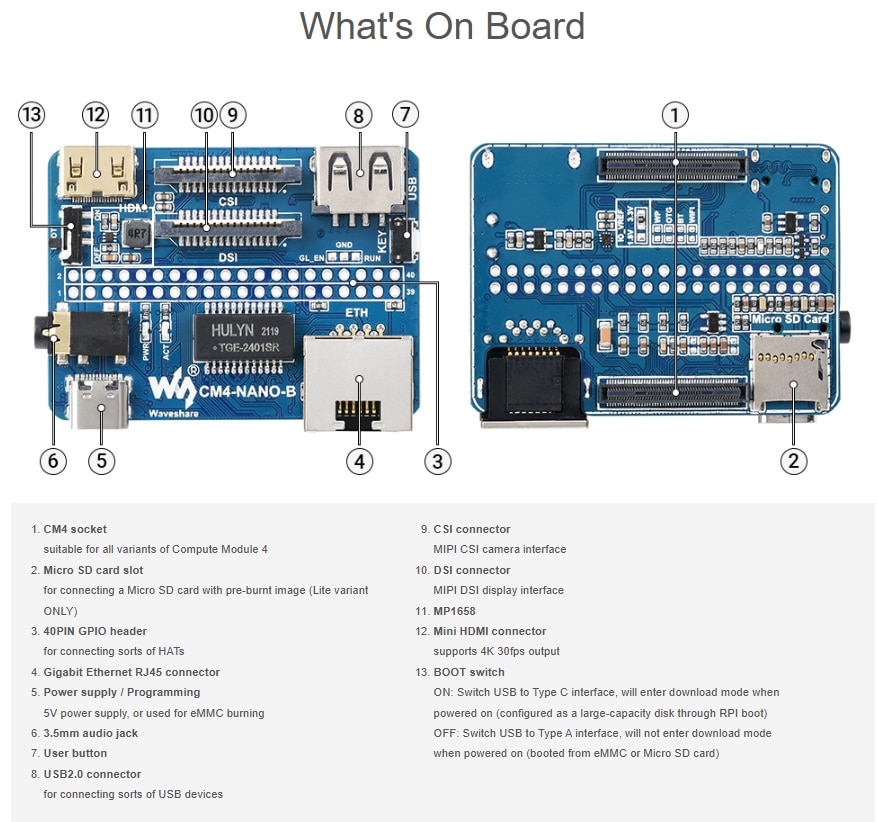
Waveshare CM4-Nano-B Carrier Board
I am using a Waveshare Carrier that has the same footprint as the CM4 to provide a very compact assembly.
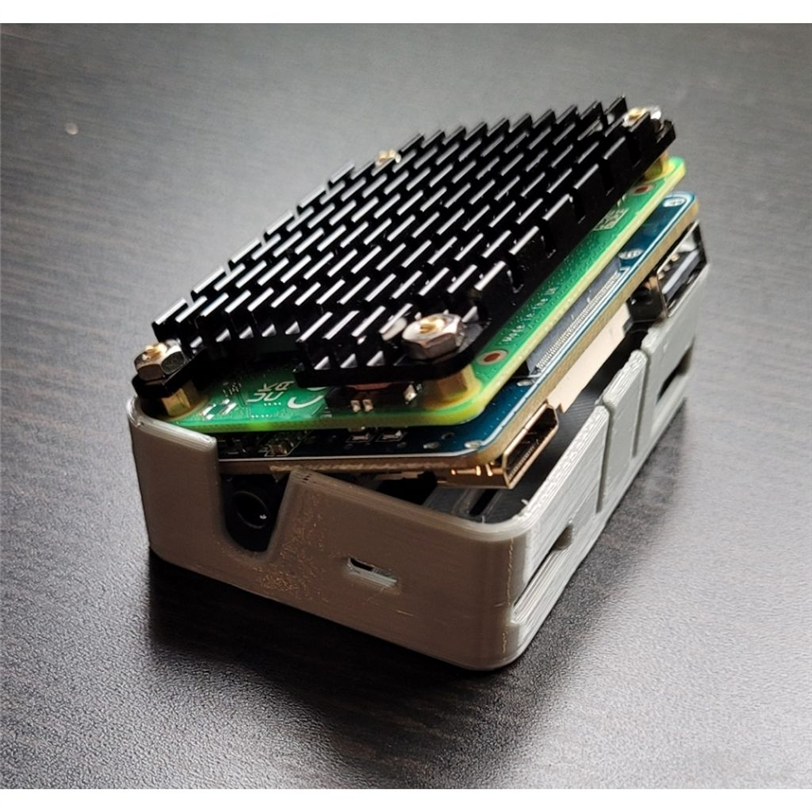
3D printed enclosure with CM4+Carrier+Heatsink
I found a 3D file on Thingiverse, PI_CM_WS_nano_b_case.stl, that I could use with with the carrier board and passive heatsink. I am not doing any heavy computational work, so the passive heatsink should be fine (might not even be needed). When I was running HAOS with Frigate I used active cooling with a heatsink and fan.
I hadn't intended to post this project until I saw the Show&Tell competition, so I don't have the disassembled view (it's a snap fit in the enclosure which makes it somewhat difficult to easily take it apart once the heatsink is added). Below are pics of the ports on the case.
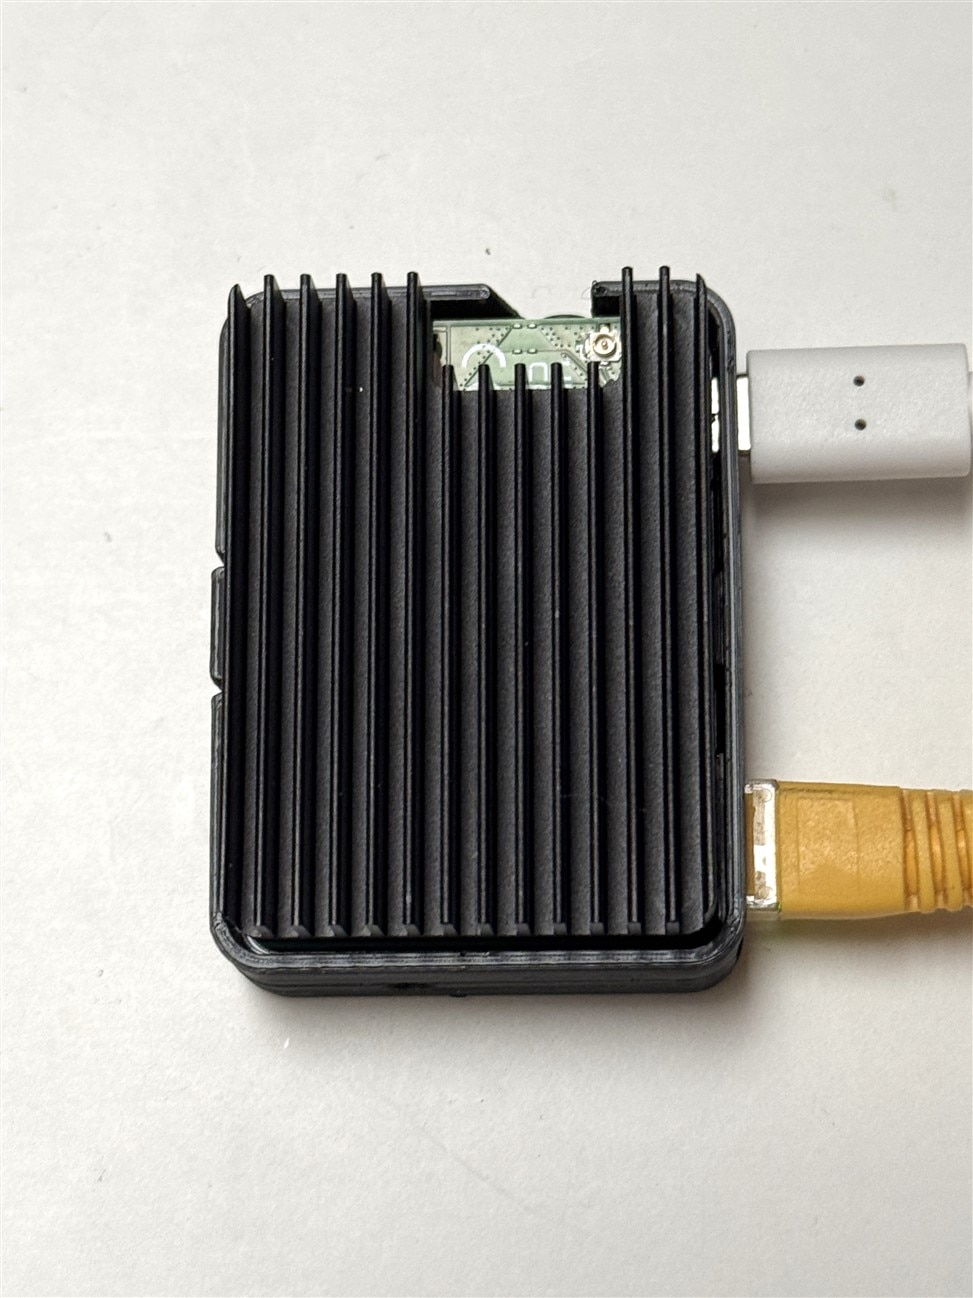
Top view looking down at the heatsink
- Yellow cable is Ethernet (using it rather than WiFi for improved reliability)
- White cable is USB-C power (using 5V 3A RPi power adapter)
- uFL WiFi antenna connector is available but not used
Bottom view
- 40p GPIO connector
- CSI connector
- DSI connector

Side view
- Mini HDMI connector
- USB-A host connector
- Latch to hold assembly in case

Side view
- Ethernet RJ-45 connector
- USB-C power connector
- SD card socket above USB-C (easier to see in next pic)


Side view
- Audio jack
- Boot switch

Side view
- User button

Home Assistant
HAOS Installation
The good news is that the Raspberry Pi Imager can be used to flash HAOS onto the eMMC card. There's a couple of extra steps involved because we are writing eMMC rather than an SD card. There is an additional usbboot (rpiboot) utility required to expose the eMMC as a normal drive for writing. You also need to set the Boot switch on the carrier board for this mode. The instructions are straightforward and I did not have any issues. The one caveat is that the USB-C port is being used to both power and flash the CM4 so the host computer port needs to have sufficient power or you'll need to add a powered USB hub. I used the USB3 port on a Windows desktop without any issues (rated at 900 mA).
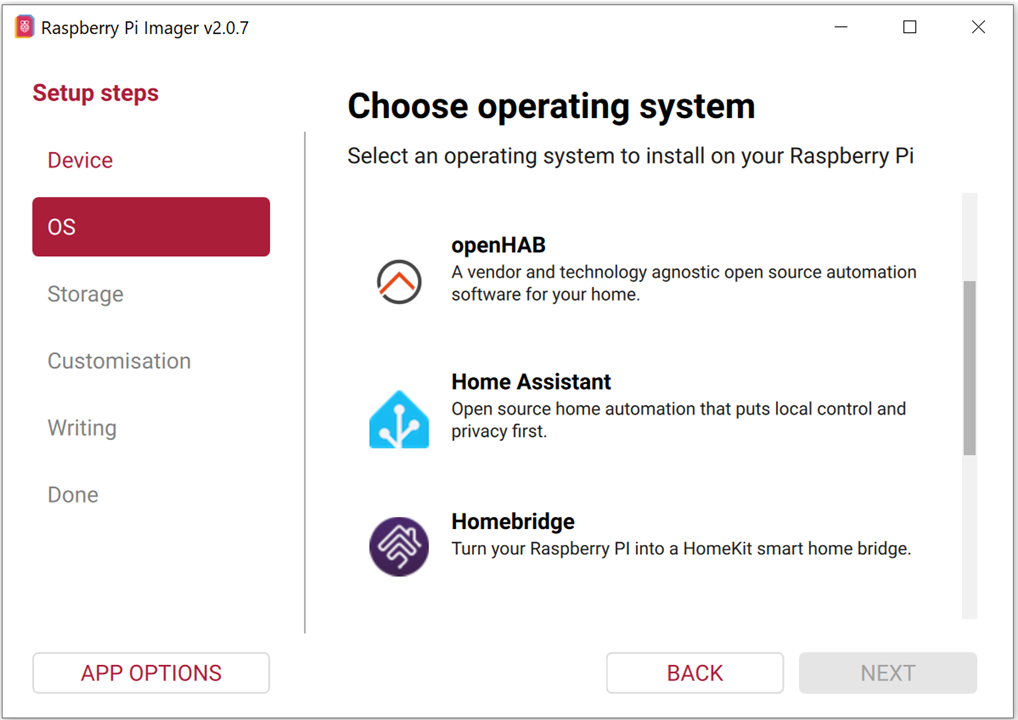
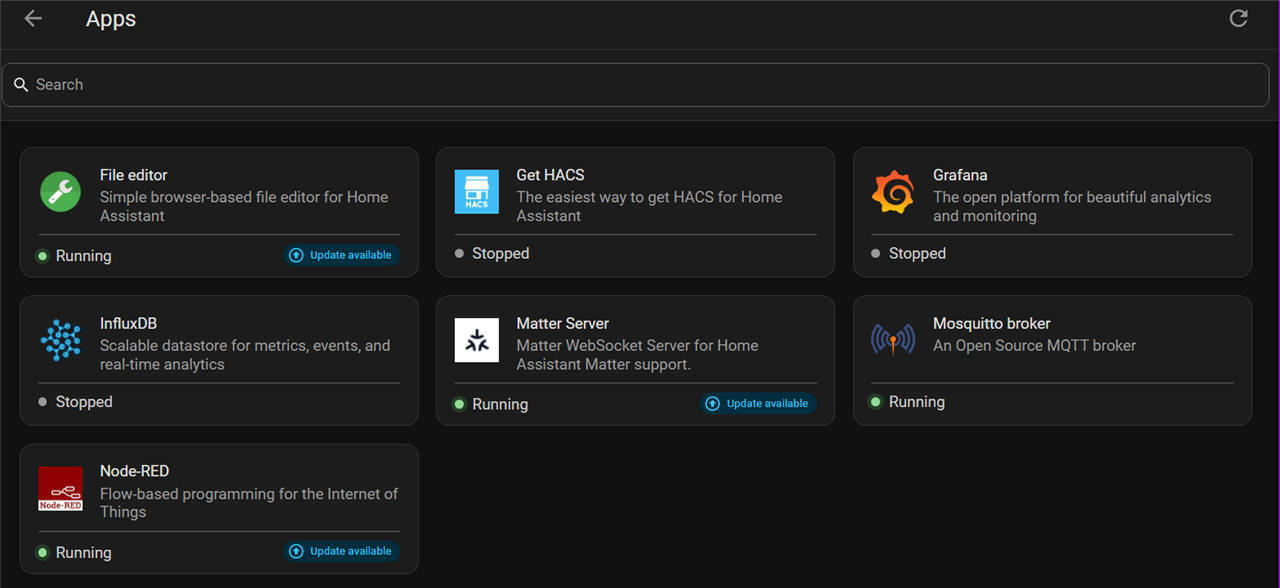
I won't go through all the setup and configuration steps as these are well documented. You are required to create a User account with name and password. And it is also necessary to install HACS (Home Assistant Community Store) to get Node-Red, InfluxDB, and Grafana. MQTT is a standard (official) add-on.
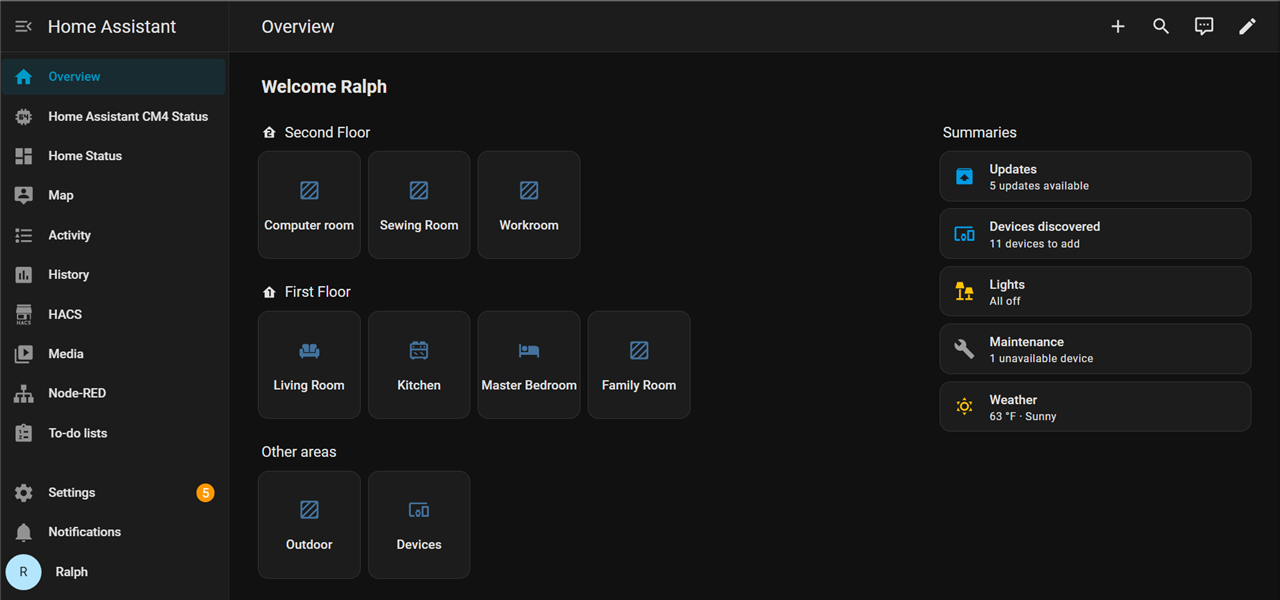
Home Assistant Home Page
Installed Apps
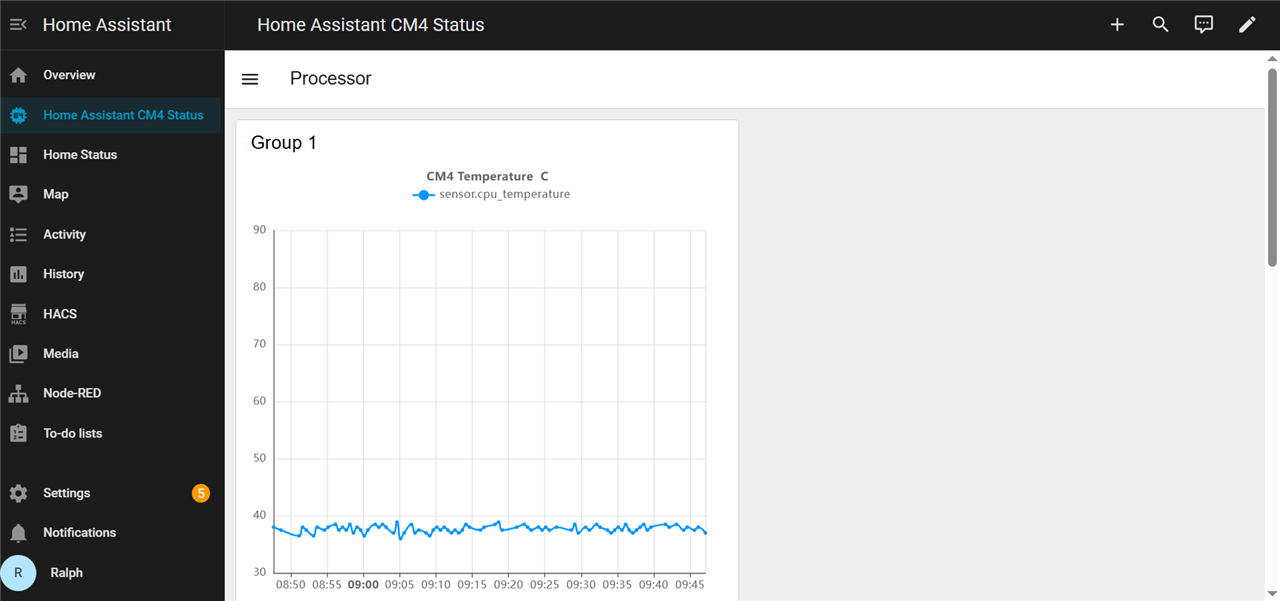
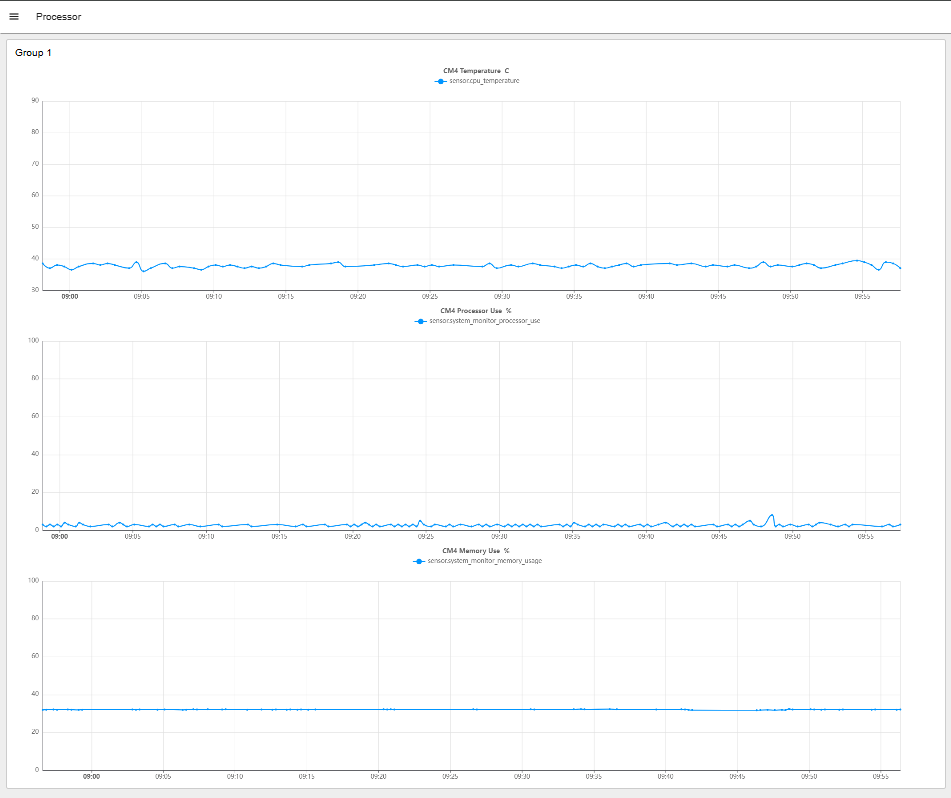
CM4 Status (have to scroll down for processor and memory usage)
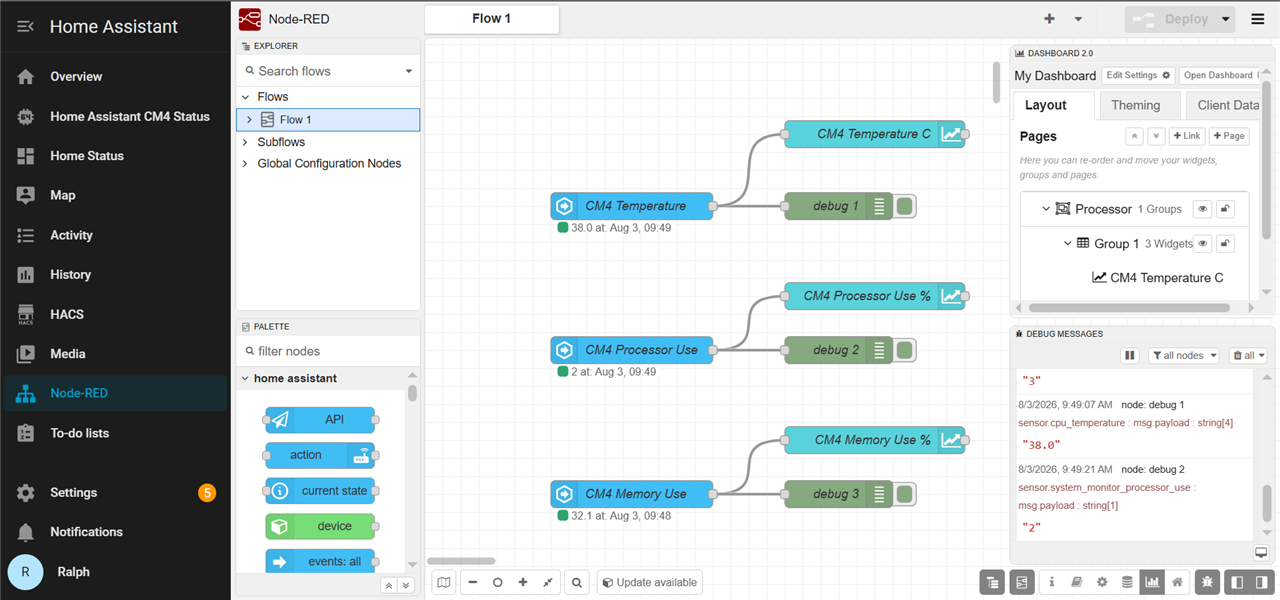
Node-Red flow to mimic CM4 status on external dashboard
The Deployed Dashboard at URL: http://homeassistant:1880/endpoint/dashboard/page1
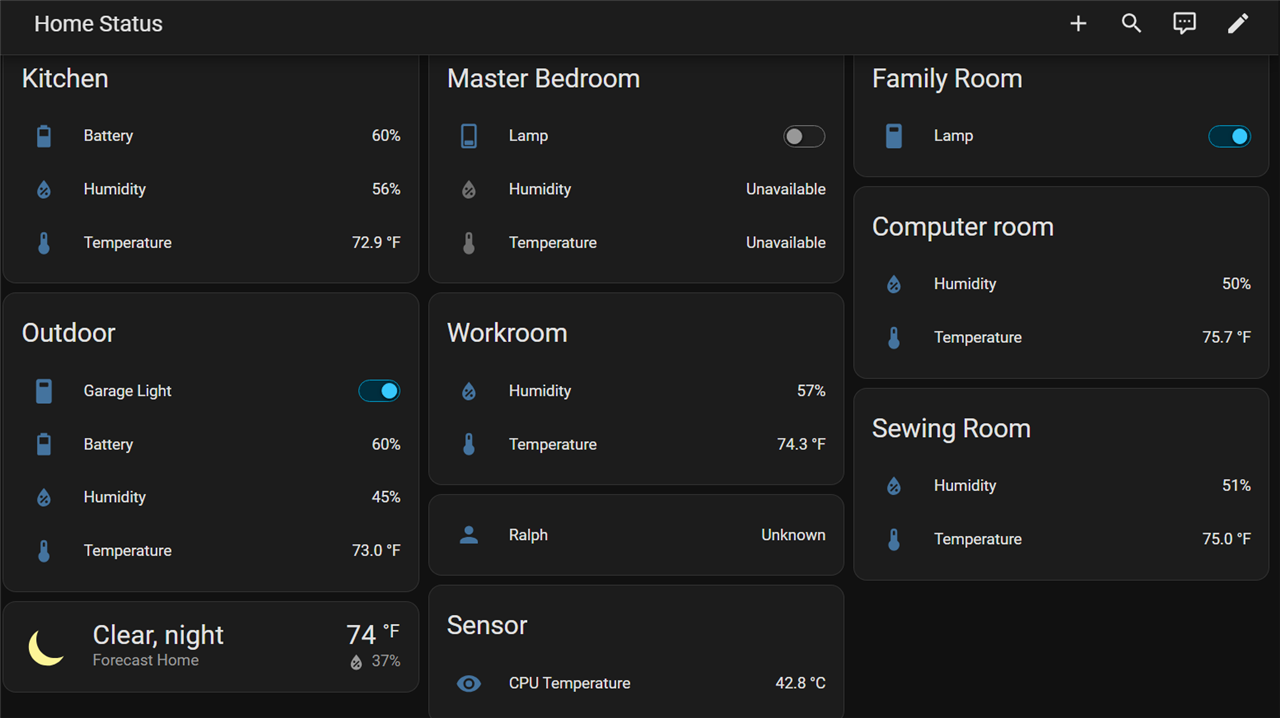
Status of Sensors and Lights
Project Summary
Home Assistant is running with the required apps installed. I've just tried Node-Red, so there's more testing required to verify the other apps. The processor temperature is staying below 45 C with a 25 C ambient, so I'm confident that I don't need active cooling. I really like the small footprint. I think that I might add an audible alarm.
Now need to wait for the CM5 RoadTest hardware to arrive to get Frigate running. I have a Hailo 8L M.2 AI accelerator that should give me a lot better performance at 13 TOPS vs the 4 TOPS of the Coral USB (I also have a Coral M.2 which is also rated at 4 TOPS, but should perform better than the USB). Unfortunately, the CM5 IO Board doesn't have room for a dual M.2 adapter, so I can't add an SSD drive. I'll need to see if I can find a fast USB drive.

