


Introduction
What's better than making an electronic toy hacking two toys? Rhetorical question. It is exactly what I have done and enjoyed a lot doing it.
A few months ago, thanks to element14 I got a fantastic Sphero R2-D2 robot. I played with it for a while and loved the features as well as the possibility to program it with a scratch-like language.
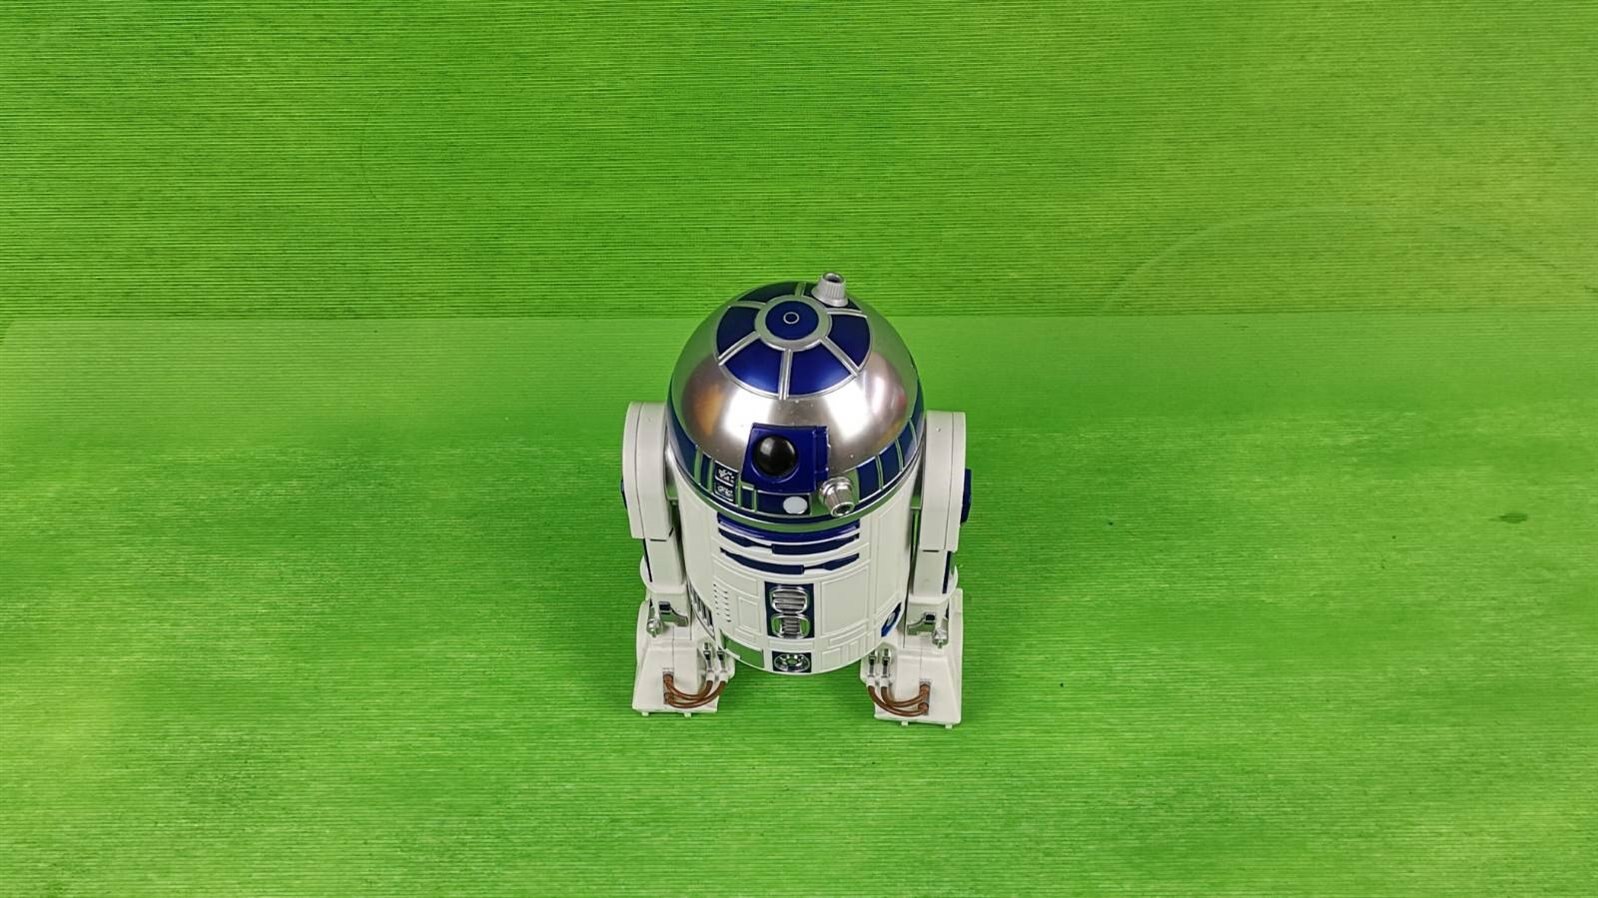
The mobile app is interesting, but the aspect that more attracted me is the availability of the documentation on how to manage the robot through the smartphone, available on GitHub on https://github.com/sphero-inc/DeveloperResources Them the droid laid down for a while, but always under sight, just not to forget it...
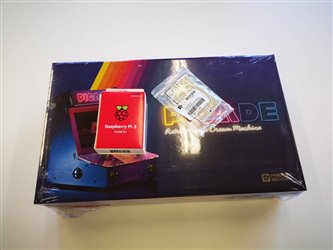
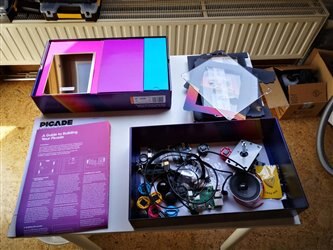
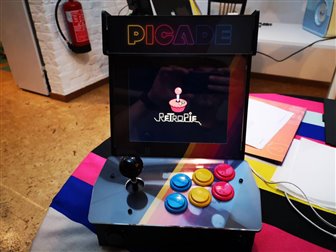
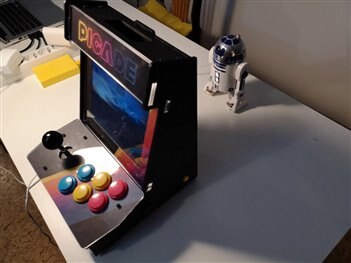
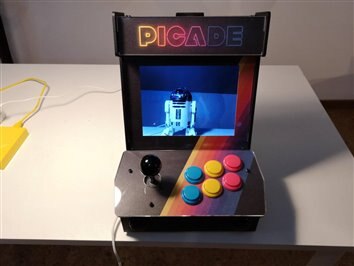
Less than a month ago - me lucky! - I received the incredible Grand Prize of the PiCasso Design Challenge, a Mavic 2 Pro drone (above). Totally unexpected instead, was the prize update after a few days; the past week I received also a PiCade kit ready to assemble including the Raspberry Pi 3 B+. Assembling the arcade and set it up with the RetroPie OS was the first thing I have done the same day.
A Kind of Magic
As I finished assembling the PiCade and powered it at the first boot the R2-D2 droid blinked a LED and emitted a signal. Someone can insinuate it was just a the low battery notification but I am sure it was a signal from the force. Sure! And I started hacking and investigating.
May-4-BWU
The insane idea was to set-up the PiCade for live-action, controlling the droid in a Star Wars simulated environment.
Feasibility Test
Before going ahead in this adventure I had to check a couple of details to be sure that the force can win, at least having hope.
PiCade HAT
Reading the assembly and setup instructions of the PiCade the approach is making the things easy to any user. So I started with the following considerations:
- After the Raspberry Pi has the PiCade Hat installed it is necessary to install the proper PiCade HAT driver
- The driver runs on the RetroPie OS that is a pre-set version of the Raspbian Stretch OS
- The PiCade HAT is relatively simple and efficient hardware that pass the control of the buttons to the system intercepting some mapped key presses
Based on these considerations I have prepared a Stretch Raspbian fresh installation on a microSD card, updated and upgraded the system, and installed the driver. No errors, no issues, all went well and it worked. The driver can be easily configured from the /boot/config.txt file as described in the PiCade GitHub repository (https://github.com/pimoroni/picade-hat ) As a matter of fact, to make our job we don't need to remap any key to a different value but reading the documentation in the Pimoroni repository is very useful to learn more and understand on how the driver works. 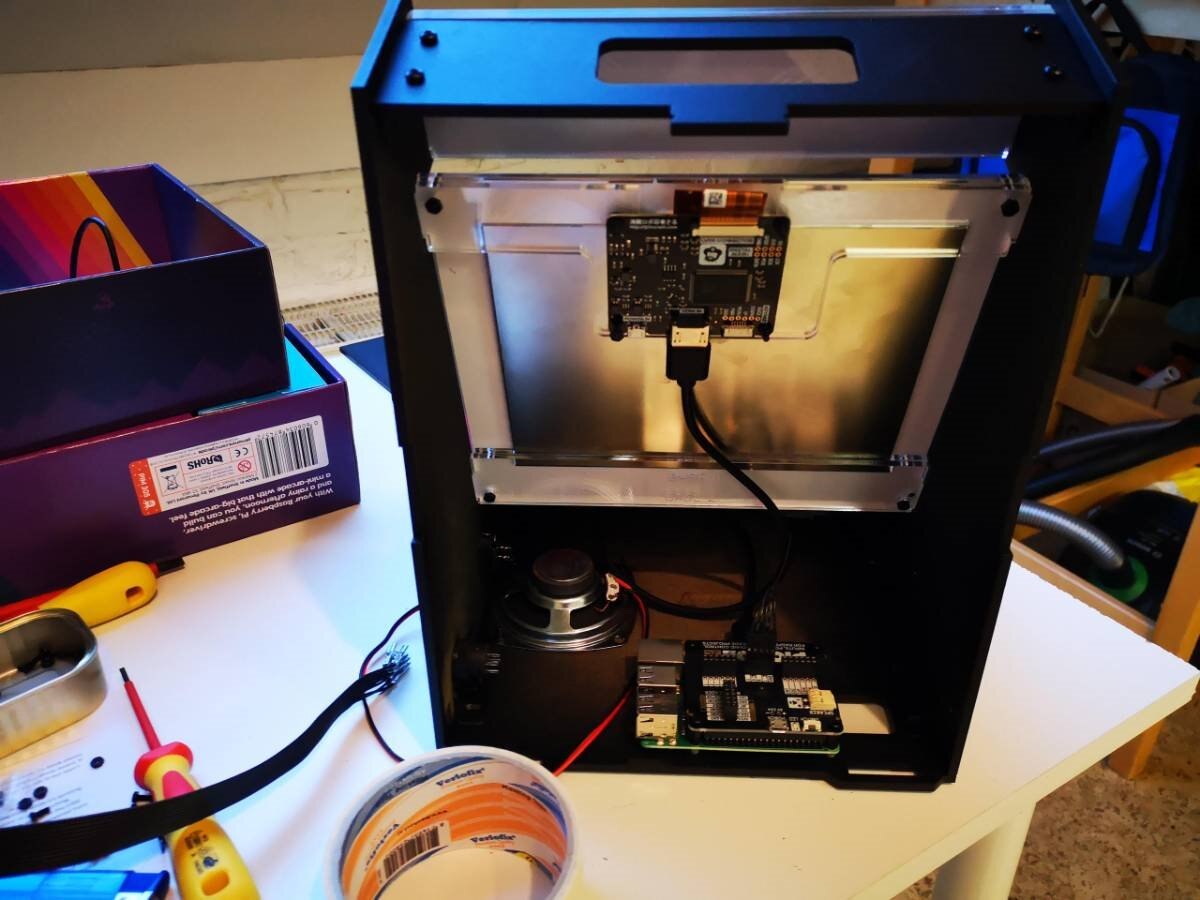
As you can see in the above image, the HAT only manages the buttons and the joystick (also mapped to other keys). The other stuff controlled by the HAT is audio; also this feature worked fine tested on some music videos from YouTube; anyway, in this case, I have not planned to use the audio output as the show will go live. Also, the screen does not represent an issue as its own hardware exposes an HDMI monitor; it is sufficient to set the right resolution in the /boot/config.txt file. After doing some experiments I saw that the best resolution for the PiCade 8 inches screen is 1280x1080 but for better readability, I have set the screen resolution 0.75 the maximum size, 860x720 and it worked fine.
Installing Some Extra Software
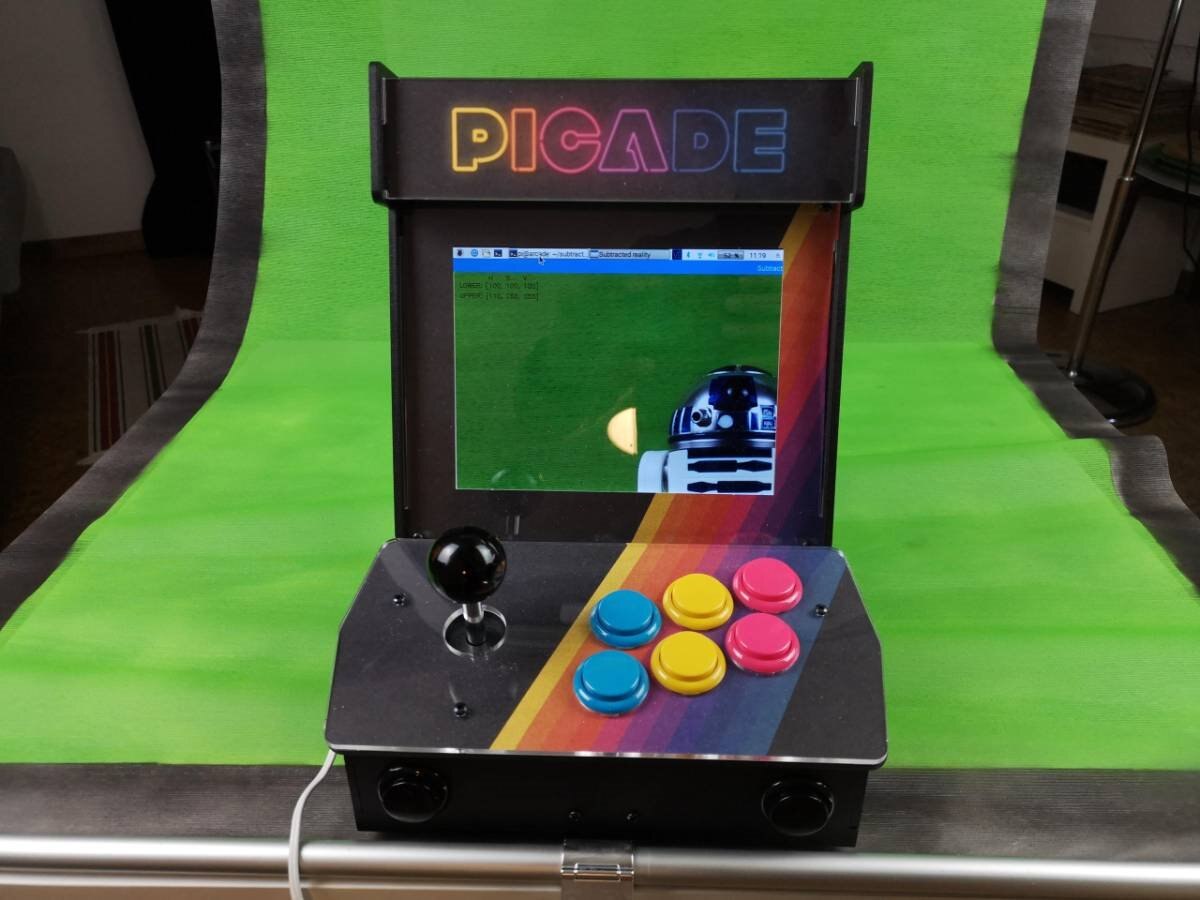
To accomplish the task I had in mind the live image of the droid should be projected in a Star-Wars-like virtual environment inside the PiCade screen: the best solution is creating a chroma-key (also called green screen) to extract the foreground from the background of every image using OpenCV. Using the frame subtraction features of the library it is almost easy to do; to be absolutely certain that the project can reach the next step was installing OpenCV to run in the Python environment.
Maybe it was my lucky day as also OpenCV installation was perfect without issues.
A well-done and inspiring example of how to approach the chroma-key with OpenCV on the Raspberry Pi in Python is described in the excellent work Subtracted Reality by Arnaud Coolsaet.
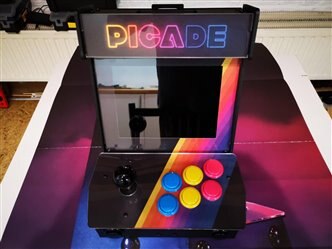
Time to Build and Assemble
After most of the uncertainty for the compatibility between the components has been solved, I started to set up the gaming scenario. The image below shows the IRCGS brand new tool I built for the project.
The acronym IRCGS means IKEA Retractable Curtain Green Screen
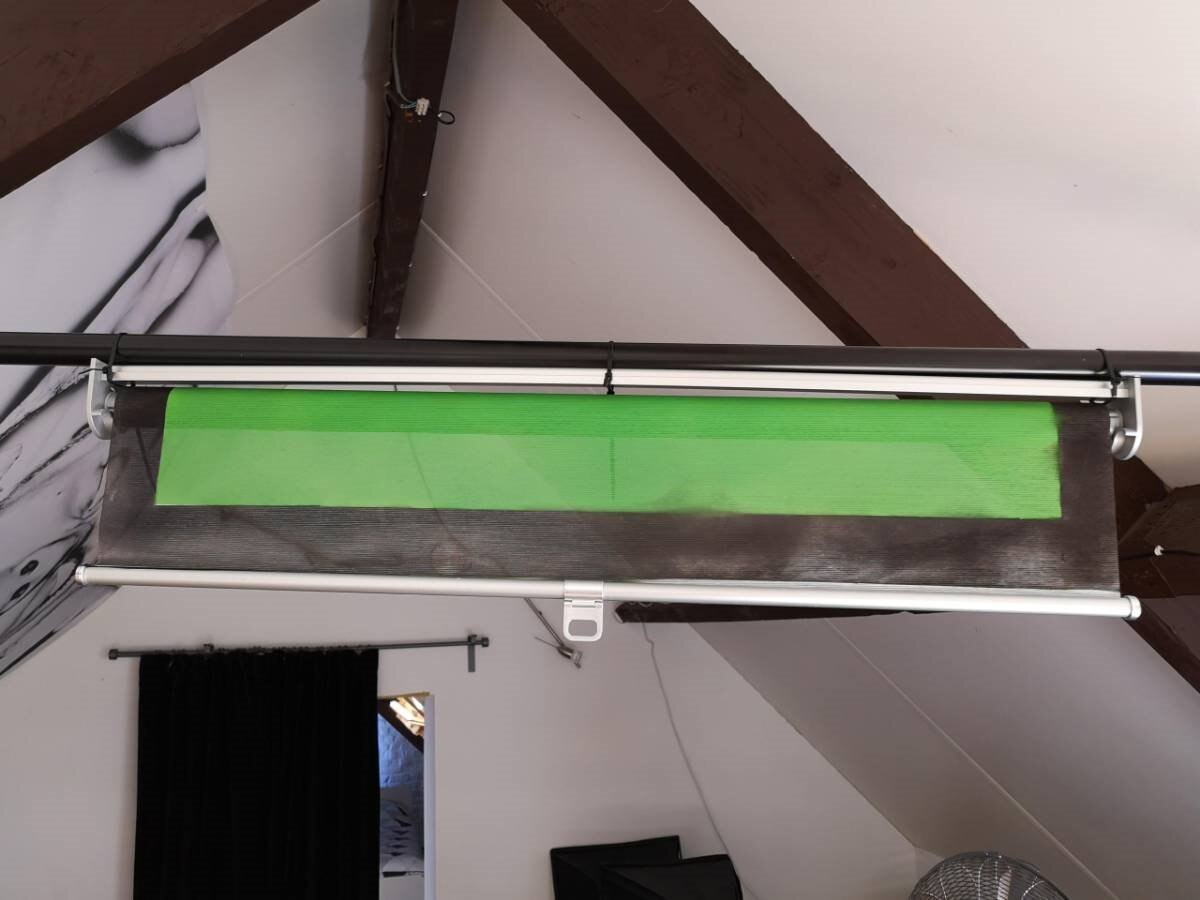
In the images below, the PiCade game set with the green screen in place. When the game is finished, just a small strap et... voila! IRCGS disappear rolled-up to the top bar.

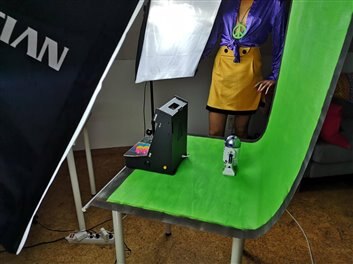
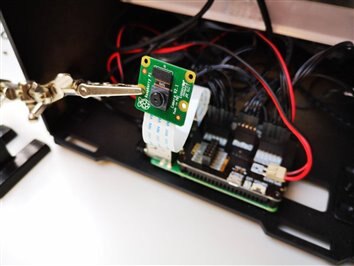
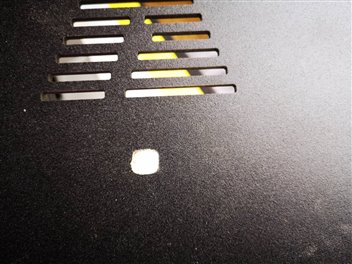
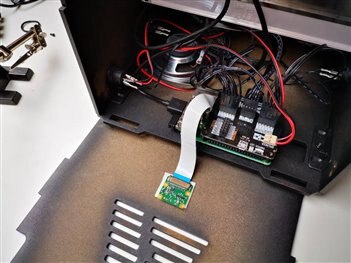
To make the droid visible into the screen, we need a camera! But I have already checked in the previous step that also if the PiCade HAT does not provide any hole for the PiCamera flat cable it is possible to fix it. The images below show how I set the camera to the backside of the PiCade container.

At this point, everything is set as expected and another software session is needed.
The Last Step: Communicating With the Droid
First of all, I have to customize a bit the PiCade driver settings. As mentioned above, after some test I have definitely adopted the resolution for playing with the best compromise between usability and live chroma key efficiency. Using the Raspberry Pi 3B+ and the PiCamera the examples and video below are working at 25 FPS, more than sufficient for the best user experience. Below the few setting changes in the /boot/config.txt file:
# uncomment to force a console size. By default it will be display's size minus
# overscan.
framebuffer_width=854 #1280
framebuffer_height=720 #1080

# uncomment if hdmi display is not detected and composite is being output
hdmi_force_hotplug=1

# Commented parameters are just in case you want to remap the buttons
dtoverlay=picade
dtparam=audio=off
#dtparam=up=97
#dtparam=down=98
#dtparam=left=99
#dtparam=right=100
#dtparam=coin=65
#dtparam=start=66
To be sure to associate the buttons to the desired feature I wrote a few lines in Python to see the decimal scancode for every PiCade console button.
import sys
import tty

tty.setcbreak(sys.stdin)
while True:
    print ord(sys.stdin.read(1))
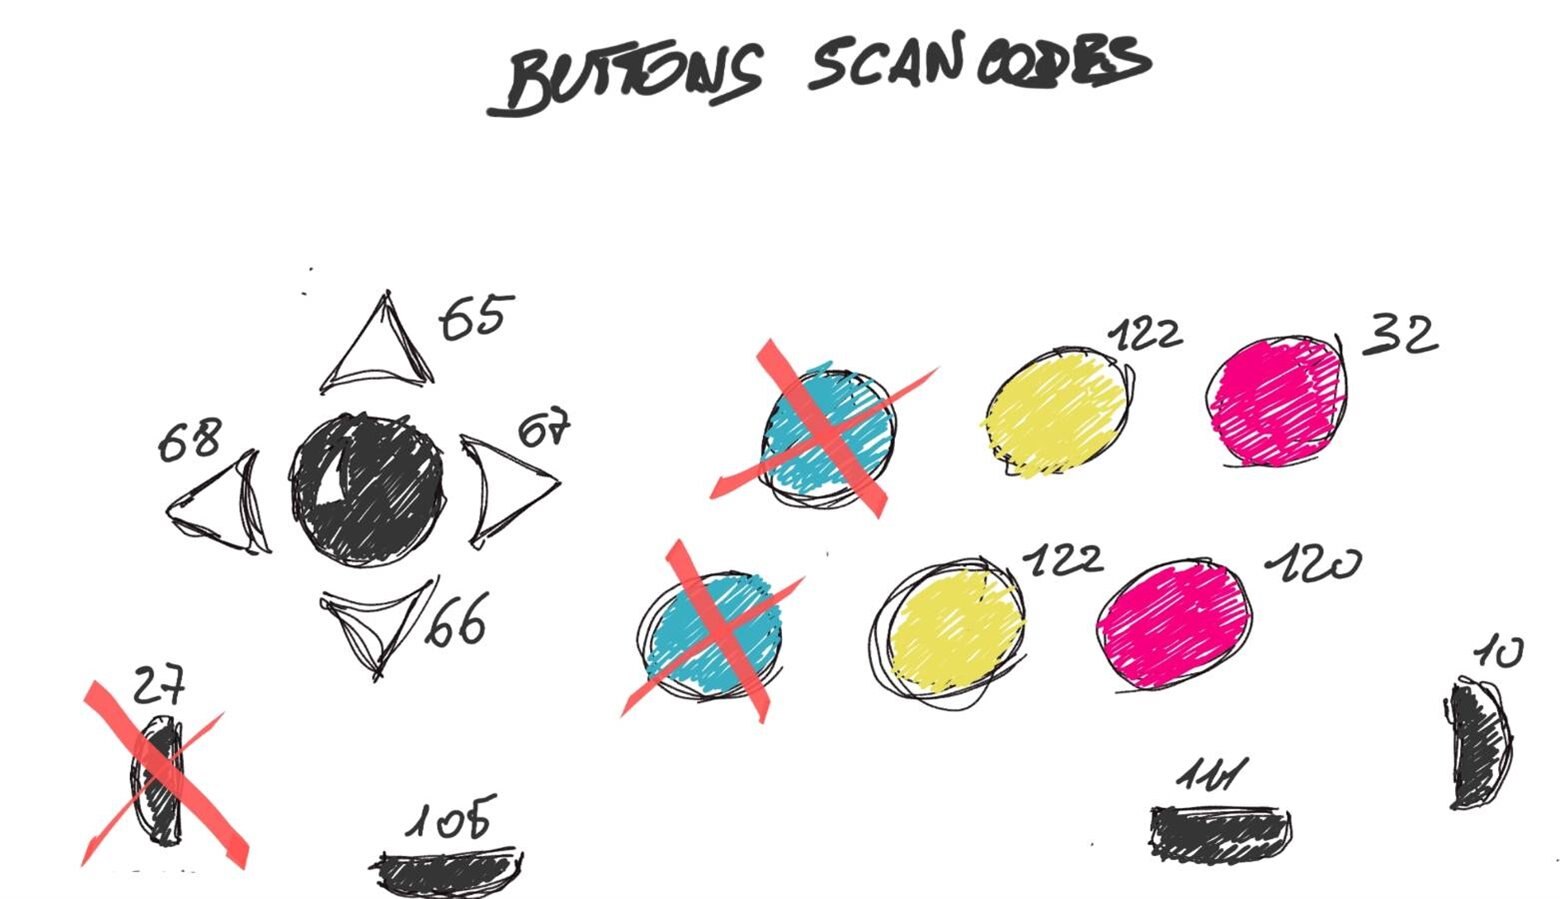
Buttons 1 and 2 does not return a valid ASCII code and are used by the driver for special purposes so I have not used them.
Also the ESC code 27 has been excluded as the joystick buttons return a sequence of three different scancodes: 27-91-66 (in the sketch only the used value of the sequence is shown)
BLE Connection and Commands Logic
BLE connection between the Raspberry Pi and the Sphero act a dedicated protocol sequence using a GATT BLE communication. The detailed information on the protocol sequence is explained by bbraun (no more info on the author) in its document Scripting Sphero's Star Wars Droids you can find in attach. In his description of the reverse engineering of the communication protocol, the very interesting part is how to activate a connection with the droid and keep it alive: the Raspberry Pi should send an initial sequence to the device with the sentence usetheforce...band
As a matter of fact, we connect the droid and immediately notify it that we are the Sphero Star Wars Force Band Controller. Then all the further commands are accepted correctly.
In his example original source, the author limited the code to send a command from the command line then placing the droid in sleep mode.
For simplicity, I kept the command dictionary that is in a human-readable format and the low-level communication functions.
# Commands dictionary in human redable form
commandmap = dict([
("laugh", [0x0A,0x18,0x00,0x1F,0x00,0x32,0x00,0x00,0x00,0x00,0x00]),
("yes", [0x0A,0x17,0x05,0x41,0x00,0x0F]),
("no", [0x0A,0x17,0x05,0x3F,0x00,0x10]),
("alarm", [0x0A,0x17,0x05,0x17,0x00,0x07]),
("angry", [0x0A,0x17,0x05,0x18,0x00,0x08]),
("annoyed", [0x0A,0x17,0x05,0x19,0x00,0x09]),
("ionblast", [0x0A,0x17,0x05,0x1A,0x00,0x0E]),
("sad", [0x0A,0x17,0x05,0x1C,0x00,0x11]),
("scared", [0x0A,0x17,0x05,0x1D,0x00,0x13]),
("chatty", [0x0A,0x17,0x05,0x17,0x00,0x0A]),
("confident", [0x0A,0x17,0x05,0x18,0x00,0x12]),
("excited", [0x0A,0x17,0x05,0x19,0x00,0x0C]),
("happy", [0x0A,0x17,0x05,0x1A,0x00,0x0D]),
("laugh2", [0x0A,0x17,0x05,0x1B,0x00,0x0F]),
("surprise", [0x0A,0x17,0x05,0x1C,0x00,0x18]),
("tripod", [0x0A,0x17,0x0D,0x1D,0x01]),
("bipod", [0x0A,0x17,0x0D,0x1C,0x02]),
("rot+", [0x8D,0x0A,0x17,0x0F,0x1C,0x42,0xB4,0x00,0x00,0xBD,0xD8]),
("rot0", [0x8D,0x0A,0x17,0x0F,0x1E,0x00,0x00,0x00,0x00,0xB1,0xD8])
])
Then, I created the main() function that starts once the connection with the droid and starts checking for a keypress. Every recognized scancode is associated with a series of different commands executed in sequence without any delay, as well as the possibility to press multiple keys processed automatically in sequence as the keyboard is buffered.
# Create the commands sequence
if scancode == 65: # Up
sequences.append(commandmap["tripod"])
sequences.append(commandmap["yes"])
elif scancode == 66: # Down
sequences.append(commandmap["bipod"])
sequences.append(commandmap["yes"])
elif scancode == 67: # Rot left
sequences.append(commandmap["rot0"])
sequences.append(commandmap["no"])
elif scancode == 68: # Rot right
sequences.append(commandmap["rot+"])
sequences.append(commandmap["surprise"])
elif scancode == 122: # Button 3, 4
sequences.append(commandmap["laugh"])
sequences.append(commandmap["happy"])
sequences.append(commandmap["excited"])
elif scancode == 32: # Button 5
sequences.append(commandmap["surprise"])
sequences.append(commandmap["sad"])
sequences.append(commandmap["scared"])
elif scancode == 120: # Button 6
sequences.append(commandmap["confident"])
sequences.append(commandmap["laugh2"])
elif scancode == 105: # Front left
sequences.append(commandmap["angry"])
sequences.append(commandmap["alarm"])
elif scancode == 111: # Front right
sequences.append(commandmap["chatty"])
sequences.append(commandmap["ionblast"])
else:
valid_command = False
This part can be further customized to create an infinite number of different behaviors.
A Suggestion for Further Use of the Program
There is another interesting use of this program I thought while developing it. The source can be modified intercepting the keypress and resending the same scancode to the system so while executing the command the same key can be used as well by the Raspberry Pi. It is not difficult to convert the script in a background service, running at boot (if the droid is not present nothing happens).
Then, think what happens running the service on RetroPie while playing - why not? - a Star Wars game. R2-D2 can be the perfect companion with his hilarious comments and actions!
Now Playing!
I should admit that this step required more and more time than I expected. But you know, to be reliable, software should be tested and tested in-depth...
References
Star Wars backgrounds (already resized), the python source code to control the droid with the PiCade joystick and buttons and other stuff, as well as the Python OpenCV installation instructions (compressed web page) are available on GitHub https://github.com/alicemirror/R2-D2-ArcadeLive
| Scripting Sphero Star Wars Droids.pdf |

Top Comments
-

fmilburn
-
Cancel
-
Vote Up
+2
Vote Down
-
-
Sign in to reply
-
More
-
Cancel
-

balearicdynamics
in reply to fmilburn
-
Cancel
-
Vote Up
+1
Vote Down
-
-
Sign in to reply
-
More
-
Cancel
Comment-

balearicdynamics
in reply to fmilburn
-
Cancel
-
Vote Up
+1
Vote Down
-
-
Sign in to reply
-
More
-
Cancel
Children