


 | Enter Your Electronics & Design Project for a chance to win a $200 shopping cart! Back to homepage | Project14 Home |
| Monthly Themes | ||
| Monthly Theme Poll |
Some time ago I received an Element14 presents prototyping board and a battery power pack for participating in an Element14 activity. At the time I had the idea of using these to make some sort of portable battery powered prototyping module. I needed some PCBs for it, which were on a long delivery time (because that's cheaper!) so I put them to one side and then forgot about the idea. However, for the recent Hardware Hacking Project14 competition I remembered what I had set out to do and decided to see if I could progress my idea. During this delay I had repurposed the 4 mm terminal posts on the prototyping board, for a low cost four decade resistance box I had purchased to perform some experiments on solar cells (Solar Cell Maximum Power Output (Hazy Sunshine) ). This freed up some space on the prototyping board which made things a bit easier.
I wanted to keep the Elemenet14 presents logos visible, as I like a good logo, so this would mean putting any electronics on the right hand side where the terminal posts used to be, so having removed them to use elsewhere was a good idea. The battery power pack was quite large and would not fit nicely on the top. Fortunately is was sufficiently thin that it could be placed underneath the metal plate that forms the structure of the prototyping board. Luckily (?) when I came to re-assess the prototyping board, one of the stick on rubber feet had fallen off and become lost, leaving just the right amount of space for the battery to be fitted there. Additionally, by designing a 3D printed battery holder for the power pack which is exactly the same height as the other three rubber feet I could provide a good foot substitute. I also wanted the power pack battery holder to be just an interference fit so that the battery would slide into the holder easily and then just be held secure by friction. I wanted the power pack recharging micro USB connector to be accessible so that it could be recharged in-situ, plus still show the Element14 presents logo when the prototyping board is turned upside-down. The power pack has a small integrated extension micro USB lead and connector for connecting to things needing recharging, so I put in a small side gap for that. The TinkerCAD design for the battery power pack holder is shown below:
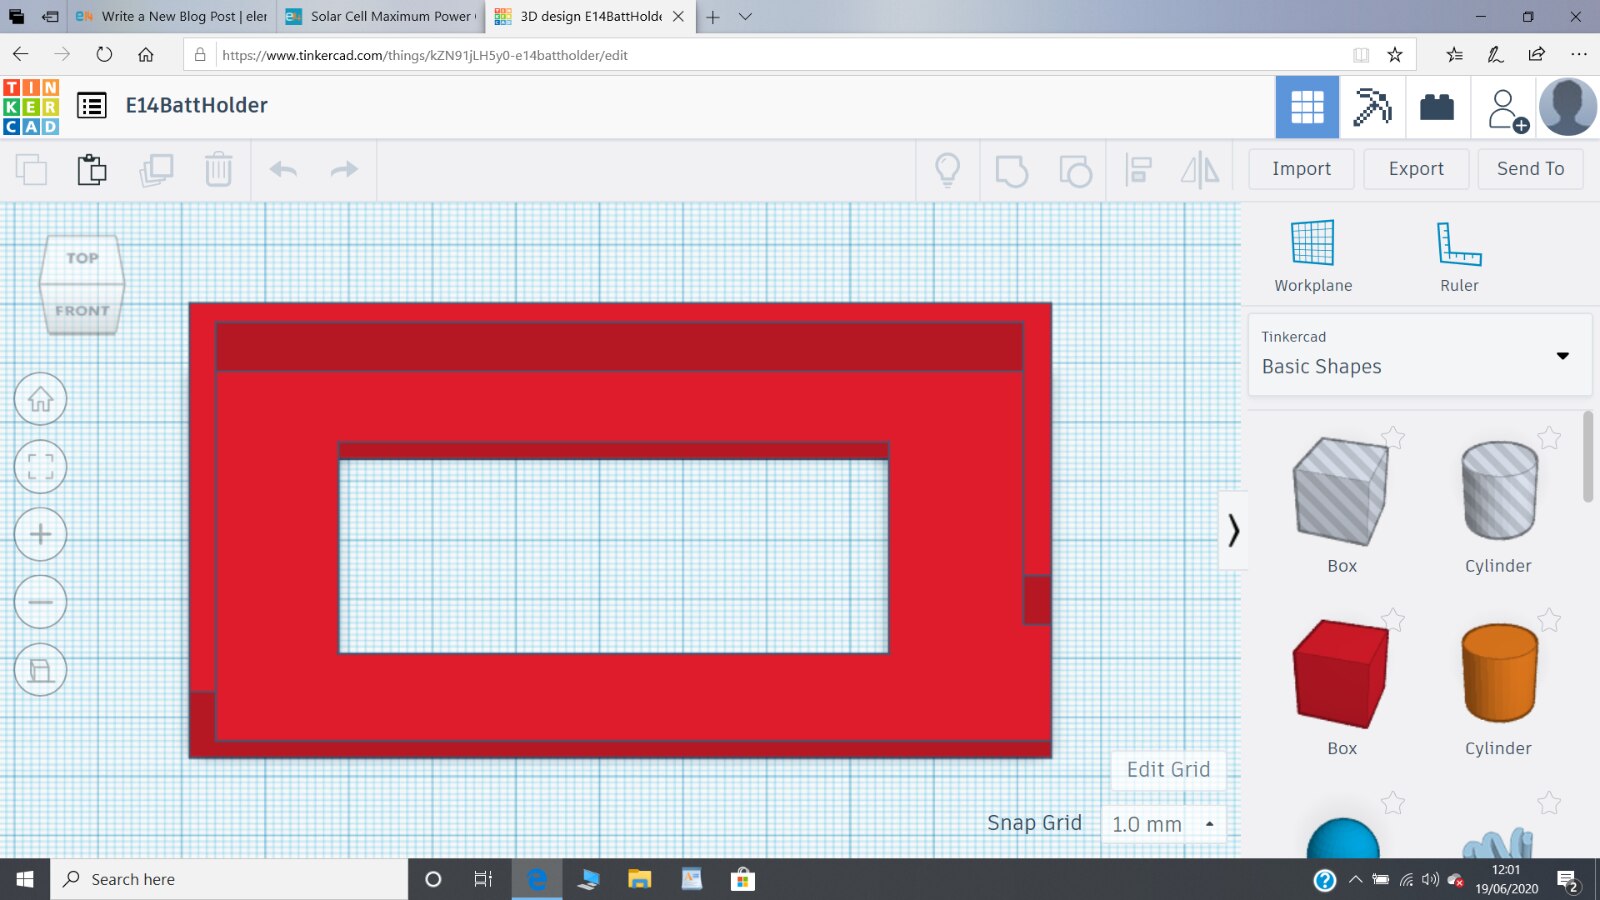
Unfortunately, as I was designing this upside down on my desk when I had printed it and put it the correct way up the gap was on the wrong side, requiring a manual 'alteration'. I then glued it to the bottom of the prototyping board to create the finished structure illustrated in the following video.
I had received the micro USB breakout PCB so I added that to the power pack USB plug so that I can start the process of adding the DC to DC convertor that will be located on the top of the prototyping board in order to provide a variable DC voltage for projects. I have been looking for a small multimeter type instrument to add to the top of the protoboard but so far I have not found anything small enough and cheap enough, so one of the first projects might be to make something myself, probably Nano based. Maybe something along the lines of my mini-voltmeter (TinyDVM#4 : Graphical Display ). As long as it looks good and measures voltages I will be happy. I wonder if it would be possible to measure currents as well?
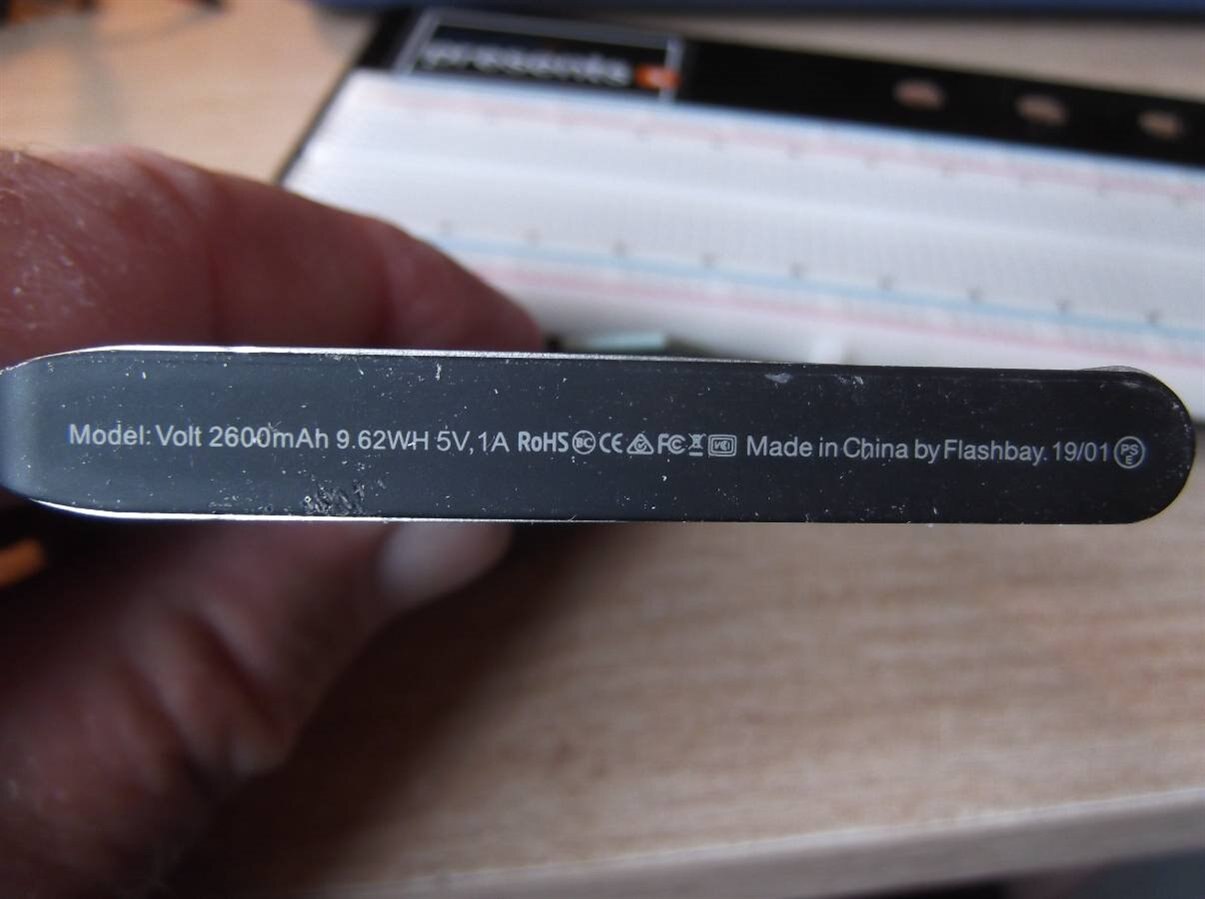
From previous posts on Element14 I was aware that power packs often have the function of cutting off if the load current is insufficiant. I assume this is to prevent problems when the system being re-charged becomes fully charged, but it does present some challenges when using a power pack as a battery supply for the prototyping board. The first thing I wanted to know was what the capability of the Element14 power pack actually was. From a cursory view of the battery itself I could not see anything that indicated any of the characteristics and tried looking on the internet for some ideas. After searching for 'flat power packs', as Element14 power packs didn't produce anything strangely, I managed to find something that indicated that a power pack of this size would be about 2500 mAH, which seems plenty. It was at that point that I noticed a small 'smudge' along one end of the battery. On closer inspection, that is, using a magnifying glass, I could see that the rating of the battery was actually printed on it, see below, but my eyesight was insufficiently good to see it unaided.
There is no indication of the cutoff point so I took some measurements using my decade resistance box and identified that the time before cutoff is approximately 38 seconds and that the threshold current to prevent the cutoff process is approximately 50 mA. I'm not entirely sure about the 50 mA threshold as after several tests leading to cutoffs, the battery seemed to give up altogether and would not come back on. I did think it might be exhausted so I recharged it but it only charged for about 40 minutes at 720 mA which is nowhere near the maximum of this power pack. Anyway, after recharging the power pack seemed to be working again. It may be that the protection circuit has some sort of additional cut-out if it seems to be repeatedly cutting out, in order to avoid oscilations, or perhaps some thermal cut-out point was reached. I will have to be alert for this problem in the future.
I did try using the output at the same time as charging and the output went really weird, oscillating all over the place but as I do not expect to be charging the module at the same time as using it, this should not be a problem.
To obtain the 50 mA minimum it looks likely that I will have to add some resistors across the supply, something like 100 Ohms, or maybe some high power LEDs for lighting or something. The DC to DC convertor will take some current, but it will only be a small amount, plus the project being construction will take some current but that will only be when it is actually turned on. It might be fun to try and design some auto-loading module that varied the load in order to ensure a minimum of 50 mA. The 50 mA minimum current might seem a waste of power but even with a 50 mA load, the battery pack should last 52 hours which seems plenty for a portable system that could be recharged with almost any mobile phone charger. It would be simpler to just use a LiPo battery but where's the fun it that!
The next step is to add a DC to DC convertor to the front of the prototyping board and then think about some sort of voltage meter.
Dubbie
Top Comments