In an IoT sensor application the sensor usually sleeps most of the time and wakes in regular periods for a very short time to send its measurements to the cloud. This should reduce the average current consumption to 10 - 100 uA and enable a long battery lifetime.
Concept of Arduino IoT cloud and misuse
Based on my previous experience of the Arduino IoT cloud I think this cloud aims at another target. It wants to connect your Arduino to the cloud and keep the connection online all the time so that you can always control your Arduino through the cloud. So after startup the Arduino connects to your WiFi and the internet and the Arduino IoT cloud server. Then it exchanges its certificates with the server to authenticate itself and then it keeps this connection online. If this connection is lost it immediately reconnects itself. This comes with the cost of a high current consumption. In my test setup the Arduino MKR WIFI 1010 needed about 125 mA with an active WiFi connection. This Arduino is a dual microprozessor board which consists of a SAMD21 Cortex-M0+ 32bit Low Power ARM MCU for the main program logic and a U-BLOX NINA-W10 Series WiFi module for keeping the connection to the internet and the cloud. One way to reduce the power is to send the microcontroller to sleep mode. In this case this helps only a little bit as it sends only the SAMD21 to sleep mode and reduces the current by about 10 mA. This is good but the overall current is still over 100 mA. The next possibility is to reduce the power consumption of the WiFi module. This can be done with the command WiFi.lowPowerMode (https://www.arduino.cc/en/Reference/WiFi101LowPowerMode ) which reduces the power consumption as far as possible while still keeping the connection. This reduces the overall power consumption to 50 - 125 mA and the power consumption is highly fluctuating but still far from our goal.
Disabling WiFi
The next possibility is to disable the complete WiFi module during sleep mode and enable it only for transmission. This can be done with the command WiFi.end (https://www.arduino.cc/en/Reference/WiFi101End) and reduces the overall power consumption to 15.5 mA and brings us a big step closer to our goal. During transmission the power consumption stays at 125 mA but this is OK. Unfortunatelly this changes the whole logic of the programm as the setup of the Arduino cloud has to move from the setup function to the loop function:
  ArduinoCloud.begin(ArduinoIoTPreferredConnection);

  /*
     The following function allows you to obtain more information
     related to the state of network and IoT Cloud connection and errors
     the higher number the more granular information you’ll get.
     The default is 0 (only errors).
     Maximum is 4
 */
  setDebugMessageLevel(2);
  ArduinoCloud.printDebugInfo();
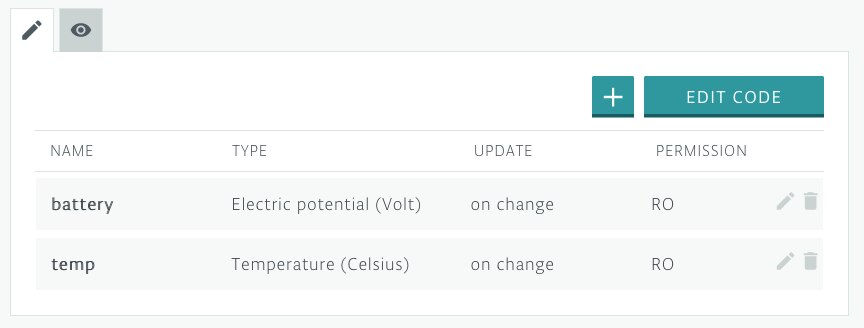
At the start of the loop function the WiFi module has to be enable again with the command digitalWrite(NINA_RESETN, LOW); After this command you have to wait a least 2.6 seconds until the WiFi module has fully booted. At the end of the loop function you have to wait 10 to 15 seconds and call ArduinoCloud.update(); several times to allow the transmission of the data to the cloud before you disable the WiFi module again. If you change the variables in the Arduino IoT cloud to update on change it seems like they are transmitted faster.
It would be better if this time interval would be shorter but at the moment I haven't found a way to achieve this.
Further optimizations
The next improvement is to use the ArduinoLowPower library and a timed wakeup as described here: https://www.arduino.cc/en/Tutorial/LowPowerTimedWakeup This reduces the sleep current to 5.5 mA.
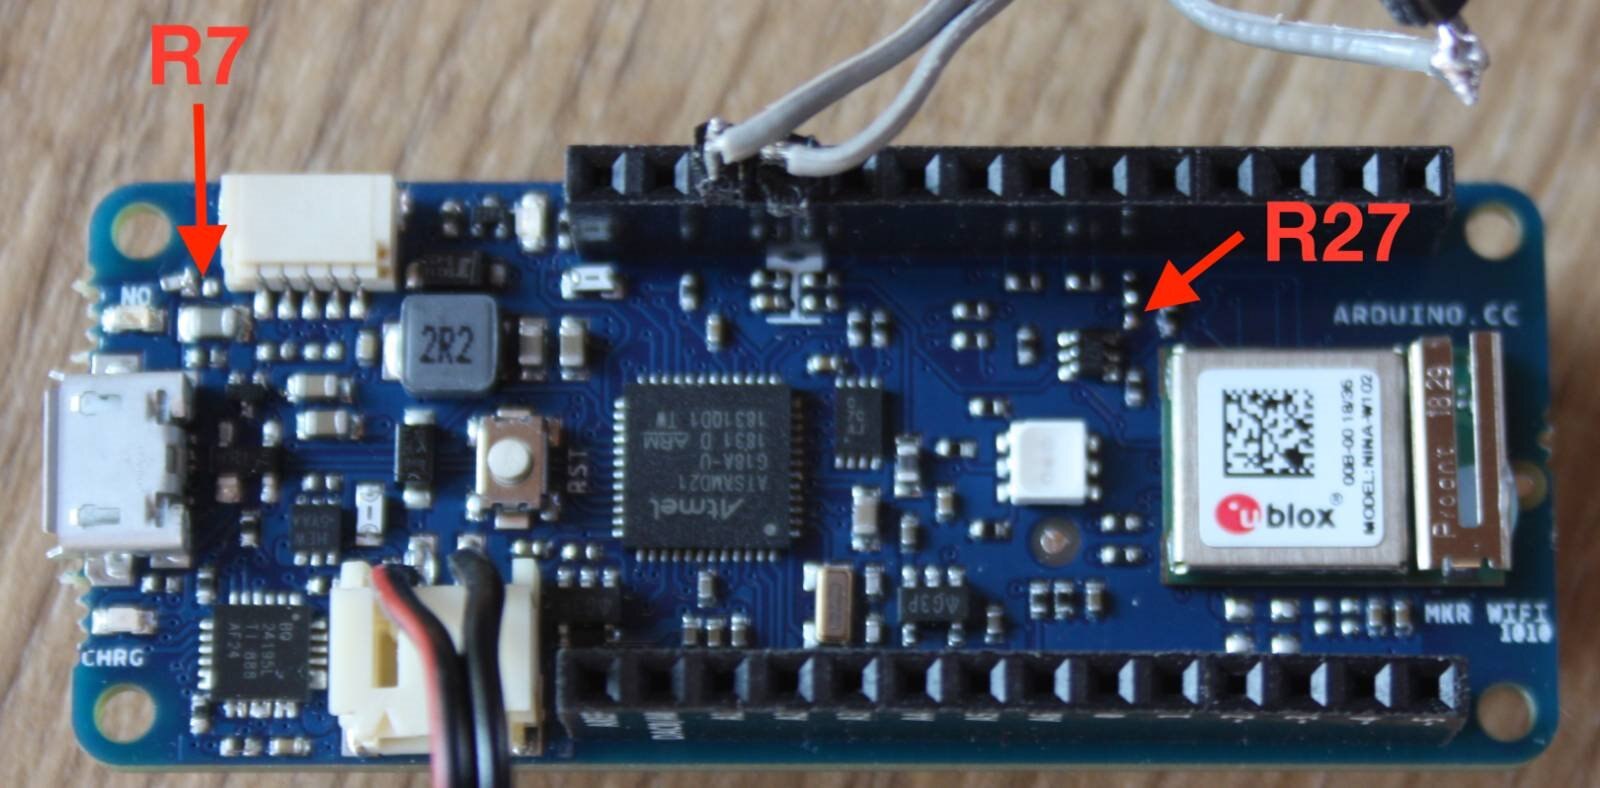
Now it gets tricky. The next energy waster is the green ON led (DL3) which is directly connected to the battery and burns all the time. When you disable the LED by desoldering the LED or R27 the current is further reduced to 1.7 mA
The next step is to remove R7 which is a pull up to the reset of the WiFi module. This resistor is unnecessary as the WiFi module has an internal pull up. This reduces the current to 1.4 mA.
My final step is to send the ECC508 to sleep mode. The Arduino IoT library enables this IC but it is never disabled. To send this part to sleep made one has to first connect to it and the end the connection with the following commands:
  ECCX08.begin();
  ECCX08.end();     // power down ECC508
This step brings the power down to about 0.8 mA or 800 uA.
Potential
This is not the 10 - 100 uA I wanted to achieve but until now I couldn't find further ways to reduce the current and now it is way better than it was before.
If you add up the current consumption of all the parts (microcontroller in sleep mode, battery charger, LDO, pull ups) you get to about 300 uA. So there should still be some potential to reduce the current and maybe I will find new ways in the future.
The new code with all power optimizations can be found here: https://create.arduino.cc/editor/generationmake/a59ef69e-2c73-458d-a6ed-b2cb6c120b0b/preview
What's next?
As next part I will build the anemometer and do some wind speed measurements.


Top Comments
-

scottd.nerd
-
Cancel
-
Vote Up
0
Vote Down
-
-
Sign in to reply
-
More
-
Cancel
Comment-

scottd.nerd
-
Cancel
-
Vote Up
0
Vote Down
-
-
Sign in to reply
-
More
-
Cancel
Children