


Hello everyone!
I am excited to share with you my latest project, a musical Pomodoro timer for my work desk. I wanted to build something that incorporated both Time and Music in a fun, useful way. So, here we go on the journey of how I built the project and showcasing the results to you all!

Introduction:
Do you find yourself getting easily distracted while working on your desk? Do you often lose track of time and end up spending hours on end doing unproductive tasks? Well, worry no more! A musical Pomodoro timer for your work desk is here to help you stay focused and productive while keeping things fun and engaging.
What is a Pomodoro timer, you may ask? It's a technique that involves breaking down your workday into 25-minute intervals, with 5-minute breaks in between. This technique helps you stay focused on your task and gives you small breaks to recharge and avoid burnout. A Pomodoro timer is a device that helps you keep track of these intervals and reminds you when it's time to take a break.
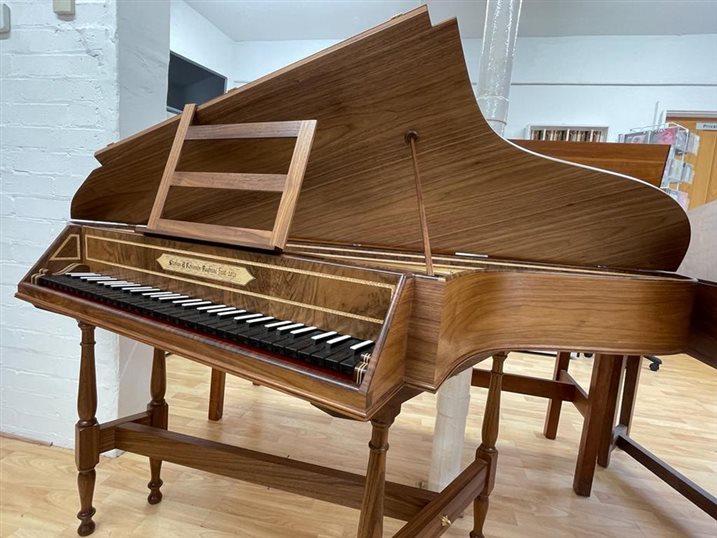
The musical Pomodoro timer takes this concept to the next level by creating a musical instrument, a spinet, that you can play while you work. It's built using Arduino and uses two ultrasonic sensors to compute the distance between them and create different notes. You can tap in the middle of the sensors to start the Pomodoro timer, which will stop the spinet and run for 25 minutes, reminding you to stay focused on your task.
Process:
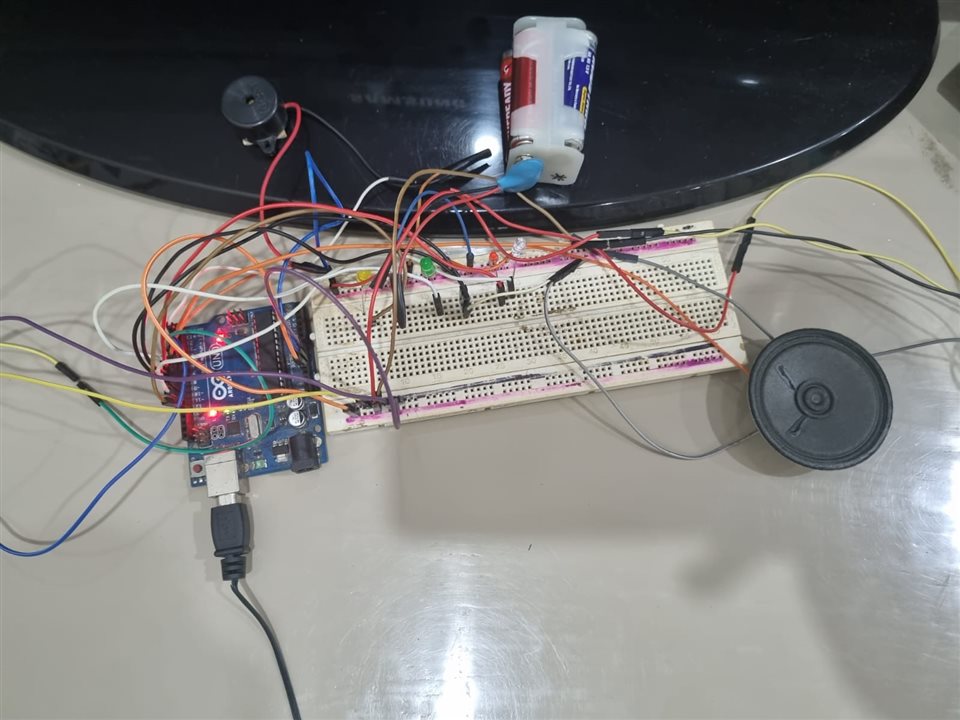
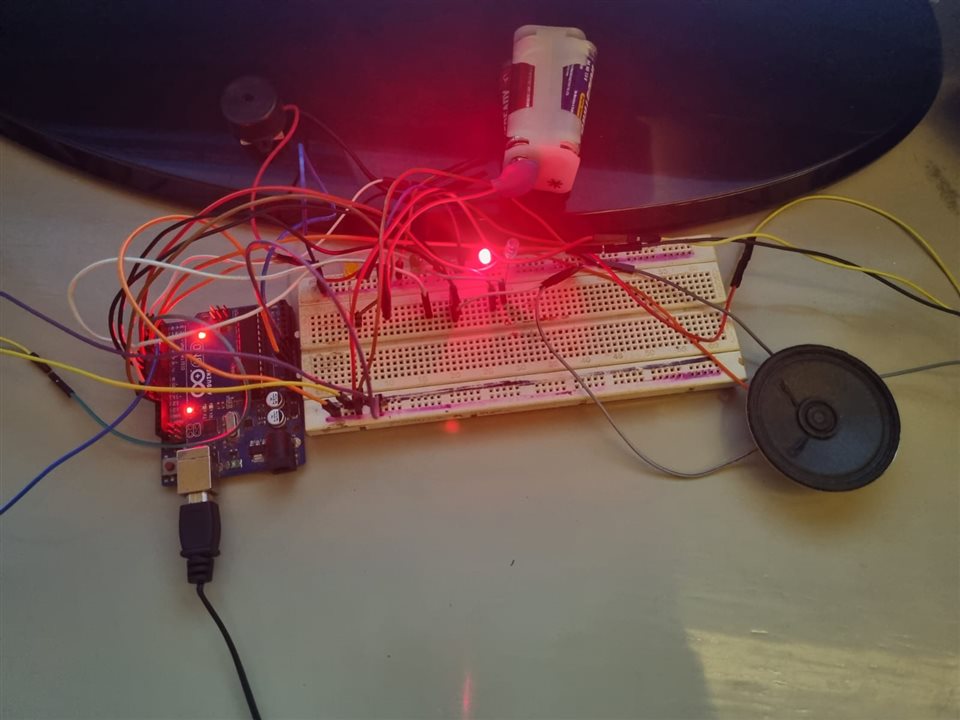
Now let's get into the building process. I am using an Arduino Uno R3 microcontroller board, two ultrasonic sensors, some LEDs, buzzers, a piezo speaker and a breadboard to build the project. The LEDs are there to make it easy to know when you are in work mode and when you are in break mode. The buzzers are there to alert when modes are switched. And the main thing, the spinet is there to make your work fun and productive.
1. Arduino Uno R3 - Any Arduino Board will work
2. LEDs (Red, Green, Yellow, Blue) - This can be replaced with some RGB LED strips along your desk or monitor for a better experience. I am planning to add this later on as well.
3. Buzzer - a small one should be fine
4. Piezo Speaker - 8 Ohm, 0.5 W
5. Ultrasonic Sensors - 2 - I used the HC - SR04 for this project as they are pretty cheap and I had some already
6. A breadboard for modular connections for now as I am in testing phase for the project. Once it has been used for a few months, I will solder the things and make it fit perfectly to the environment
| {gallery}Project |
|---|
 |
 |
|
|
|
|
|
|
|
|


System Workflow:
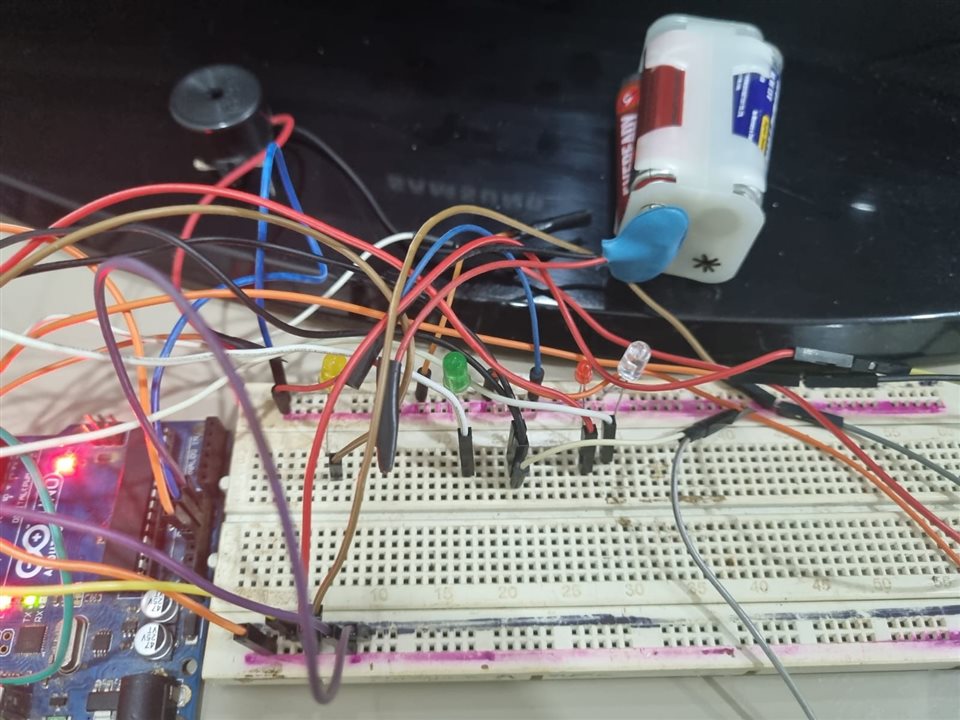
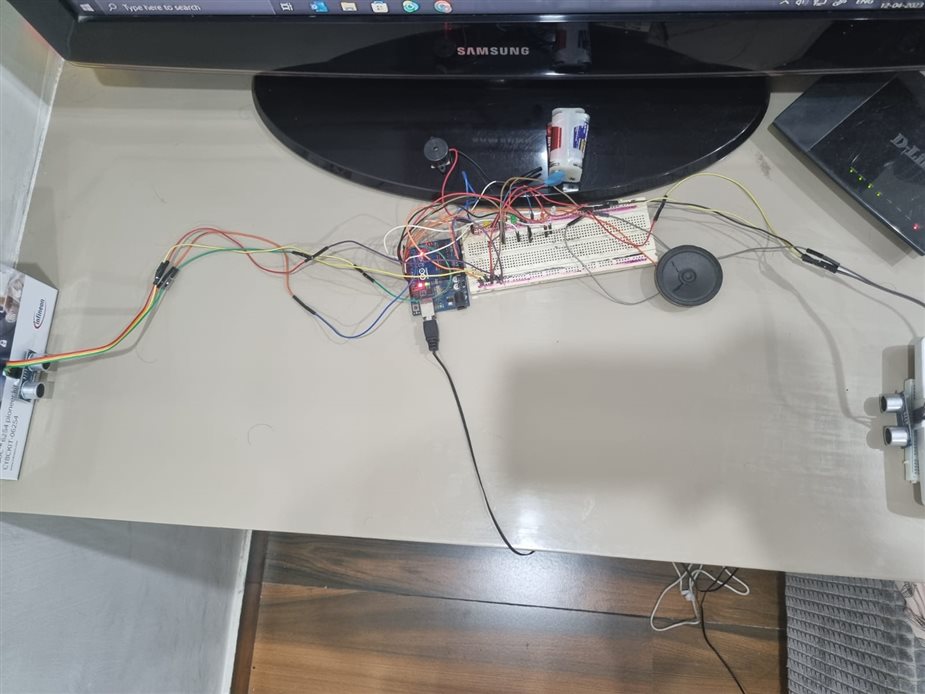
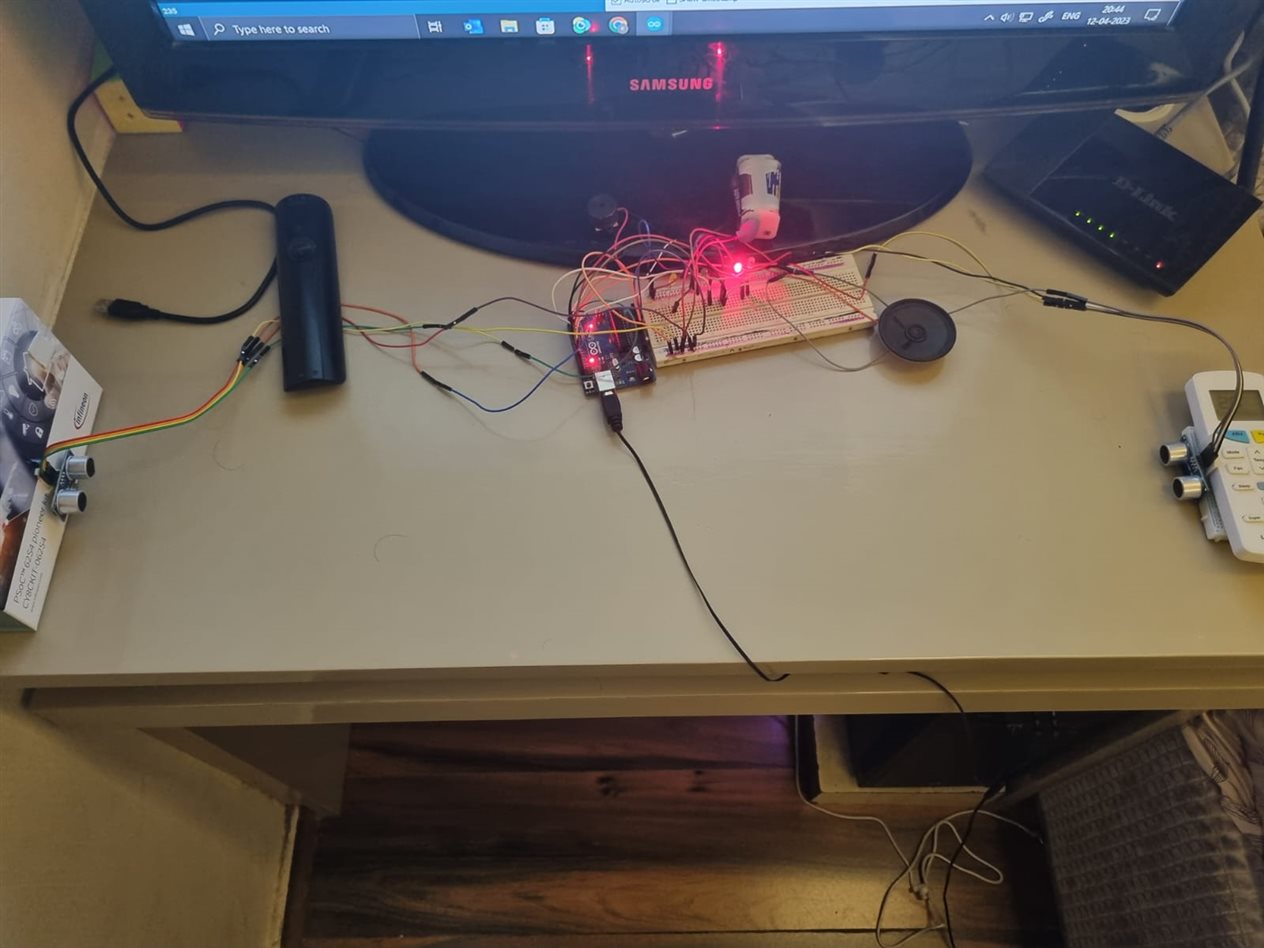
The musical Pomodoro timer project involves using two ultrasonic sensors to create a spinet that can be played with finger movements. Each ultrasonic sensor has two major parts - the trig and the echo. The trig acts as a transmitter and sends out ultrasonic waves. After a small interval of time, the echo is activated and acts as a receiver, accepting the ultrasonic waves reflected back from obstacles. By calculating the time interval between the transmitted and echoed ultrasonic waves, the distance to the object can be calculated and fed into the digital pins of the Arduino board. The 2 ultrasonic sensors compute the distance from each other and give a respective tune based on the distance to the piezo speaker. This creates a dual tone based mechanism. They are connected to the 2 ends of the desk and calibrated based on the width of the desk. Also we have LEDs that are tuned with the spinet that work based on the tune produced. This is done by the Red, Green and Blue LEDs to simulate a RGB LED Strip.
The Yellow LED stays on while in Spinet Mode. Once the user keeps their hand in the middle of the 2 sensors for a second, the mode is switched to Work Mode and the timer of 25 minutes starts. This is marked by a buzzer and the Red LED turning on. Once the 25 minutes are completed, the buzzer is sounded again and the LED changes to Yellow indicating break mode/spinet mode.
I had to add additional batteries to run all the things as the Arduino was not able to provide enough. So, I added a 6V battery pack to run the peripherals. Also, I left out a few extra LEDs as they were impacting the current to the ultrasonic sensors.
Spinet Mode:
Work Mode:

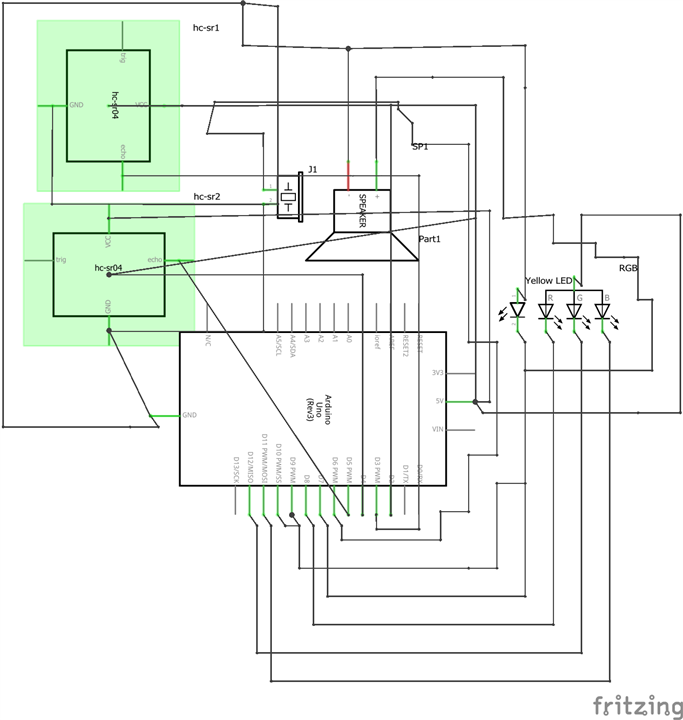
Wiring Diagrams:

I used 3 seperate LEDs while making the project. I was not able to find different colored LEDs on fritzing so I went with an RGB LED to make it more representative as the connections would be the same and this can be upgraded to an RGB LED Strip as well.
Schematic:
Code:
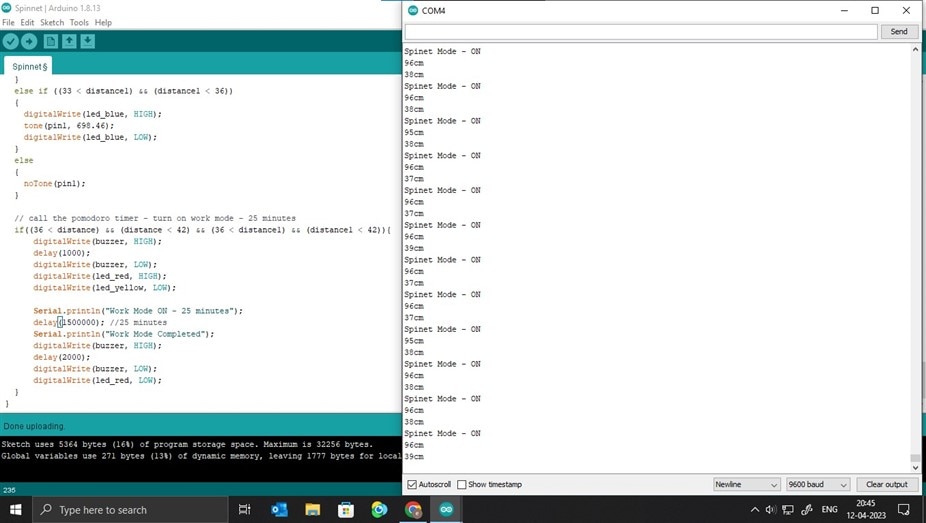
In the code, I have used different frequencies of the piano that match those of an existing physical piano. The complete working of the spinet is based on the distance parameter. When an obstacle, such as a finger, is placed in front of the ultrasonic sensor, a sound is produced in the speaker. The code is designed in such a way that for every 3cm of distance, a different tone or frequency is produced. For example, placing a finger at a distance of 3cm from the ultrasonic sensor will produce a particular frequency, and a different frequency will be produced at a distance of 6cm. With this electronic spinet, up to 24 sounds can be produced, which can be expanded further depending on the width of the desk.
The various modes, pin configurations and code comments are added in the code itself for trying the musical Pomodoro Timer for yourself.
/*
 * A musical Pomodoro Timer for your Work Desk
 * Music Time
 * By: Aaryan Arora
 */

//for spinnet
int trig = 2;
int echo = 3;
int pin = 9;
int trig1 = 4;
int echo1 = 5;
int pin1 = 10;

// for buzzers and leds
int buzzer = 6;
int led_green = 13, led_red = 8, led_blue = 11, led_yellow = 12;


void setup()
{
  Serial.begin(9600);
  pinMode(trig, OUTPUT);
  pinMode(echo, INPUT);
  pinMode(pin, OUTPUT);
  pinMode(trig1, OUTPUT);
  pinMode(echo1, INPUT);
  pinMode(pin1, OUTPUT);

  pinMode(led_green, OUTPUT);
  pinMode(led_red, OUTPUT);
  pinMode(led_blue, OUTPUT);
  pinMode(led_yellow, OUTPUT);
  pinMode(buzzer, OUTPUT);
}

void loop()
{
  //compute distance using the 2 ultrasonic sensors
  //this is configured for a 72cm setup with 6cm gap in center for turning on the work mode.

  // to signal that spinet mode is on
  digitalWrite(led_yellow, HIGH);
  Serial.println("Spinet Mode - ON");

  int duration , distance;
  digitalWrite(trig, HIGH);
  delayMicroseconds(10);
  digitalWrite(trig, LOW);
  duration = pulseIn(echo, HIGH);
  distance = (duration / 2) / 21.9;
  Serial.print(distance);
  Serial.print("cm");
  delay(50);
  int duration1 , distance1;
  digitalWrite(trig1, HIGH);
  delayMicroseconds(10);
  digitalWrite(trig1, LOW);
  duration1 = pulseIn(echo1, HIGH);
  distance1 = (duration1 / 2) / 21.9;
  Serial.print(distance1);
  Serial.print("cm");
  delay(50);

  //for the first sensor - tone 1
  if (distance < 3)
  {
    digitalWrite(led_red, HIGH);
    tone(pin, 349.23);
    digitalWrite(led_red, LOW);
  }
  else if ((3 < distance) && (distance < 6))
  {
    digitalWrite(led_green, HIGH);
    tone(pin, 369.99);
    digitalWrite(led_green, LOW);
  }
  else if ((6 < distance) && (distance < 9))
  {
    digitalWrite(led_blue, HIGH);
    tone(pin, 392);
    digitalWrite(led_blue, LOW);
  }
  else if ((9 < distance) && (distance < 12))
  {
    digitalWrite(led_red, HIGH);
    tone(pin, 415.3);
    digitalWrite(led_red, LOW);
  }
  else if ((12 < distance) && (distance < 15))
  {
    digitalWrite(led_green, HIGH);
    tone(pin, 440);
    digitalWrite(led_green, LOW);
  }
  else if ((15 < distance) && (distance < 18))
  {
    digitalWrite(led_blue, HIGH);
    tone(pin, 466.16);
    digitalWrite(led_blue, LOW);
  }
  else if ((18 < distance) && (distance < 21))
  {
    digitalWrite(led_red, HIGH);
    tone(pin, 493.88);
    digitalWrite(led_red, LOW);
  }
  else if ((21 < distance) && (distance < 24))
  {
    digitalWrite(led_green, HIGH);
    tone(pin, 523.25);
    digitalWrite(led_green, LOW);
  }
  else if ((24 < distance) && (distance < 27))
  {
    digitalWrite(led_blue, HIGH);
    tone(pin, 554.37);
    digitalWrite(led_blue, LOW);
  }
  else if ((27 < distance) && (distance < 30))
  {
    digitalWrite(led_red, HIGH);
    tone(pin, 587.33);
    digitalWrite(led_red, LOW);
  }
  else if ((30 < distance) && (distance < 33))
  {
    digitalWrite(led_green, HIGH);
    tone(pin, 622.25);
    digitalWrite(led_green, LOW);

  }
  else if ((33 < distance) && (distance < 36))
  {
    digitalWrite(led_blue, HIGH);
    tone(pin, 659.26);
    digitalWrite(led_blue, LOW);
  }

  else
  {
    noTone(pin);
  }

  //for the second sensor - tone 2
  if (distance1 < 3)
  {
    digitalWrite(led_red, HIGH);
    tone(pin1, 1318.5);
    digitalWrite(led_red, LOW);
  }
  else if ((3 < distance1) && (distance1 < 6))
  {
    digitalWrite(led_green, HIGH);
    tone(pin1, 1244.5);
    digitalWrite(led_green, LOW);
  }
  else if ((6 < distance1) && (distance1 < 9))
  {
    digitalWrite(led_blue, HIGH);
    tone(pin1, 1174.7);
    digitalWrite(led_blue, LOW);
  }
  else if ((9 < distance1) && (distance1 < 12))
  {
    digitalWrite(led_red, HIGH);
    tone(pin1, 1108.7);
    digitalWrite(led_red, LOW);
  }
  else if ((12 < distance1) && (distance1 < 15))
  {
    digitalWrite(led_green, HIGH);
    tone(pin1, 1046.5);
    digitalWrite(led_green, LOW);
  }
  else if ((15 < distance1) && (distance1 < 18))
  {
    digitalWrite(led_blue, HIGH);
    tone(pin1, 987.77);
    digitalWrite(led_blue, LOW);
  }
  else if ((18 < distance1) && (distance1 < 21))
  {
    digitalWrite(led_red, HIGH);
    tone(pin1, 932.33);
    digitalWrite(led_red, LOW);
  }
  else if ((21 < distance1) && (distance1 < 24))
  {
    digitalWrite(led_green, HIGH);
    tone(pin1, 880);
    digitalWrite(led_green, LOW);
  }
  else if ((24 < distance1) && (distance1 < 27))
  {
    digitalWrite(led_blue, HIGH);
    tone(pin1, 830.61);
    digitalWrite(led_blue, LOW);
  }
  else if ((27 < distance1) && (distance1 < 30))
  {
    digitalWrite(led_red, HIGH);
    tone(pin1, 783.99);
    digitalWrite(led_red, LOW);
  }
  else if ((30 < distance1) && (distance1 < 33))
  {
    digitalWrite(led_green, HIGH);
    tone(pin1, 739.99);
    digitalWrite(led_green, LOW);
  }
  else if ((33 < distance1) && (distance1 < 36))
  {
    digitalWrite(led_blue, HIGH);
    tone(pin1, 698.46);
    digitalWrite(led_blue, LOW);
  }
  else
  {
    noTone(pin1);
  }

  // call the pomodoro timer - turn on work mode - 25 minutes
  if((36 < distance) && (distance < 42) && (36 < distance1) && (distance < 42)){
      digitalWrite(buzzer, HIGH);
      delay(100);
      digitalWrite(buzzer, LOW);
      digitalWrite(led_red, HIGH);
      digitalWrite(led_yellow, LOW);

      Serial.println("Work Mode ON - 25 minutes");
      delay(1500000); //25 minutes
      Serial.println("Work Mode Completed");
      digitalWrite(buzzer, HIGH);
      delay(500);
      digitalWrite(buzzer, LOW);
      digitalWrite(led_red, LOW);
  }
}
Video:
The first video shows the spinet in actual conditions and demonstrates real life use with a 25 minutes timer. The 2nd video uses a 1 minute work mode timer specifically to show the working in the form of a short video.
Challenges:
It was a bit challenging to get the Pomodoro Timer and the spinet running on a single board. I firstly tried to use a switch to change modes but unfortunately that didn't work out well. Then, I went on to use the spinet as a switch for the Work Mode itself which thankfully worked fine. But that made it a bit difficult to add features like changing the time duration and having time for break periods as well.
I had a bit of difficulty in working with the Ultrasonic sensors as they needed to be calibrated for improving accuracy as measurement is based on my environmental conditions. Adding a temperature and humidity sensor for automatic calibration could be something to look at in the future.
So, I will be working more on making it better by adding more modes like break mode and option to change time duration. Also, adding an LCD and using IOT for analysis of work done could be something that would add more value to the project and make it better. I will work on that in the coming months and keep you all posted.
Conclusion:
I hope you enjoyed watching the video and learning about the building process of the musical Pomodoro timer.
In conclusion, the musical Pomodoro timer is a fun and engaging way to stay focused and productive while adding a creative outlet to your workspace. It's easy to build and customize, making it a great DIY project for anyone interested in electronics and music. Give it a try, and you may be surprised at how much it helps you stay focused and productive!
