Raspberry Pi HQ View Camera
The Raspberry Pi HQ View Camera is a camera with a Raspberry High Quality CameraRaspberry High Quality Camera module and a Raspberry Pi 4BRaspberry Pi 4B attached to an old large-format mono-rail view camera. For now powered by a Raspberry Pi power supplyRaspberry Pi power supply until I find a suitable powerbank to power both the raspberry and the raspberry HQ camera module
The story of the project
Many years ago I ran the IT department of a local newspaper. That included, in addition to an IBM AS400 computer, software development, electrical maintenance, air conditioning systems, prepress, Web-fed offset lithographic press PLC programming, photo composition and photographic processing. I became fond of photography and decided to get lessons for learning product photo. I bought a second hand Sinar Norma camera to learn and for my first jobs, jewelry photography. Then digital photography appeared, I changed my profession, I registered as a kodak digital developer and that's when my passion with photography ended, it became an employee job.
I had seen how other members of the element14 community were using the Raspberry Pi HQ Camera and was curious, so I bought one and tried to resurrect the Sinar Norma. It has been a very pleasant experience, rediscovering myself with photography so many years later.
Advantages and limitations
Advantages
Great control over the image provided by the swings, tilts, and other camera view adjustments.
Limitations
The camera must be used on a tripod and there is a delay between the image is composed and focused and when the final image is taken.
The Raspberry Pi HQ Camera sensor is too small. Any lens you can find for an old view camera turns into a powerful telephoto lens.
Raspberry Pi HQ View Camera Parts
Basic view camera adjustments
1. Focusing. Changing the distance between lens and ground glass.
2. Back Tilt. Rotation of the camera back around a horizontal axis. To control the convergence of parallel vertical lines.
3. Front Tilt. Rotation of the lens board around a horizontal axis. To control the angle of the plane of sharp focus from top to bottom.
4. Front Vertical Shift. Moves the image the same distance in the same direction on the ground glass.
5. Back Vertical Shift. Moves he image in the opposite direction the same distance on the ground glass.
6. Back Swing. Rotation of the camera back around a vertical axis. To control the convergence of parallel horizontal lines.
7. Front Swing. Rotation of the lens board and lens around a vertical axis.To control the side to side angle of the plane of sharp focus.
8. Front Horizontal Shift. Moves the image the same distance in the same direction on the ground glass.
9. Back Horizontal Shift. Moves the image the same distance in the opposite direction on the ground glass.
Additionally:
10 . Pan-and-Tilt Head: Allows the entire camera to be tilted up and down, rotated clockwise and counterclockwise ad panned 360º circle around a vertical axis using the tripod.
11. Reversible and revolving back: The ground glass and the back can be placed in either a vertical or horizontal format position.
The Sinar Norma
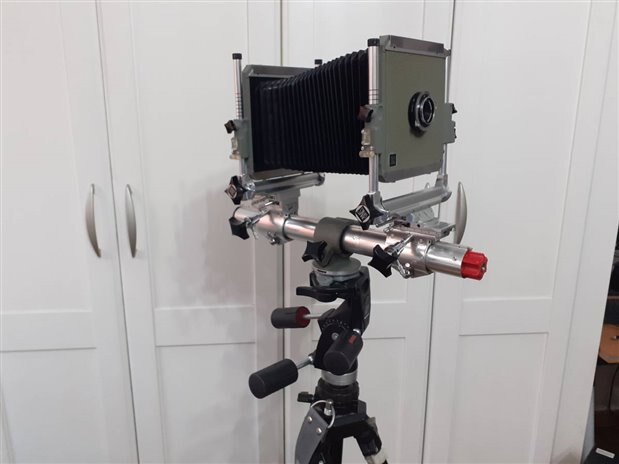
The Sinar Norma is a monorail large format camera. The Sinar Norma used has a set up for 9x12 cm photography, a format widely used in Europe. It was made by the Swiss company Sinar. It is a great and versatile large format camera.
Camera parts
The lenses
- Schneider - Kreuznach Angulon 1:6,8/65
- Schneider - Kreuznach Angulon 1:6,8/90
- Schneider - Kreuznach Symmar 1:5,6/135
- Schneider - Kreuznach Tele - Arton 1:5,5/270
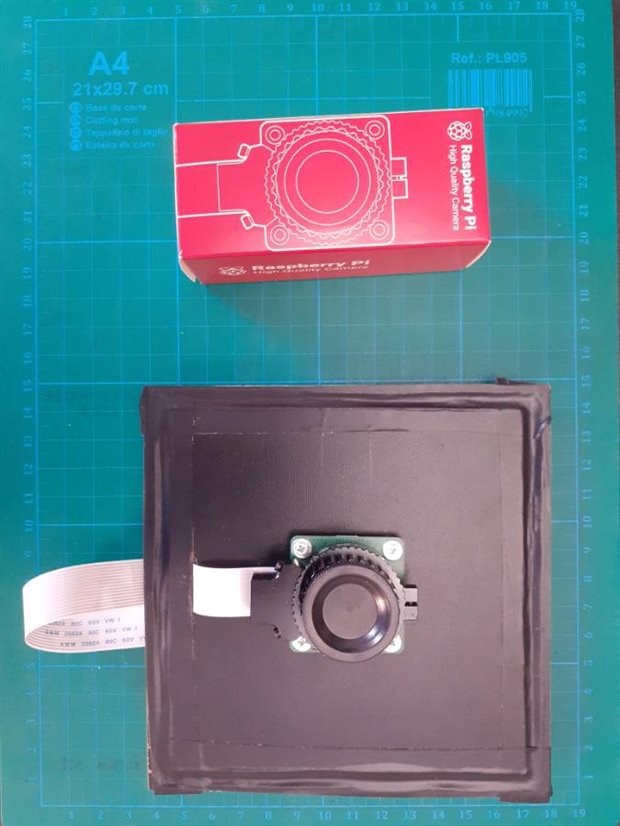
Attaching the Raspberry Pi High Quality Camera
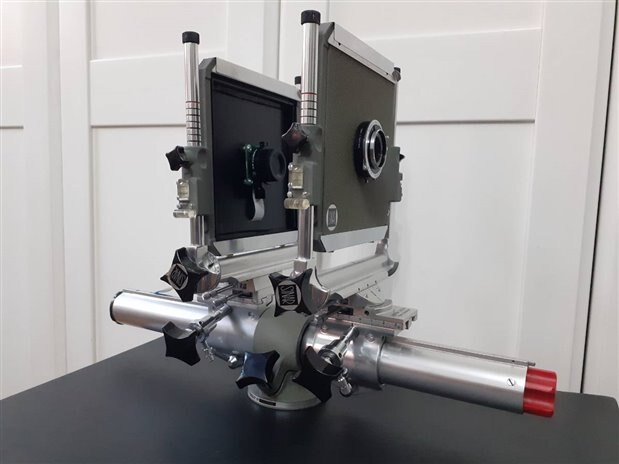
Adaptation for attaching the Raspberry Pi 4 B and the Raspberry Pi High Quality Camera
All glossy parts should be covered with a matte black color to prevent glare from reflecting off the lens system. The flare noticeably decreases the quality of the image.
Attaching the Raspberry Pi 4B board
Front View: The module stands upright on the case of the raspberry pi 4B
Back View: The box has a fan to prevent the module from heating up.
Lateral view:
Camera attached taking the first shot with a Schneider -Kreuznach Angulon 1:6,8/65 f/6,8
First shot: It works!
I try with the most angular lens that I have a 65 mm focal length lens that for 9x12 is a wide angle lens but for the small 6 x 4 mm sensor of the Raspberry Pi HQ Camera it becomes a powerful lens telephoto. I take a photo of a very distant object.
It was windy and the sycamore's leaves were constantly moving. The effect on the camera sensor is curious.
And with the same settings I take a photo of a closer object. And with the same settings I take a photo of a closer object. I still do not know the options of the raspberry pi hq camera well. I hope to improve the next shots.
It is grainy but the result is surprising because the photo is taken in the shade without additional lighting.
Let's compare with a photo taken with a Samsung A20 mobile
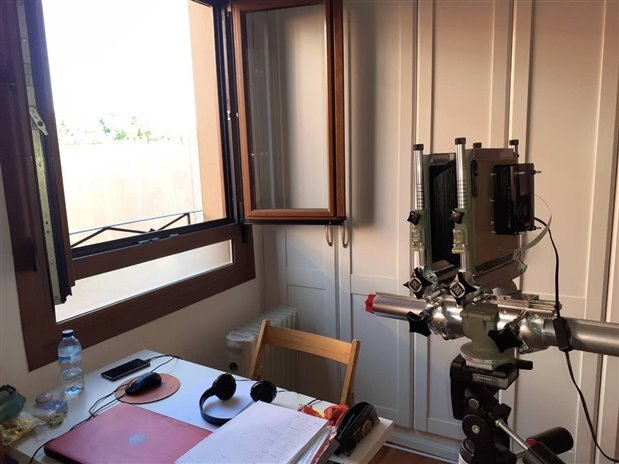
This is the reference photo taken from where we are going to place the Raspberry Pi View Camera:
Schneider -Kreuznach Angulon 1:6,8/65 f/11
Schneider - Kreuznach Angulon 1:6,8/90 f/11
Schneider - Kreuznach Symmar 1:5,6/135 f/11
I really am in love with this lens
Schneider - Kreuznach Tele - Arton 1:5,5/270 f/11
This telephoto lens is really a big guy and it turns our camera almost into a telescope.
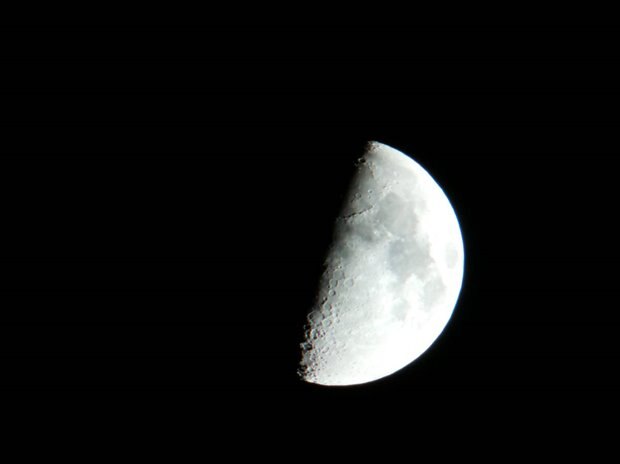
Yes I said telescope, where is the moon?
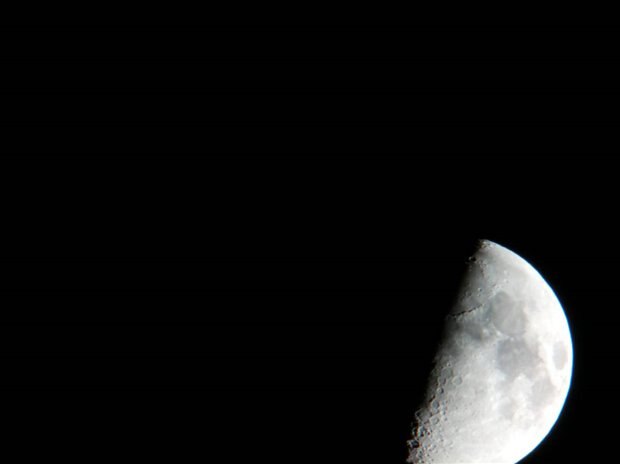
Schneider - Kreuznach Tele - Arton 1:5,5/270 f/11
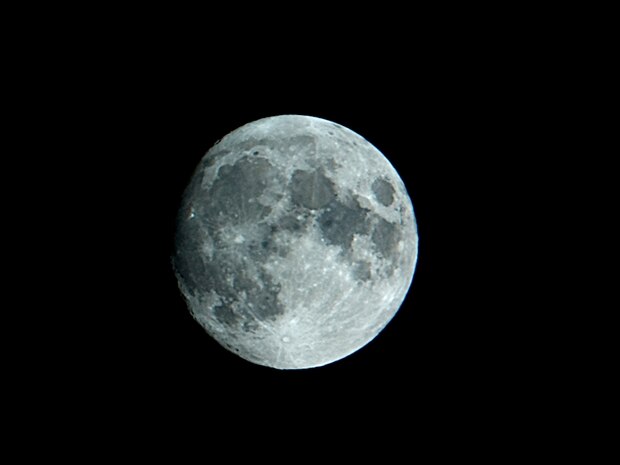
Last photo is a bit overexposed, let's try at f/16
At these focal lengths the moon is a very fast object 
Full Moon 2021/07/23 Spain
References
- View Camera Technique by Leslie Stroebel, Routledge; 7th edition (March 31 1999)
- The Camera by Ansel Adams, New York Graphic Society, 1982
- Life Library of Photography: The Camera, Photography as a Tool, Special Problems, Photographing Nature, Frontiers of Photography.
| Raspberry Pi HQ View Camera Blogs |
|---|
| Raspberry Pi HQ View Camera - From the roof to the Moon. |
| Raspberry Pi HQ View Camera - From the Moon to the PCB. |







Top Comments
-

DAB
-
Cancel
-
Vote Up
+4
Vote Down
-
-
Sign in to reply
-
More
-
Cancel
Comment-

DAB
-
Cancel
-
Vote Up
+4
Vote Down
-
-
Sign in to reply
-
More
-
Cancel
Children