


A fume extractor for soldering is something that I've wanted for a long time now, however I've always ended up having more important things to spend my money on. Fundamentally they are pretty simple, at the bare minimum just a fan to pull the fumes away is all that is needed. Conveniently, our microwave died recently and upon dissection for useful components I discovered (among other things) a large mains AC powered fan plus housing in the back of it. I removed this and tested it to check that it still worked. Because the fan runs straight off the mains it was easy to power, and it also moved a decent volume of air. I therefore decided that this would make a good starting point for a home-built fume extractor.
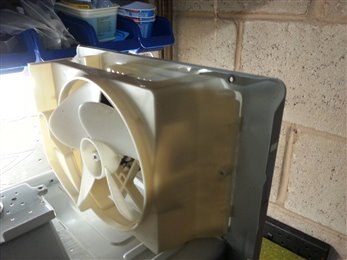
Above: the fan housing in the back of the microwave.
Although not strictly necessary, it would be nice if the extractor fan speed was adjustable so that we could control the rate of air flow and level of noise. Fortunately, my pile of broken electronics was able to provide here too. My trusty old Maplin adjustable soldering iron bit the dust a few months ago when the heating coil went open-circuit. While investigating to see whether it would be repairable, I discovered that the temperature adjustment dial on the base simply varied the output voltage supplied to the iron between roughly 50-210V, like a dimmer switch. I connected the iron lead to the fan, to test whether this would work for controlling the fan speed. This worked perfectly, so I disassembled the iron and removed the small control board for fitting inside the fan housing.
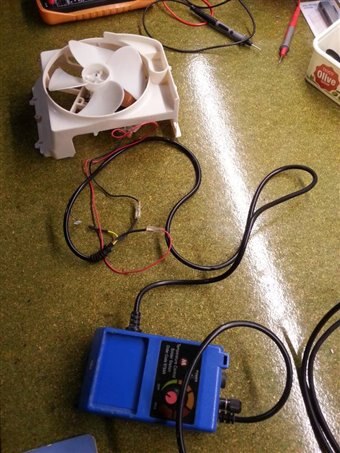
Above: fan connected to soldering iron base station.
The existing fan housing was designed to be inside a microwave, where it didn't matter that the back side of the fan was completely exposed. Obviously this won't be suitable for use on a bench, as various detritus such as fingers would find their way into the fan while it was spinning. I had an old fan guard lying around, most likely from an old PC, which was about the right size to cover the back face of the fan. Due to the way the fan protrudes out from the housing this alone wouldn't be sufficient though, as it didn't protect the sides.
To make a shroud for the sides of the fan I hunted through the various collections of scrap plastic available to me, and settled on an old Maltesers tub that happened to be almost the perfect size to fit around the fan. My Dad has been using it to carry waste around in the garden for the past 10+ years, so the decals on the outside have had a hard time but the plastic itself seems sound.

Above: the old Maltesers tub used to build a fan shroud
After fitting the fan guard on some spare standoffs, I cut a ring from the tub and shaped this to fit onto the fan casing underneath the guard. With a second ring of tub material above the guard, this formed a reasonably sturdy fan shroud. Unfortunately the tub plastic tapers outwards, so its a bit wider around the guard than I would like but I think it works well enough.
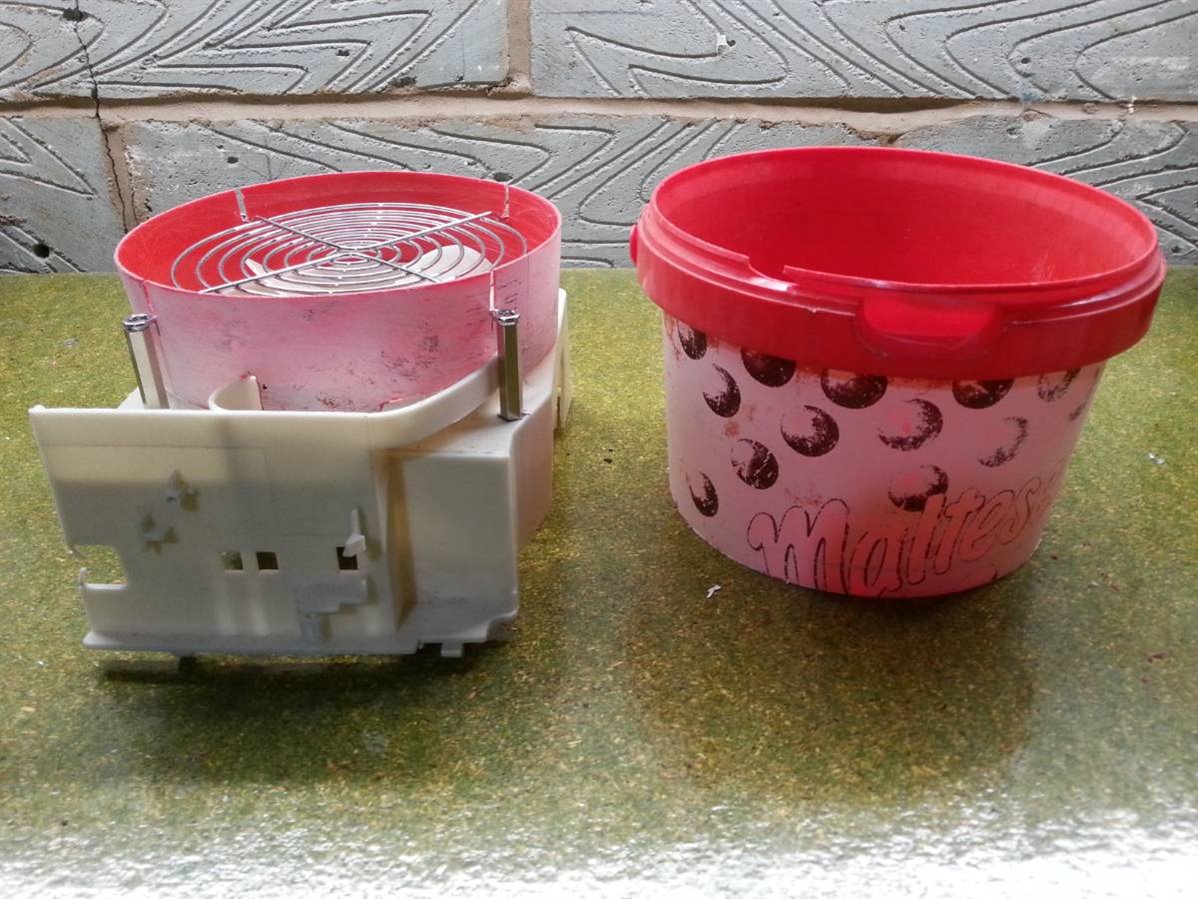

Above: the fan shroud before and after adding the second ring of plastic.
The housing also has large gaps on the long sides, which will become the top and bottom of the fume extractor. To cover these I made a lid and base from some pine offcuts left over from the construction of my workbench. As well as filling in the gaps, these also helped to add some weight and sturdiness to the extractor. The remaining small gaps were filled with a couple of small metal offcuts from the microwave, cut and bent to size.
For the front grill, I cut the back off of the microwave where the fan was fitted, neatened the edges and bent the sides inwards to increase its stiffness. As it stands the extractor would draw fumes away from me, but they will still mix into the air in the room. To prevent this I made a simple filter from a sheet of activated carbon foam, which should absorb some of the fumes. I did have to buy this, although at £2.69 for a pack of 4 sheets (eBay China!) it wasn't expensive. The foam sheet was cut to size and sits immediately behind the metal grille.
The final task was fitting the PCB from the soldering iron. I managed to squeeze this into one corner, although it was a tight fit. The PCB sits very close to the filter, so to protect it from this I bent and shaped a small piece of acrylic around it as a protective guard. The mains lead was then secured to the base of the unit by a rubber p-clip, and wired up to the controller through the terminal block from the soldering iron.
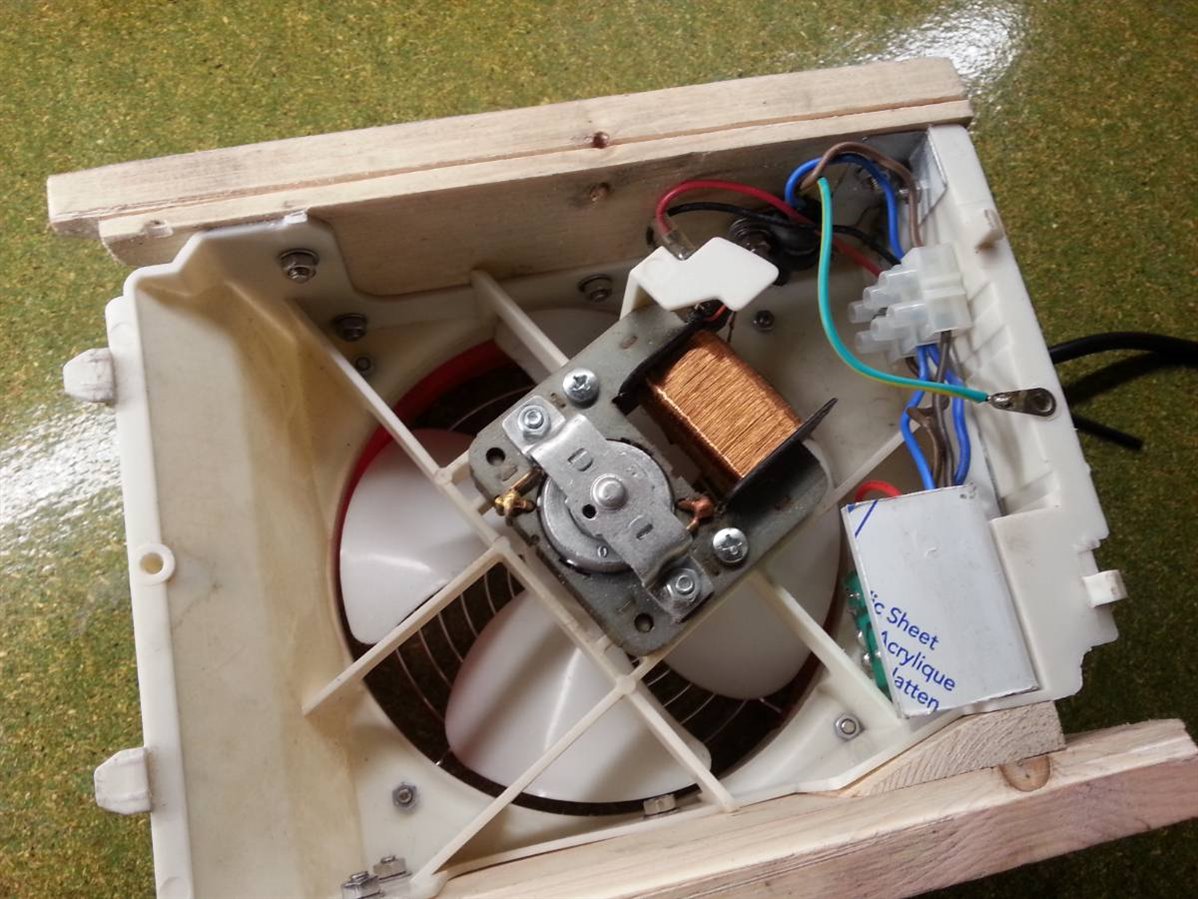
Above: the PCB fitted inside the housing, protected by a piece of acrylic.
With the PCB fitted, the fume extractor was complete. I tested it and it worked well, however its looks definitely left something to be desired - not surprising given that it's built almost entirely from scrap.
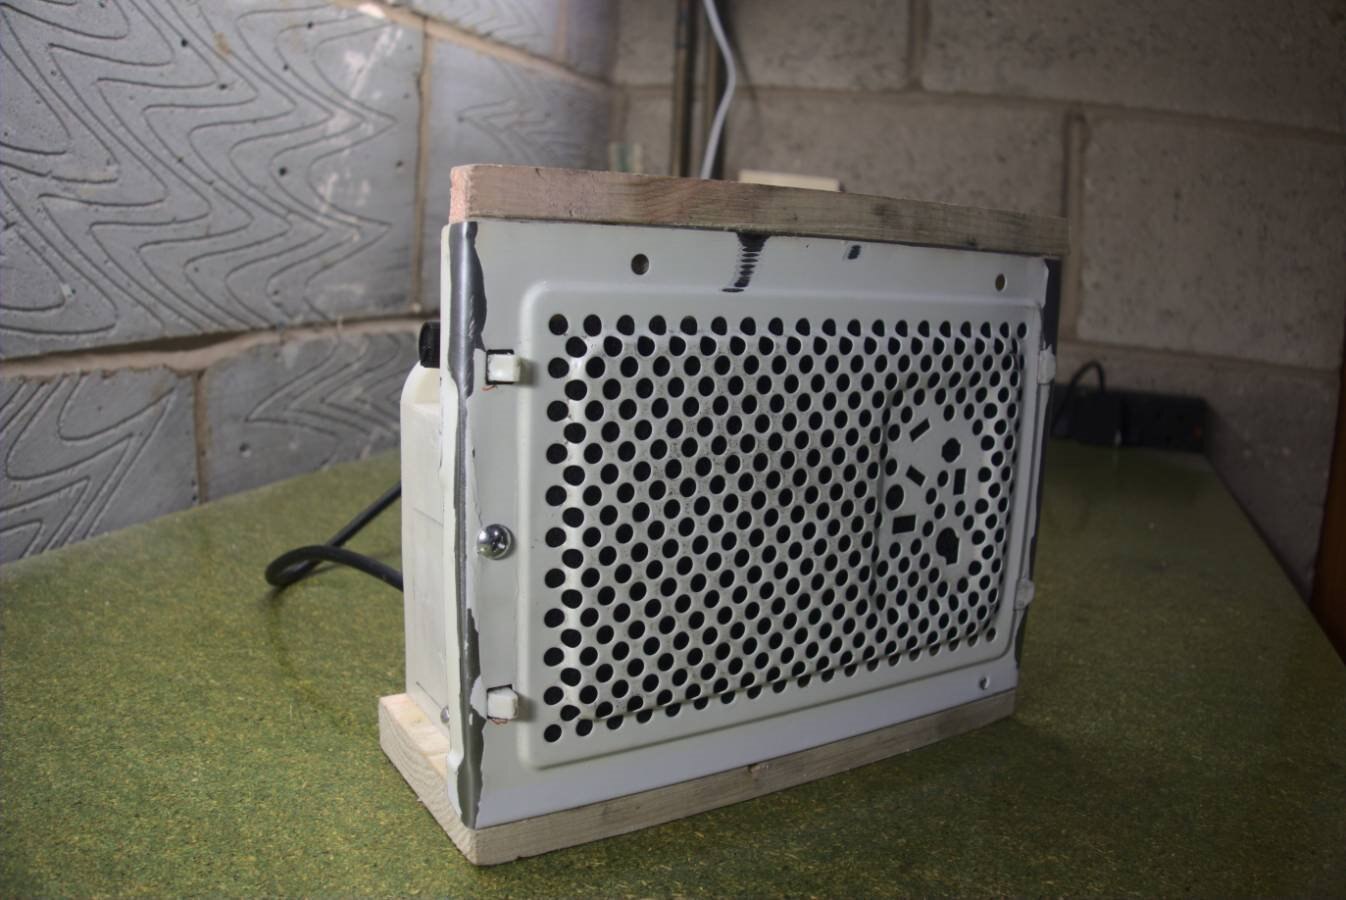

Above: the completed extractor prior to painting
To smarten it up a bit I decided to have a go at some painting. The plastic and metal parts were sanded down, then sprayed with primer, black topcoat and lacquer. The wooden pieces were varnished with three coats of yacht varnish. The final finish isn't perfect, especially as I broke one of the retaining clips during assembly due to the paint making it too tight a fit. Despite that, I still think it looks a lot better for it!

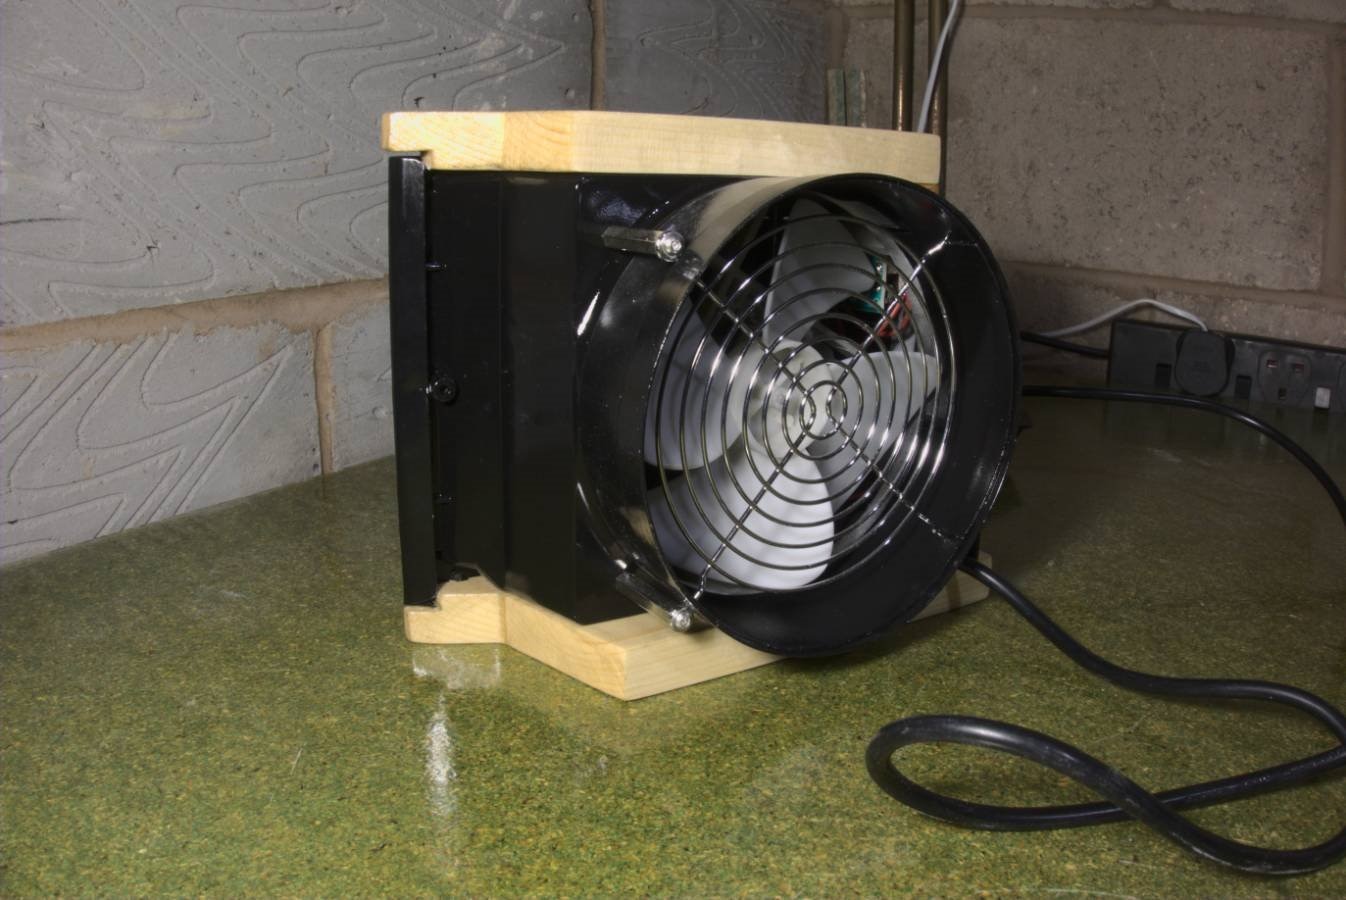
Above: the completed extractor after painting.
To conclude, below is a video for proof of the project. Additionally, to demonstrate the commitment to the theme of recycling here is the full bill of materials for my fume extractor. Everything apart from the foam filter and the fasteners was made from broken or leftover material:
- 1 old microwave, broken
- 1 cheap adjustable soldering iron, broken
- 1 old Maltesers tub, empty
- 3 pine offcuts
- 1 fan guard
- M3/M4 bolts, nuts and washers
- Activated carbon foam
Thanks for reading!
Top Comments