element14 Community
element14 Community
    Register Log In
  • Site
  • Search
  • Log In Register
  • Community Hub
    Community Hub
    • What's New on element14
    • Feedback and Support
    • Benefits of Membership
    • Personal Blogs
    • Members Area
    • Achievement Levels
  • Learn
    Learn
    • Ask an Expert
    • eBooks
    • element14 presents
    • Learning Center
    • Tech Spotlight
    • STEM Academy
    • Webinars, Training and Events
    • Learning Groups
  • Technologies
    Technologies
    • 3D Printing
    • FPGA
    • Industrial Automation
    • Internet of Things
    • Power & Energy
    • Sensors
    • Technology Groups
  • Challenges & Projects
    Challenges & Projects
    • Design Challenges
    • element14 presents Projects
    • Project14
    • Arduino Projects
    • Raspberry Pi Projects
    • Project Groups
  • Products
    Products
    • Arduino
    • Avnet Boards Community
    • Dev Tools
    • Manufacturers
    • Multicomp Pro
    • Product Groups
    • Raspberry Pi
    • RoadTests & Reviews
  • Store
    Store
    • Visit Your Store
    • Choose another store...
      • Europe
      •  Austria (German)
      •  Belgium (Dutch, French)
      •  Bulgaria (Bulgarian)
      •  Czech Republic (Czech)
      •  Denmark (Danish)
      •  Estonia (Estonian)
      •  Finland (Finnish)
      •  France (French)
      •  Germany (German)
      •  Hungary (Hungarian)
      •  Ireland
      •  Israel
      •  Italy (Italian)
      •  Latvia (Latvian)
      •  
      •  Lithuania (Lithuanian)
      •  Netherlands (Dutch)
      •  Norway (Norwegian)
      •  Poland (Polish)
      •  Portugal (Portuguese)
      •  Romania (Romanian)
      •  Russia (Russian)
      •  Slovakia (Slovak)
      •  Slovenia (Slovenian)
      •  Spain (Spanish)
      •  Sweden (Swedish)
      •  Switzerland(German, French)
      •  Turkey (Turkish)
      •  United Kingdom
      • Asia Pacific
      •  Australia
      •  China
      •  Hong Kong
      •  India
      •  Korea (Korean)
      •  Malaysia
      •  New Zealand
      •  Philippines
      •  Singapore
      •  Taiwan
      •  Thailand (Thai)
      • Americas
      •  Brazil (Portuguese)
      •  Canada
      •  Mexico (Spanish)
      •  United States
      Can't find the country/region you're looking for? Visit our export site or find a local distributor.
  • Translate
  • Profile
  • Settings
Simple Electronic Repairs
  • Challenges & Projects
  • Project14
  • Simple Electronic Repairs
  • More
  • Cancel
Simple Electronic Repairs
Blog Non-Electrical to Electrial issue: Battery booster pack repair.
  • Blog
  • Documents
  • Files
  • Members
  • Mentions
  • Sub-Groups
  • Tags
  • More
  • Cancel
  • New
Join Simple Electronic Repairs to participate - click to join for free!
  • Share
  • More
  • Cancel
Group Actions
  • Group RSS
  • More
  • Cancel
Engagement
  • Author Author: gam3t3ch
  • Date Created: 23 Oct 2017 10:30 PM Date Created
  • Views 2118 views
  • Likes 8 likes
  • Comments 4 comments
  • simpleelectronicch
  • restorerepairch
Related
Recommended

Non-Electrical to Electrial issue: Battery booster pack repair.

gam3t3ch
gam3t3ch
23 Oct 2017

(Please click here for the Audio version of this document)  <------If you don't feel like reading click to the left.


image


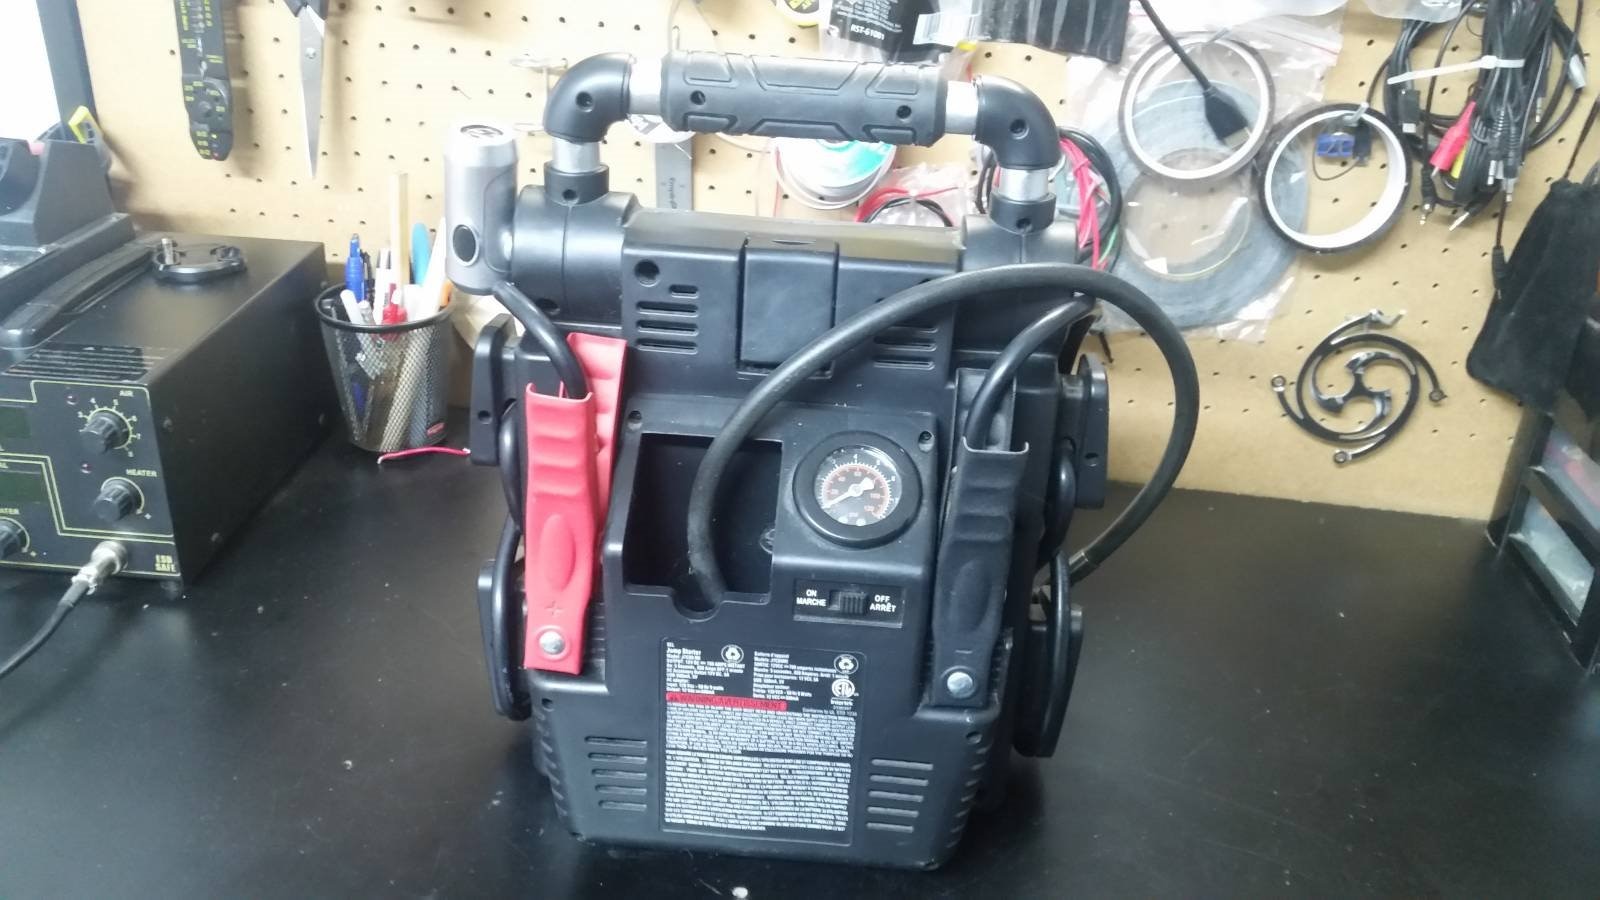
So I have had this booster pack sitting around my shop I use it all the time and even use the air compressor on it quite often too.  I have a feeling they are not meant for such abuse and it finally gave out so after almost a year of it not working I thought it would be a great opportunity to start my adventure into repairing it.


I had a ton of ideas that I was wanting to do with this project but felt I would try to find something practical and something maybe nobody else would do.   Since video game systems and anything relating to them has been done before by me over the years I wanted to step away from that and other things that I usually repair because that would be simple.  way to simple and would feel like I was cheating.


This brought me to the Booster pack with compressor on it since it was electronic and also mechanical it would be fairly straight forward....this was what I thought.


I decided to open up the compressor part only six small screws but the wires leading into the main compartment where short so I had to open up the rest to see if I could get a bit more play from the cables to the compressor unit another  10-14 screws there.

Finding the slack I needed I began to investigate the pump, it's a nice setup. It was built better then I thought it would be.


image


The pump was fairly dirty so I decided I would clean up all the parts re-grease the piston and housing to see if it work on further investigation tho I noticed the ring around the piston was worn and damaged and it set inside the top of the piston ring so I had to come up with a solution.


At first I decided I would use a o-ring at the top of the tube seemed like there would have been enough clearance.   Well there wasn't I overloaded the pump and blew the fuse since there was not enough clearance as I hoped there would have been. And this is where the fuse came into play.


But first back to the piston on the pump how did I resolve this?  Well I took a o-ring a smaller one, that I could stretch  around the piston and then take my Dremel my very not so good battery one.  I slowly sanded around the O-Ring until it would fit in the tube with just enough pressure.

Then I took some white grease and grease it up good this time anything below the ring got a lot of grease.  Hopefully this will help I thought to myself as I know it does get fairly hot even tho its just a small piston.  After getting it all back together after I oiled all moving parts with a drop of all purpose oil just to make sure its all good and works out any dirt that might be in any parts.   I went to turn it on.


Zero, Zilch, Nada, nothing was happening since I blew the fuse.


imageimage


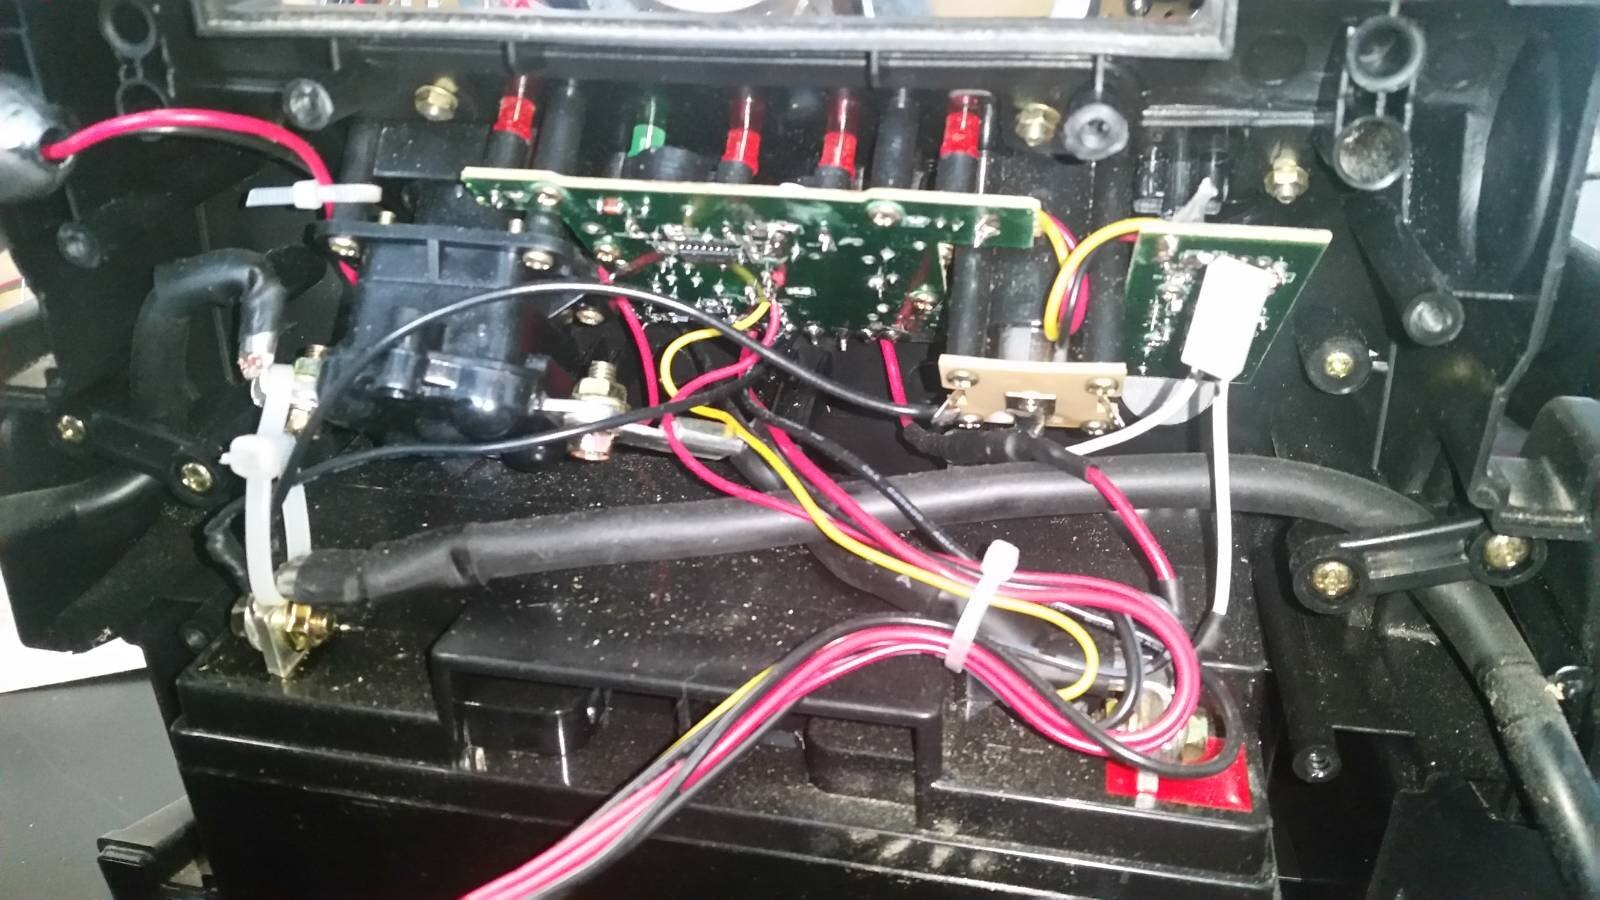
So now it was time to open up the main compartment to see how much fun it was going to be to replace the fuse.  I have had other booster packs where they actually have the fuse (blade fuse) located on the outside of the unit.  But this one had one on the inside and was pretty much going to have to be replaced with a proper fuse holder just in case it blows again. (bulb style fuse holder)  Sure I could just copy the way they have it but to me I was thinking more of the long term if it blows again for any reason I would be able to quickly remove the side and swap the fuse.


Instead of  undoing the battery, pulling the battery, re routing wires, cutting zap straps, pulling boards and loosing springs (still need to find that).    As you can tell I am sounding like I am still working on it while I am writing this well that is because I am I thought I would document this far and finish up with the fuse replacement and see how things went.


image


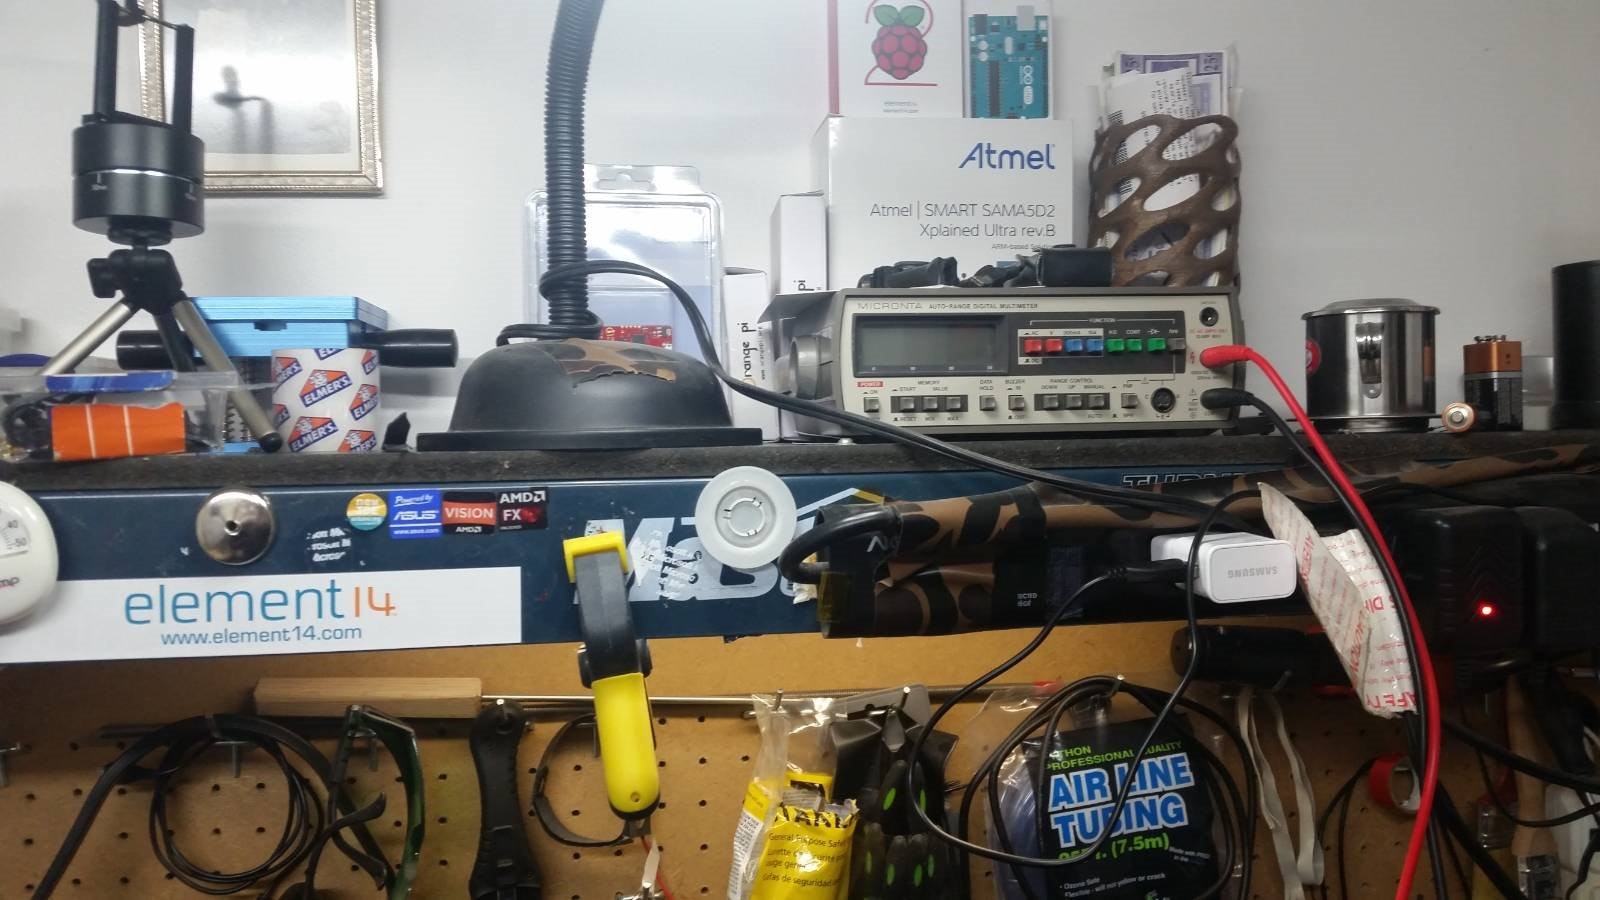
Now I was happy I blew the fuse it actually gave me a great opportunity to play with my bench top Micronta multi-meter.  (my baby) Which I finally got cables for. They seem to be a odd sized plugs.


So it seems there wasn't a spring as stated before which I was missing. When I flipped the one cover over to see if I could get a better view on the housing to view the fuse holder connection to the main board , the buttons fell out.


Even when I went to desolder I ended up desoldering the led light on it thinking it was the right one.  But made a mistake and had to go one over which is fine.  Finally got everything soldered up and the new fuse holder in no thanks to my soldering iron that seems like now after many years has decided it was time to break on me good thing for backup parts.   So will have to get that done at a later time as I really enjoy my soldering station.


imageimage


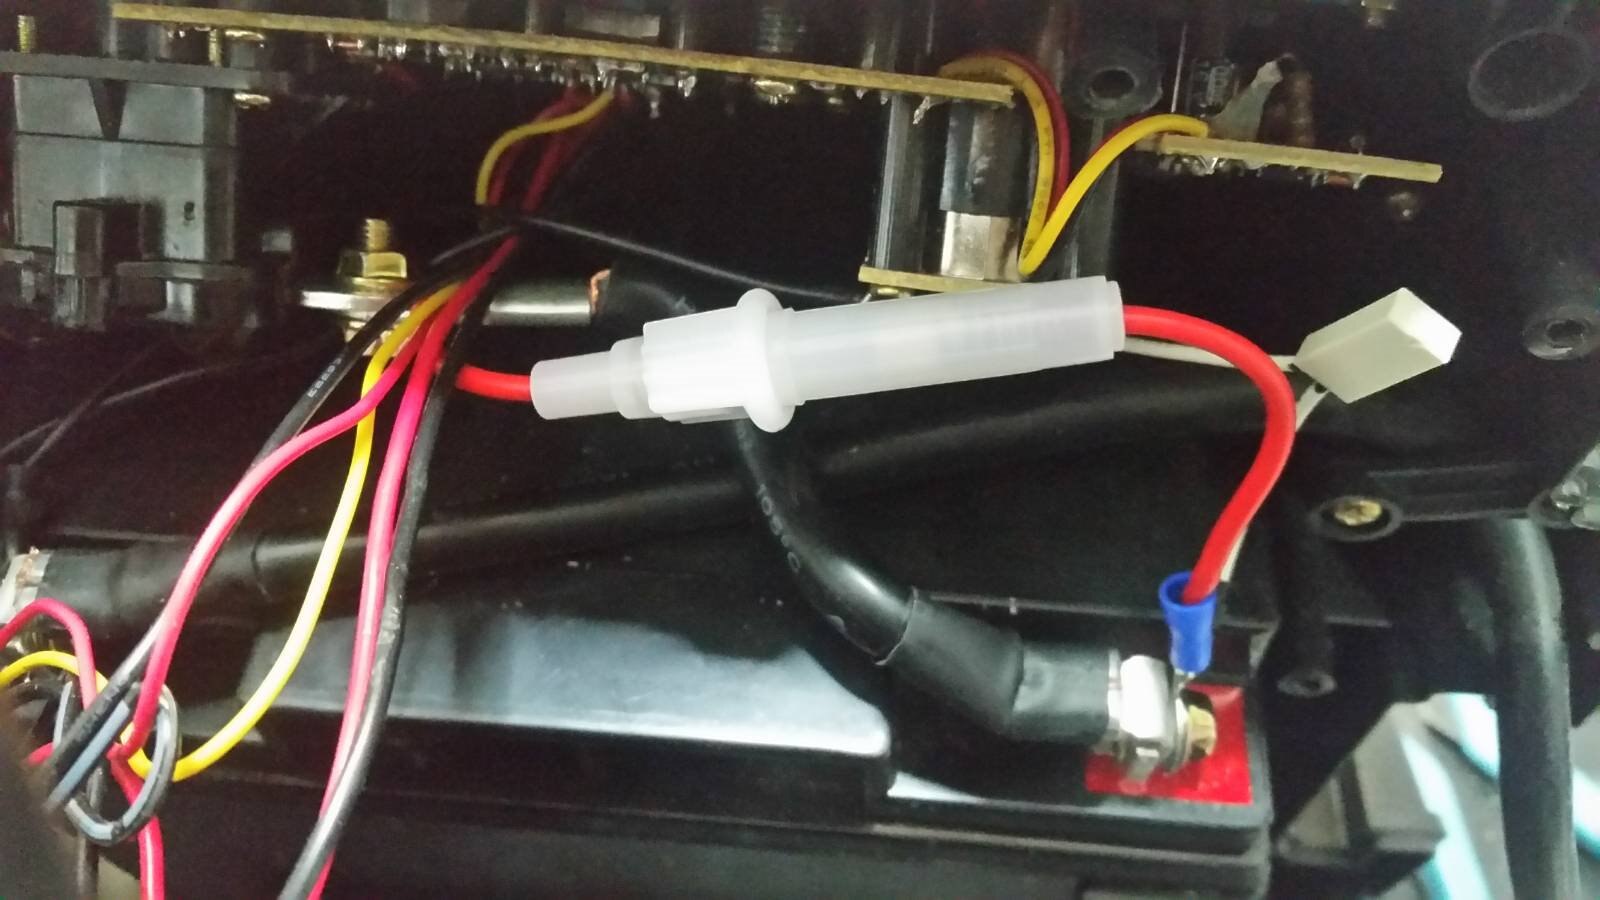
So now I needed a 15amp fuse for the holder. I have tons of fuses do you think I had one?...nope.  So 10amp fuse it is for testing the compressor I will have to order some 15amp ones and get that replaced.   So after getting it all back up and together I was looking inside the case to see how much room I had in areas. I think there might be a spot I can put  a fuse holder on the outside.  But for now undoing 10-14 screws is ok with me now that It has the fuse holder in it instead of just the fuse with leads on it.   Kind of silly how many people would just toss this out if it blew a fuse.


imageimage


Below is my video on me taking it apart and testing, was a great time and was actually glad I blew a fuse (not on purpose).   Now to see if I can find more of those compressor pumps.


You don't have permission to edit metadata of this video.
Edit media
x
image
Upload Preview
image
    
You don't have permission to edit metadata of this video.
Edit media
x
image
Upload Preview
image
    
You don't have permission to edit metadata of this video.
Edit media
x
image
Upload Preview
image


You don't have permission to edit metadata of this video.
Edit media
x
image
Upload Preview
image
    
You don't have permission to edit metadata of this video.
Edit media
x
image
Upload Preview
image

  • Sign in to reply

Top Comments

  • jw0752
    jw0752 over 7 years ago +2
    Hi Wesley, I really enjoyed following your adventure and how you stayed so positive despite all the roadblocks you encountered. John
  • gam3t3ch
    gam3t3ch over 7 years ago in reply to jw0752 +1
    Hey thanks John, it was a lot of fun I enjoyed it. I learned something new through the process so was well worth it.
  • DAB
    DAB over 7 years ago

    Good job of resurrecting the device.


    DAB

    • Cancel
    • Vote Up 0 Vote Down
    • Sign in to reply
    • More
    • Cancel
  • tariq.ahmad
    tariq.ahmad over 7 years ago in reply to gam3t3ch

    This is awesome!


    Its good to see you on here with a project post!


    This is off to a good start already.:-)


    Lots of possibilities with this theme....

    • Cancel
    • Vote Up 0 Vote Down
    • Sign in to reply
    • More
    • Cancel
  • gam3t3ch
    gam3t3ch over 7 years ago in reply to jw0752

    Hey thanks John,  it was a lot of fun I enjoyed it.  I learned something new through the process so was well worth it. 

    • Cancel
    • Vote Up +1 Vote Down
    • Sign in to reply
    • More
    • Cancel
  • jw0752
    jw0752 over 7 years ago

    Hi Wesley,


    I really enjoyed following your adventure and how you stayed so positive despite all the roadblocks you encountered.


    John

    • Cancel
    • Vote Up +2 Vote Down
    • Sign in to reply
    • More
    • Cancel
element14 Community

element14 is the first online community specifically for engineers. Connect with your peers and get expert answers to your questions.

  • Members
  • Learn
  • Technologies
  • Challenges & Projects
  • Products
  • Store
  • About Us
  • Feedback & Support
  • FAQs
  • Terms of Use
  • Privacy Policy
  • Legal and Copyright Notices
  • Sitemap
  • Cookies

An Avnet Company © 2025 Premier Farnell Limited. All Rights Reserved.

Premier Farnell Ltd, registered in England and Wales (no 00876412), registered office: Farnell House, Forge Lane, Leeds LS12 2NE.

ICP 备案号 10220084.

Follow element14

  • X
  • Facebook
  • linkedin
  • YouTube