(Please click here for the Audio version of this document) <------If you don't feel like reading click to the left.
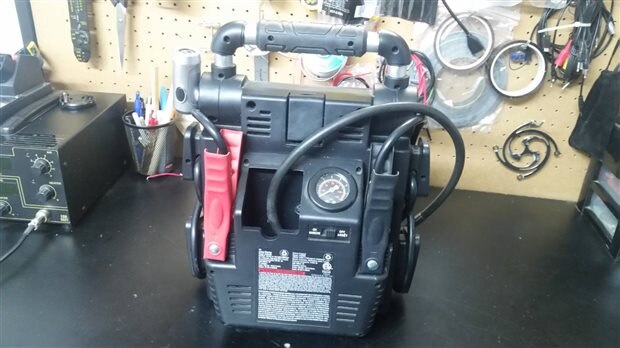
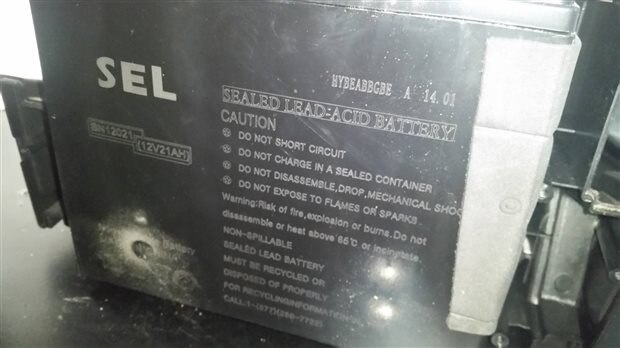
So I have had this booster pack sitting around my shop I use it all the time and even use the air compressor on it quite often too. I have a feeling they are not meant for such abuse and it finally gave out so after almost a year of it not working I thought it would be a great opportunity to start my adventure into repairing it.
I had a ton of ideas that I was wanting to do with this project but felt I would try to find something practical and something maybe nobody else would do. Since video game systems and anything relating to them has been done before by me over the years I wanted to step away from that and other things that I usually repair because that would be simple. way to simple and would feel like I was cheating.
This brought me to the Booster pack with compressor on it since it was electronic and also mechanical it would be fairly straight forward....this was what I thought.
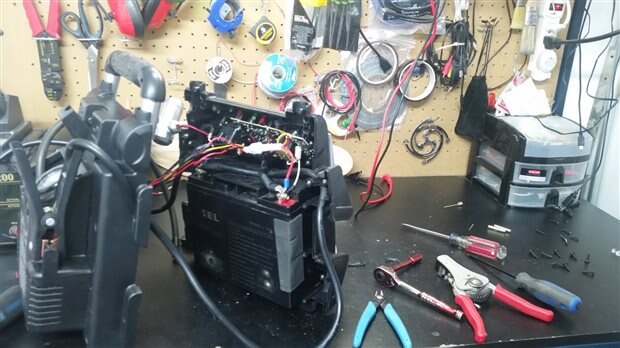
I decided to open up the compressor part only six small screws but the wires leading into the main compartment where short so I had to open up the rest to see if I could get a bit more play from the cables to the compressor unit another 10-14 screws there.
Finding the slack I needed I began to investigate the pump, it's a nice setup. It was built better then I thought it would be.
The pump was fairly dirty so I decided I would clean up all the parts re-grease the piston and housing to see if it work on further investigation tho I noticed the ring around the piston was worn and damaged and it set inside the top of the piston ring so I had to come up with a solution.
At first I decided I would use a o-ring at the top of the tube seemed like there would have been enough clearance. Well there wasn't I overloaded the pump and blew the fuse since there was not enough clearance as I hoped there would have been. And this is where the fuse came into play.
But first back to the piston on the pump how did I resolve this? Well I took a o-ring a smaller one, that I could stretch around the piston and then take my Dremel my very not so good battery one. I slowly sanded around the O-Ring until it would fit in the tube with just enough pressure.
Then I took some white grease and grease it up good this time anything below the ring got a lot of grease. Hopefully this will help I thought to myself as I know it does get fairly hot even tho its just a small piston. After getting it all back together after I oiled all moving parts with a drop of all purpose oil just to make sure its all good and works out any dirt that might be in any parts. I went to turn it on.
Zero, Zilch, Nada, nothing was happening since I blew the fuse.
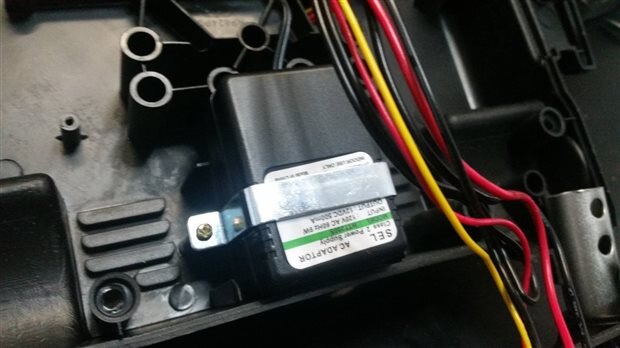
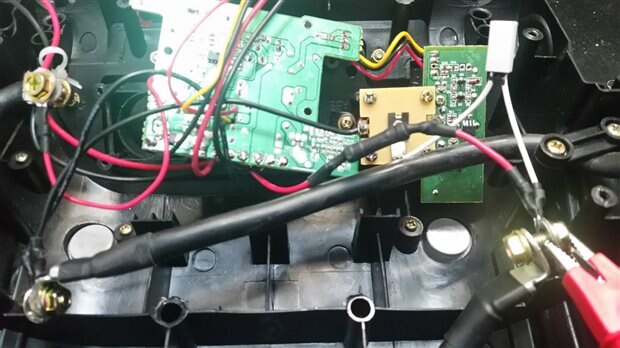
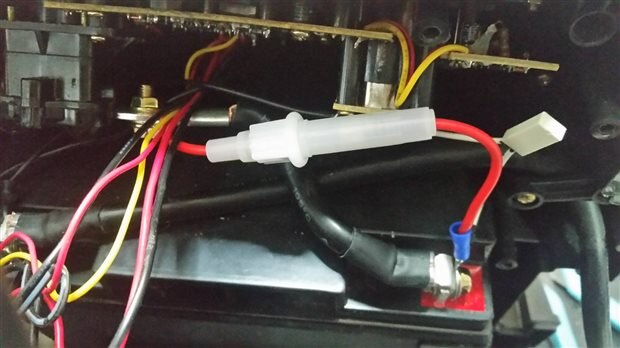
So now it was time to open up the main compartment to see how much fun it was going to be to replace the fuse. I have had other booster packs where they actually have the fuse (blade fuse) located on the outside of the unit. But this one had one on the inside and was pretty much going to have to be replaced with a proper fuse holder just in case it blows again. (bulb style fuse holder) Sure I could just copy the way they have it but to me I was thinking more of the long term if it blows again for any reason I would be able to quickly remove the side and swap the fuse.
Instead of undoing the battery, pulling the battery, re routing wires, cutting zap straps, pulling boards and loosing springs (still need to find that). As you can tell I am sounding like I am still working on it while I am writing this well that is because I am I thought I would document this far and finish up with the fuse replacement and see how things went.
Now I was happy I blew the fuse it actually gave me a great opportunity to play with my bench top Micronta multi-meter. (my baby) Which I finally got cables for. They seem to be a odd sized plugs.
So it seems there wasn't a spring as stated before which I was missing. When I flipped the one cover over to see if I could get a better view on the housing to view the fuse holder connection to the main board , the buttons fell out.
Even when I went to desolder I ended up desoldering the led light on it thinking it was the right one. But made a mistake and had to go one over which is fine. Finally got everything soldered up and the new fuse holder in no thanks to my soldering iron that seems like now after many years has decided it was time to break on me good thing for backup parts. So will have to get that done at a later time as I really enjoy my soldering station.
So now I needed a 15amp fuse for the holder. I have tons of fuses do you think I had one?...nope. So 10amp fuse it is for testing the compressor I will have to order some 15amp ones and get that replaced. So after getting it all back up and together I was looking inside the case to see how much room I had in areas. I think there might be a spot I can put a fuse holder on the outside. But for now undoing 10-14 screws is ok with me now that It has the fuse holder in it instead of just the fuse with leads on it. Kind of silly how many people would just toss this out if it blew a fuse.
Below is my video on me taking it apart and testing, was a great time and was actually glad I blew a fuse (not on purpose). Now to see if I can find more of those compressor pumps.




Top Comments
-

DAB
-
Cancel
-
Vote Up
0
Vote Down
-
-
Sign in to reply
-
More
-
Cancel
Comment-

DAB
-
Cancel
-
Vote Up
0
Vote Down
-
-
Sign in to reply
-
More
-
Cancel
Children