


 | Enter Your Project for a chance to win an Oscilloscope Grand Prize Package for the Most Creative Vision Thing Project! | Project14 Home |
| Monthly Themes | ||
| Monthly Theme Poll |

1. Introduction
Hi! This will be my entry for the Vision thing Project14. I wanted to do some kind of a project like this for a while now, I had a few different ideas on how to approach it, computer vision seemed like a really valid option. My original plan was to use the Beaglebone AI board, but I had a lot of trouble setting up some stuff that I wanted to do, so I had to switch to the Raspberry last minute with which I have more experience to have any chance of finishing this project until the deadline. I switched to a Raspberry Pi 3 model B+ and Raspi Cam V2 because those are the things I had laying around at home. I have some further plans for the Beaglebone, but unfortunately I won't be using it for this project. Unfortunately as you will see by the end of this blog, I didn't have enough time to finish it before the deadline, so this will be part 1, and I will finish the project in the part 2.
2. Idea
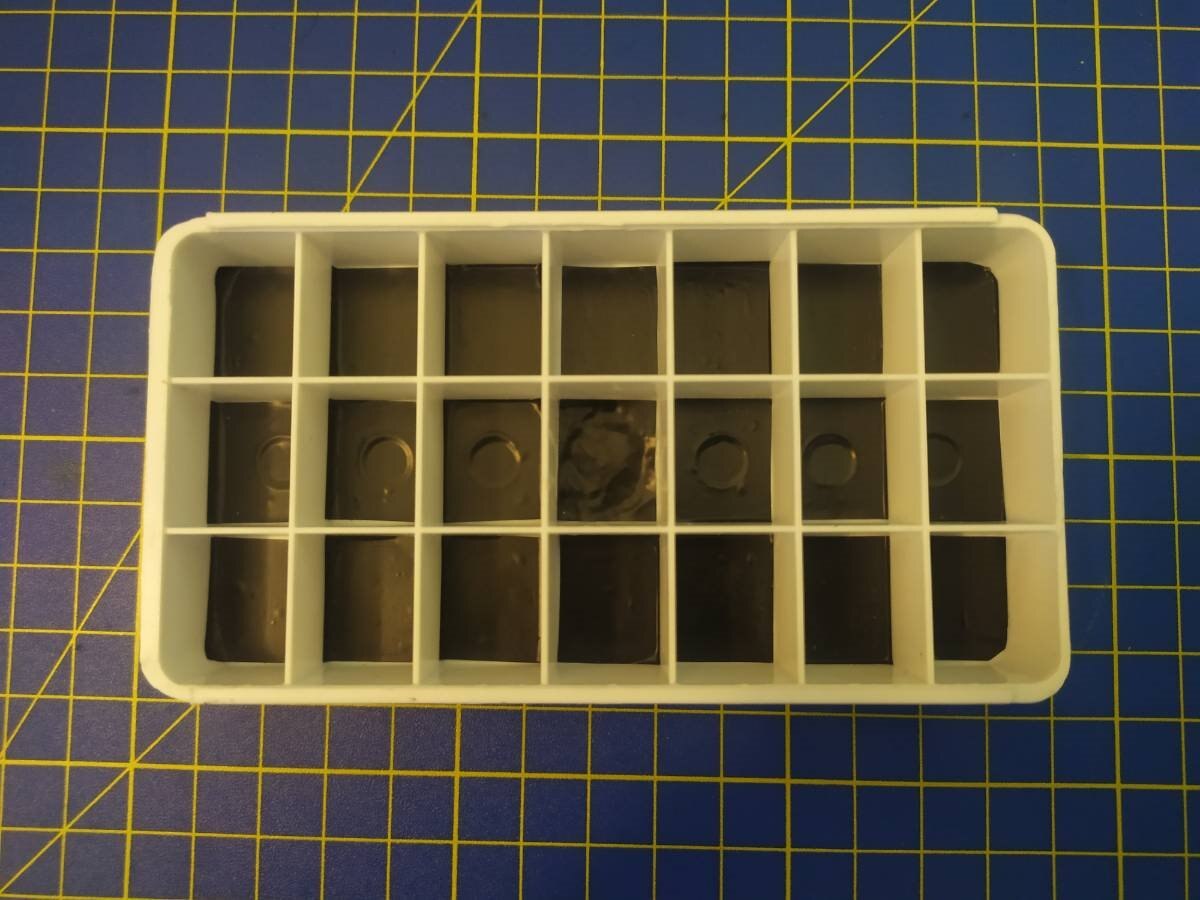
I'll begin this blog by explaining the idea of my project. My grandma, as many people her age, needs to take a lot different medication during the day, for regulating blood pressure and so on. She takes those pills during the whole day at different points of the day, it's important that she doesn't miss taking her medication and that she takes them regularly. My family and I are in constant contact with her of course, but with my parents working and me being in university, it's pretty much impossible to call after every possible pill to see if she had taken her medication. I wanted to solve this problem somehow, so I started thinking about a possible solution. The way she takes her medication is by having alarms set on her mobile phone and taking the pills from her medication organizer. She keeps the medication organizer always next to the TV so she doesn't lose it. Here is how the organizer she uses looks like:

My idea is to convert an ordinary desk lamp into a smart device which would monitor the medication organizer. The desk lamp came as an idea because it can be a 2 in 1, where it can look at the organizer to see if my grandma is taking her medication regularly as well as an ordinary lamp, another cool thing about using a desk lamp is being able to use the light of the lamp as an additional alarm to which I'll get later in the blog. To monitor the organizer I plan on using a Raspberry Pi 3 model B+ (the original idea was to use a Beaglebone AI, but I couldn't get it to work on time unfortunately), with a Raspi Camera inside the head of the desk lamp which will monitor the organizer. To make things work better and easier I plan on making a magnetic holder for the organizer so it's always at the same spot when using the camera on it. Now by using a custom made Android app I would for example set up all of the medication and when it needs to be taken, Raspberry would track that and when it sees that my grandma has missed taking the medication by let's say 15 minutes, I would get an alert notification on my phone to tell me something is wrong. The device would be active only when it detects that the organizer is there, so if she goes out somewhere and brings her medication with her, the device won't go crazy. Here is an organized version of my idea and other additional features I would like to have:
3. Build
Lamp
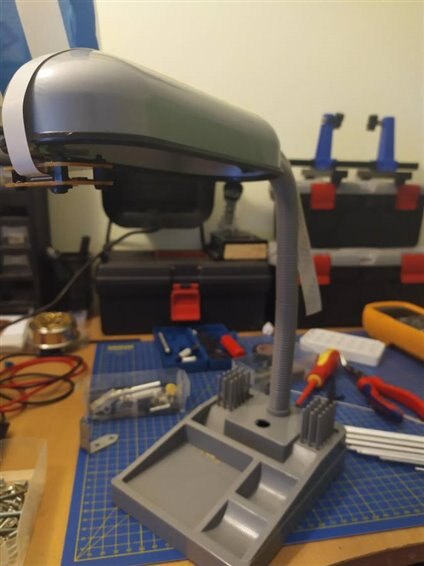
I'll begin with the biggest part of this project, the lamp itself. This is the lamp that's sitting at my desk which I never use, so I thought why not convert it for this project:
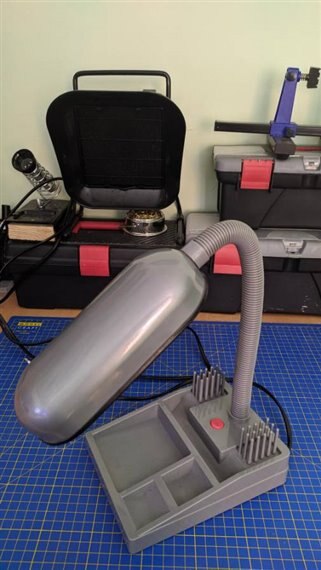
It's a standard 220V single light bulb lamp, nothing special about. There are a few things I like about it which will be useful for this project, it has a pretty heavy base, which means it's really stable (when I took it apart, I found out it's actually a piece of a tile screwed into the base), and the head of the lamp overshoots the base just enough for me to mount my camera to it and for the medication organizer to be underneath. I could have kept the lamp working like a normal lamp, but I decided to convert it to LED with RGB LED strips which I have laying around from a previous project. This will also enable me to use different colors to signalize different things later on.
Mounting the RGB LED strips
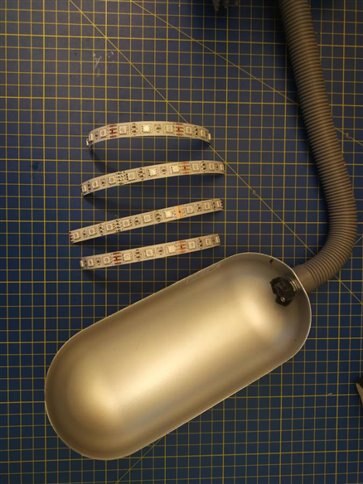
To mount the LED-s, I cut off 4 individual strips and soldered some wires to connect them. I pulled out the old cable and just routed a few wires where the old ones for powering the whole thing, here is how that process went:
| {gallery} Mounting LED-s |
|---|
Parts: Cut LED strips lamp with removed wiring |
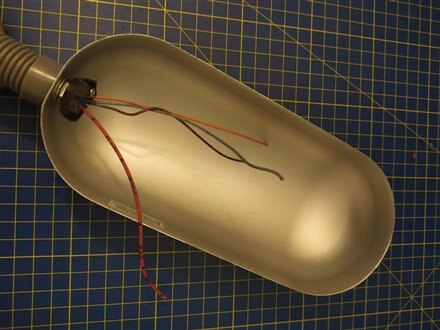
Wires in place: I pulled through 4 wires, one for the power, and 3 more for controlling the RGB channels |
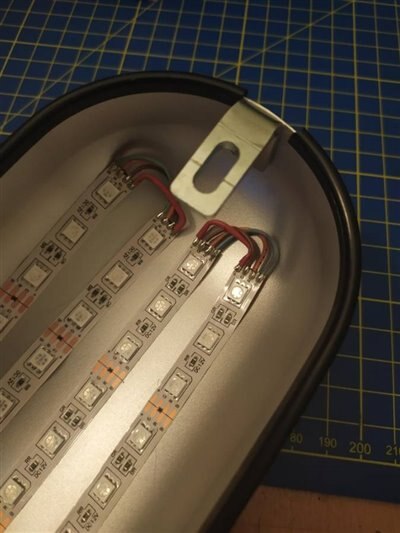
Finished: I put the strips in with their own adhesive, but as you can see from the pictures I'll probably have to add some hot glue, so it doesn't loosen up over time |
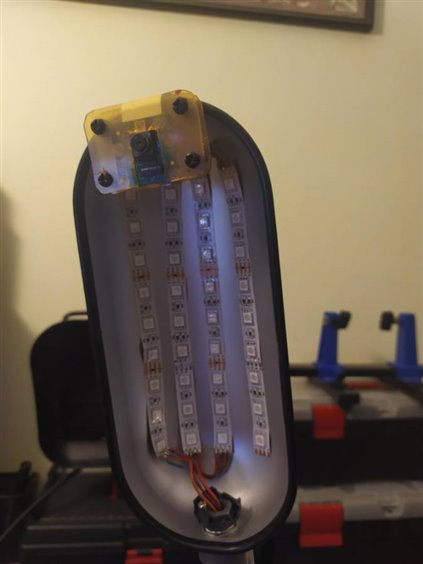
All in place: Here is how the finished head looks like, the thing at the top is the camera mount to which I will get shortly! |

RGB Controller
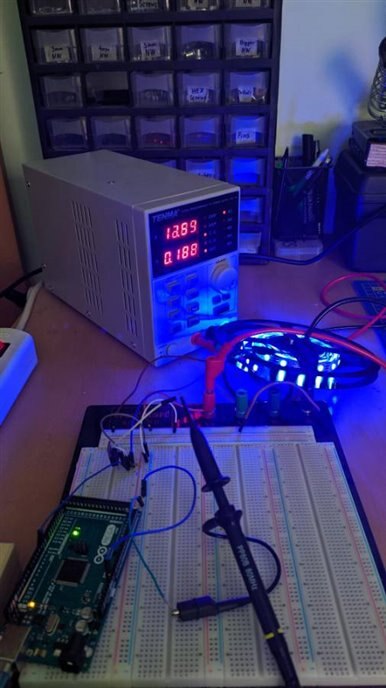
As I've already said, the RGB controller that came with the LED strip I already used for another project, so I had to either get a new one or try making my own. I went with the second option. My plan was to use an Arduino Nano, since I can later on use serial communication to control it and drive each of the RGB channels using a MOSFET. To test out my idea I connected one of the channels to a N-MOS and wrote a short code for testing out everything.
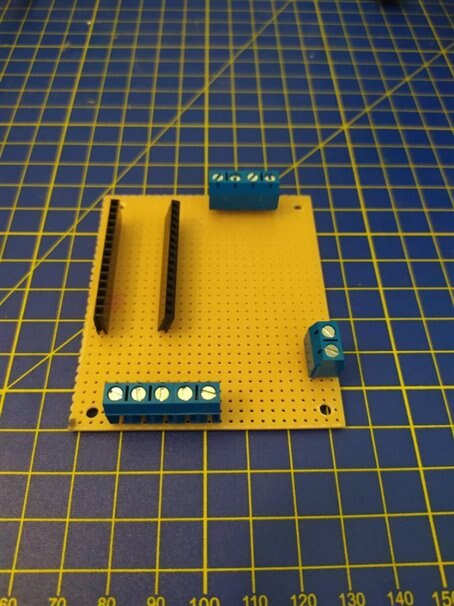
With the test successful, it was time to make a small board for all of it. The things I need on the board are an Arduino Nano slot, screw terminals for the LED strips, power in, as well as a few for different inputs, power supply, 3 N-MOS. The LED strips are meant to be run at 12V so my plan for the whole project is to use a 12V power supply. As for powering the Arduino on the board, I went with an IC7809 linear regulator with a couple of capacitors to lower the voltage to 9V which I then fed to the Vin pin on the Arduino, I've also added a small fuse for the Arduino just to be sure I don't destroy it (wouldn't be the first one.....).
| {gallery} LED RGB Controller |
|---|
Layout: The board layout I planned out |
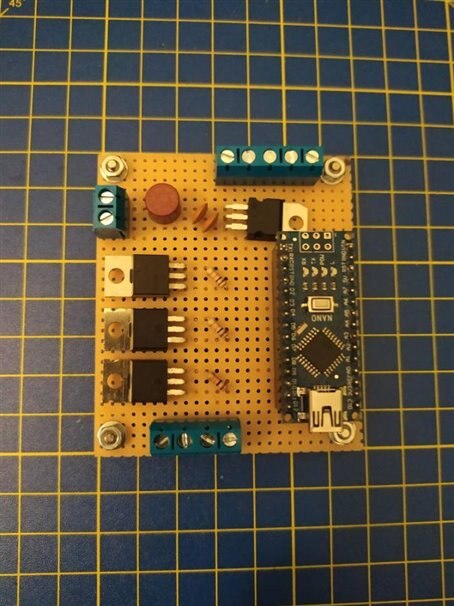
Top View: I just took a piece of perfboard I had laying around but could have shortened it a bit to make the whole board a bit smaller |
Side View: For mounting the board itself, I put in place 4 spacers, one in each corner |
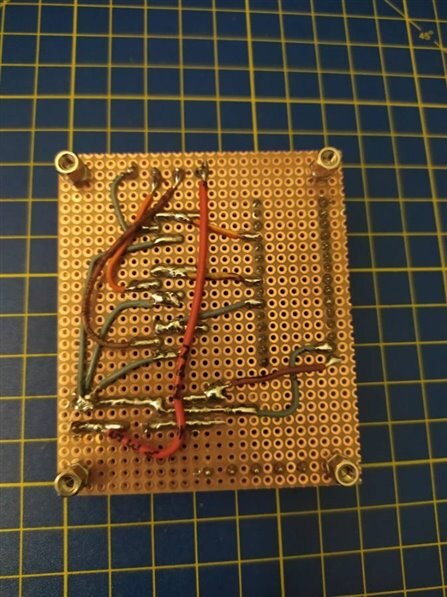
Bottom View: The underside doesn't have that many connections as it can be seen in the picture, the only thing I haven't soldered yet are the input connections for the Arduino, because I'm still deciding on all of the ways I plan on controlling it, serial, switch,... |

Camera Mount
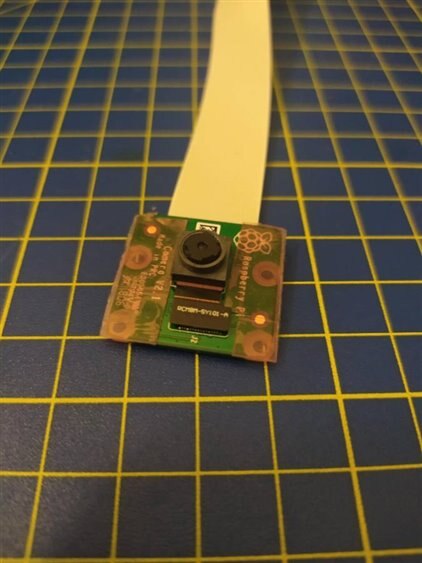
As I've mentioned, I really like this lamp because I have a really good place to mount the camera. The camera I will be using for now is the Raspi Cam V2. I've used it before and it always worked great for me, I just never liked the small holes which require 2mm screws on it, I can widen the holes on the PCB, but I would honestly rather not do that, so to secure the camera itself I'll be using some double sided sticky tape. Here is how the whole mount turned out:
| {gallery} Camera Mount |
|---|
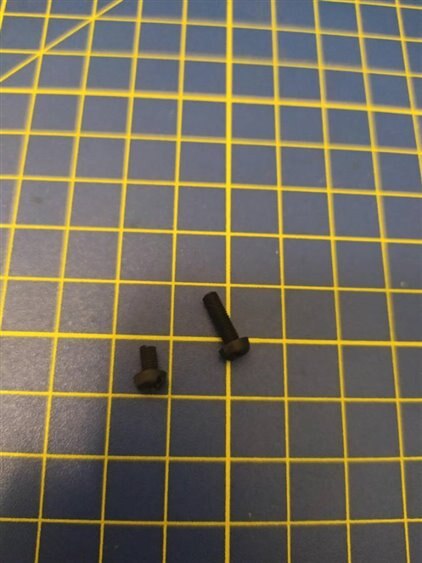
Parts: For the mount I cut out some the shapes pictured above from a plastic box, I got some plastic screws and spacers, and a 4 mm screw which will be securing the whole mount to the lamp |
Top Plate: Where everything goes on the top plate |
Tape: I put the double sided sticky tape like this, it's not too strong, so it won't be a problem to remove in the future |
Bottom Plate: The notch cut out in the bottom plate is for the camera sensor as it can be seen in the picture |
Screws: To assemble everything I needed to shorten the screws, since they were plastic, it was easy to do with wire cutters |
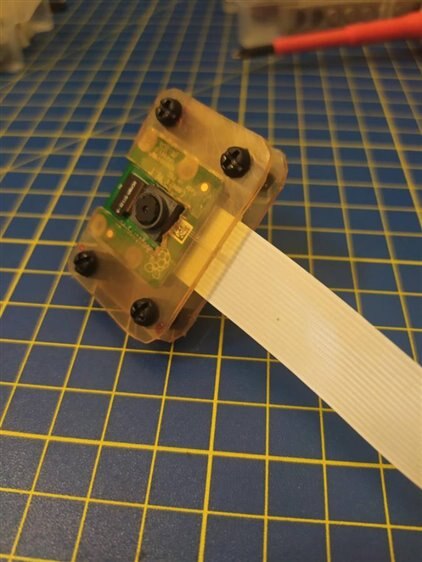
Assembly 1: Assembled camera mount |
Bracket: For mounting the whole thing to the lamp I used a small L bracket |
Mounted Camera: This is how the camera looks like mounted to the lamp now |
Lamp: The camera sits exactly where I want it to sit, with a pretty good angle for the medication box, the flat cable I have is pretty long, but I might need to order a slightly longer one, or just mount the Raspberry differently |


Medication Organizer
For now I'll be using the medication organizer I got at the local pharmacy, it is also the same one my grandma uses on a daily basis which an added bonus. But this organizer has a few flaws in my opinion. The lid isn't completely transparent which won't work for this project, the lid isn't really secured in any way and it doesn't fit in that well, so losing pills in a handbag is an actual possibility, and the last thing, it's white, the same color as most of the medication out there, so there really isn't any contrast between the medication and the box. I plan on printing my own box in a different color, but for now, I will just have to cover all of the individual segments with black tape.

4. OpenCV
With that, all of the hardware stuff I need for testing is pretty much over, the next step is to power up the Pi, set up OpenCv and go on from there. The way I plan on using computer vision is pretty straight forward, I have to approaches for cutting out the box from the background, either by detecting it with computer vision or by making a magnetic mount to keep in the same place every time. I would like to use a combination of both, but I will see how the project progresses. After cutting out the box, I need to divide it into individual segments and check each of them if they're empty or not. This is sadly the point which I reached with this project for now, a lot of hardware stuff is complete, but I'm just in the beginning with software. I played around with OpenCV a bit, and this is what I got in one of the first tests:

I managed to detect all of the individual segments, but also a lot of stuff besides it. I will have the follow up blog to this coming shortly I hope with a finished project. Thanks for reading, hope you liked it!
Milos
Top Comments
-

shabaz
-
Cancel
-
Vote Up
+1
Vote Down
-
-
Sign in to reply
-
More
-
Cancel
Comment-

shabaz
-
Cancel
-
Vote Up
+1
Vote Down
-
-
Sign in to reply
-
More
-
Cancel
Children