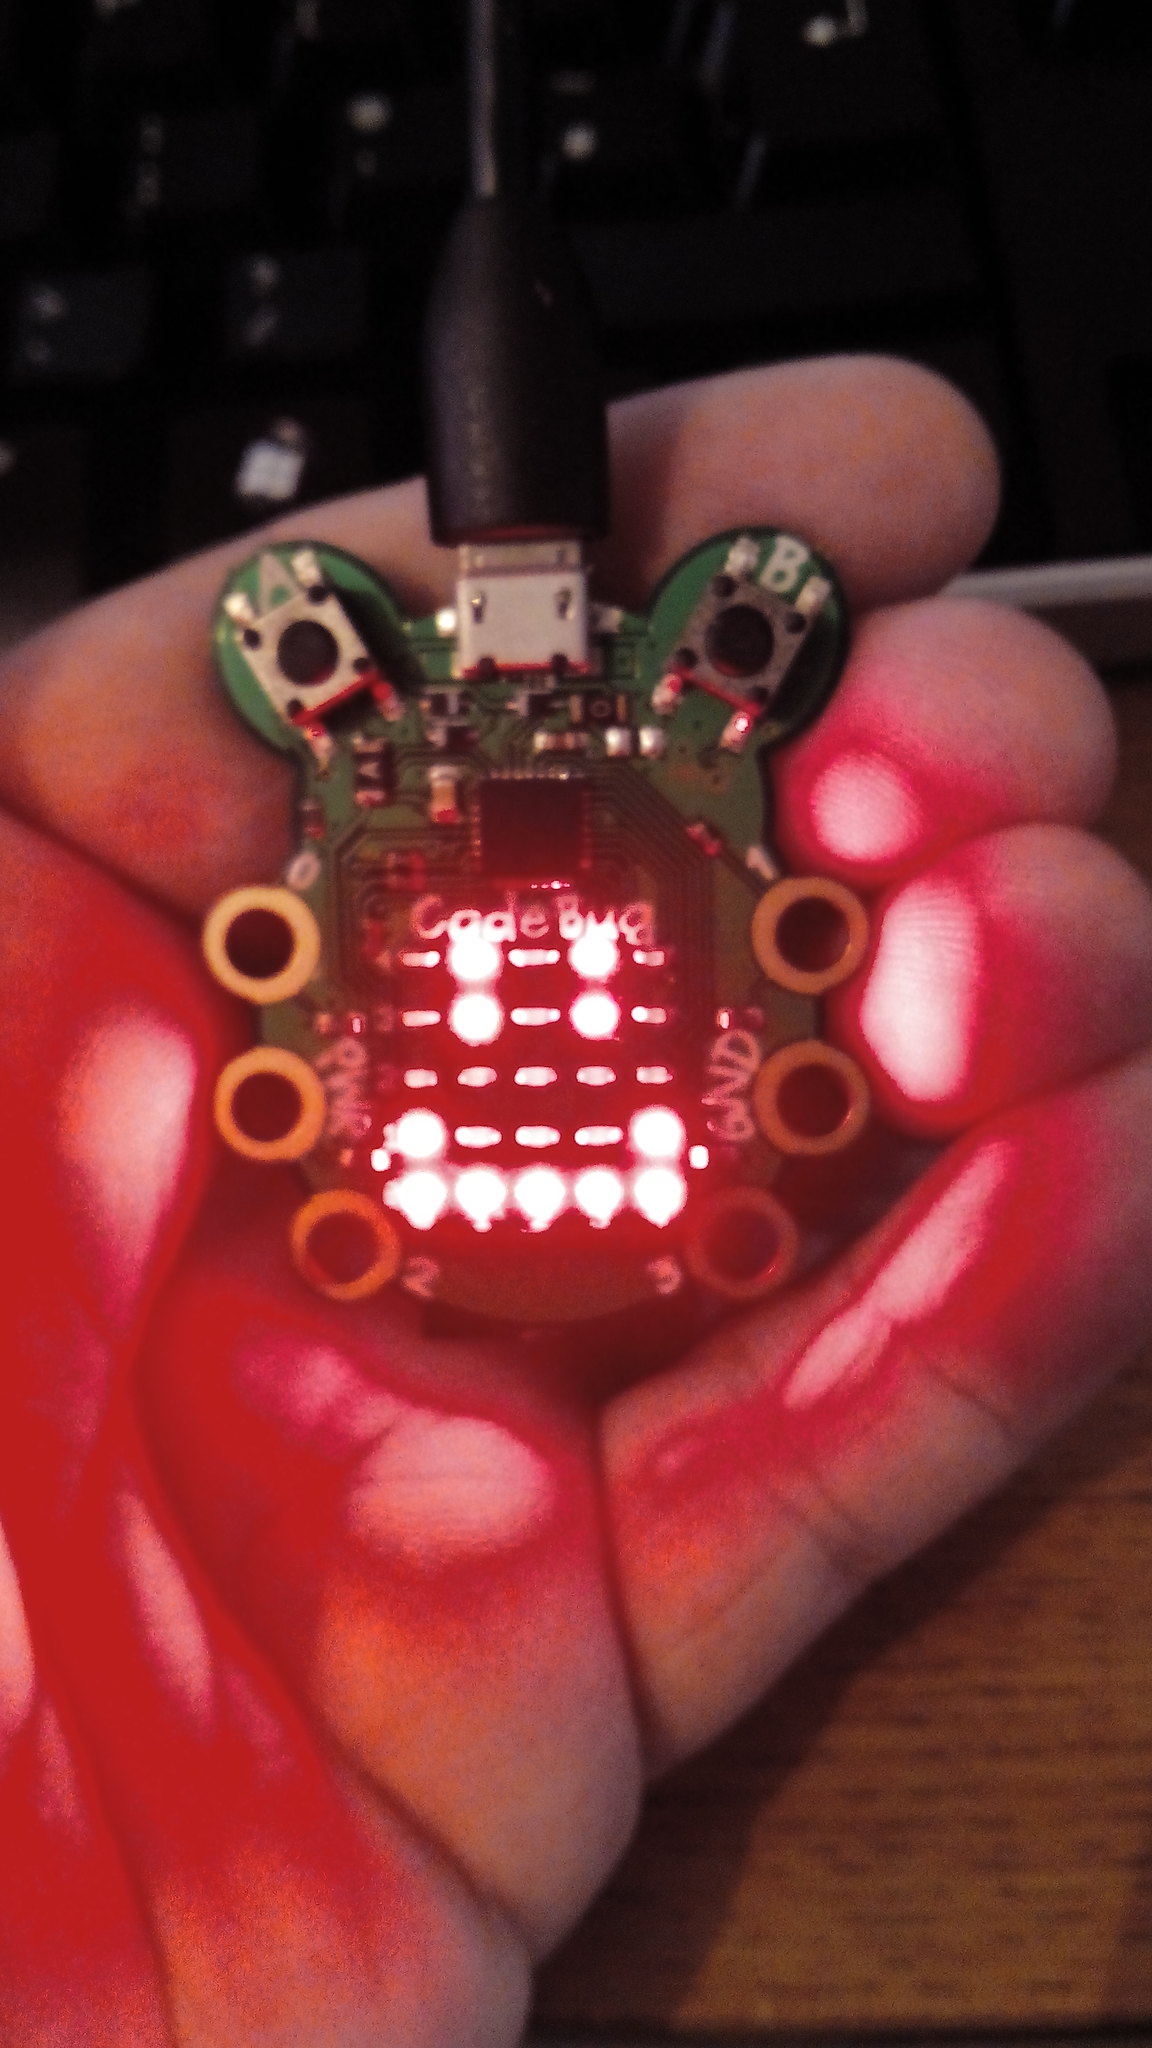
In our previous tutorial we created a digital pet that lived in our pocket. This project was a gentle introduction to hacking with Codebug.
For this tutorial we will be going a little further and using it to hack toys!
For this project you will need
- A Codebug
- A Kitronik Stepper / DC Motor Control Board 5108
- 4 AA Battery holder
- 4 AA Batteries
- A small breadboard
- Male to Female Jumper Cables
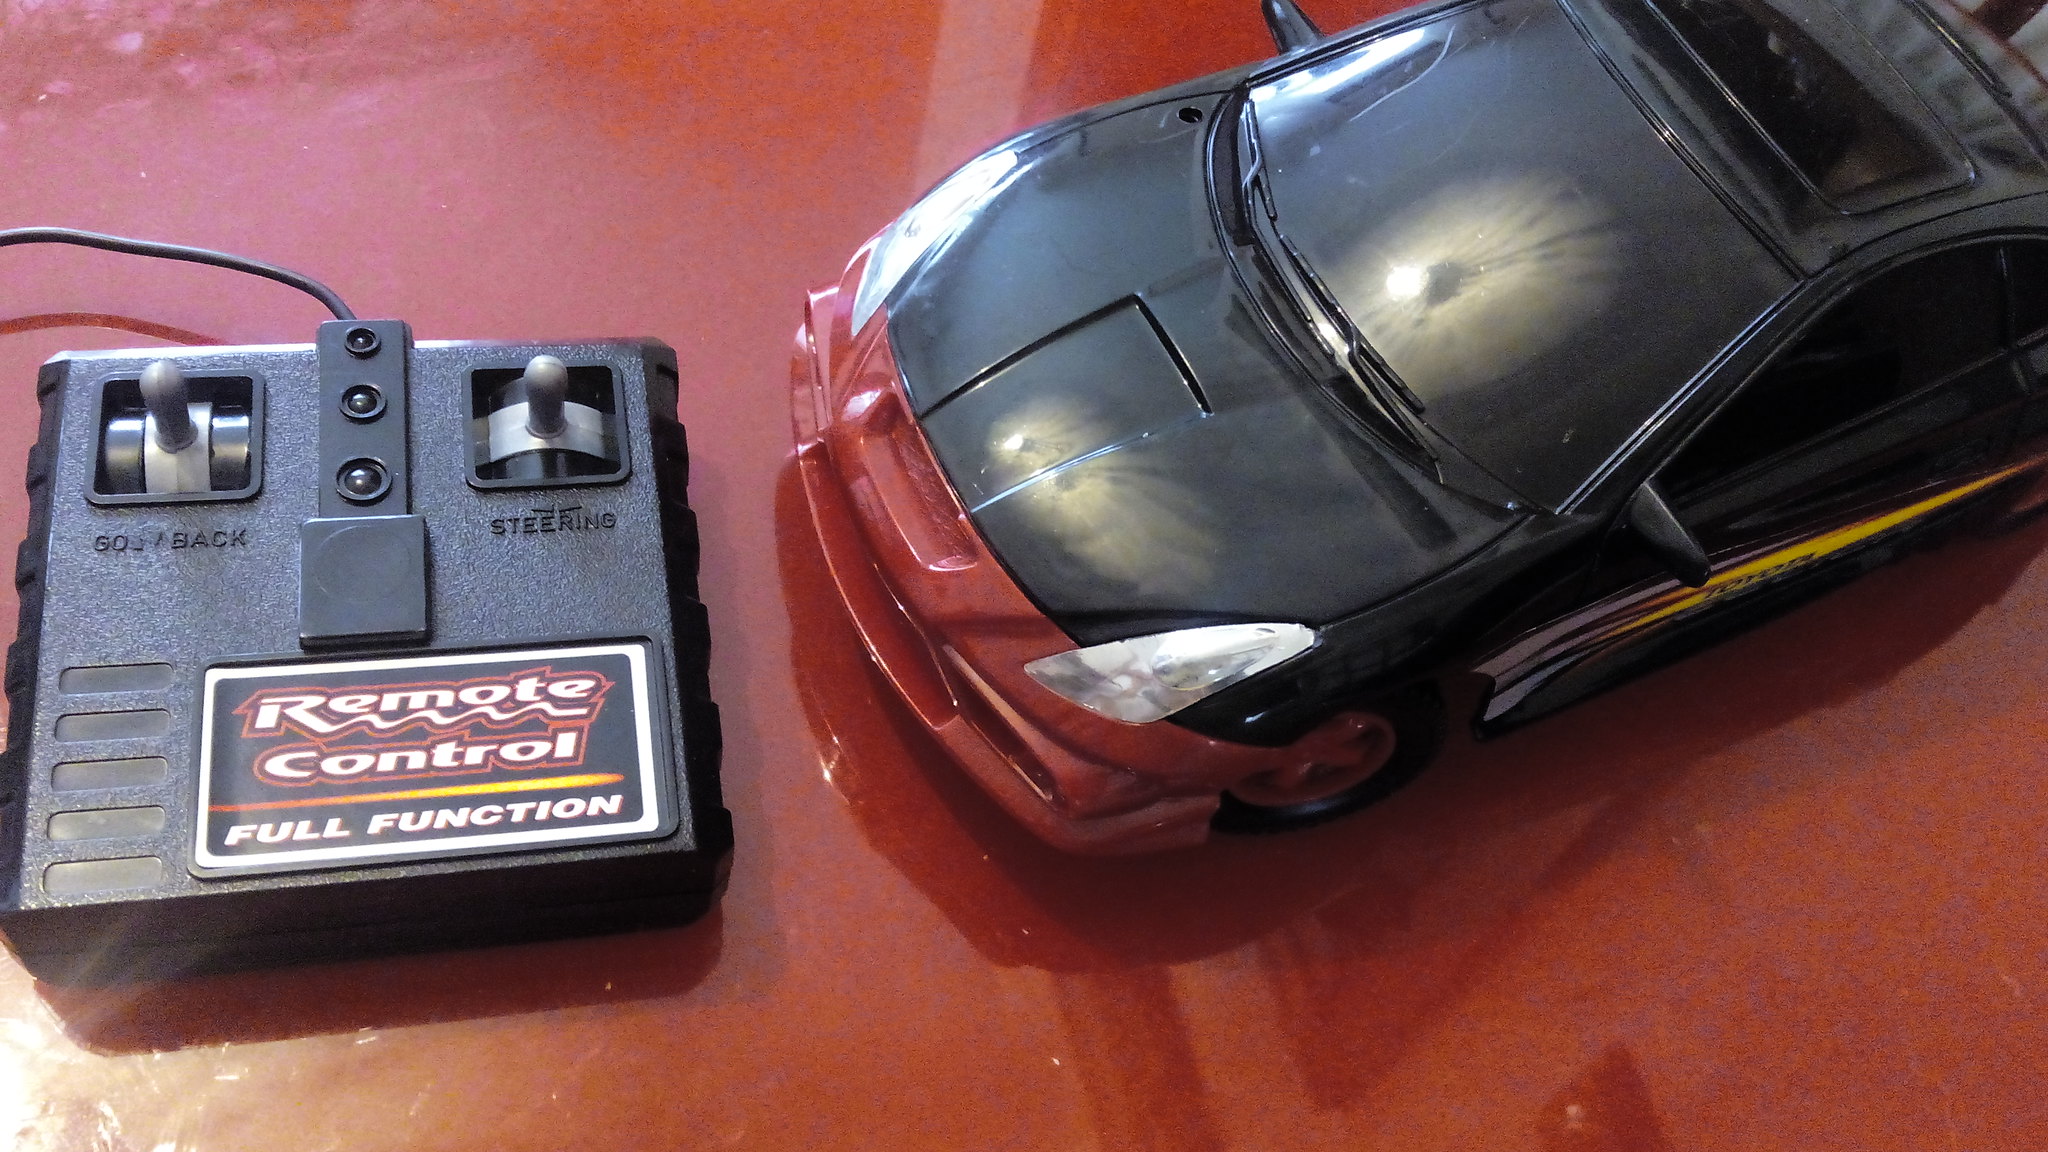
- A remote controlled toy car
Optional
- A Dremel or rotary tool to drill holes in the plastic chassis for cable routing.
Toy hacking is a great fun project but it does involve a little research. In this tutorial we shall be re-purposing a remote controlled car.
This car works with 4 AA batteries so is an ideal candidate for hacking.
Hardware Hacking
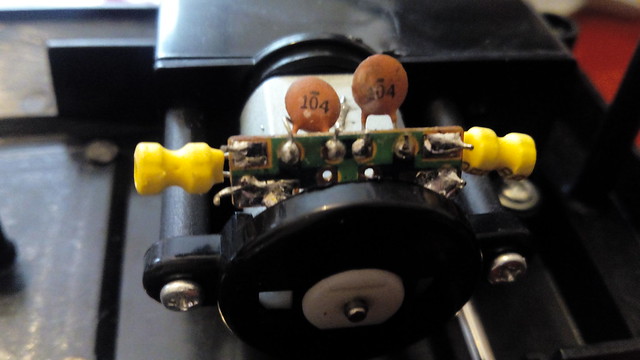
The remote control unit houses the batteries and the controls. We need to remove the control unit from the car itself. So with screwdrivers to hand we took the car apart and located where the wires connected. It turned out that the motors were controlled directly from the controller and that pressing a direction would flip the polarity of the motor causing the car to change direction. To make sure that my logic was sound I hacked a quick test unit using a 4 AA battery holder and some wires. Touching the correct solder points on the motors caused the to come to life. Having identified the correct solder points I quickly de-soldered the connections and saved the controller for another day. While I had the soldering iron out I soldered wires to the terminals of the motors for future use.
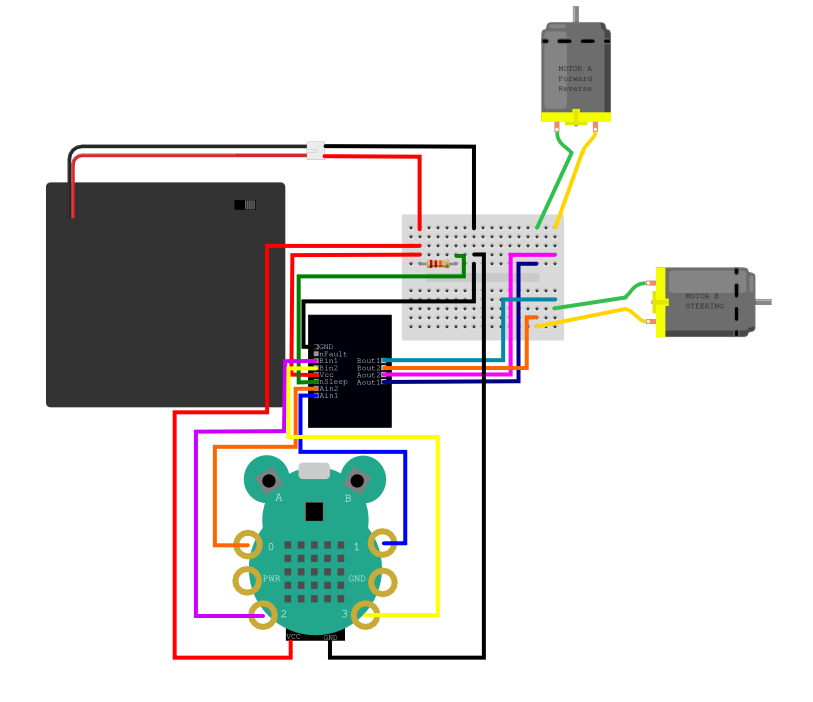
Now we can’t just connect Codebug to the motors and hope for the best as we may damage our Codebug, so we need to use a board between the motors and Codebug, this is called a motor controller. For this project I chose the Kitronik Stepper / DC Motor Driver Board as it works with 3V logic, which Codebug uses, and is really easy to use. The board did require a little soldering, attaching header pins so that we can attach jumper cables to the board.
The Kitronik board has a series of inputs on the left of the board.
| Input | What does it do? | Connects to? |
|---|---|---|
| GND | Ground | Connects to Breadboard GND |
| nFault | Not used | Not used |
| Bin1 | Input to control motor B | Connects to Codebug Pin 2 |
| Bin2 | Input to control motor B | Connects to Codebug Pin 3 |
| Vcc | 5v | Connects to Breadboard 5V |
| nSleep | Used to turn the board on and off | Pull this high with a 22k ohm resistor as per diagram |
| Ain2 | Input to control motor A | Connects to Codebug Pin 0 |
| Ain1 | Input to control motor A | Connects to Codebug Pin 1 |
To the right of the board there are four outputs
| Output | Connects to? |
|---|---|
| Bout1 | Connects to steering motor terminal |
| Bout2 | Connects to steering motor terminal |
| Aout2 | Connects to movement motor terminal |
| Aout1 | Connects to movement motor terminal |
We use a 4 AA battery box to power the Codebug via a breadboard connection to it’s header pins on the base of the Codebug, look for Vcc and GND on your Codebug and connect the correct wire to each. We also connect the + (Vcc) of the battery box to the nSleep of the motor controller via a 22kOhm resistor, this pulls the input high, effectively turning the board on in a safe manner.
For a full diagram of the project refer below.
Coding the robot!
We start coding by creating a new project at codebug.org.uk
We then see a blank project appear on screen. It is good practice to name your project and regularly save it.
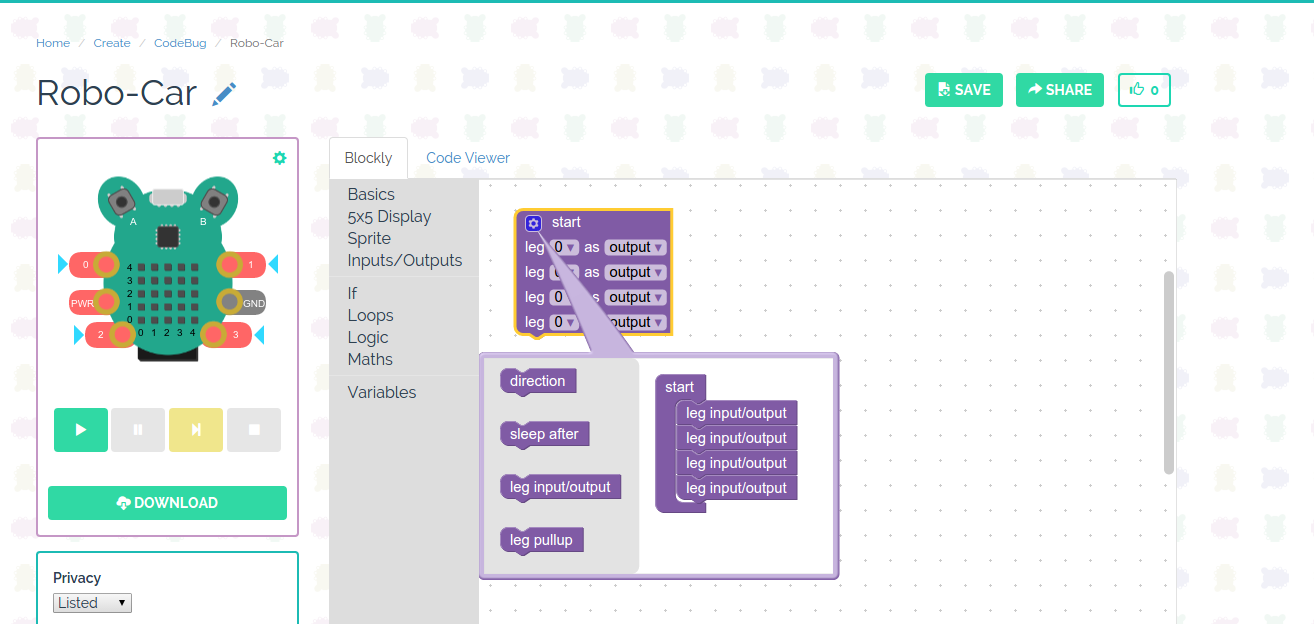
We’ll start coding by editing the start block, click on the cog to open the config options. We need to configure the block so that it has four leg input/output blocks, one for each of the legs we wish to configure. Drag them from the left of the popup so that they are inside the start block. When done click on cog to close the options.
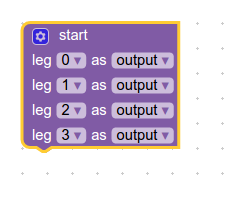
Next ensure that legs 0,1,2,3 are set to outputs so that we can send current from the Codebug to the motor control board.
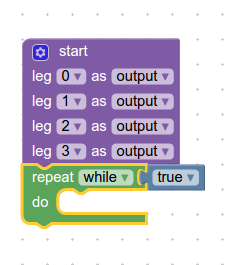
With the legs setup we now move on to create an infinite loop which we shall use to constantly check the status of our Codebug. You can find repeat while true in the Loops menu. Drag it and attach it underneath the start block.
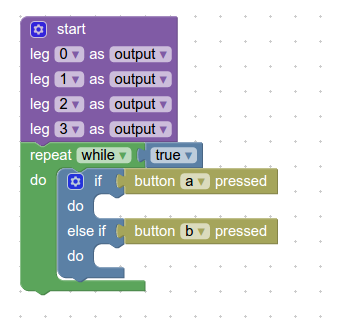
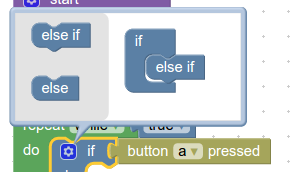
We are going to insert a conditional statement inside the while true loop. A conditional statement reacts to the user input and performs an action based upon the action. We are going to use an if..do..else if..do..else from the If menu. Drag it to the coding area and place it inside the while true loop. The If block has it’s own config cog, and we need to use it to remove the else condition. Click on the cog and the config options will appear, drag the else block from the right and drop it into the config options, when done click on the cog to close.
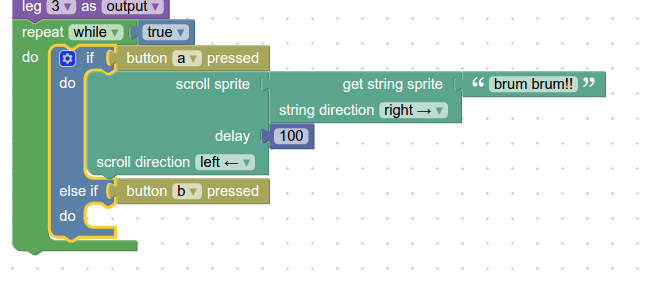
Our If..Else If conditional statement now needs two conditions, for If we shall use button a pressed and Else If will have button b pressed. Both of these options can be found in the Inputs / Outputs menu.
We now move on to coding the actions that will happen if button a is pressed on our Codebug. For a little fun I added some scrolling text which says “brum brum!!” when the car starts up. This is totally optional and has no impact on our robots functionality. You can find these blocks in the Sprite menu.
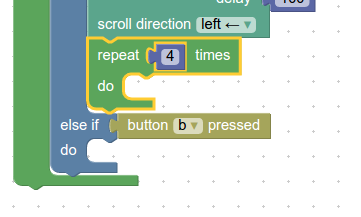
Still inside the If part of the conditional we are going to use another loop from the Loops menu. Repeat 5 times is used to repeat a section of code for a set number of times. Drag this over to the coding area and attach it underneath the scrolling text blocks but still inside the If condition. We changed the repeat so that it looped four times.
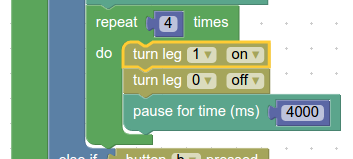
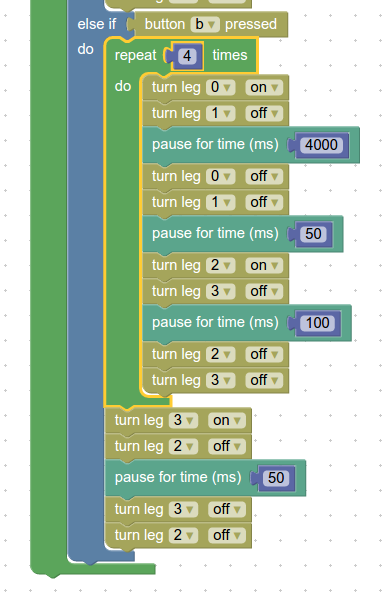
Now we move to setting up the legs of our Codebug so that when they activate they trigger the motor controller to act. Inside the repeat loop drag two turn leg 0 on blocks from the Inputs / Outputs menu. Change the value of one block to turn leg 1 on, and the other to turn leg 0 off. This turns on leg 1 which is connected to the motor that drives that car forwards and backwards. In this case it instructs the car to go forward. To keep the motor turning we use a pause for time (ms) block from the Basics menu, change the value to around 4000 which is 4 seconds.
We now need to turn the motors off, so use two more turn leg 0 blocks from the Inputs / Outputs menu and edit to say that 1 and 0 are off. Next use another pause for time block and change the value to 50.
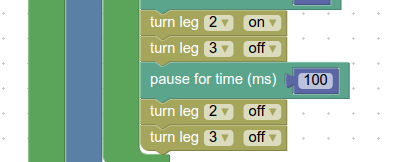
Now we shall tackle steering our robot. Because we are using a car with a rack and pinion steering mechanism we will need to think about turning enough to complete a turn. Turning is handled by motor B and we control that by grabbing two more turn leg blocks from Inputs / Outputs menu. Change the first so that it says turn leg 2 on, the other to turn leg 3 off. We then use a pause for time and change the value to 100, a tenth of a second. Then we turn the motor off by turning legs 2 and 3 off.
Now we come out of the repeat loop but remain inside the If conditional. This next section of code will be run once, and only when the repeat loop has completed. We shall use it to correct the steering of our car so that the wheels point forward.
The code for our If condition is complete, now we move on to the Else If part of the conditional statement which is triggered If button b is pressed.
We reuse the sequence that we created for button a and change the leg values so that they trigger the motor to travel in the opposite direction while keeping the steering the same as before.
And here is all of the code that we have written for easy reference.
You can see on the left of the screen a Download button, click there to download a compiled version of the code ready for our real Codebug. When the code is downloaded, plug in a USB to micro USB lead to your computer. Now hold button A of your Codebug and insert the micro USB into it. On your Codebug the top left LED in the matrix will come to life and flash. The Codebug will also appear as a USB drive on your computer. The code that has been downloaded from the Codebug website can be copied to the USB drive and once there press button B to run the program. But before we do that we need to ensure that all of the hardware connections are made correctly, if in doubt ask a friend to double check.
When all is ready, press button a or b on your Codebug to start your motor!
And some bonus content, a couple of videos showing a quick test of functions as I went along.







Top Comments
-

balearicdynamics
-
Cancel
-
Vote Up
+1
Vote Down
-
-
Sign in to reply
-
More
-
Cancel
Comment-

balearicdynamics
-
Cancel
-
Vote Up
+1
Vote Down
-
-
Sign in to reply
-
More
-
Cancel
Children