Welcome back! Natasha here. :)
This is the fourth of 10 blog posts featuring each video in my series on animating LEDs with micro:bit and Make Code. If you've just stumbled upon this post, start from the beginning here.
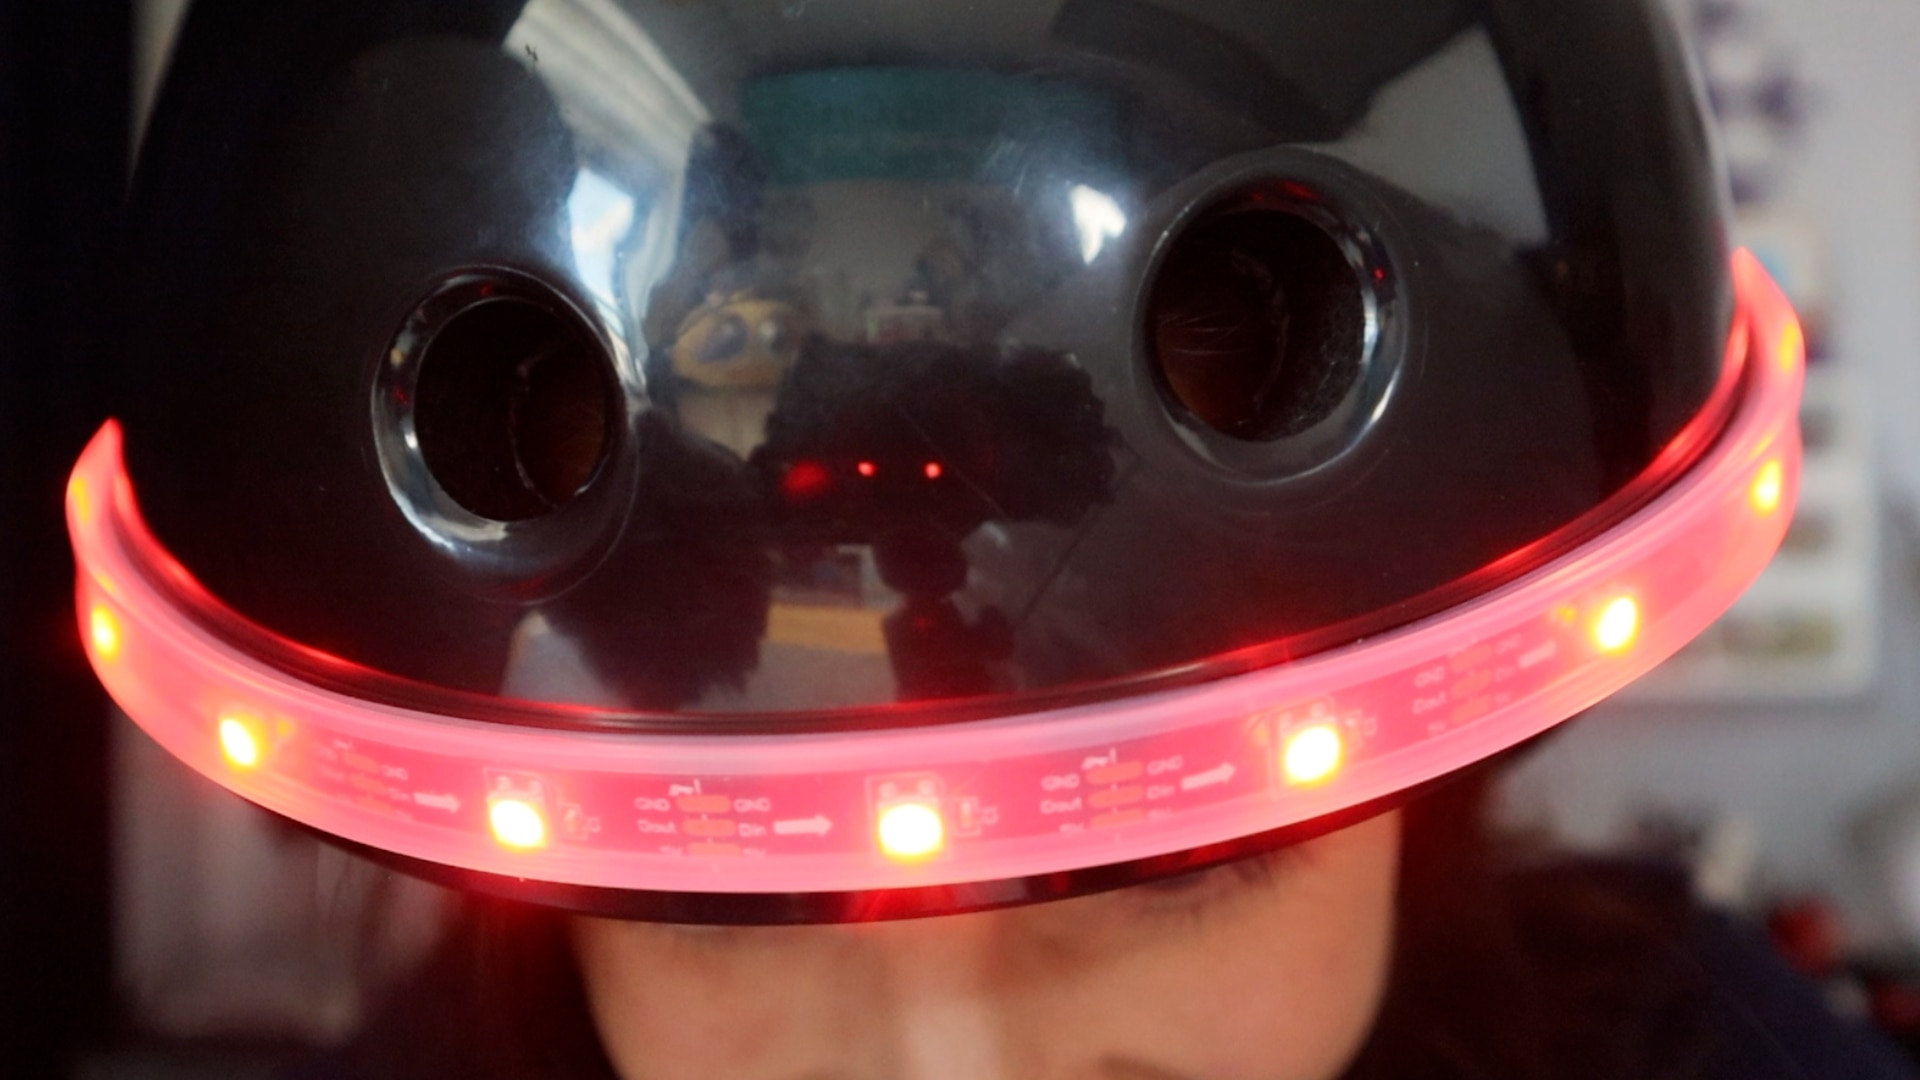
In the last video, we put the project together by connecting the NeoPixel strip to the micro:bit and battery, and the project to the helmet. Now, it's time to make the LEDs light up!
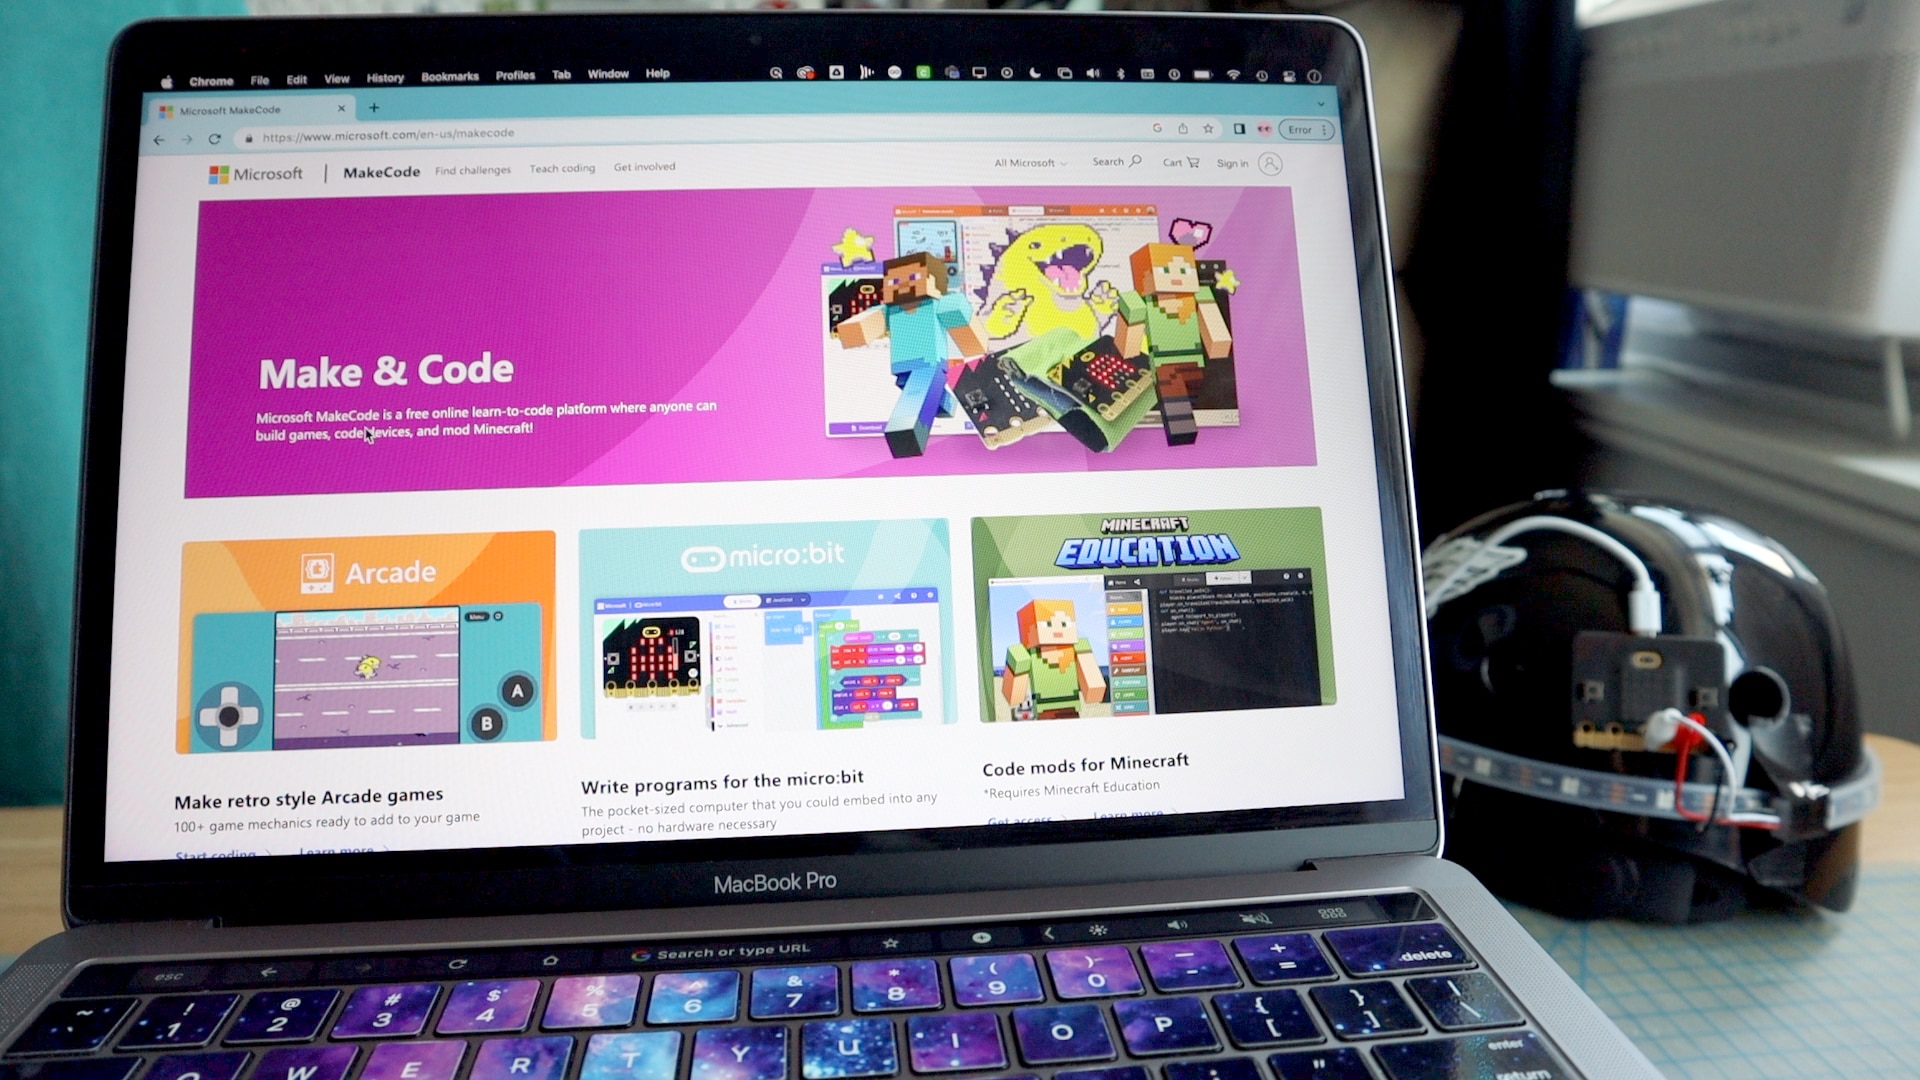
This video is a beginner's guide to coding Neopixel LEDs with Microsoft MakeCode. MakeCode is a free website that lets you "make code" with easy-to-connect, pre-made "blocks" of code.
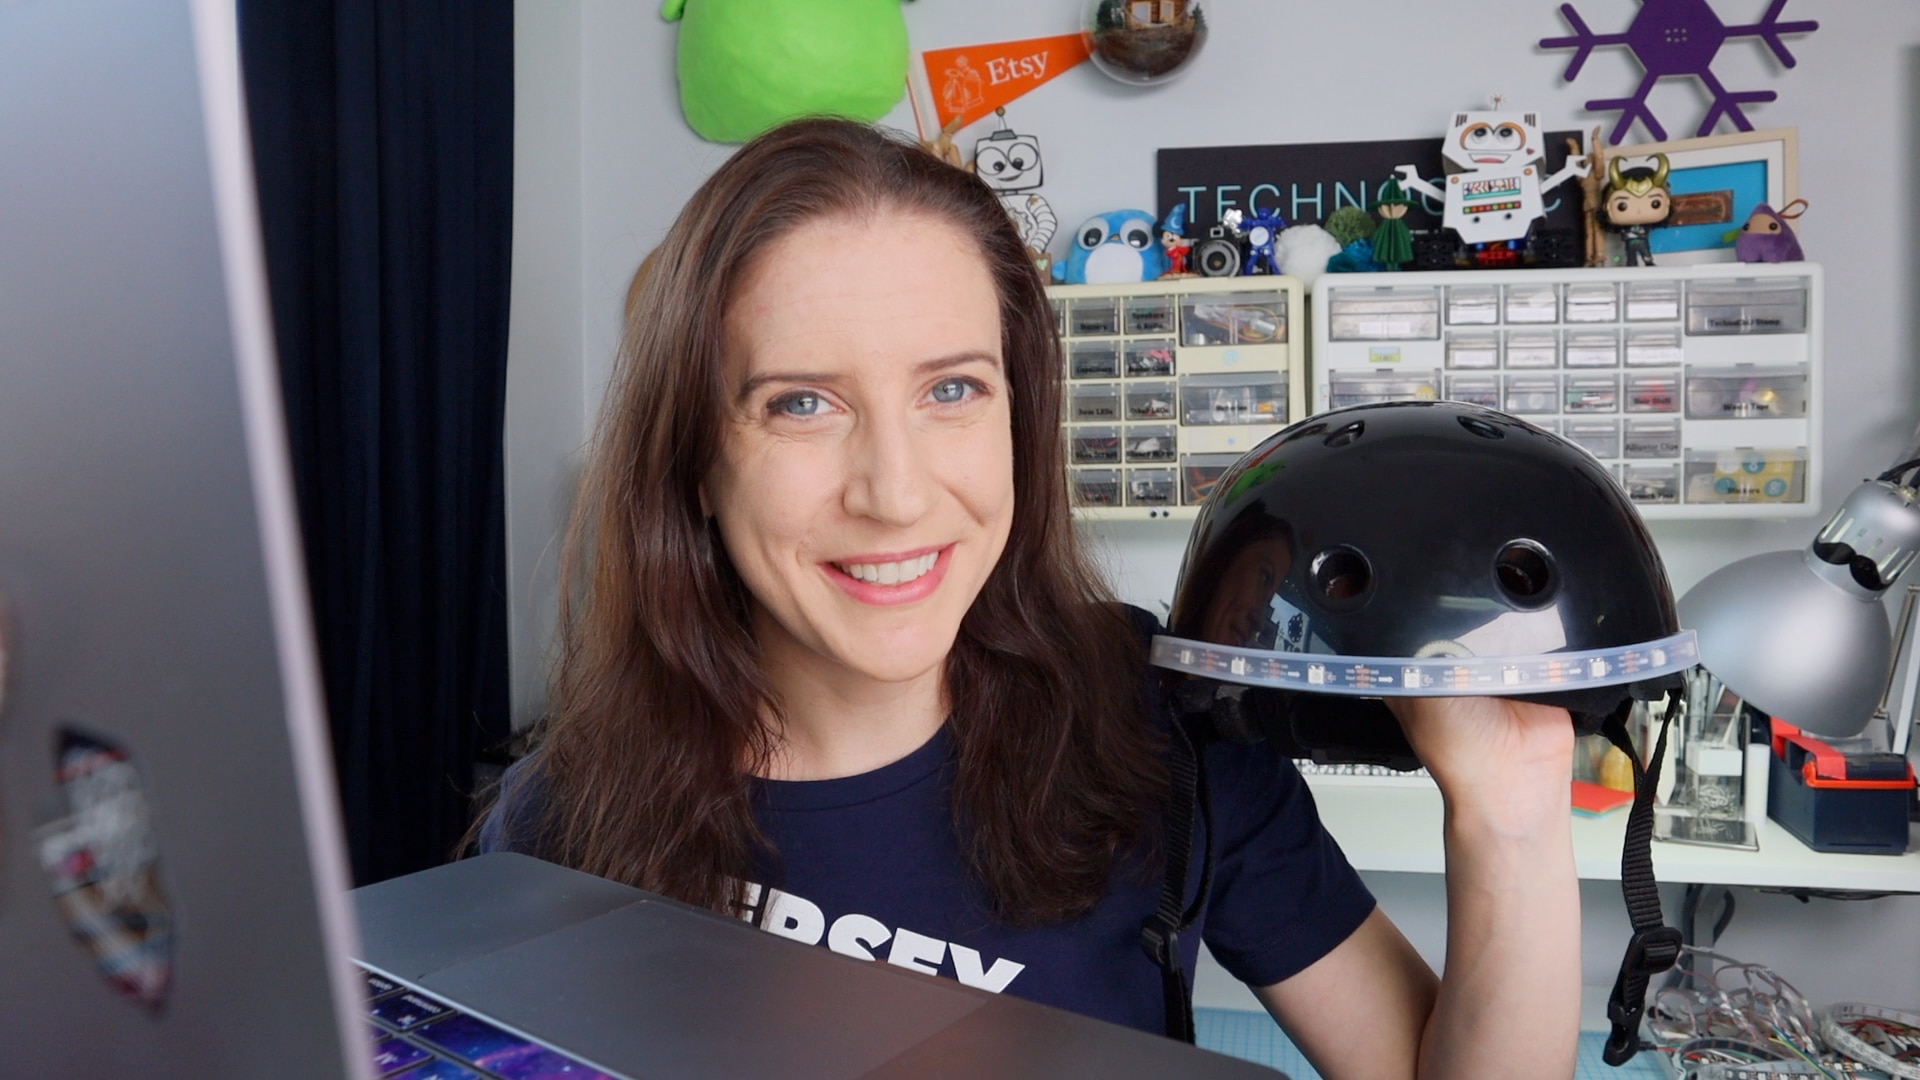
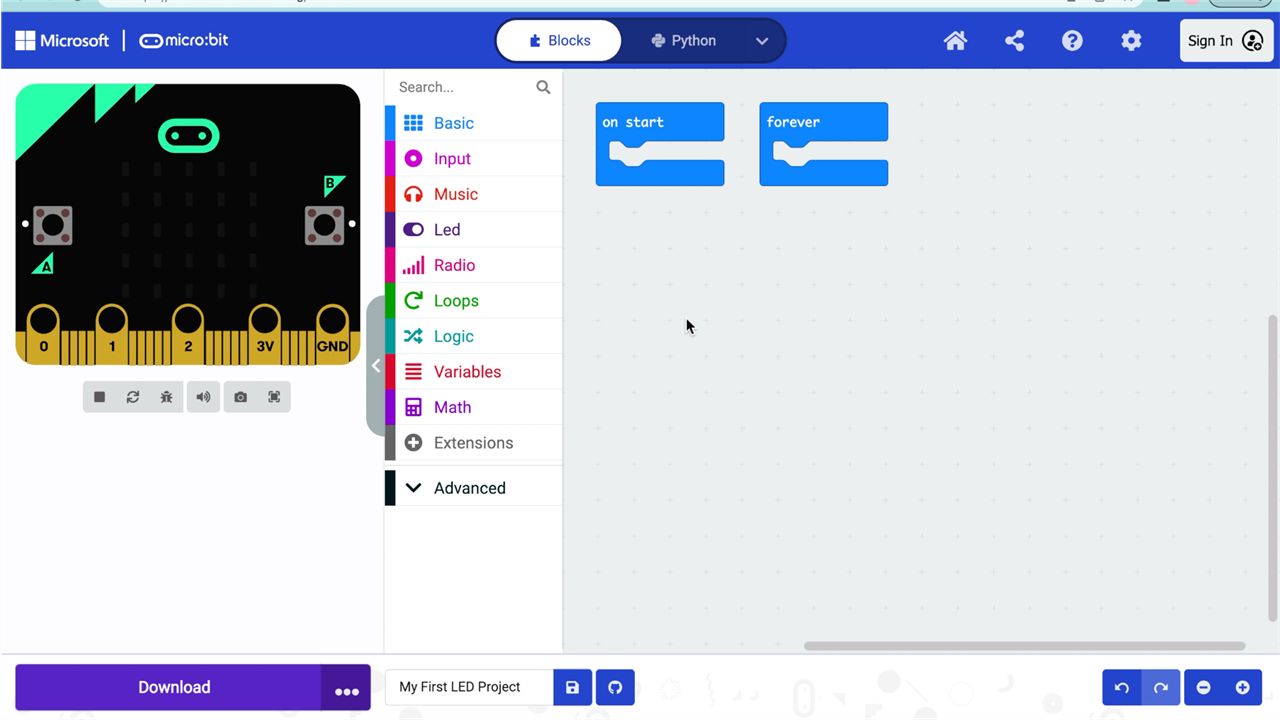
After a quick tour of the interface, I'll show you how to configure the software to use NeoPixels, introduce the concept of code blocks and how they work, and show you how to download the code to display your coded animation on your LED strip.

Then, I'll introduce the debug tool to help you find errors in your code too. 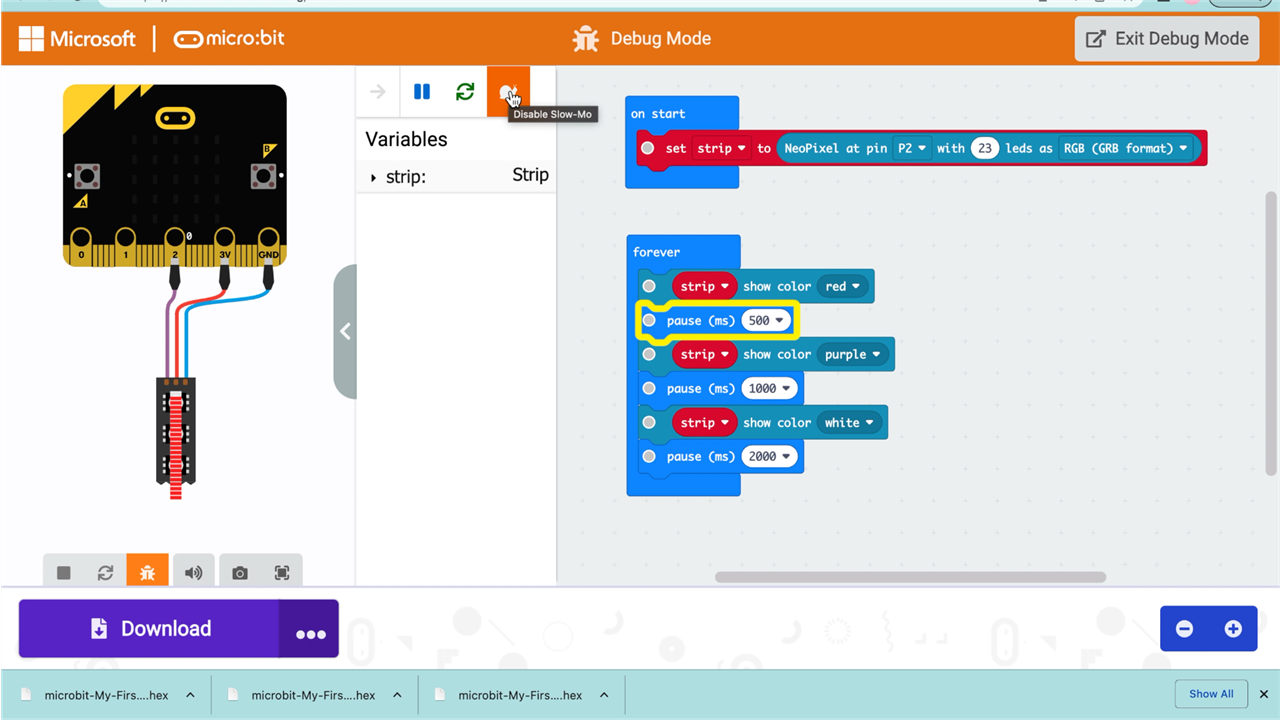
After building some basic animations, I'll leave you with my favorite task of all - coding an animated rainbow on the strip!

Watch the full tutorial here:
How'd it go?
Did your LEDs light up?
Comment below with details, or join the Discord channel to share your questions, concerns, and especially your successful builds. See you there!
