Welcome back! Natasha here. :)
This is the 10th of 10 blog posts featuring each video in my series on animating LEDs with micro:bit and Make Code. If you've just stumbled upon this post, start from the beginning here.
Watch the FULL Story of Natasha's NeoPixel Bike:
This video tells the whole story of how I built my LED bike - the idea, the prototypes, the animations, the setbacks, the code, the - everything.
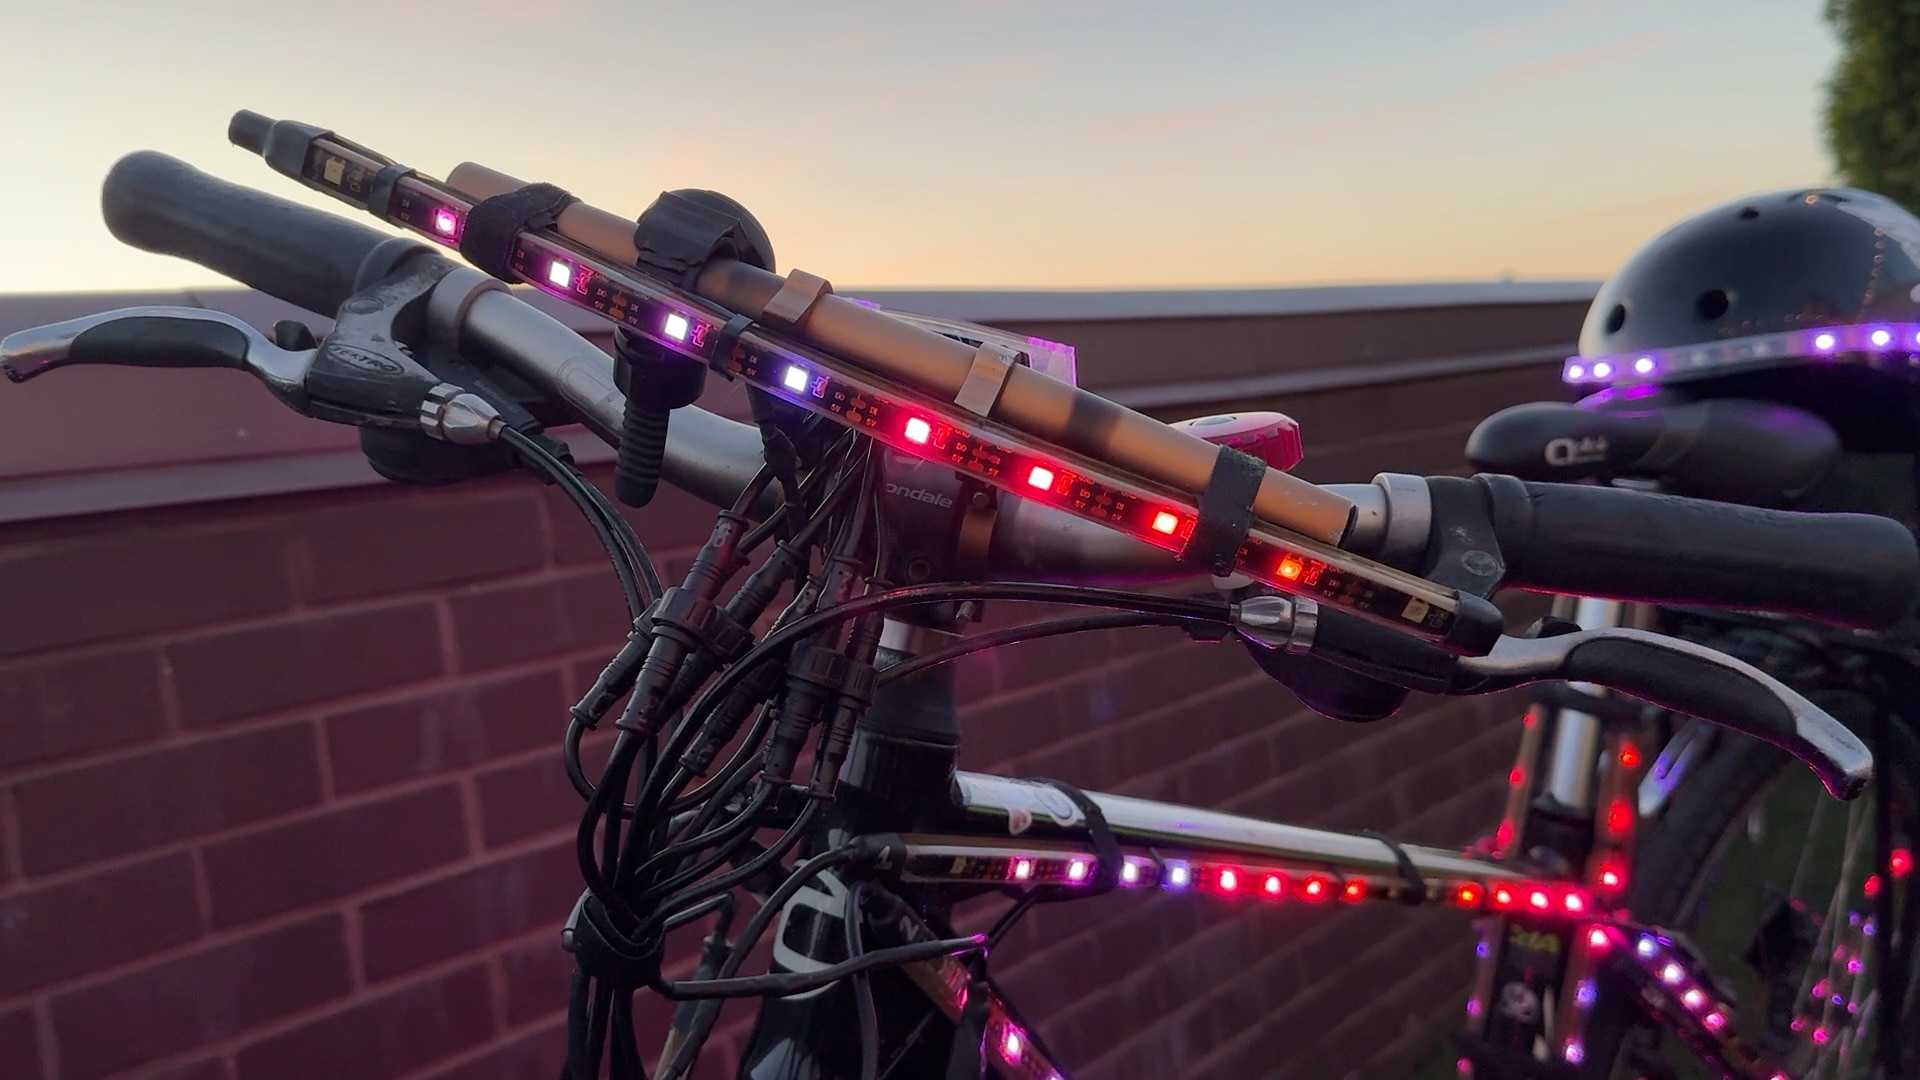
I started with 30 pixel-per-meter NeoPixel strips on the frame of my bike that were controlled by Arduino. Then, I switched the whole project to micro:bit to utilize the onboard radio and sync the LED animations across the frame, wheels, and helmet.
I tell the whole story of my journey - from connecting the pixels to trying out music-reactive animations - to maxing out the capabilities of MakeCode with some pretty advanced code - all made from blocks! Along the way I share tips for addressing NeoPixels, weatherproofing the project, and designing a user interface that’s easy to understand and use while riding.
This video summarizes almost 4 years of work — and I have much more to do! I plan to keep going with this project so please stay tuned for more. Please subscribe to my YouTube channel (Subscribers make me so happy!) and join Discord to share your questions and ideas.
Natasha's NeoPixel Bike Pics:
| {gallery}Natasha's NeoPixel Bike |
|---|
|
|
|
|
|
|
|
|

|
NeoPixel Bike Process:
| {gallery}Making the NeoPixel Bike |
|---|

|

|

|
|
|
 |
|
|
 |
 |
 |
What's Next for Natasha's LED Bike?
Next, I’d like to create a NeoPixel jacket or cape and maybe some more accessories too! And, I want to improve on the controller, potentially adding a button matrix to make a more robust interface for changing animations. And, I want to explore more interactive animations that better utilize the radio and make the bike into a true VU meter that reacts to music!
What else should I consider adding? Let me know below!


