


This is part 1 of a series of 3 parts that I have planned for the Rohde & Schwarz RTB2004 Digital Oscilloscope road test. In this part I am planning to cover product unpacking and exploring the contents, power-up and exploring some basic measurements.
First I want to thank Element14 and Rohde & Schwarz for selecting me as one of the roadtesters for the RTB2004 Digital Oscilloscope.
Second, I want to mention that this oscilloscope is now by far my favorite oscilloscope in my lab. I like that is has a large screen, I like the sharpness and clarity of the screen, the multitude of functions built in, the multitude of measurements built-in, and the clear help documentation displayed directly on the screen and easily accessible for each button and function of the oscilloscope. This help implementation is a great feature for students or anyone who is a beginner in starting and using oscilloscopes. All these features make the Rohde & Schwarz RTB2004 oscilloscope "a piece of jewelry" in my lab.
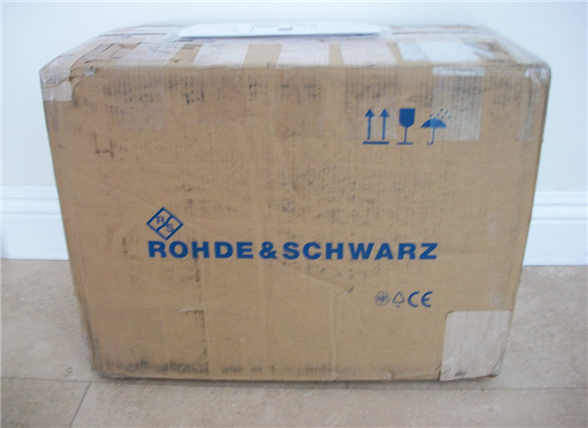
I am grateful to have the opportunity to road test this oscilloscope. Here is how it begun: I knew when the package comes from a UPS delivery confirmation email and I was happy to find it on my porch. I took the package inside the house:
Then I opened the package. The oscilloscope was well packed in bubble wrap and surrounded by a layer of protective foam:

Here is what I found inside the box: The oscilloscope, power cable, four analog probes packed in separate bags, two digital logic analyzer probes with connectors, and various documents with useful information about this product.
Here is a more detailed picture of the probes:

I have found useful a "Getting Started" document and another document that listed all the options installed with the license type.

I wanted to get faster to the point when I power up and explore this oscilloscope, so I first opened the bags with the analog probes and mount the color coded indicators.

Next I connected the power cord and I pushed the "Power" button. The oscilloscope booted very fast; I measured 15 second. Here is a picture and a video that shows the power up:
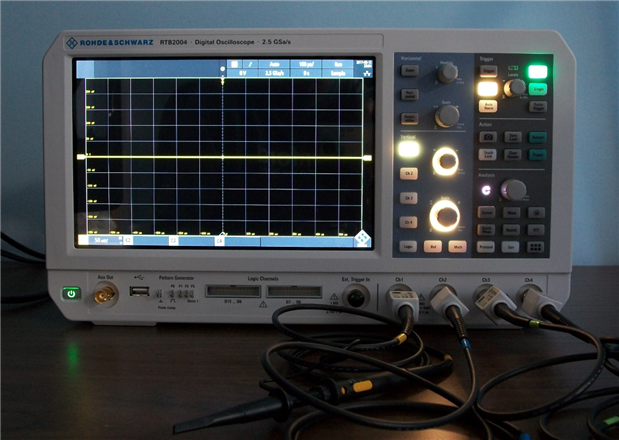
This is the link to the video:
First step after power up was to calibrate the probe compensation using the small screwdriver included in the probes kit and following the instructions document that came in the probe bag. Each probe has three compensation trimmers, one for low frequency compensation mounted on the hand-piece and two for high frequency compensation mounted on the connector:

I followed the instructions in the probe manual, and I connected the probe to the 1kHz square wave output on the oscilloscope front panel. I then adjusted the oscilloscope settings to display the 1kHz square wave signal, and I continued with compensating the low frequency trimmer, T1, on the hand piece. Following that I compensated the high frequency trimmers, T2 and T3. Here is a picture of the channel 1 probe connected tot the 1kHz signal generator:
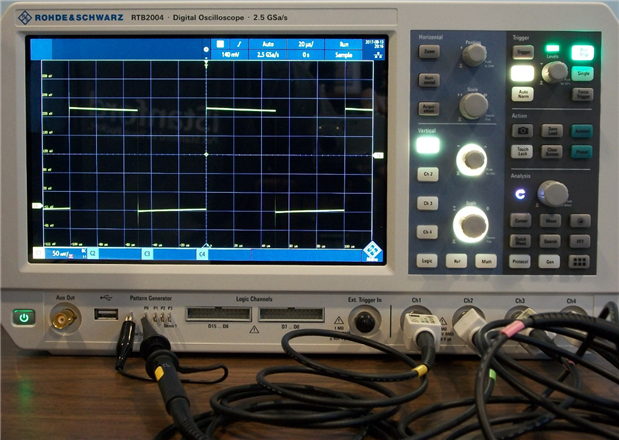
This connection worked well for the low frequency compensation; however, when I tried to do the high frequency compensation the loop inductance of the ground introduced significant ringing in the waveform, so much that it was impossible to see when the top and bottom edges are horizontal. Here is a picture of the waveform with ringing:
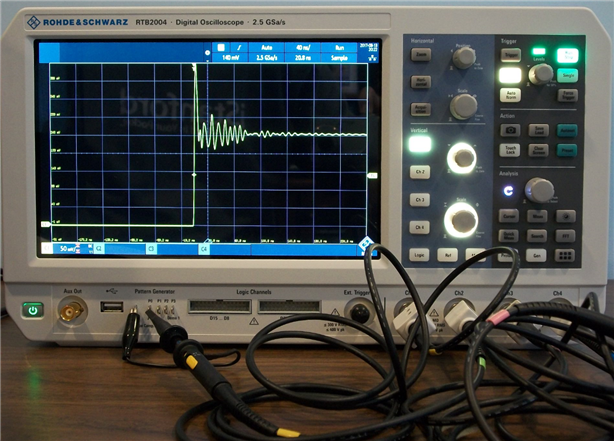
And when magnifying the horizontal time base to 5ns/div as in the instructions manual The waveform looked like this:

I then tried to understand what causes this ringing and I discovered that as I play with the probe ground wire the ringing changes. Thus, I started to suspect the loop inductance of the ground probe as the source of this ringing. To validate my assumption I removed the ground wire from the probe and I connected the probe directly to the pulse generator pins by touching the center signal pin of the probe to the generator output pin and the probe shield/ground directly to the generator ground.

Here is a short video that shows how I adjusted the low frequency (LF) and high frequency (HF) probe compensation trimmers for one of the probes:
I then continued with compensating the other three probes the same way I compensated the one for channel 1.
After compensating all probes I started to explore the various functions of this oscilloscope. First feature that I wanted to explore was the "touch-screen" user interface. This is an awesome feature of the Rohde & Schwarz RTB2K-COM4 oscilloscope. Here is a video that captures my first interaction with this oscilloscope using the touch-screen feature.
This concludes the first part of my road test evaluation of the Rohde & Schwarz RTB2004 Digital Oscilloscope. I will come back with new results as soon as I complete more evaluation work.
Best Wishes to Everyone,
Cosmin
Top Comments
-

gam3t3ch
-
Cancel
-
Vote Up
+2
Vote Down
-
-
Sign in to reply
-
More
-
Cancel
Comment-

gam3t3ch
-
Cancel
-
Vote Up
+2
Vote Down
-
-
Sign in to reply
-
More
-
Cancel
Children