


Back in 2015 I created a rear view camera for our caravan.

Photo source Three Minions (me, myself and I)
While ver 1.0 was functional, it wasn't really useable for a number of reasons.
The height was fine, but it did require something to stop it moving around.
I had looked at sticking it down, tying it down, and those suction cup things.
Because we need the space while we're away, all of these solutions couldn't be permanent.
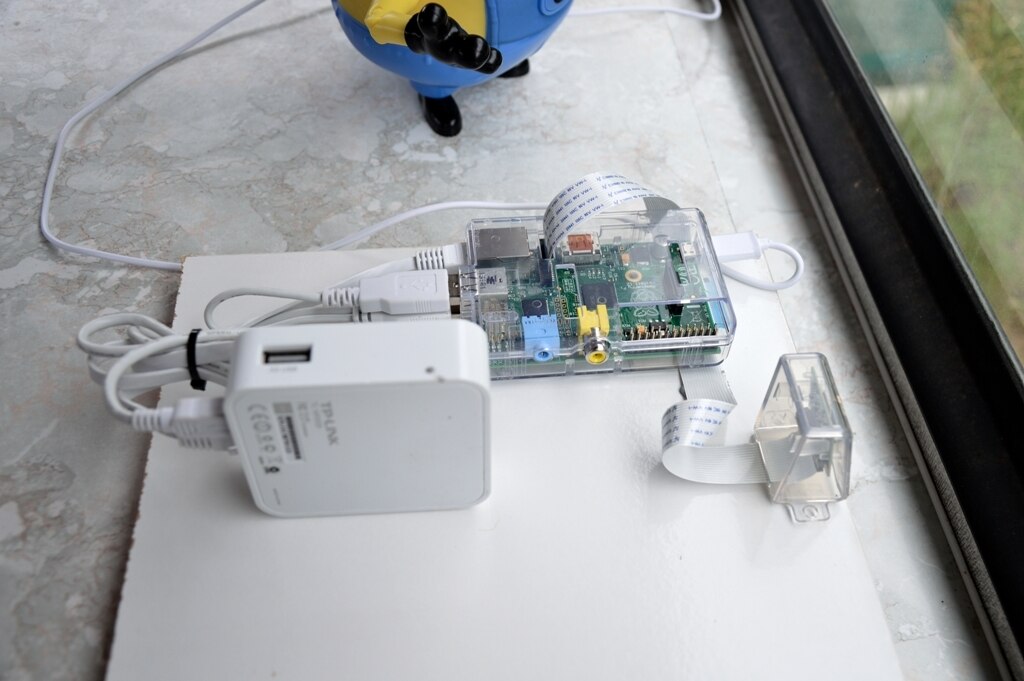
Photo source Three Minions (me, myself and I)
But the biggest issue was the camera angle.
It was fine if you wanted to capture the top of a following vehicle, and when the sun was behind it was going to throw the camera into overload and defeat the reason it was there.
I had added some double sided tape to angle it, but with the mounting issues, it was a solution requiring some better engineering. 
I shelved ver 1.0 and relied on the "hope, wing and pray" method when I took it on the road. (It was only about 20km each way the three times a year it gets used)
Somewhere along the way fvan posted a simple solution using the Pi Zero.
[Pi IoT] Alarm Clock #10: Camera Feeds


Photo source https://thepihut.com/products/zeroview
He knows I can't resist buying hardware for a rainy day, and so I brought one, and fitted the Pi Zero and camera into it.
2017
So fast forward to the end of 2017, and I decided that I'll use a PiZero and this for the Rear View Camera ver 2.0
I was still going to use UV4L to do the streaming ( (advanced) Projects – home ), and I did the obligatory apt-get update and apt-get upgrade that everyone recomends.
We had to go out and sometime during the upgrade my ssh session timed out when windows did it's go into sleep mode. Unfortunately the session was interrupted and the script had stopped at a question.
Nothing left but crash out and load a new distro onto the uSD card and start again.
I choose to use Raspbian Stretch Light ( https://www.raspberrypi.org/downloads/raspbian/ ), and there are a few differences during the install process.
The instructions are here https://www.linux-projects.org/uv4l/installation/, but you do need to follow the instructions carefully to ensure you match the instruction with the distro.
You can easily check what distro you have by typing
cat /etc/os-release
In my case the result is ....
PRETTY_NAME="Raspbian GNU/Linux 9 (stretch)"
NAME="Raspbian GNU/Linux"
VERSION_ID="9"
VERSION="9 (stretch)"
ID=raspbian
ID_LIKE=debian
HOME_URL="http://www.raspbian.org/"
SUPPORT_URL="http://www.raspbian.org/RaspbianForums"
BUG_REPORT_URL="http://www.raspbian.org/RaspbianBugs"
Steps
1. Download the image
2. Burn it onto an SD card
3. While still in your machine, copy a simple text file and rename it to ssh.
4. Create a second file called wpa_supplicant.conf with the following content
ctrl_interface=DIR=/var/run/wpa_supplicant GROUP=netdev
update_config=1
network={
    ssid="whatever your wireless network SSID is"
    key_mgmt=NONE
    priority=1
    id_str="Rear View"
}
You can use Notepad++ to ensure that it's formatted for Linux, rather than windows adding some strange EOL characters.
I don't use security on this particular wireless network, but everything you need to know is here https://www.raspberrypi.org/documentation/configuration/wireless/wireless-cli.md
5. Both of these files should be placed into the root directory of the Sd card and are moved when it boots up.
6. Install the SD card along with a WiPi (if you aren't using the PiZero W)
Once you have the PiZero up and running and you can connect to it via a session (I use WinSCP and Xming on Win7), you're set to continue.
For some unexplained reason mine didn't connect until I added a USB hub and fitted a keyboard, mouse and monitor ... just my bad luck.
7. You will need to configure the PiZero for the country, keyboard, timezone and to enable the camera.
You will also need to set the GPU memory and I used 256. Type
sud raspi-config
To can work through the settings using the up and down arrow, and the space bar in the tick boxes.
8. You need to add a key. Type
curl http://www.linux-projects.org/listing/uv4l_repo/lpkey.asc | sudo apt-key add -
There is a discussion here about changing the lrkey to lpkey for Stretch https://www.raspberrypi.org/forums/viewtopic.php?t=194608

9. Type
sudo nano /etc/apt/sources.list
and add the line
deb http://www.linux-projects.org/listing/uv4l_repo/raspbian/stretch stretch main
Use Ctrl X to save the file and overwrite the old one.
The steps above add a key and point the OS to the right place to download the files.
10. Type the following lines one at a time to refresh the database and then download and install the components
sudo apt-get update to refresh the database
sudo apt-get install uv4l uv4l-raspicam
sudo apt-get install uv4l-raspicam-extras
sudo service uv4l_raspicam restart
sudo apt-get install uv4l-server
About now you have a uSD card loaded with all the software necessary, and it's time to try it out.
Webpage
The UV4L-Server you added provides a webapge at <PiZero IP Address>:8080

Control Panel is the first place you should head to tweak the settings.
For my purpose I reduced the size and increased the frame rate

Click on the Apply button at the bottom and it will apply those settings (provided you aren't streaming)
If you click on

you'll see a streaming video.
Conclusion
I find it a very worthwhile and simple application that covers this purpose very easily.
It is a little quirky in that some boxes open in new window, while others open in that window.
I just need to add a button to shut the PiZero down gracefully.
That's likely to be ver 2.1 ... and will not be this year. 
Mark