


Earlier this summer my grandson, Ivan, a serious 8 year old, asked me if I would help him with a science project for school. Ivan and I have been working together from time to time on small electronic projects and when he comes to visit I try to send him home with something he can bring to show and tell at school. The science project for his third grade class would be due in late October. Ivan had decided that it would be a volcano. I agreed to help him with the project.
Throughout the summer I thought from time to time about the volcano project and how we could do something that would be safe and would give me a chance to get Ivan more involved in electronics. One of the times that he came over we salvaged out an old hair dryer. We removed the heater element and checked the motor blower. The blower was found to be quite powerful when run on 24 volts. Another time we built a small LED flasher using an astable 555 integrated circuit. Little by little we tried different ideas and experimented with them.
A week and a half ago the time finally came for the build to begin. Ivan and I decided that we would build the volcano with 4 channels of control.
Channel one would be a motor in the base of the volcano that would have a unbalanced pulley attached so we could make the volcano rumble. The motor would be driven by a 555 timer configured to produce a variable PWM drive to a FET.
Channel two would be a 555 astable timer configured to cycle slowly, about 1 HZ, and drive a FET that in turn would drive some LED strips on the volcano to simulate lava flows.
Channel three would be another 555 astable timer configured to a slightly higher frequency to flash another group of LEDs more rapidly.
Finally channel four would power the hair dryer blower which would blow a bunch of streamers from the mouth of the volcano to simulate an eruption.
Here are the schematics for the control circuitry, the battery supply, and the volcano. While Ivan let me do the designing I took him step by step through the logic and process of the the schematics so that the next time he sees a schematic he will recognize the simple components. We discussed the 555 timers and how they do not have enough power to drive the LEDs so they use the more powerful FETs to do this job for them.
The first schematic is for the battery box. I found a sale at the local Walmart and was able to get 4 sealed lead acid 6 volt batteries that are intended for use in Wild Animal Automated cameras. These batteries fit nicely into a small plastic box and would provide us with the 12 volt and 24 volt supplies needed for the project.


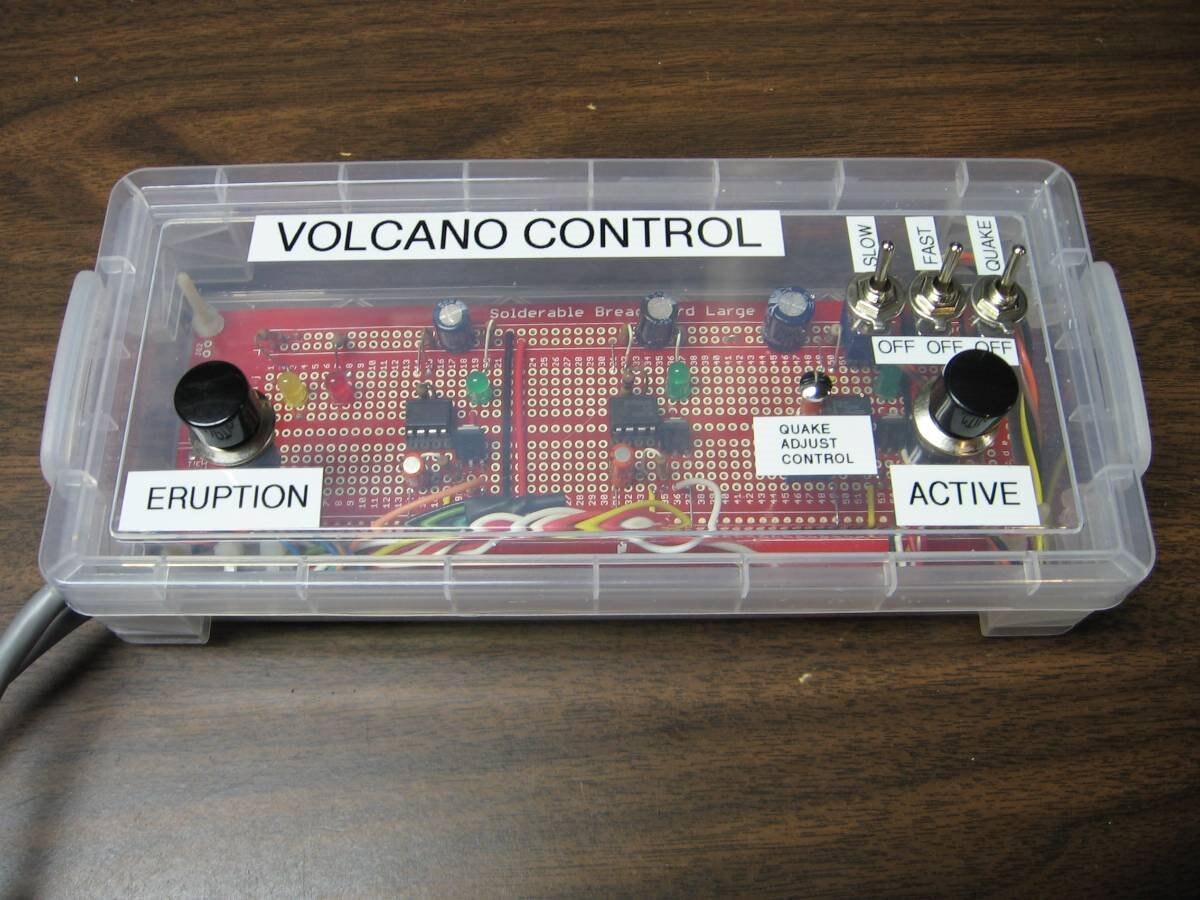
The schematic for the control box is pictured below. I will also include a picture of the finished control box. Except for a couple components all parts used in this project came from salvaged circuit boards. The case for the control is a Pencil Box that we got from an office supply company.

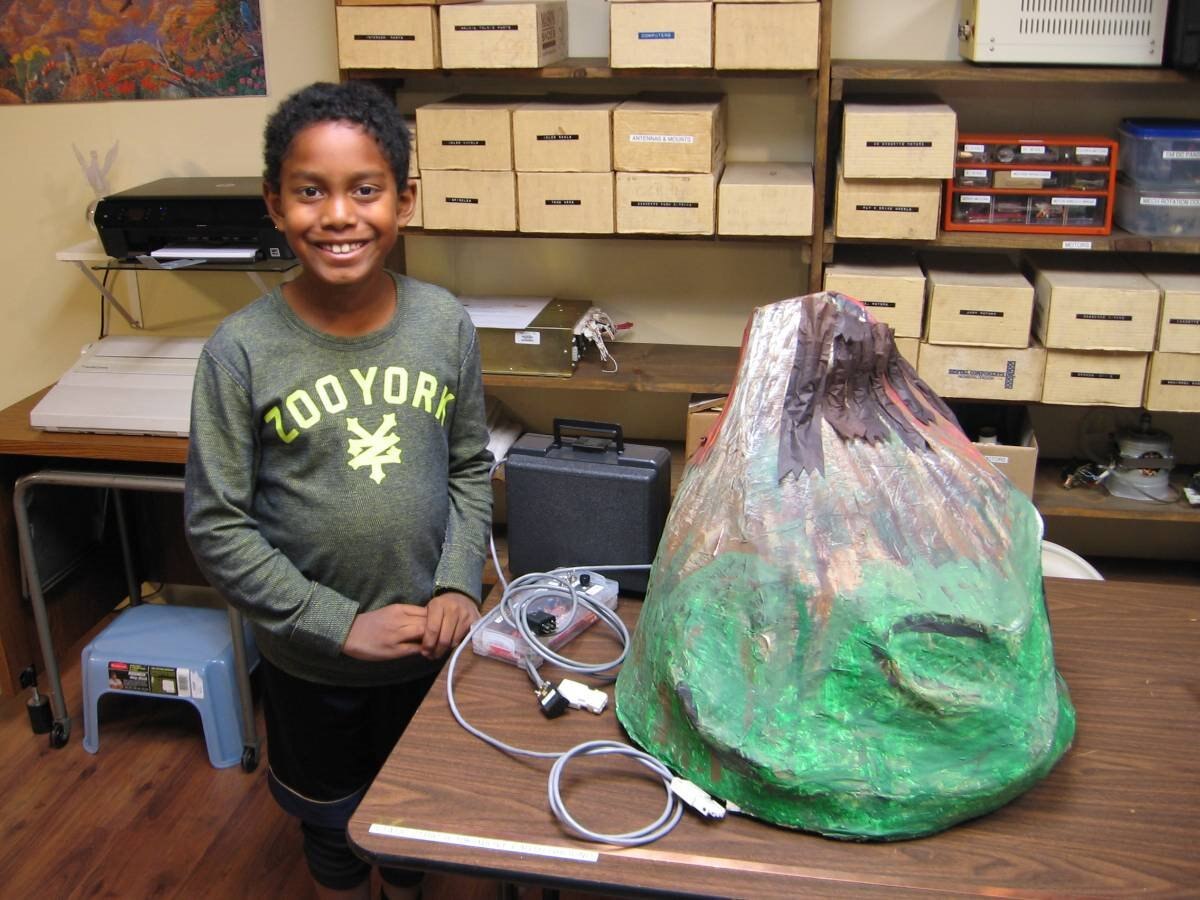
The volcano itself was built by Ivan and his MOM out of wire mesh and paper mache. Ivan and I built an internal framework that included the vibration motor mounted on a cardboard box and the hair dryer also mounted in the same cardboard box. Today Ivan came back to the shop with the volcano and he and I put everything together and ran our final tests. Here is a schematic of the volcano itself. and a picture of Ivan with the finished project.

Ivan asked me if I would make a video of him making the volcano work so I did. Sorry for the quality of the video as my old Canon Power Shot is really more of a still camera than a video camera and you also have to excuse the cinematographer. Part way through the video I decided to adjust the volcano to show the LEDs better and this didn't help things either, Ivan however did a good job as this was his first time at the controls in a presentation situation.
I wanted to show Ivan that it is important to produce documentation for projects so we made a project book with the schematics, pictures of the build process, notes containing preliminary ideas and calculations. I will never be anything except a technician but I have hopes that someday Ivan will be the first Electronic Engineer in the family.
John
Top Comments
-

DAB
-
Cancel
-
Vote Up
+1
Vote Down
-
-
Sign in to reply
-
More
-
Cancel
Comment-

DAB
-
Cancel
-
Vote Up
+1
Vote Down
-
-
Sign in to reply
-
More
-
Cancel
Children