


Just in time for Halloween and Fall, a pumpkin… But not just an ordinary pumpkin. This one will stand out of all the other pumpkins sitting on people's porches…. Just sitting there. This pumpkin is about to fly away. Yes, a UFO pumpkin with lights. Ideal for the front porch of a house you want to catch people's eye as they pass by. If Christmas lights and decorations weren’t enough, we are bringing the decorative house lights earlier into the season. Now you can annoy your neighbors with flashing lights before Christmas.
Project by sections:
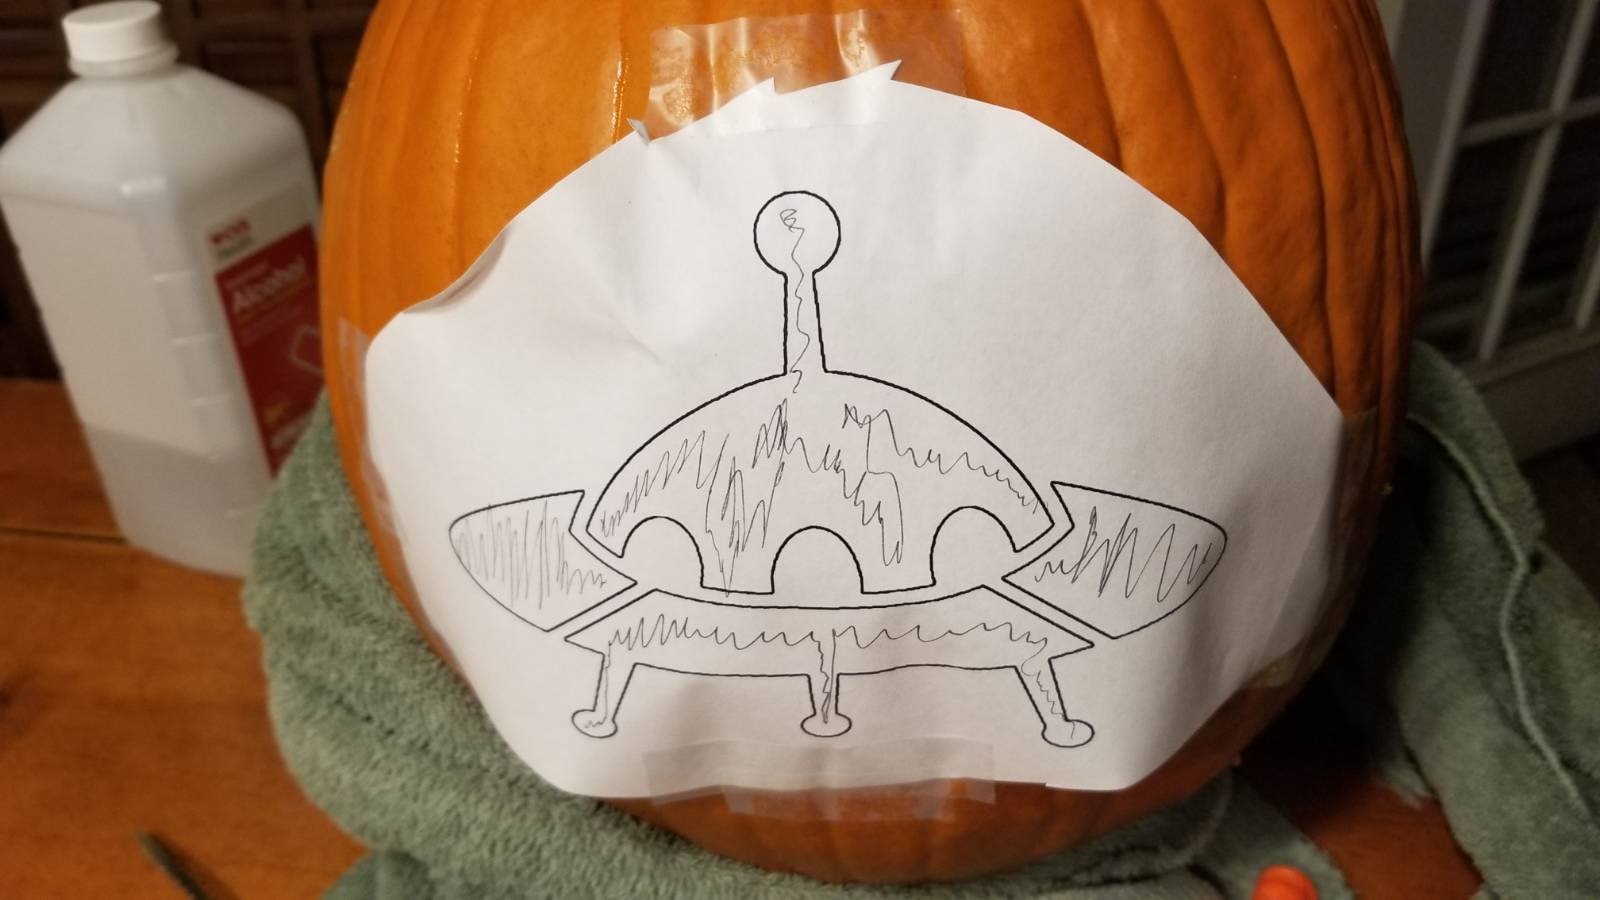
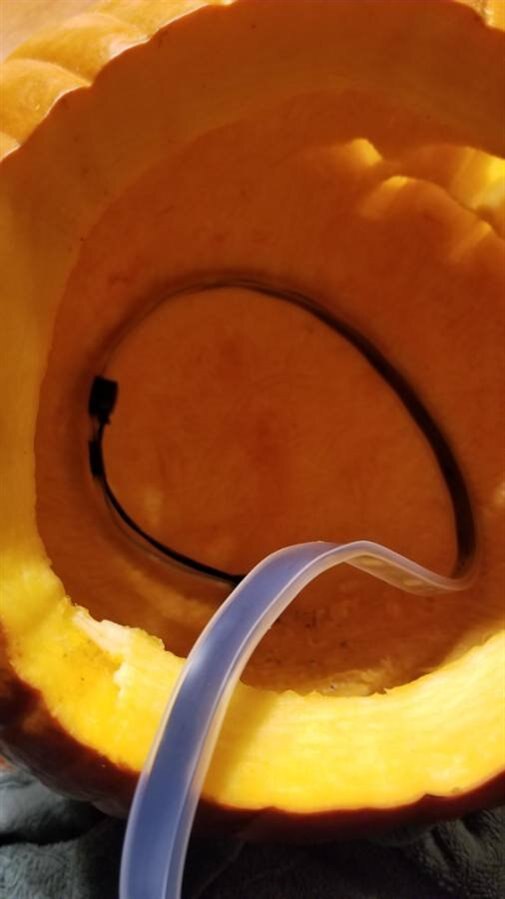
For this project, I carved a pumpkin using a UFO stencil and wrapped it in a 16.4ft WS2812B, individually addressable, LED strip controlled by an Arduino UNO and powered by a 5V 10A power supply. A 3rd of the LED strip is inside the pumpkin, another 3rd is wrapped around the stem, and the last is wrapped around the outside. The strip is fed through the top lid with a rectangular hole. This 16.4ft strip has a total of 150 Individually addressable LEDs.I created my own lighting sequences and put them one after the other for a UFO-like show.
BOM:
1x 16.4ft WS2812B Waterproof LED Strip
1x 5V 10A AC to DC Power Supply
1x 5V 500mA AC to DC Power Supply for Arduino
1x Large Pumpkin
1x Pumpkin Carving Kit
Schematic and design:

Operation:
The code starts off in the main loop and calls each lighting function. The timing and number of cycles for each lighting sequence is passed into the function by the parameters entered in the function call. For example, color of LED section and timing. The first lighting sequence is called “spaceShipStart” which shows the inside blink green 8 times and goes solid, then the outside flashes a quick orange/pumpkin color. The inside and outside increase in brightness until max. Once at max, the top turns on to green to represent the stem. The second sequence keeps the top lit as the green stem, inside as purple and the outside shoots orange around the pumpkin. The third sequence is a rainbow, where the whole strip cycles through every color at different places on the strip. The fourth is called a cascade where 1 LED is lit and moves position very fast. This looks like a 1 color wrapping around the pumpkin till it goes inside and makes a faint blinking. The last sequences, blink the top, outside, and inside as their respective colors, this turns into a fade in and out, where the brightness cycles from minimum to maximum. The “spaceShipStart” then starts again being on a loop.
Code:
The code was developed using the Adafruit NeoPixel library. This library lets you control the color, brightness, and which pixels are on or off. This library has some examples of lighting sequences to help get started. The code splits up the leds by section, for each of the lighting sequences, the LEDs for the outside, inside, and top get set. The programmer sets which lights are ON and what color, then is displayed to the strip using leds.show(). The sections of the strip are addressed by knowing what LED is lit in each section. There are 150 LEDs, the inside of the pumpkin had 39 LEDs from the end of the strip, so to address the colors and sequences of the inside of the pumpkin you would start from the end of the strip in your for loop and assign the color of the lights from the end decrementing the variable until you’ve reached your last inside LED from the beginning, since we are going backwards in assignment. So the for loop starts at 150 and decrements until it reaches LED 111, this means the LEDs 111 through 150, represent the inside of the pumpkin.
Difficulties:
Assigning the brightness was difficult because the brightness function provided by the library was a global brightness. Which means that the whole strip always has the same brightness. So if you want to make one part of the strip a different brightness from another at the same time, you have to come up with a more clever way to do it then using the library’s function, “leds.setbrightness()” before leds.show().
Other uses of the system:
This strip can be used in a variety of different applications, after this project, I already have some ideas to use this on something else. Bar lighting, room lighting, custom Christmas lights, you can tell your neighbors you did it yourself when they ask where you bought that from. The individually addressable lights make a good indicator of something. You could strand this up on your garage wall and make a parking indicator reflect where your car is with the individual LEDs. There are a lot of possibilities.
If I had more money/time:
More lighting sequences, remote/trip sensor to start, sunlight sensor to turn on at night. The LED strip was waterproof, but my Arduino was not, so a waterproof case for the power and control electronics would make it last longer outside.
Oddities and observations:
The LED strip came with mounting brackets that made it very convenient to attach to the pumpkin in the back. Also, the camera couldn’t keep up with adjusting the brightness for the LEDs at night ─ so you might see some effect from that. At night it was very bright and definitely will catch the attention of people walking by. As you can see in the zoomed picture below, how bright it is.
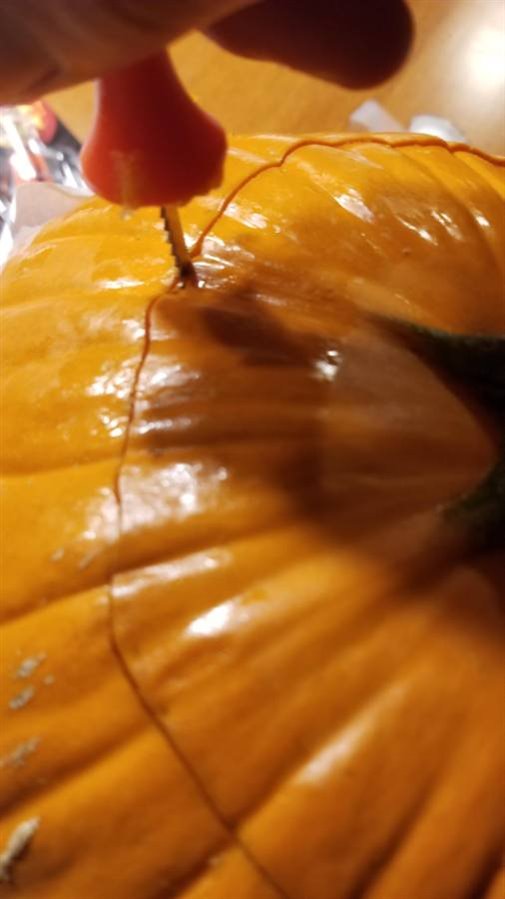
Pumpkin Making:
| {gallery} Making the pumpkin |
|---|
|
|
|
|
|
|
|
|
|
|
|
|
|


Thanks for reading!
Top Comments