TinkerCad Tutorial #2
Arduino Relay Activated Lamp
Hi there. Sorry for the time i took to prepare the next tutorial video. In our next tutorial we shall see on how we can turn on the lamp using the relay through Arduino. And in this tutorial we shall see some of the basic theory of relay.
First lets get a very simple introductory to relay. Basically a relay works a switch whereby it can be either open or close. The relay uses electromagnetism from small voltage to provide higher voltages. It has two basic contacts, either NO -> normally open or NC -> normally close. When input voltage is applied across its coil, NC changes to NO and NO changes to NC. That is a very brief idea of the relay. In our upcoming blog, we shall discuss further on this relay.
Now let's look at the circuit which we have constructed in the tinkercad
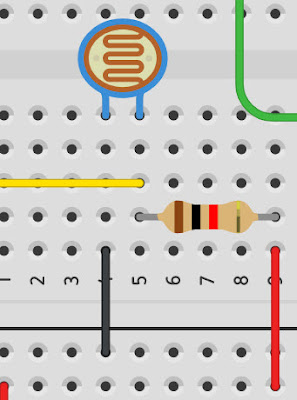
The connection for the LDR sensor is connected as per the image below. One end is connected to the Ground and and the other side is connected to resistor and from resistor to VCC. The output signal from the LDR is tapped between the LDR leg and the resistor leg.
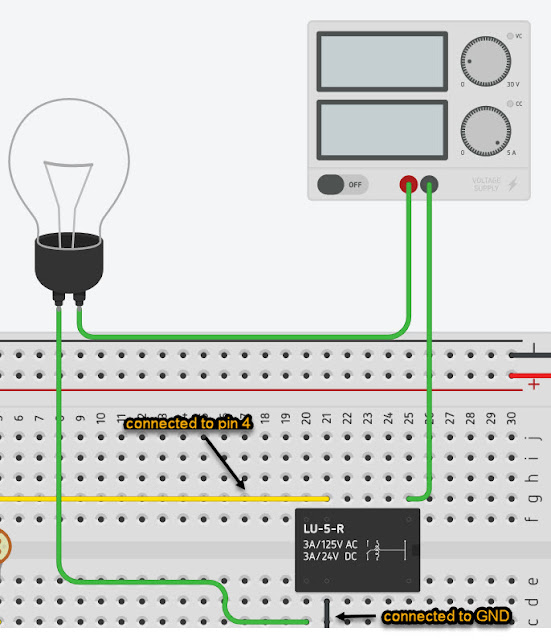
Next, the connection for the relay and the lamp is done as per the image below,
Once we are fine with the hardware, we can move on to the coding part.
The coding part for this is pretty straight forward. As you can see, the first line shows that the we read the input from the analog pin A0 and print it to the serial monitor. Next we do the conditional formatting, whereby we check the value of A0. If the value of A0 is equal or more than 500 it sets the digital pin 4 to LOW, and if the value is less it sets the pin 4 to HIGH. The pin 4 is connected to the relay.
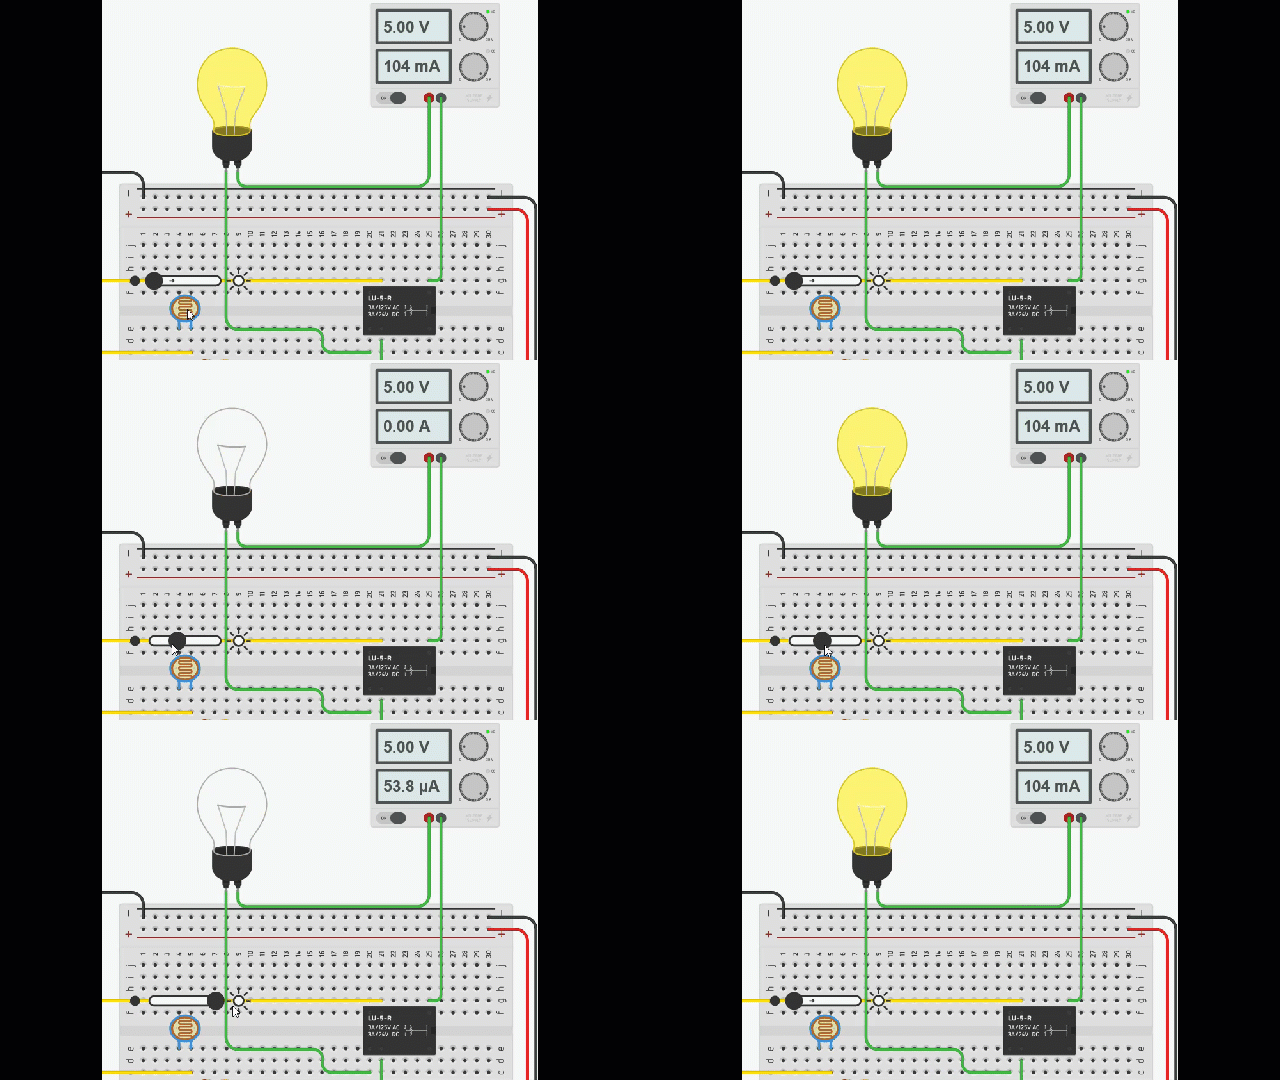
Below is the result of this tutorial.
Below is the complete tutorial video
Thank you.


Top Comments