element14 Community
element14 Community
    Register Log In
  • Site
  • Search
  • Log In Register
  • About Us
  • Community Hub
    Community Hub
    • What's New on element14
    • Feedback and Support
    • Benefits of Membership
    • Personal Blogs
    • Members Area
    • Achievement Levels
  • Learn
    Learn
    • Ask an Expert
    • eBooks
    • element14 presents
    • Learning Center
    • Tech Spotlight
    • STEM Academy
    • Webinars, Training and Events
    • Learning Groups
  • Technologies
    Technologies
    • 3D Printing
    • FPGA
    • Industrial Automation
    • Internet of Things
    • Power & Energy
    • Sensors
    • Technology Groups
  • Challenges & Projects
    Challenges & Projects
    • Design Challenges
    • element14 presents Projects
    • Project14
    • Arduino Projects
    • Raspberry Pi Projects
    • Project Groups
  • Products
    Products
    • Arduino
    • Avnet Boards Community
    • Dev Tools
    • Manufacturers
    • Multicomp Pro
    • Product Groups
    • Raspberry Pi
    • RoadTests & Reviews
  • Store
    Store
    • Visit Your Store
    • Choose another store...
      • Europe
      •  Austria (German)
      •  Belgium (Dutch, French)
      •  Bulgaria (Bulgarian)
      •  Czech Republic (Czech)
      •  Denmark (Danish)
      •  Estonia (Estonian)
      •  Finland (Finnish)
      •  France (French)
      •  Germany (German)
      •  Hungary (Hungarian)
      •  Ireland
      •  Israel
      •  Italy (Italian)
      •  Latvia (Latvian)
      •  
      •  Lithuania (Lithuanian)
      •  Netherlands (Dutch)
      •  Norway (Norwegian)
      •  Poland (Polish)
      •  Portugal (Portuguese)
      •  Romania (Romanian)
      •  Russia (Russian)
      •  Slovakia (Slovak)
      •  Slovenia (Slovenian)
      •  Spain (Spanish)
      •  Sweden (Swedish)
      •  Switzerland(German, French)
      •  Turkey (Turkish)
      •  United Kingdom
      • Asia Pacific
      •  Australia
      •  China
      •  Hong Kong
      •  India
      •  Korea (Korean)
      •  Malaysia
      •  New Zealand
      •  Philippines
      •  Singapore
      •  Taiwan
      •  Thailand (Thai)
      • Americas
      •  Brazil (Portuguese)
      •  Canada
      •  Mexico (Spanish)
      •  United States
      Can't find the country/region you're looking for? Visit our export site or find a local distributor.
  • Translate
  • Profile
  • Settings
Raspberry Pi
  • Products
  • More
Raspberry Pi
Raspberry Pi Forum Raspberry Pi4 - Video Call Answering device to help non-techy-isolated people
  • Blog
  • Forum
  • Documents
  • Quiz
  • Events
  • Polls
  • Files
  • Members
  • Mentions
  • Sub-Groups
  • Tags
  • More
  • Cancel
  • New
Join Raspberry Pi to participate - click to join for free!
Featured Articles
Announcing Pi
Technical Specifications
Raspberry Pi FAQs
Win a Pi
Raspberry Pi Wishlist
Actions
  • Share
  • More
  • Cancel
Forum Thread Details
  • State Suggested Answer
  • Replies 11 replies
  • Answers 4 answers
  • Subscribers 664 subscribers
  • Views 2939 views
  • Users 0 members are here
  • raspberry pi 4 4gb
Related

Raspberry Pi4 - Video Call Answering device to help non-techy-isolated people

stevie2018
stevie2018 over 4 years ago

I've been working on this project, and am loving it! Hope more people can join this exploration and help me out by answering 2 questions:


image

1. How to ask the browser to automate the "join meeting" button? I know there are python browser automation libraries but I don't know how to implement them.

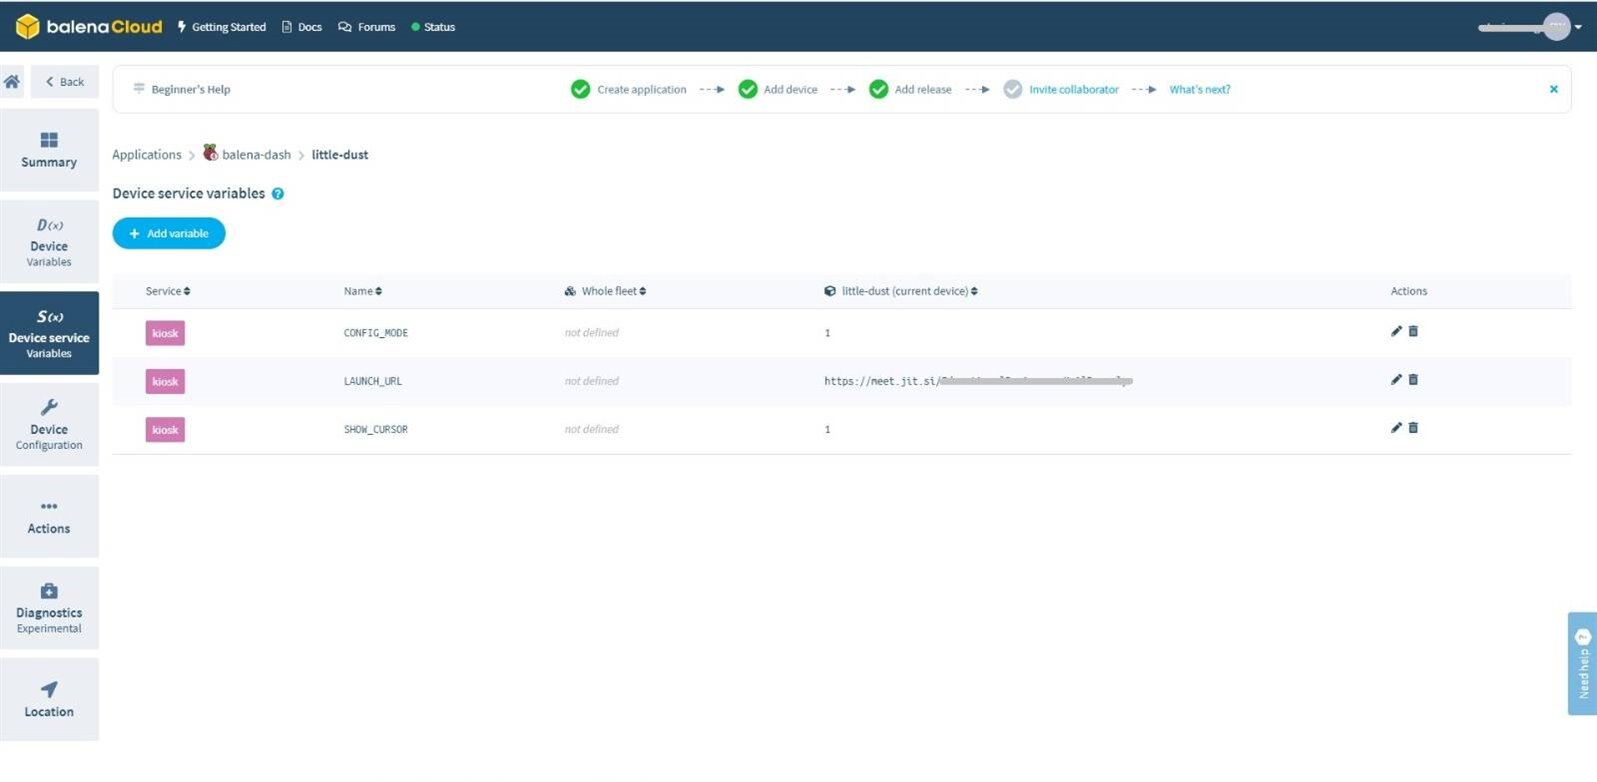
2. How to configure the device so that the Jitsi Meeting room can be remotely launched with cellular/GSM connections? It can now be connected with either ethernet or wifi.


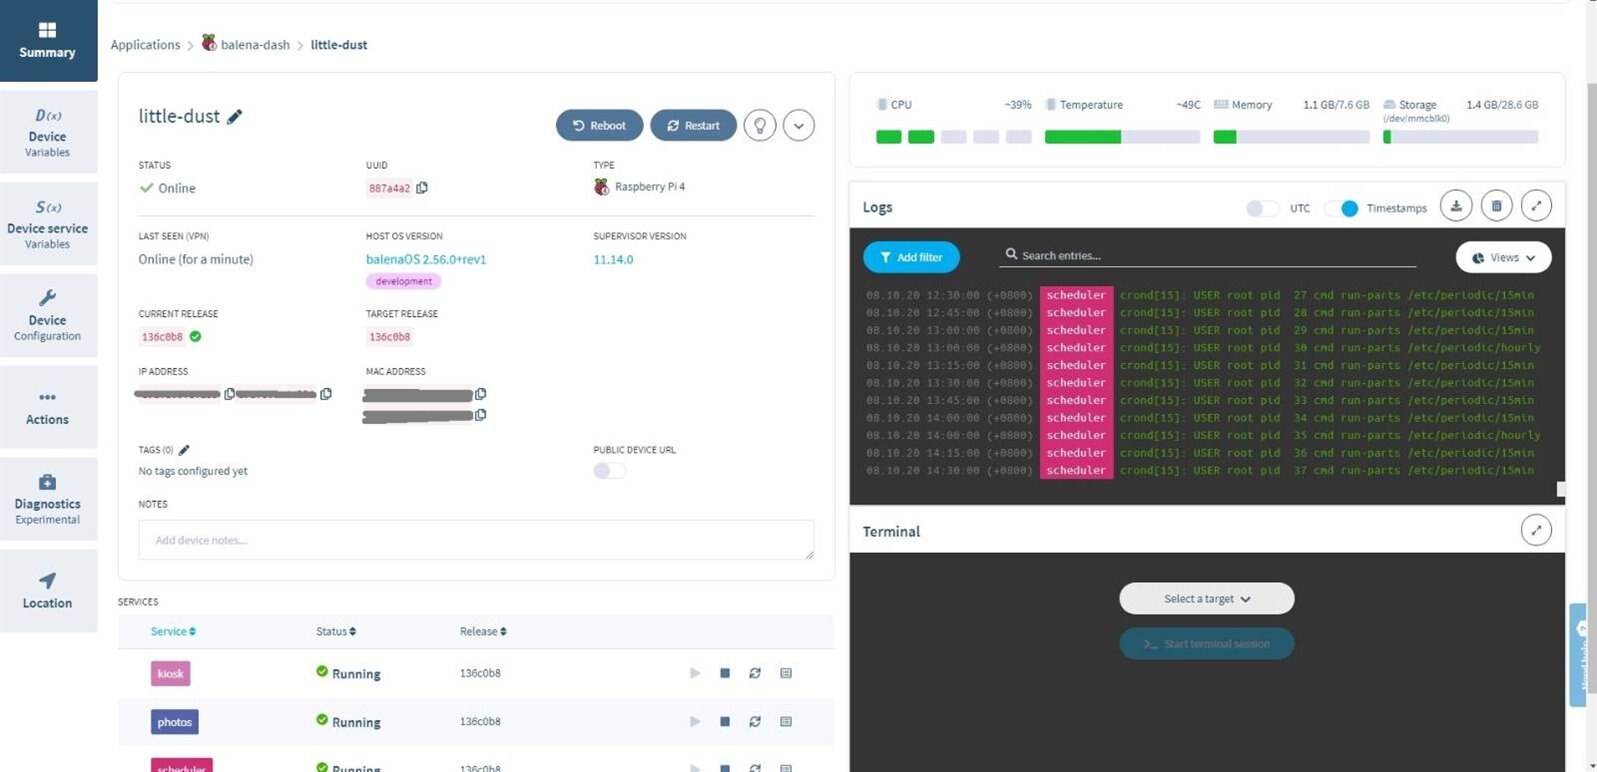
The video call function is working ok, but the user on the other end has to click the "join meeting" button. And if the connection is off for some reason (usually with wifi), I need to relaunch the app from Balena's dashboard or the user on the other end has to click the "join meeting" button AGAIN. It isn't ideal for isolated people who may never have the experience of using a mouse.


Hope to hear from you!

  • Sign in to reply
  • Cancel
  • gam3t3ch
    0 gam3t3ch over 4 years ago

    There is a simpler way to be honest,  So with zoom there is the chromium extension that can be used with the raspberry pi.  (Just click on the apps icon in the browser hit up the store and search for the extension)   This making it fairly simple to add the feature you want directly within that.


    zoom on the chromium store - https://chrome.google.com/webstore/detail/zoom/hmbjbjdpkobdjplfobhljndfdfdipjhg?utm_source=chrome-ntp-icon

    zoom scheduler on the store - https://chrome.google.com/webstore/detail/zoom-scheduler/kgjfgplpablkjnlkjmjdecgdpfankdle?utm_source=chrome-ntp-icon


    If at anytime the video (webcam) starts to lag or become unusable you can try my fix here.

    Fix Raspberry Pi Webcam Freezing Lagging Jittering issue


    Sign in to the Zoom web portal , [ Meeting Settings ] and then click.

    Go to the Auto Answer Groups in Chat  option on the Meetings tab and make sure the settings are enabled.

    If the setting is invalid, click the status toggle to enable it. When the confirmation dialog is displayed , select [On] to confirm the change.


    It is an auto attend feature.   you may have to have the initial setup done by someone else if the person is not tech smart but in the end you will get the result without having to write extra scripts along the way.


    Hope this helps and good luck with your project. 

    I would put something together with more detail if needed when I can get sometime to do so here.


    You don't have permission to edit metadata of this video.
    Edit media
    x
    image
    Upload Preview
    image

    • Cancel
    • Vote Up +6 Vote Down
    • Sign in to reply
    • Verify Answer
    • Reject Answer
    • Cancel
  • stevie2018
    0 stevie2018 over 4 years ago in reply to gam3t3ch

    Thank you Wesley! Your reply has brought into lights many of the Zoom features I haven't noticed before.


    However, it looks like if I use the Zoom extension of RPi in this task, the device would return to RPi's opening screen upon every reboot/restart, which then requires the usual mouse click confirmations and "join meeting" inputs.


    That's why I still want to try writing some web automation scripts to solve this puzzle. The people I'm trying to help cannot handle anything more than an ON/OFF switch.


    I found this video, and understand the concept of it, but don't know how or where to place the codes.

    • Cancel
    • Vote Up 0 Vote Down
    • Sign in to reply
    • Verify Answer
    • Cancel
  • mfetting
    0 mfetting over 4 years ago

    Just a thought... I have not looked to see if it will provide the functionally you are wanting.


    For firefox you might want to look at greesemonkey

    For chrome you might want to look at tampermonkey


    Tampermonkey/Greesemonkey scripts are used to run userscripts. Userscripts are little computer programs that for example add download buttons to YouTube pages, cleanup your Facebook timeline or help playing an online game.

    • Cancel
    • Vote Up +1 Vote Down
    • Sign in to reply
    • Verify Answer
    • Cancel
  • stevie2018
    0 stevie2018 over 4 years ago in reply to mfetting

    Thanks, Mike! But I'm not very techy by nature, and being able to set up a device through BalenaCloud is already a stretchimage


    Into all the tools that I've taken a glimpse, the Python web automation libraries seem to be the one which, in time, I'll be capable of using.


    The problem still lies in how and where I can include the lines of code in the disk image file.


    And one more question:

    on the project page, it says the wifi settings (SSID and password) can be changed when the device is moved to another location. But it doesn't mention how to change them. Would be grateful if someone can help!

    • Cancel
    • Vote Up 0 Vote Down
    • Sign in to reply
    • Verify Answer
    • Cancel
  • mfetting
    0 mfetting over 4 years ago in reply to stevie2018

    After you power up the Raspberry Pi:


    On the top of the main panel (menu, shortcuts, and clock) there is a network symbol next to the clock.  When you click on the network symbol you will see a list of available wifi access points (SSIDs), which you then click on the one you want to use and provide the necessary password.

    • Cancel
    • Vote Up 0 Vote Down
    • Sign in to reply
    • Verify Answer
    • Reject Answer
    • Cancel
  • stevie2018
    0 stevie2018 over 4 years ago in reply to mfetting

    This is different from NOOBS. Once the RPi is powered up, it automatically launches the Jitsi Meet.


    The Balena Cloud setup allows me to input wifi settings from the Dashboard, then the disk image is downloaded and flashed onto an SD card. It works perfectly, but I don't know where and how to change the wifi settings if I move it to another home.

    image

    • Cancel
    • Vote Up 0 Vote Down
    • Sign in to reply
    • Verify Answer
    • Cancel
  • mfetting
    0 mfetting over 4 years ago in reply to stevie2018

    I would need to understand what is being put on the SD card that you downloaded and installed on a raspberry pi.


    What is installed on the image you are downloading?

    • Cancel
    • Vote Up 0 Vote Down
    • Sign in to reply
    • Verify Answer
    • Cancel
  • mfetting
    0 mfetting over 4 years ago in reply to mfetting

    Are you using autostart to automatically run the Jitsi Meet application?

    • Cancel
    • Vote Up +1 Vote Down
    • Sign in to reply
    • Verify Answer
    • Cancel
  • stevie2018
    0 stevie2018 over 4 years ago in reply to mfetting

    The Balena dashboard allows me to add and change the Device Service Variables through some input fields. There is also a terminal where I can have remote access to the RPi as a root user, but I have no real work experience with CLI.


    If you can give me some step-by-step guidance, I should be able to follow, hopefully, ^^

    image


    I can change the LAUNCH_URL variable by typing in any web address. Since Jitsi does not require any sign-up or registration, it automatically pops up the meeting page.


    image

    • Cancel
    • Vote Up +1 Vote Down
    • Sign in to reply
    • Verify Answer
    • Reject Answer
    • Cancel
  • stevie2018
    0 stevie2018 over 4 years ago in reply to mfetting

    You are totally right!

    In jitsi, rather ambigously hiding in the setting menu, there is a box that I need to uncheck - "Enable pre-meeting screen".


    Thank you Mike!

    • Cancel
    • Vote Up +1 Vote Down
    • Sign in to reply
    • Verify Answer
    • Reject Answer
    • Cancel
>
element14 Community

element14 is the first online community specifically for engineers. Connect with your peers and get expert answers to your questions.

  • Members
  • Learn
  • Technologies
  • Challenges & Projects
  • Products
  • Store
  • About Us
  • Feedback & Support
  • FAQs
  • Terms of Use
  • Privacy Policy
  • Legal and Copyright Notices
  • Sitemap
  • Cookies

An Avnet Company © 2025 Premier Farnell Limited. All Rights Reserved.

Premier Farnell Ltd, registered in England and Wales (no 00876412), registered office: Farnell House, Forge Lane, Leeds LS12 2NE.

ICP 备案号 10220084.

Follow element14

  • X
  • Facebook
  • linkedin
  • YouTube