


Simple Baseplate
I will probably 3D print a custom case later when I do my final roadtest project, but for initial testing I just want a simple baseplate to protect the board with easy access to all of the connectors. With a quick search I found this one on printables.com which met my requirements - arduino-uno-q-caddy-tray-slim. Basically just provided a STL file, but it worked for me without requiring any modification.
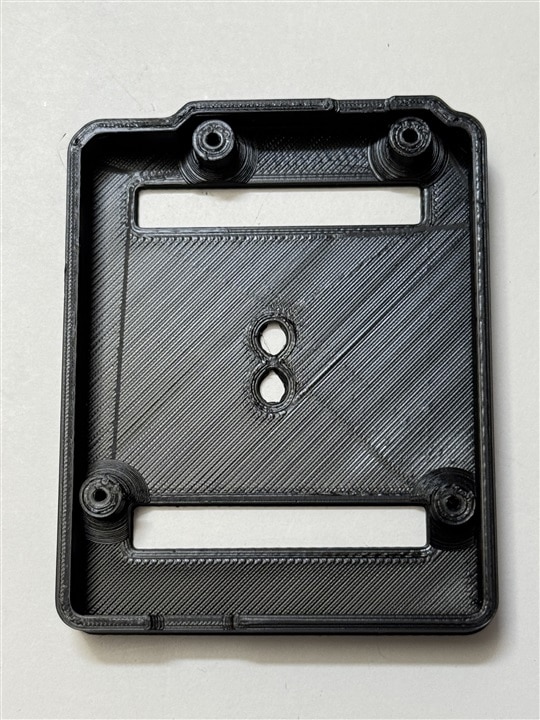
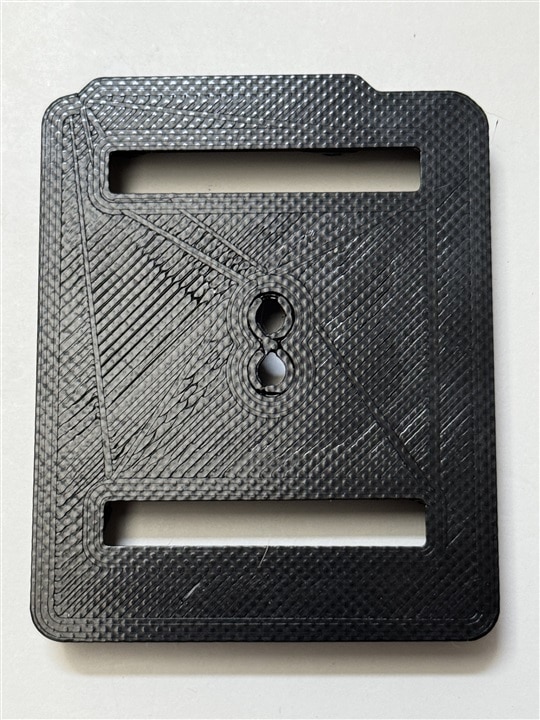
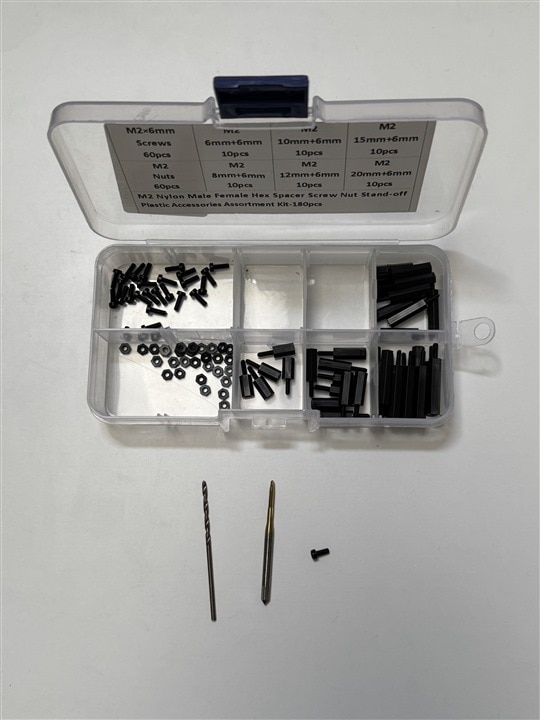
I plan to use standoffs to mount stuff above the board so the screw mounting works out well. The design calls for m2.5 screws, but I find that m2.5 standoffs are a tight fit with the components and used m2 screws/standoffs instead. I used a tap to thread the screw holes.
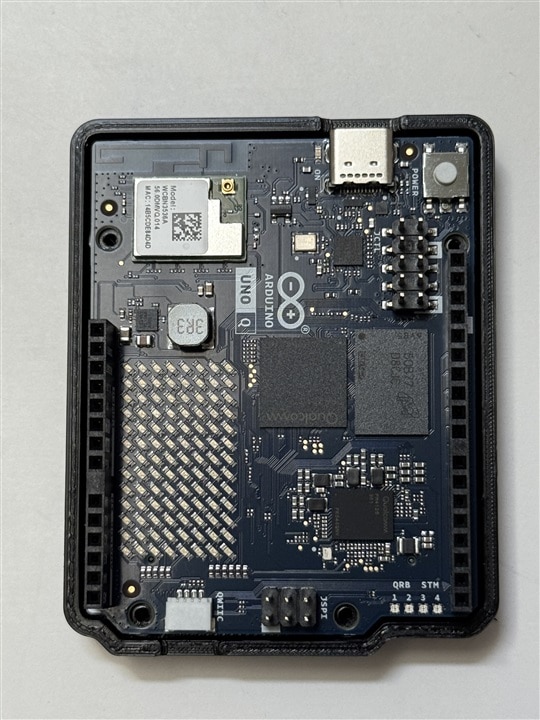
Board in baseplate (not screwed in yet)
No CSI camera adapters currently available
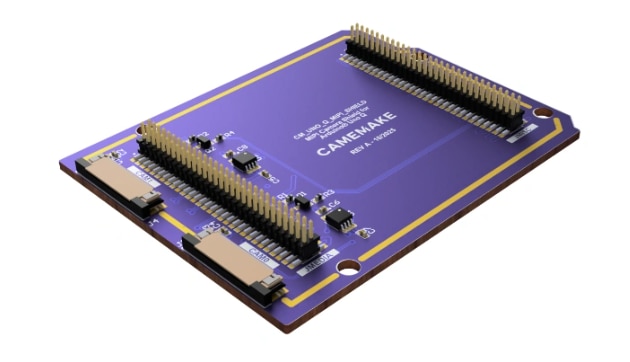
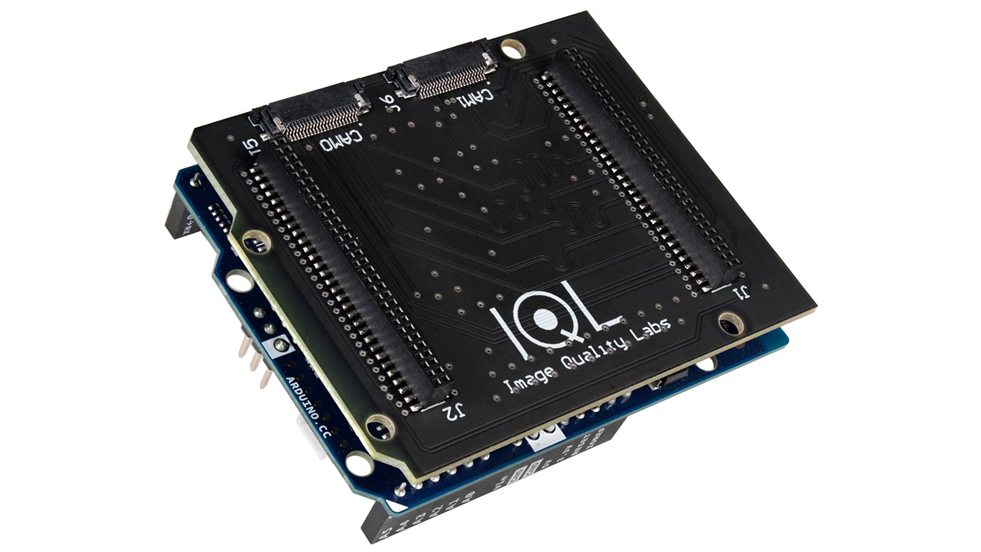
The CSI and DSI interfaces are available as 1.8 V MPU GPIO on the high density bottom mounted JMEDIA connector. Unfortunately, there aren't any adapter boards available at this time. The only two boards that I have seen are from Camemake on Indiegogo and Image Quality Labs on CrowdSupply, but it looks like these won't be available until later in 3Q of this year. Both boards offer 2 CSI ports with differing connector orientations.
I want to try some Vision AI applications, but I'll wait until the USB-C hub arrives to try a USB webcam. I may also try an IPCam over WiFi and a SPI cam connected to the MCU. I've decided that it is outside of the scope of this particular roadtest to design/implement my own CSI interface to the MPU GPIO.
Messed up by non-standard spacing on UNO GPIO connector
It's been a while since I've done any prototyping with a Uno footprint and I've never designed a custom shield PCB, so I had forgotten the quirk in the spacing of one of the two GPIO connectors.
I wanted to use a protoboard to interface the SPI and I2C GPIO on the MCU that would not cover the LED matrix. In particular, I wanted to connect an Arducam Mini 2MP Plus - OV2640 SPI Camera Module that I've used with other MCUs.
I have protoboards that are almost the perfect size to span the digital GPIO and SPI connectors (just need to shorten a bit).
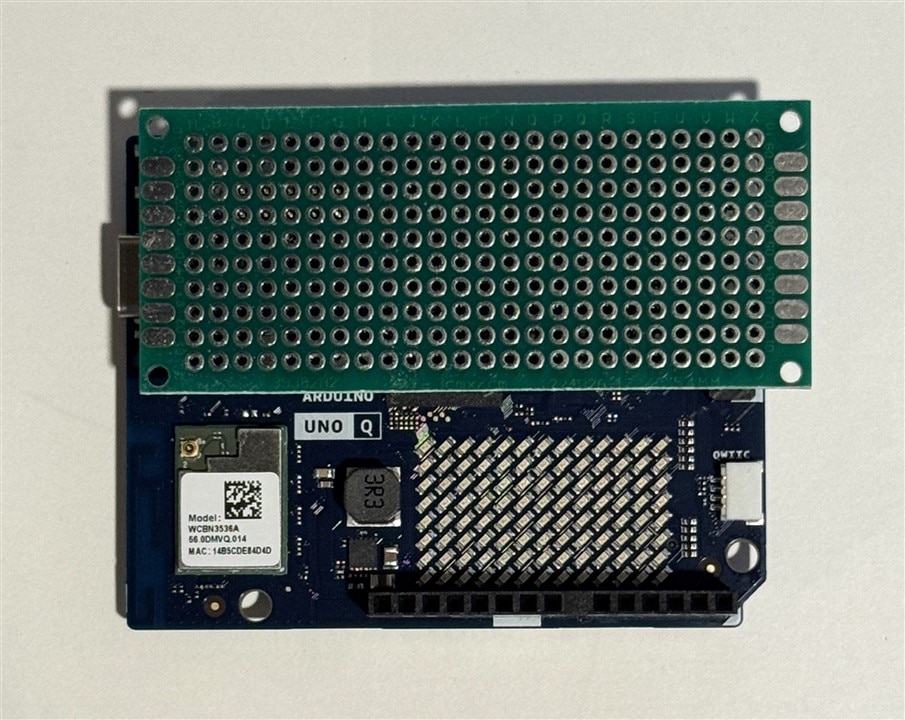
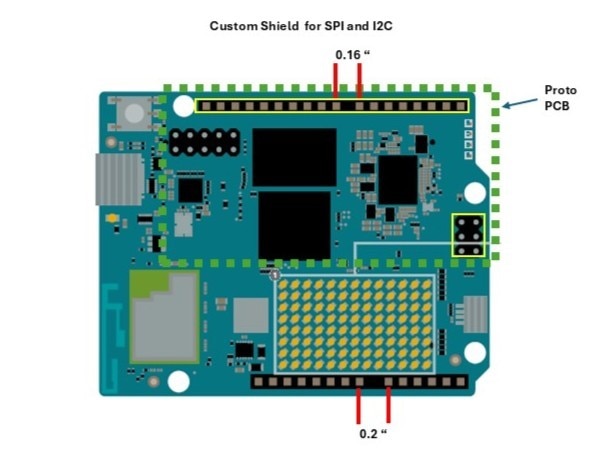
Unfortunately, I forgot that the digital GPIO connector has a quirk in the pin spacing that won't allow a protoboard to plug into it. Never understood if that was intentional or a design error. The analog GPIO header has a similar gap, bit it has a correct 0.2" spacing (2x the pin spacing).
I guess I could buy a protoshield that is designed for a Uno R3 and do some surgery to expose the LED matrix, but that would be a lot of work.
Arducam Mini 2MP Plus
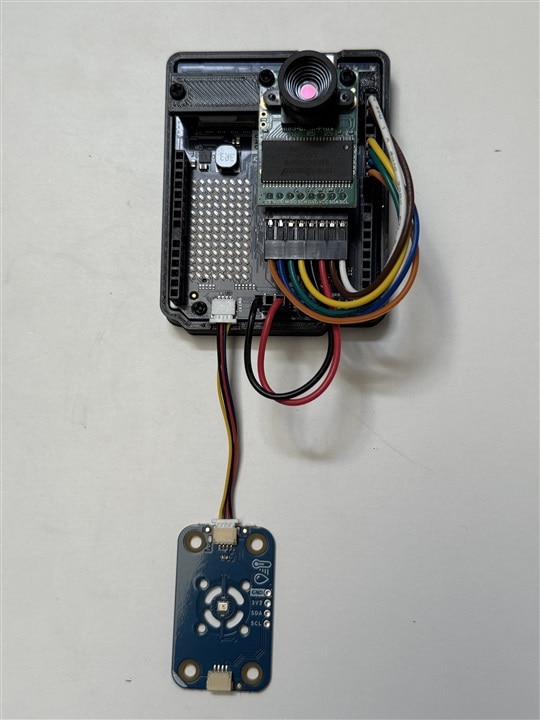
I really would like to try a standalone configuration with a camera that did not require using a USB-C hub. I decided that I would try an Arducam Mini camera that I've used before. Since the protoboard won't work, I decided to just plug it into the digital GPIO and SPI headers using individual wires that I organized into a wire harness with two female and and one male connector. I mounted the camera to a 3D printed cross strap mounted on a couple of standoffs. Not too messy and a stable setup for a prototype.
In the picture below I also have a Modulino Thermo module connected to the QWIIC connector.
So, hardware-wise I am ready to get started with the Arducam Mini. Software might be a bit more of a challenge since the Arduino IDE interface that is used in AppLab is built on top of Zephyr, so I'll have to port the Arducam Arduino SPI library. Zephyr compatibility might also be an issue with other sensor libraries. I believe all the Modulino sensors will work without any issues.
Next steps
Haven't seen an ETA yet on the USB-C hub and power supply yet, so the next step is to try to configure the firmware and software on the board. I have an older Dell XPS 8930 Desktop that has USB3 ports that handle 900mA. I believe the required current to configure the board is well within that limit, but I'll check the current draw when I attach the board. I'll try to avoid power intensive applications and WiFi until I can power it with an external adapter. I think once I get it configured that I won't need the USB data connection to the PC anymore. In case there is any issue, the USB-C hub and power supply should fix it.
