


Hardware is put together and ready to install and configure the OS firmware and install and configure the Frigate Docker container. The CM5 in the roadtest uses eMMC rather than an SD card for storage so the process is slightly different using the Raspberry Pi Imager.
The firmware installation should be straightforward because I had just installed HAOS on a CM4 with eMMC about a month ago.
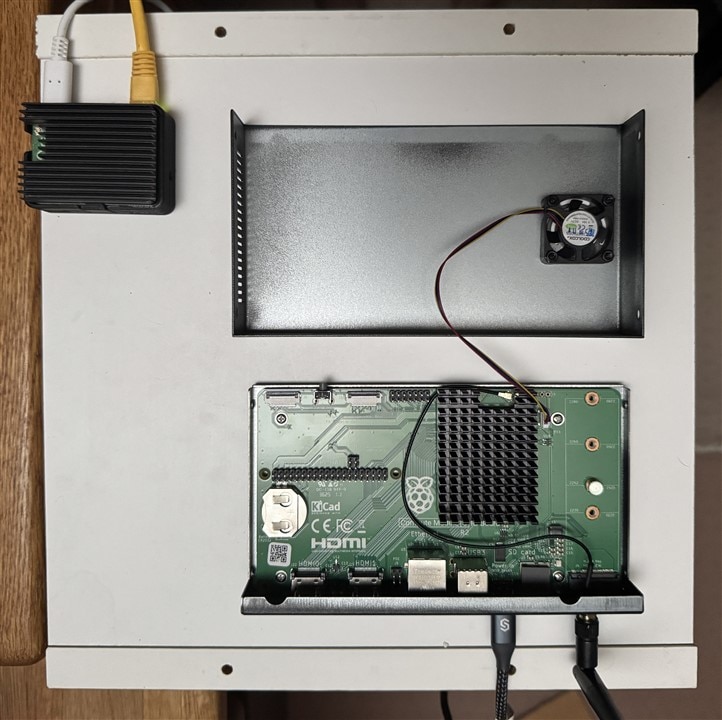
The CM4 is in the upper left next to the roadtest kit.
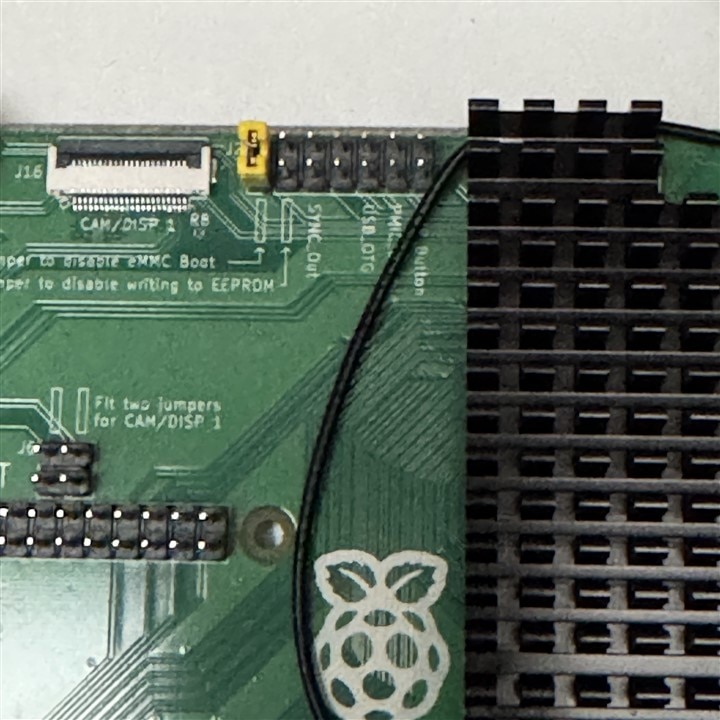
To start you need to install the eMMC Boot Disable jumper (yellow) so that the eMMC will show up as a USB drive to the RPi Imager. You also need to run a rpiboot utility on your host computer to allow it to find the port. I had a bag of jumpers next to my keyboard so that part was easy. I think that I must have used my laptop to image the CM4 because my Windows 11 PC did not have rpiboot installed. It was simple enough to download and install the latest usbboot release windows installer from github. I ran rpiboot and plugged in the cable from the CM5 IO USB-C port to the PC's USB3 port. The usual caveats about power since the USB3 port is being used for both data and power, but haven't had any issues so far as I am careful not to attach any peripherals so that the 900 mA available isn't an issue for flashing.
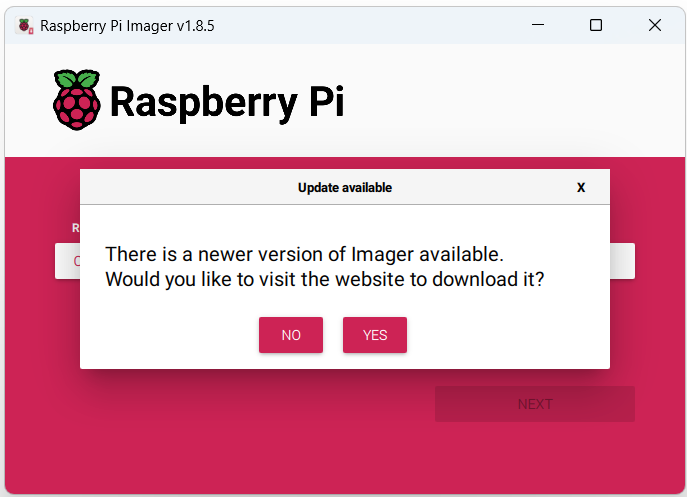
When I started the Imager, it reported that a new version was available. I probably would have been fine using the v1.8.5 version, but what is the fun of a roadtest if you don't try to use the latest stuff - and it was v2.0.11.1 - so it must be better...
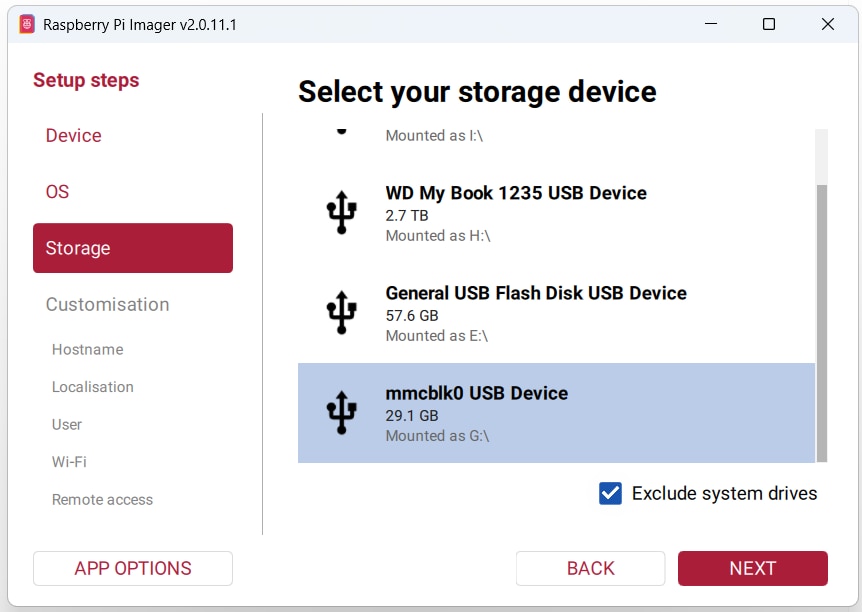
And it successfully found the eMMC.
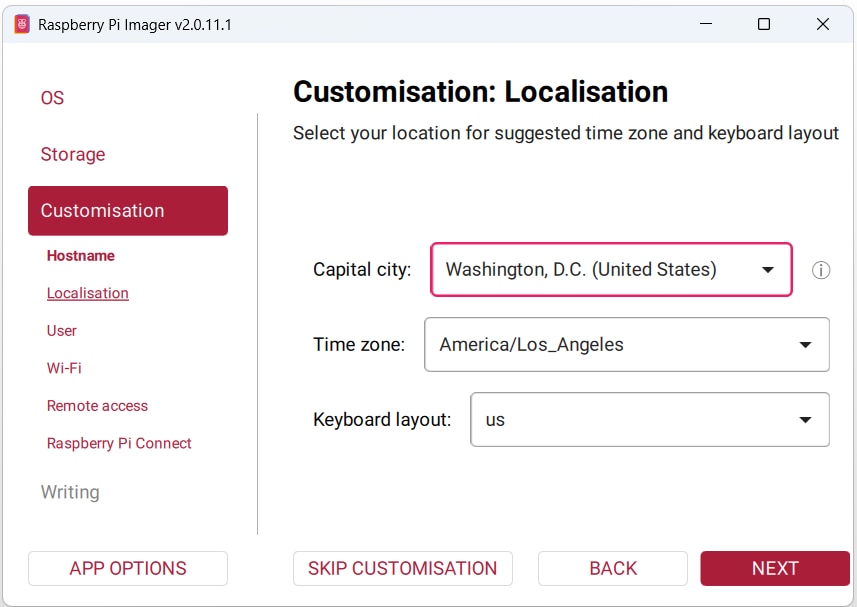
The humorous part showed up in Customisation:Localisation as the Brits would say it (spell it).
I couldn't figure out what it wanted for Capital city because I guess it was too obvious. I'm used to just setting Pacific Time/Los Angeles as the Time zone, but I guess somebody thought knowing the Capital city of the United States was useful...
I am planning to run a headless system with a containerized (containerised?) Frigate installation, so I chose to install the Raspberry Pi OS Lite (64-bit) - (you have to look under "Raspberry Pi OS (other)" for OS selection)
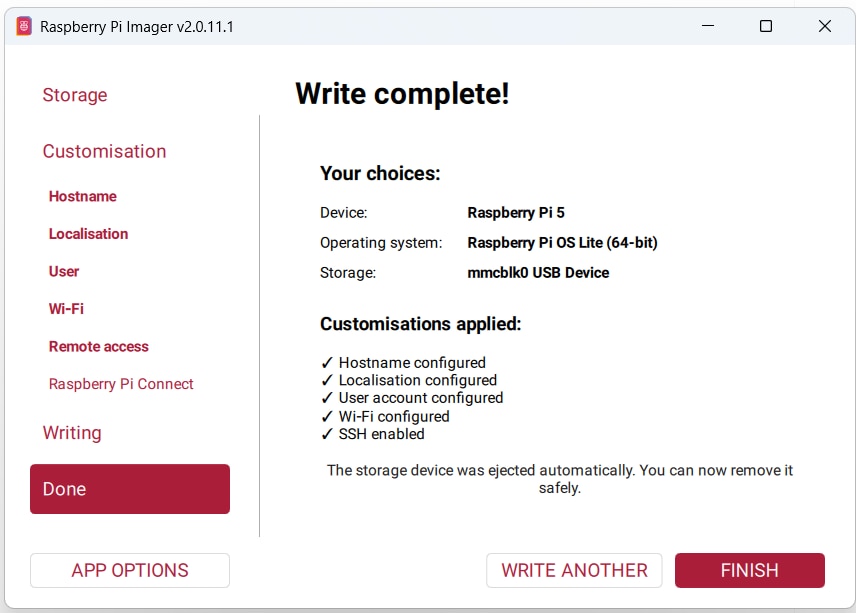
It took a while to write and verify - I'm glad I didn't choose a large OS installation like Desktop OS and apps which is about 6 times larger.
I did the normal headless configurations (I configured WiFi, but plan to run wired for performance/reliability).
I removed the Boot Disable jumper and replaced the USB-C cable with the power adapter and the CM5 rebooted. Because I had configured the hostname and user account and enabled SSH, I was able to log in with a PuTTY SSH terminal.

Then I set up Static IP for my wired ethernet. I won't show my details, but the general form is:
sudo nmcli connection modify "Wired connection 1" ipv4.addresses 192.168.1.150/24
sudo nmcli connection modify "Wired connection 1" ipv4.gateway 192.168.1.1
sudo nmcli connection modify "Wired connection 1" ipv4.dns "1.1.1.1,8.8.8.8"
sudo nmcli connection modify "Wired connection 1" ipv4.method manual
sudo nmcli connection up "Wired connection 1"
In the OS the connection is called "netplan-eth0", so after the changes you need to start it:
sudo nmcli connection up "netplan-eth0"
With that done, the next step is to install Frigate.
Frigate Installation
First step is to install Docker and Docker Compose. The process is fairly simple. In the PuTTY terminal:
Get the installation script (I just put in my home directory):
curl -fsSL https://get.docker.com -o get-docker.sh
then execute it:
sudo sh get-docker.sh
and it installs:
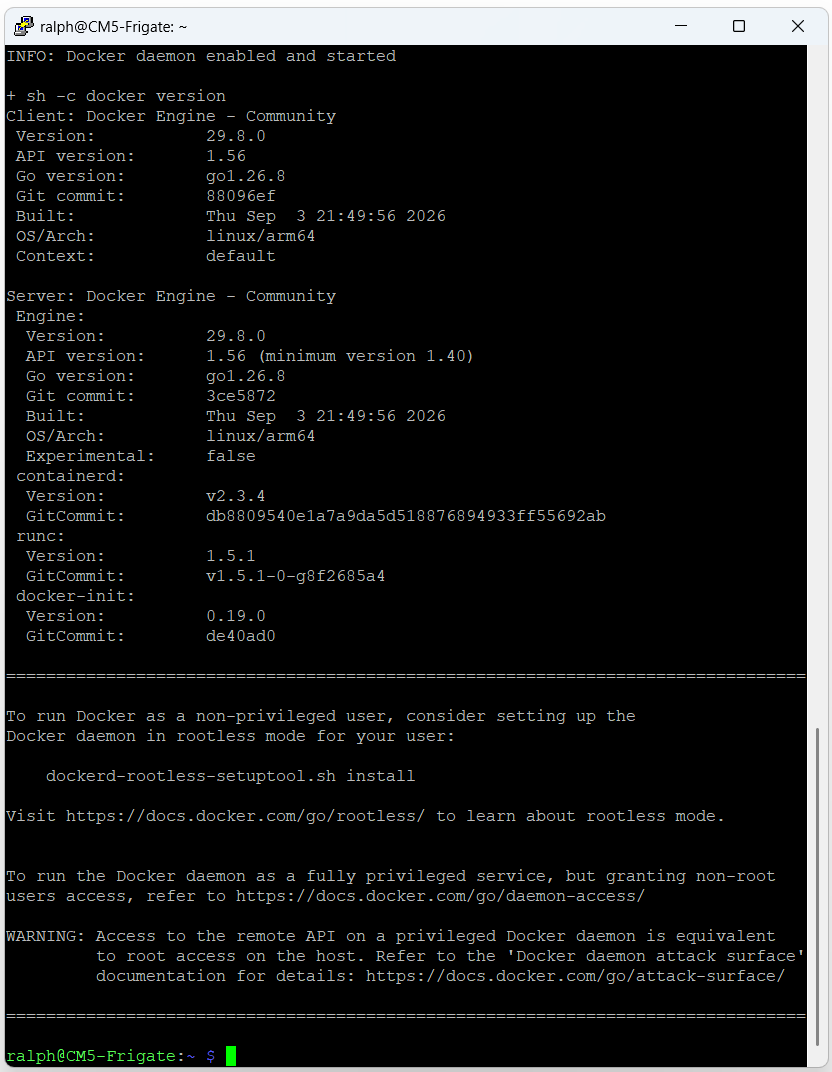
Add yourself to to the Docker Group:
sudo usermod -aG docker ralph
then log out and back in so the permissions take effect.
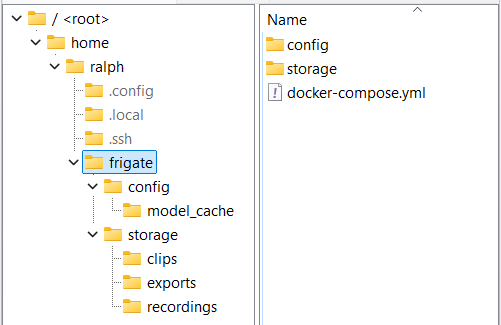
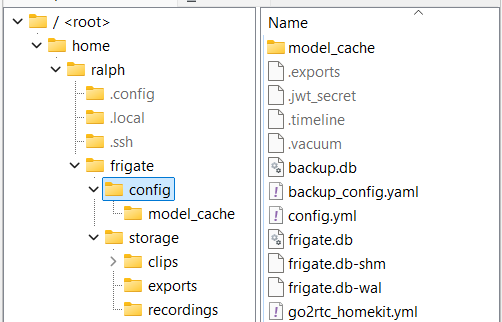
Next step is the Frigate installation. Docker will do most of the work. We need to create directories for Frigate configuration and storage and two YAML files.
docker-compose.yml this file configures the Frigate Docker container
services:
  frigate:
    container_name: frigate
    privileged: true # Required for hardware access
    restart: unless-stopped
    image: ghcr.io/blakeblackshear/frigate:stable
    shm_size: "64mb" # Base setup, increase later if you have many high-res cameras
    volumes:
      - /etc/localtime:/etc/localtime:ro
      - ./config:/config
      - ./storage:/media/frigate
    ports:
      - "5000:5000"
      - "8554:8554" # RTSP Feeds
      - "8555:8555" # WebRTC
      - "8555:8555/udp" # WebRTC
    environment:
      FRIGATE_RTSP_PASSWORD: "password"
config.yml this file configures Frigate operation
mqtt:
  enabled: False # Turning off for initial test boot
cameras:
  test_camera: # You can name this whatever you want
    enabled: True
    ffmpeg:
      inputs:
        - path: rtsp://10.0.0.X:554/stream1 # <-- Put your actual camera stream link here
          roles:
            - detect
    detect:
      enabled: False # Turn object detection off until we verify the video feed works
Here is the file structure:
Final step is to run docker:
docker compose up -d
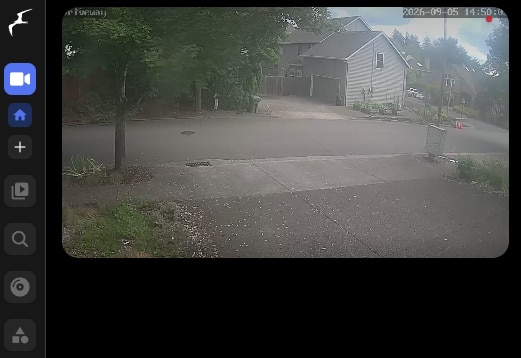
And the image can be viewed in a browser at URL http://ipaddr:5000
This is my front driveway camera.
Now on to the fun part of the roadtest - benchmarking the different hardware configurations. I'll start just running with the CM5. Then I'll try adding a Hailo 8L accelerator. I also would like to see how well a USB3 SSD will perform. Hopefully this will become my NVR setup for the future.

