

This blog is about my first day with the ‘scope. Because it’s such a complicated instrument, with a lot of features and a definite learning curve, I’m avoiding expressing too much opinion about features or lack of them because I don’t know my way around it very well yet.
Unboxing
Everyone seems to cover this so I suppose it must be interesting to people – or maybe it’s like prawn crackers or poppadoms and you just eat them because they are there.
It came in a box:
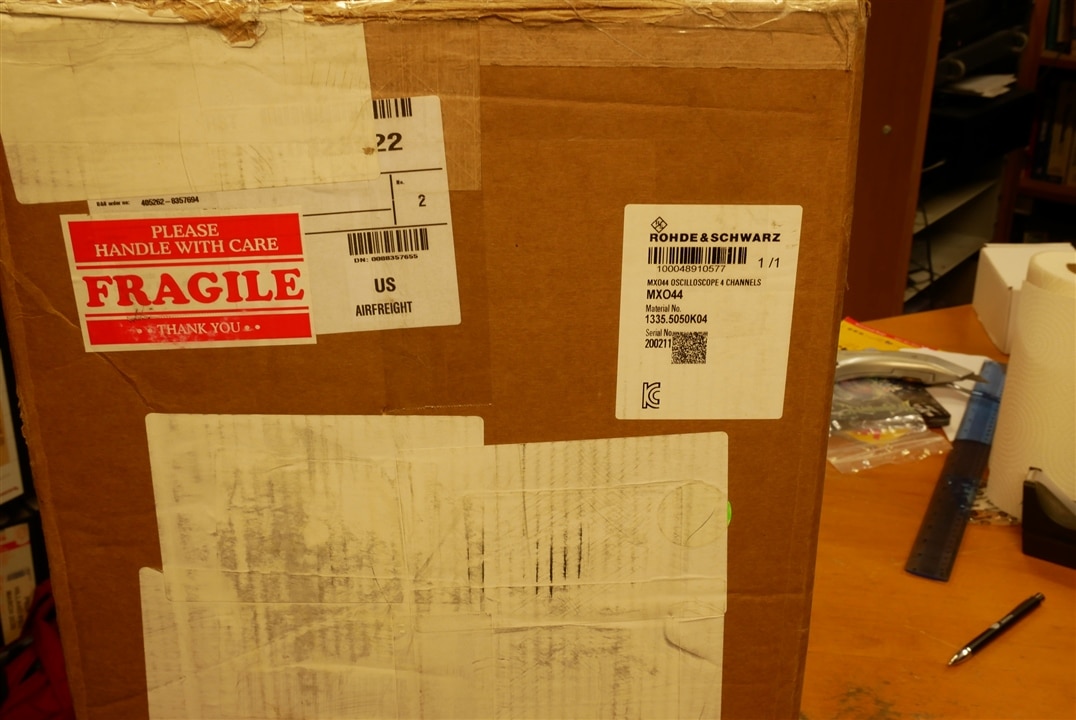
Lovingly handled by carrier:

The packing relies on a big box and a foam construct to absorb energy and keep the scope away from the cardboard. Seems to work OK and is cheap and easy to re-use.

There is a nice little bag:
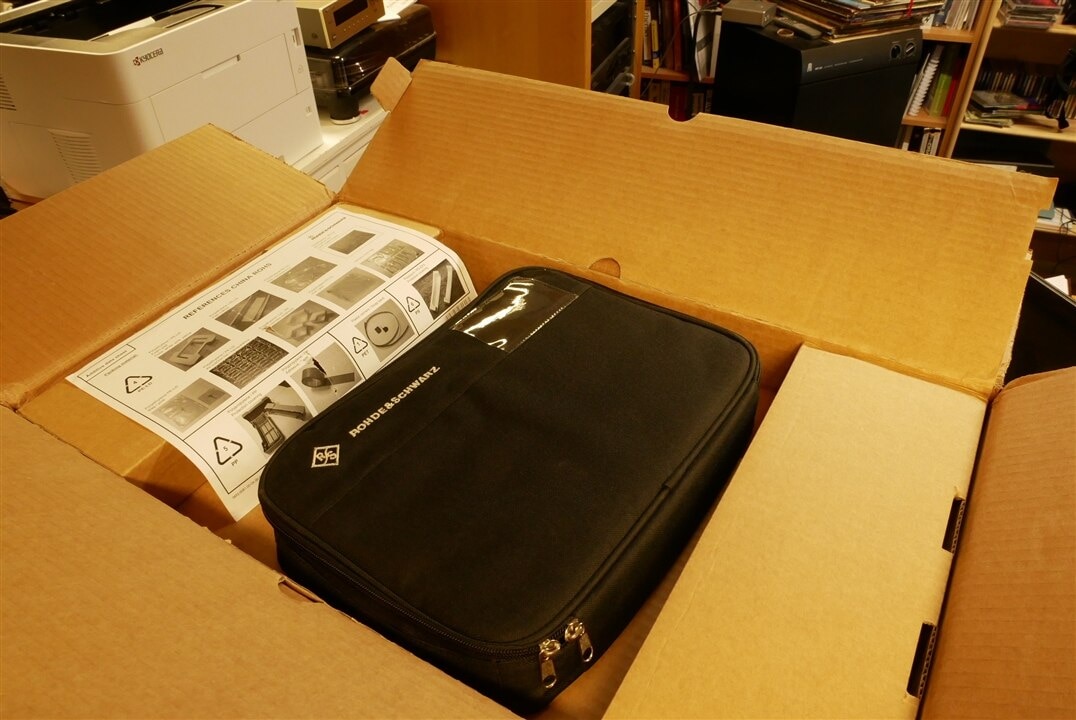
To hold the probes:

At the price this kind of probe sells for (approx. £350 each, couldn’t find the exact supplied part listed anywhere) then 4 of them deserve a bag !
There was mains lead, but not the right kind for UK - not a problem – I have plenty of mains leads (and quite a lot of non-UK ones as well !)
The little cardboard box contains the 2 digital 8 way probes. These are RT-ZL04 probes, same as come with the RTA400x scope. These are part of an option pack that is required to make use of the MXO4 series logic analyser features.

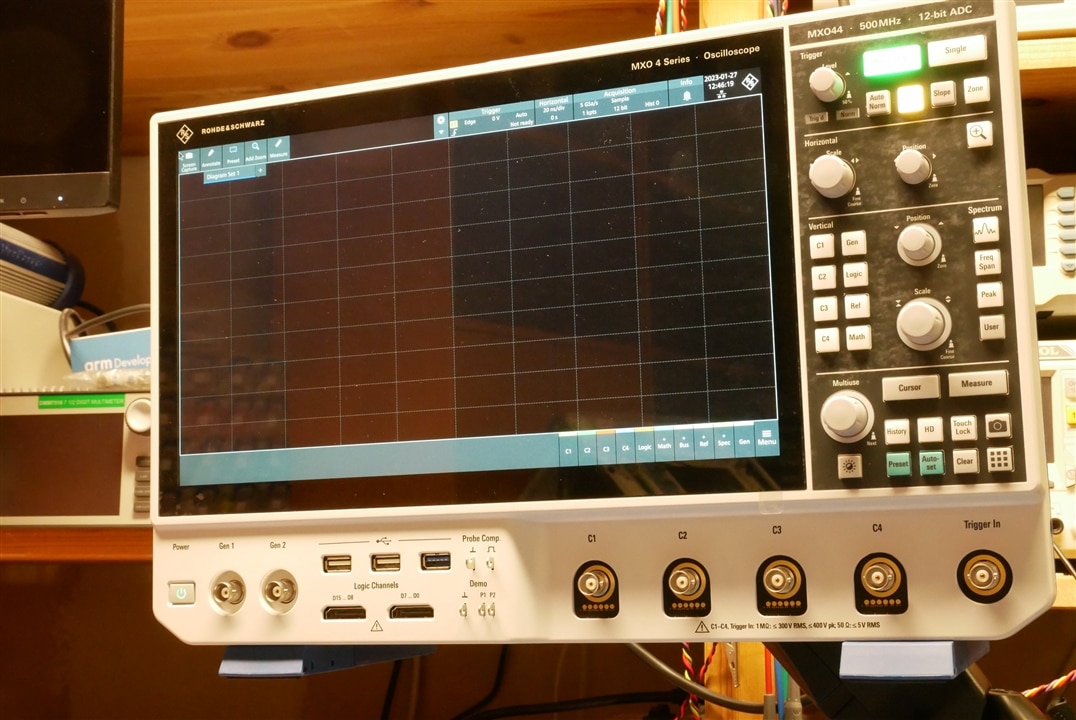
The scope itself, featuring yours truly and the super reflective screen. Sorry.

Getting it going
I’d noticed that the scope has a Vesa mount so I’d bought a gas assisted monitor support arm in advance. I like scopes off the bench because they take up too much room, but operating the controls at extended arms length is not very comfortable. The support arm I bought claims to be easily capable of taking the 6.4kg weight of the scope but is only just stiff enough. It’s just a little too wobbly. But being able to move the scope about is very nice. I think I’ll be getting a better arm.

The probes are supplied without the coloured rings fitted (they always are) so that’s the first chore. It doesn’t take long, and they give you three of each colour with each probe. You get 4 passive 10:1 probes with a 700MHz bandwidth.

Turn the power on, it takes a while to boot up. About 42 seconds.

You can see that I’ve already got the radio mouse plugged in. I often don’t want to keep poking the screen – they get very messy and the downside of having the scope well above bench level is that precision screen touching is awkward. The scope works fine with a Logitech mouse.
That screen is very reflective. In actual use it doesn’t seem to be much of a problem but it certainly makes photography a bit tricky !

For reviewing and work I need scope screenshots. The scope has built in screen capture which will record to built in memory or a USB flash drive if one is plugged in. The documentation sort of suggests that it might be possible to get it to record directly to a remote drive via Ethernet but I haven’t worked out how yet.
What you can do very easily is connect up toe the scope by Ethernet and use the browser based (no software needed on PC) interface to remote control the scope. Previous R&S scopes have done this well and this one does too.
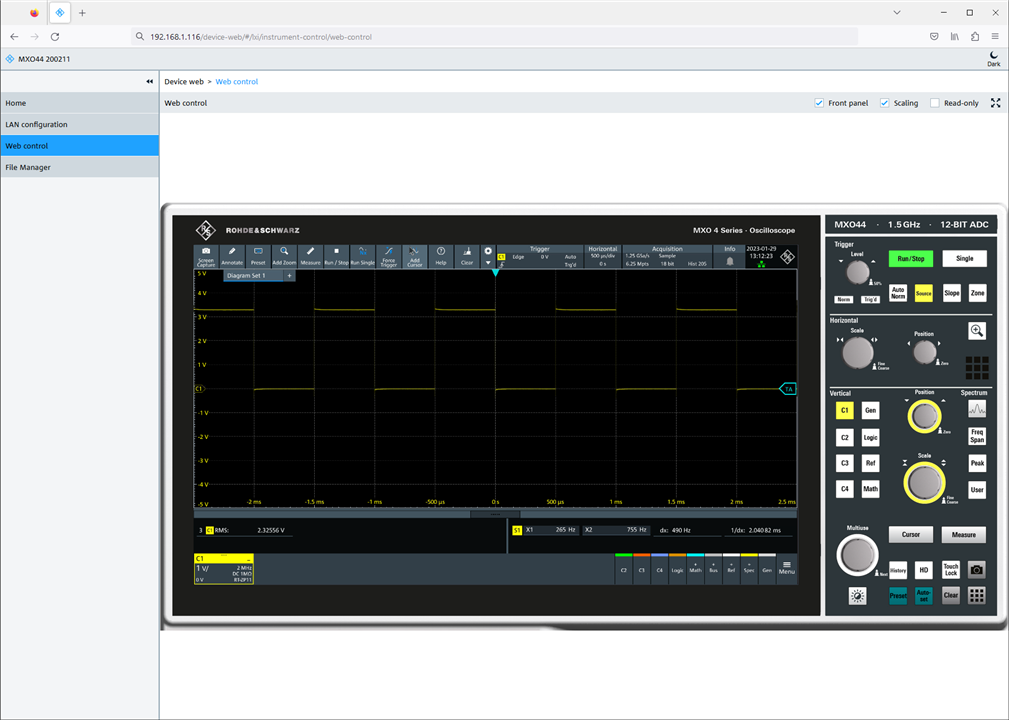

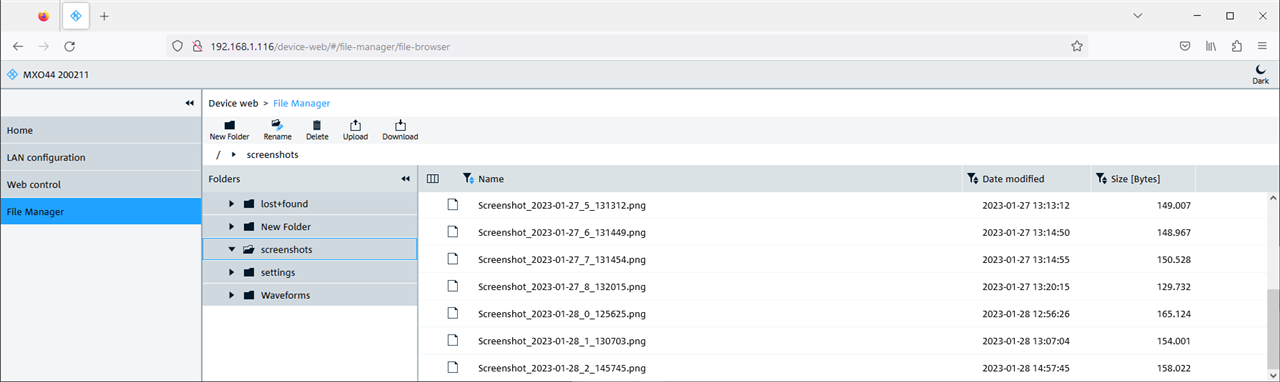
SO far I’m finding the best way to get screenshots is to use OS tools to pull then off the web interface screen on the PC rather than mess with scope generated files.
The scope can colour invert the screenshot files it makes, and I think the content can be altered as well but I haven’t delved into it far.

Looking at some real signals.
Just to get going we’ll look at some signals from a prototype sensor on my bench. This device drives an LED with approx. 25us pulses and looks at the output of a PD which measures the amplitude of the light after it has passed through the medium being measured. The issues with this device are about keeping the power used, cost and noise low. The usual rule of pragmatism applies: having any two is easy, all three is difficult.
In this picture the green trace is the current in the LED and the orange trace is the recovered and amplified PD signal.
In all the experiments in this blog the scope is connected to the mains via an isolating transformer and has no main connection to earth. This is a requirement for making measurements on the sensor because its debug interface is connected to the PC earth. I’ll investigate later how this may or may not affect noise in other measurements.
The grey area is the position in time of the measurement Gate, which I’ve set to correspond with how the ADC in the sensor samples the signals.
I’ve set up measurements of the mean of the signals in the gate time with statistics. You can see, almost at a glance that the signal to noise ratio LED current is about 60dB and of the PD signal it’s about 40dB. (Using a calculator, 56.6dB and 38.4dB). I haven’t been able to measure this as easily (or at all) on other scopes.

You can adjust the gate numerically using this box.

When one of the times is clicked you can adjust it with the Multiuse knob. Click again and the number entry window pops up. Or you can drag the gate time about with the mouse.
There is some nasty ringing on the LED drive current (I told you this was a prototype !) – so we’ll zoom in to have a look. First we select the zoom area with the mouse.

And then let it zoom, with the option of altering it by mouse or menu box:

In the screenshots so far there is a screen-wasting gap in the top toolbar. It can be filled up with useful tools:


You can write on the screen for documentation:

Spectrum Analyser
The MXO4 series has hardware assist for its spectrum analyser section and I’ve seen a few reports of its goodness. So, I thought I’d have a quick play with it.
Here it is looking at a 1kHz sinewave from a Rigol 1032Z. It’s a pretty good performance from both instruments !

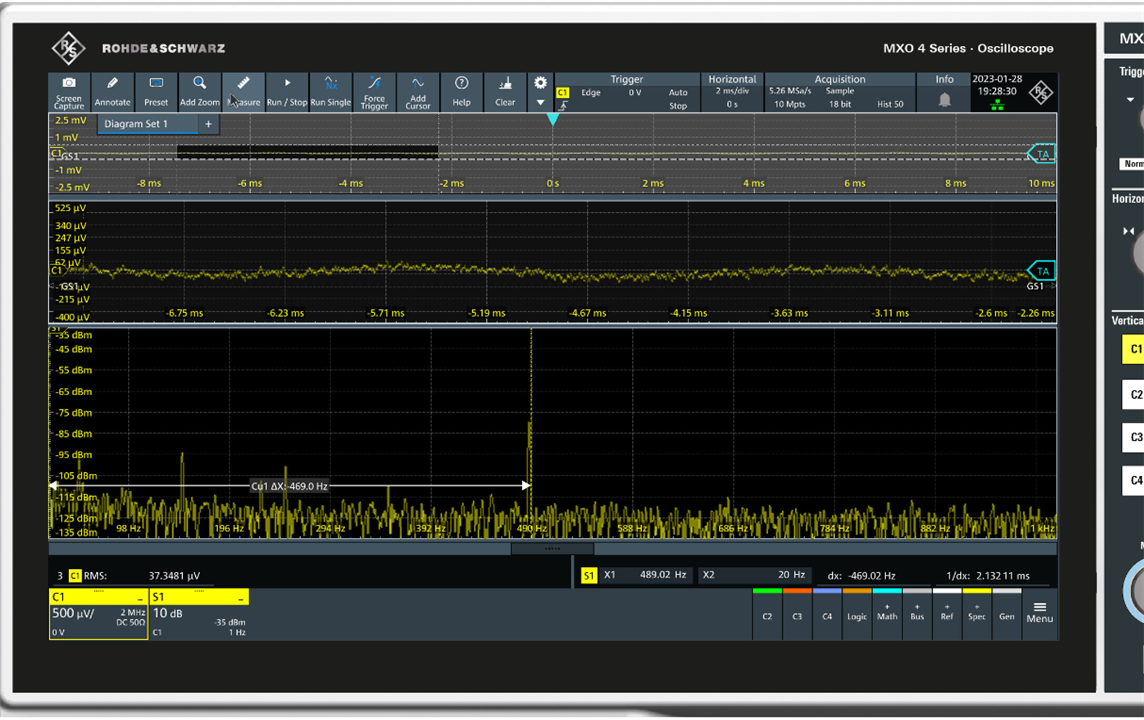
One of the features of the MXO4 series is its 18 bit maximum resolution and low noise. I wanted to see if these features would work together. I used an HP654 Test Oscillator (approx. 1969 vintage) because it has a range from 10Hz to 10MHz and a 99dB range attenuator. The two are directly connected at 50 ohm impedance.

That bloke with the camera is in the picture again !
The screenshot tells the story – 2MHz signal, 18 bit sampling with 2MHz low pass filter. You can see how the filter operates before the spectrum analysis – on this scope the filtering is part of the acquisition down sampling (I think).

Don’t expect 4.5million waveforms per second when doing this !

Here’s a tiny 500Hz signal, with a zoom window and measurements turned on.
The 500Hz sine wave amplitude is only 37uV, its almost lost in noise (not sure if that’s the sig gen or the scope).
First Impressions
As I expected from R&S' reputation and documentation, as well as chat on the Internet, it’s pretty good.
It’s nicely made and it certainly does all the basic things you would expect.
The spectrum analysis and small signal handling seem, at first poke, to be a lot better than other scopes I own (or have owned).
I’ve certainly never managed to get a 37uV RMS sine wave showing up nicely on a scope before.
The Web control interface works very nicely.
I shall get into these areas (and others) in more depth in subsequent blogs.
MK


