RoadTest: ebm-papst K4 Motor System Development Kit
Author: ravi kondeti
Creation date:
Evaluation Type: Electromechanical
Did you receive all parts the manufacturer stated would be included in the package?: True
What other parts do you consider comparable to this product?: **
What were the biggest problems encountered?: none as of now. ongoing tests ,ight introduce new ones.
Detailed Review:
Out of the box
Equipment used:
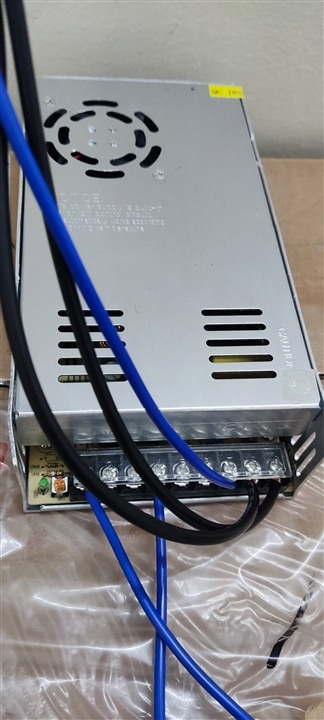
Power supply: 20V,16A
Current sense module: ACS712-20A
Arduino uno
Digital multimeter
Setup:
Power supply

ACS712-20A
K4 switch box
Motor Specifications:
Voltage: 24 Volts
Torque: 0.235 N
Power: 100 W
Nominal Speed: 4000 rpm
Control: Position
Description regarding the drive:
The VDC-3-49.15-K4 motor is a 3-phase EC drive with a multi-pole magnetised neodymium magnet. The electronically commuted external rotor motor has an astonishingly high power density and a compact design. Excellent control action is achieved due to the field-orientated control with sinus commutation. The VDC-3-49.15-K4 has fully integrated control electronics with high-performance DSP and extensive interfaces. This enables particularly flexible control of the drive and the drive can therefore be adapted to different applications. The integrated temperature cut-out provides reliable protection against overload.
K4 Box Description:
1.Motor Fuse
2.Logic fuse
1.Motor V
2.Logic V
3.OUT1
4.OUT2
5.OUT3
6.A IN 1
7.GND
8.A GND
IN A, IN B, IN 1 ,IN 2
K4 functionalities:
Software Requirements:
Initial Test Run (DEMO MODE):

Digital Input Mode:
Circuit diagram:
Layout of the drive is shown in the following diagram. A breaking chopper is present in the drive which can be connected to ballast resistor to maintain a stable voltage within limits, this is caused due to deceleration of motor from high speeds which will increase its back EMF and triggers either power supply or drive overvoltage fault.
Conclusion:
Overall kit is a good way to start for a beginner in motor drives. simple software tools present a path for understanding the drive behaviour and working of the electronics in the drive. A lot more has to be experimented on the drive for performance in the long run.