RoadTest: Enroll to Review the Avnet RASynBoard EVK
Author: amgalbu
Creation date:
Evaluation Type: Evaluation Boards
Did you receive all parts the manufacturer stated would be included in the package?: True
What other parts do you consider comparable to this product?: Arduino Nicla Voice
What were the biggest problems encountered?: No relevant problems
Detailed Review:
RASynBoard is a low-cost evaluation kit that includes the RASynBoard core module with an I/O board for prototyping and development.
RASynBoard is a tiny (25mm x 30mm), ultra-low power, edge AI/ML board, based on a Syntiant NDP120 Neural Decision Processor, a Renesas RA6M4 host MCU plus a power-efficient DA16600 Wi-Fi/BT combo module. The NDP120 subsystem with onboard digital microphone, IMU motion sensor and SPI Flash memory, achieves highly efficient processing of acoustic- and motion events. Battery and USB-C device connectors facilitate stand-alone use, while a compact under-board connector enables integration with custom OEM boards and additional sensors.
In this roadtest, I will go through al the steps required to build a simple gesture-recognition application from start to finish
1. Unboxing
The evaluation kit is shipped in a simple cardboard box, inside an antistatic bag. The two boards that make up the evaluation kit (aka the RASynBoard core board and the RASynBoard Starter kit) are already assembled
| {gallery}Unboxing |
|---|
|
RASynBoard box |
|
The RASynBoard core board and RASynBoard NDP120 Evaluation Kit assembled |
|
The RASynBoard core board and RASynBoard NDP120 Evaluation Kit |
|
The back of the RASynBoard core board, with the 2x28 connector |
|
The back of the RASynBoard NDP120 Evaluation Kit board, with the SD card |
|
|
2. Hardware description
The evaluation kit is made of two parts: the RASynBoard core board and the RASynBoard starter kit.
The RASyn core board RASynBoard Core Board is a tiny (25mm x 30mm), ultra-low power, edge AI/ML board, based on Syntiant NDP120 Neural Decision Processor, a Renesas RA6M4 host MCU plus a power-efficient DA16600 Wi-Fi/BT combo module. The NDP120 subsystem with on-board digital microphone, IMU motion sensor and SPI Flash memory, achieves highly efficient processing of acoustic- and motion events. Battery and USB-C device connectors facilitate stand-alone use, while a compact under-board connector enables integration with custom OEM boards and additional sensors.
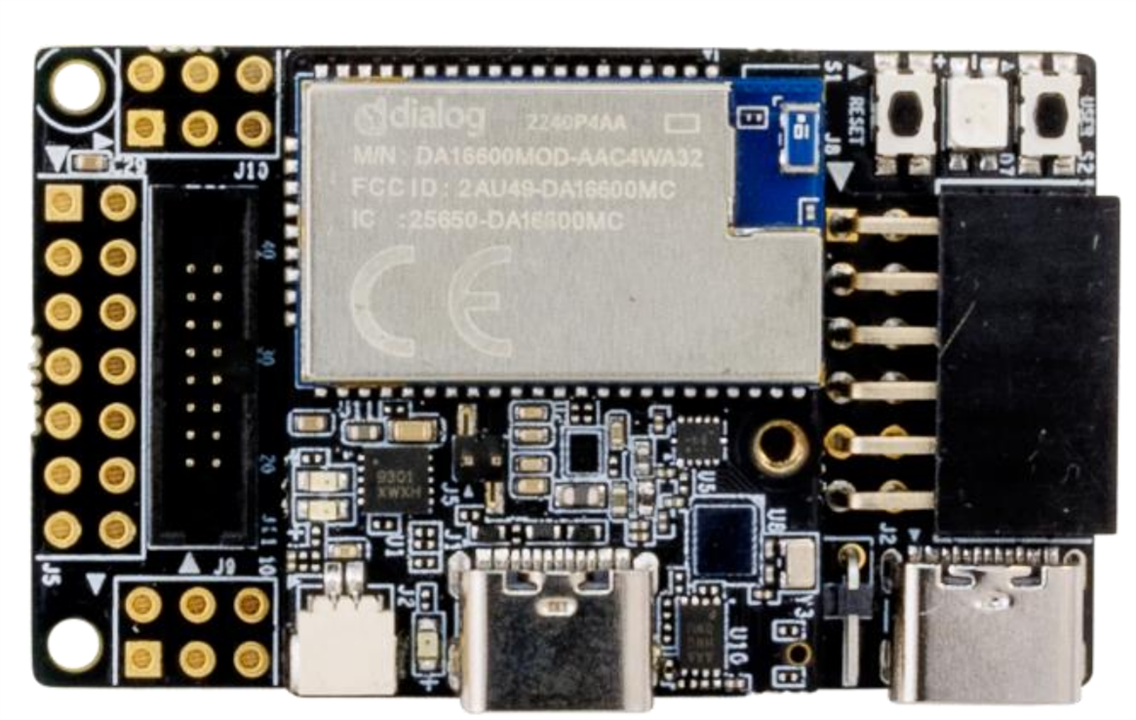
Here are some pictures of the board
| {gallery}RASynBoard Starter kit |
|---|
|
|
 |
|
|
And this is the block diagram of the RASyn core board
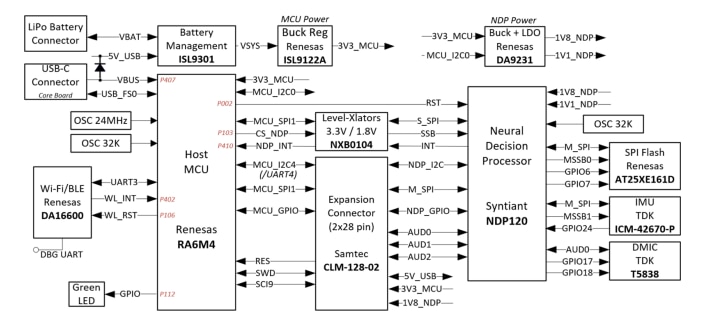
The relevant feature is this block diagram is the NDP120 manufactured by Syntiant.
A neural decision processor (NDP) is a type of artificial intelligence (AI) hardware that is specifically designed to run deep learning models. NDPs are typically very energy-efficient and can be used to run AI applications on devices with limited power budgets, such as smartphones, wearables, and IoT devices. NDPs are typically based on a custom architecture that is optimized for running deep learning models. This architecture may include specialized hardware accelerators, such as tensor processing units (TPUs), that can perform the computations required for deep learning models very efficiently. Additionally, NDPs may also include software optimizations that help to further improve the energy efficiency of the processor.
One of the key benefits of NDPs is their ability to run AI applications on-device. This means that the AI processing is done directly on the device, rather than being offloaded to a cloud server. This can provide several benefits, such as improved privacy, reduced latency, and reduced reliance on cloud connectivity.
NDPs are a relatively new technology, but they have already been used in a number of commercial products. For example, Syntiant's NDP100 processor is used in Amazon's Echo Dot smart speaker, and Google's Pixel Buds wireless earbuds use a custom NDP from Google AI.
Some of the key features of NDPs are:
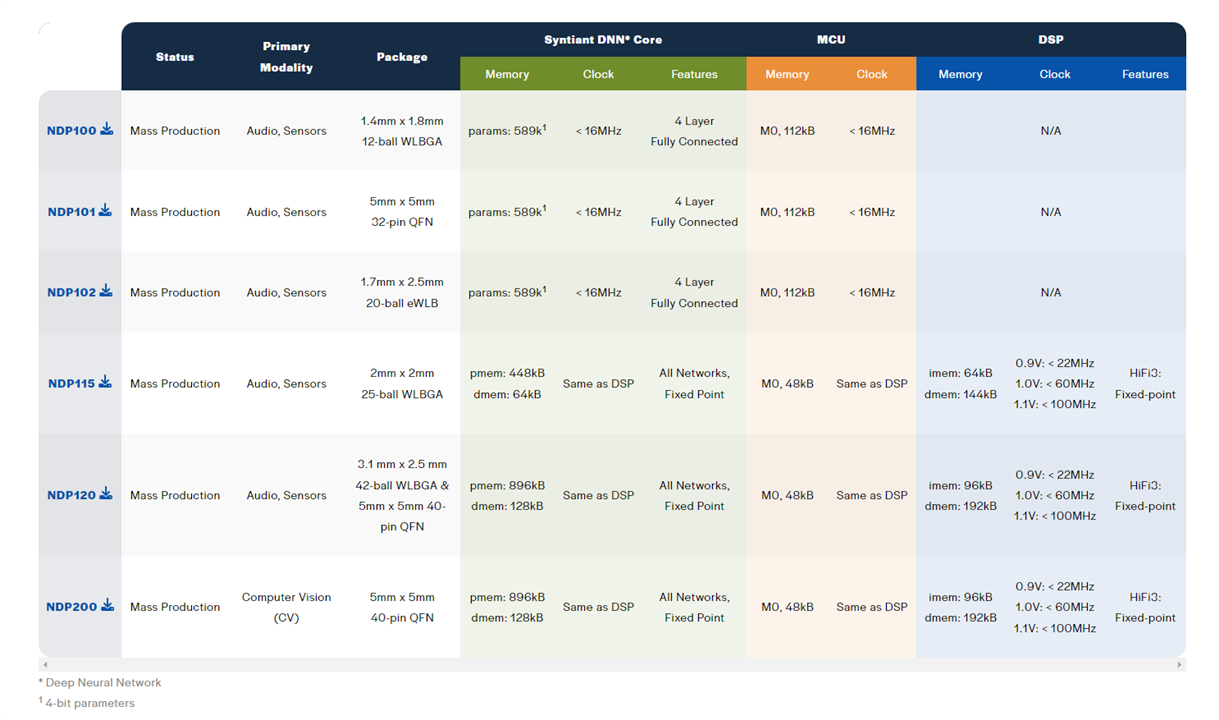
RASynBoard is equipped with the NDP120, which is one of the most powerful processor in the Syntiant portfolio
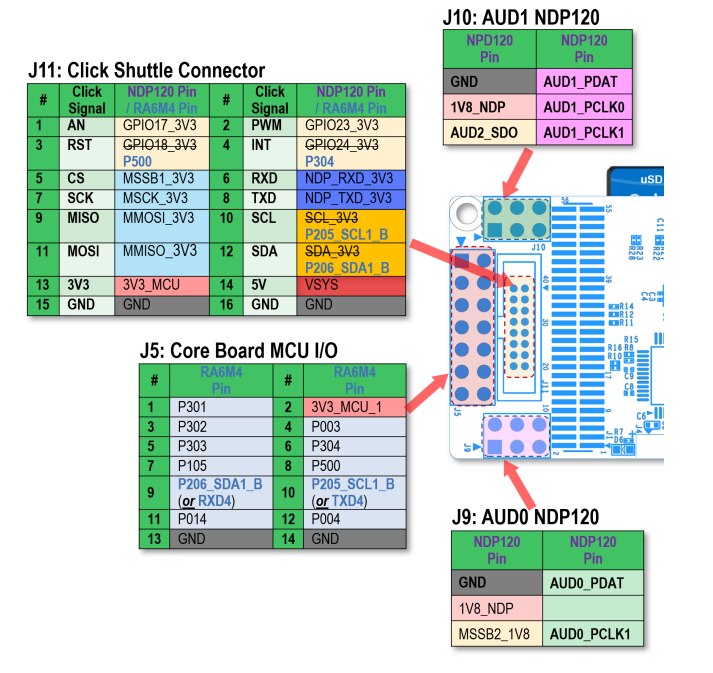
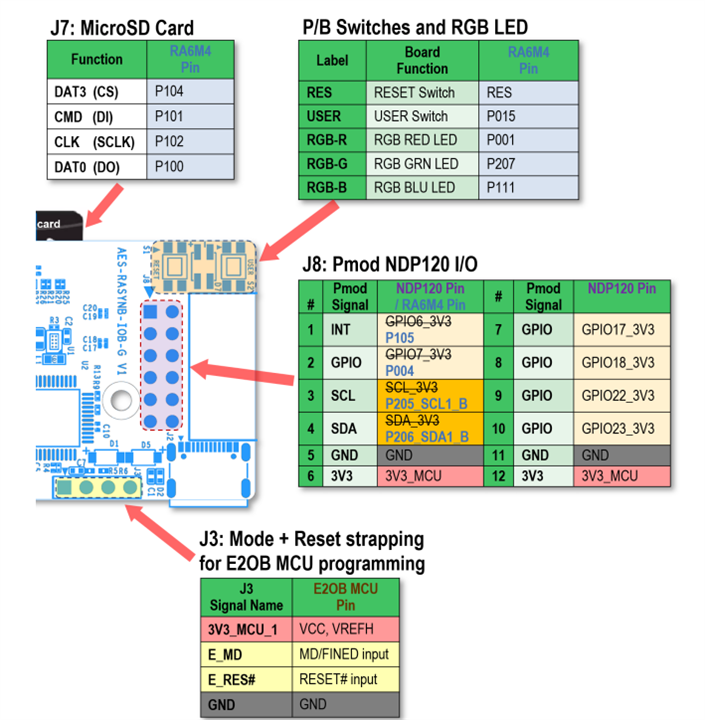
The RASynBoard Starter Kit adds an IO Board (50mm x 30mm), for a versatile, compact, two-board evaluation kit assembly. This pins-out a subset of the NDP120 and RA6M4 I/Os to popular Pmod, Click header and expansion header footprints, enabling connection with additional external microphones and sensor options. An onboard debugger MCU (SWD and UART interfaces), button switches, RGB LED and removable MicroSD storage, further maximize the prototyping versatility and utility.
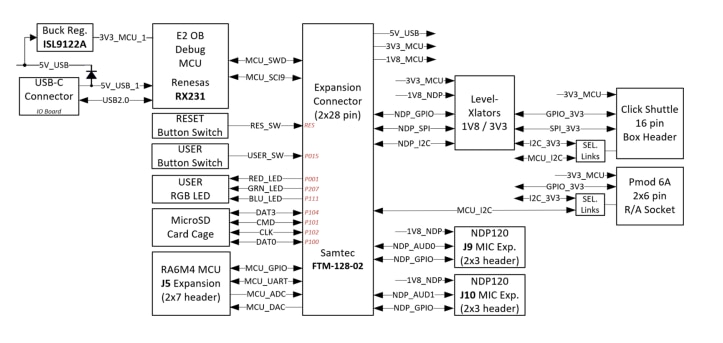
This board adds multiple connectors to add external peripherals, namely
3. Software installation
RASynBoard is programmed from the E^2Studio, an Eclipse-based IDE that is available for download from this link
https://www.renesas.com/us/en/software-tool/e-studio
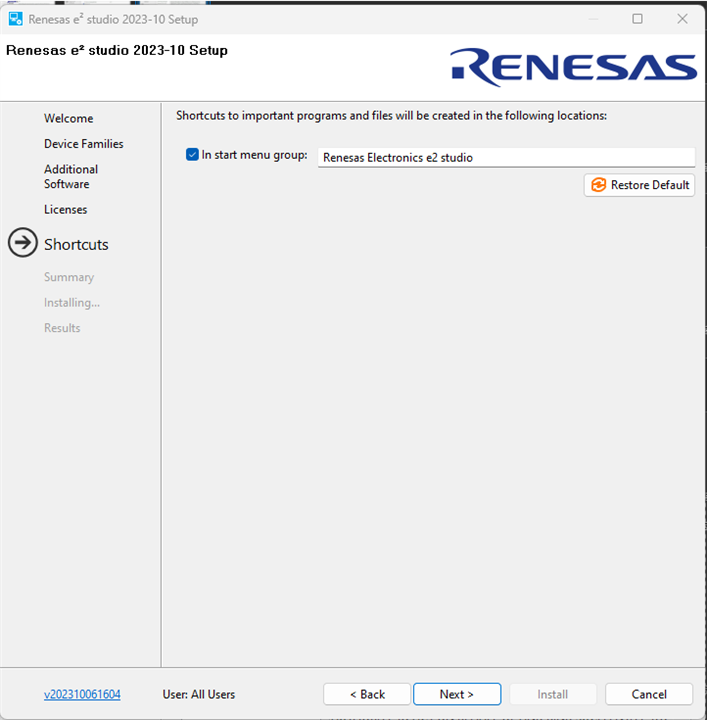
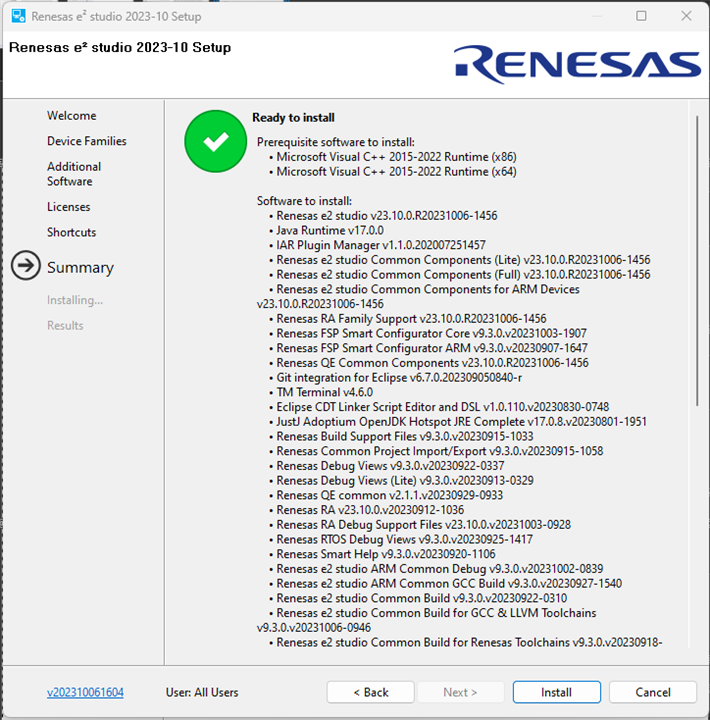
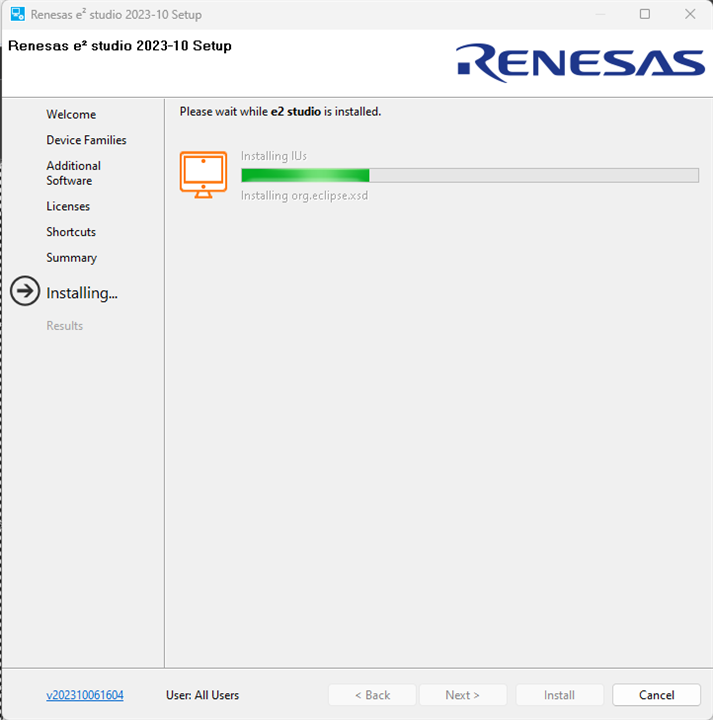
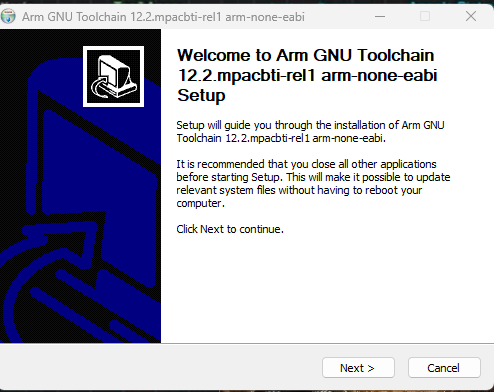
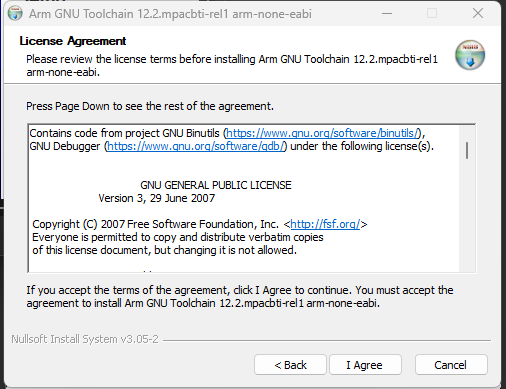
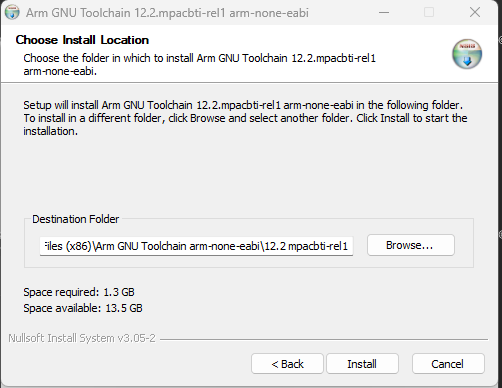
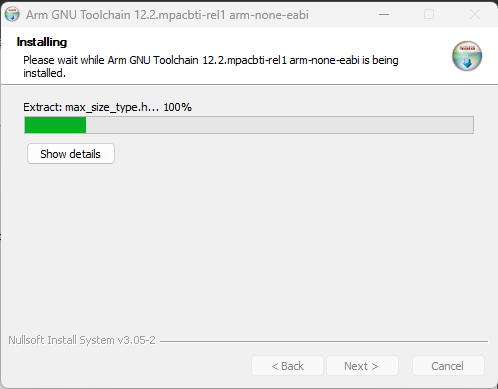
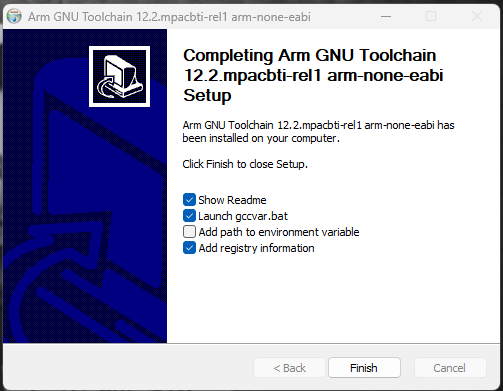
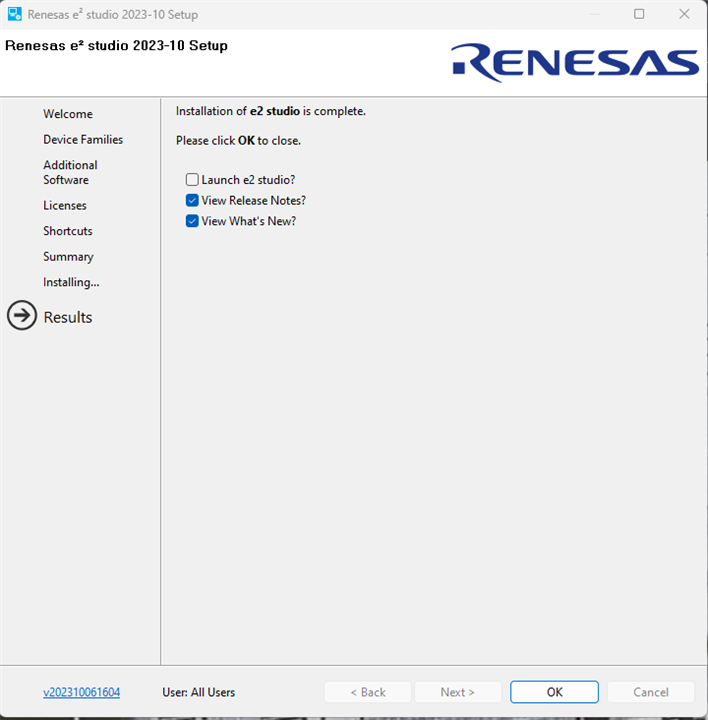
The installation is straightforward. I added an image gallery with the steps just for reference
| {gallery}E^2Studio setup |
|---|
|
|
|
|
|
|
|
|
|
|
|
|
 |
 |
 |
 |
 |
 |
 |
 |
 |
4. Build the project
A fully-functional project for the RASynBoard is available on github
https://github.com/Avnet/RASynBoard-Out-of-Box-Demo/tree/rasynboard_v2_tiny
4.1 Clone the project
The first step, is to clone the project
git clone https://github.com/Avnet/RASynBoard-Out-of-Box-Demo.git
This command will clone the repository in a folder named RASynBoard-Out-of-Box-Demo.
4.2 Configure the project
We can now open and configure the project in E^2Studio. Steps to go trough this task are explained in gallery below
| {gallery}Configure the project |
|---|
|
Select workspace and click "Launch" |
|
Select "Import existing projects" option |
|
Use the "Browse..." button to browse the file system, select the cloned project directory. Leave all the option at the default state, then click the "Finish" button |
|
Double click on "configuration.xml" to open the FSP (Flexible Software Package) explorer |
|
Click "Generate project content" |
4.3 Build the project
Click "Project" -> "Build all" to build the project
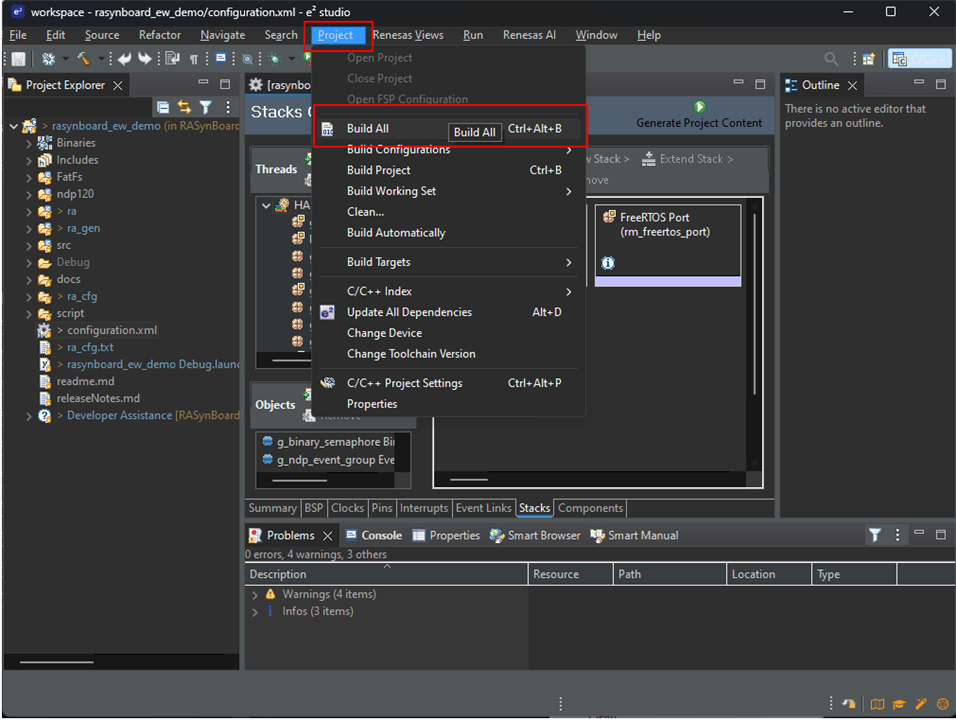
The project builds and generates output files in the Debug Directory. Two files we're interested in are:
5. Setup the hardware
| {gallery}Hardware setup |
|---|
|
Verify that jumper J5 on the Core board is not present |
|
Remove the jumper on J3 pins 1-2 on the IO board, if present |
|
Connect serial terminal and USB-C cable |
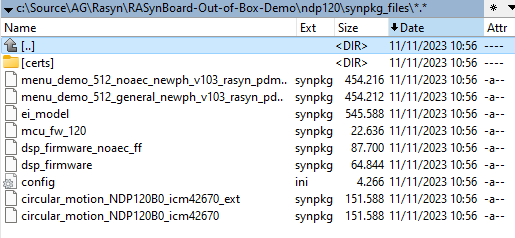
6. Copy NDP files to SD card
The microSD card on the IO Board is used to store the NDP120 images and a config.ini file that we can use to change the behavior of the OOB Demo application
7. Debug the project
| {gallery}Debug the project |
|---|
|
Click the arrow on the left of the green bug, select "Debug As" --> "Debug Configuration . . ." |
|
Select the "Renesas GDB Hardware Debugging", then select the "Debugger" Tab, then change the "Target Device" to "R7FA6M4AF", then "Apply", then close |
|
Start the debugger by clicking on the green bug icon in the toolbar |
|
Click "Switch" to switch to the Debug perspective |
|
After application has been transferred to the board, execution stops at the call to "SystemInit()". Press the F8 key to resume execution |
|
Application execution stops at the first line in the main() function. Press the F8 key to resume execution. Now the application starts up and outputs debug showing the device loading the NDP120 images from the microSD card |
8. Tinkering with the board
The OOB demo application is quite complete and shows many (if not all) the relevant features of this board. Now I want to go deeper into how things works. In particular, I want to train NDP to recognize specific gestures. I supposed the steps to nail are
According to the documentation, there two ways to collect data either from IMU or from microphone. Data can be stored on the SD card or can be transferred via serial terminal to a PC. Let's see both solutions
8.1 Create a Edge Impulse account
First things first: before proceeding, we need to create an account on Edge Impulse. The procedure is extremely easy, so I will not include details here.
8.2 Collect IMU data on SD card
To collect IMU data on SD card, we need first to change config.ini stored on SD card. The "Write_to_file" option needs to be set to 1

This will instruct the application to store IMU data for the number of seconds configured in the "Recording_Period" option after the user button is pressed.
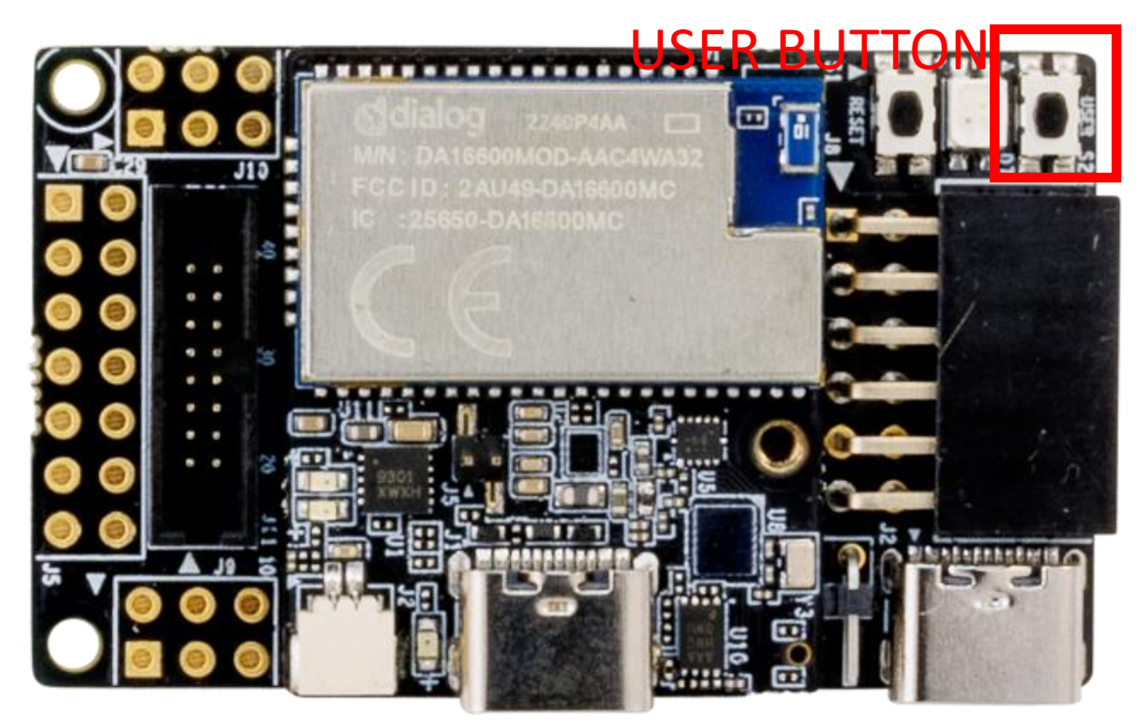
Insert the SD card, connect the USB-C cable, download the application from E2Studio and, when ready, press the user button. Now the gesture can be simulated. After the configured amount of time the collected data is streamed to the SD card. The procedure can be repeat as many time as one want to collect a certain number of samples.
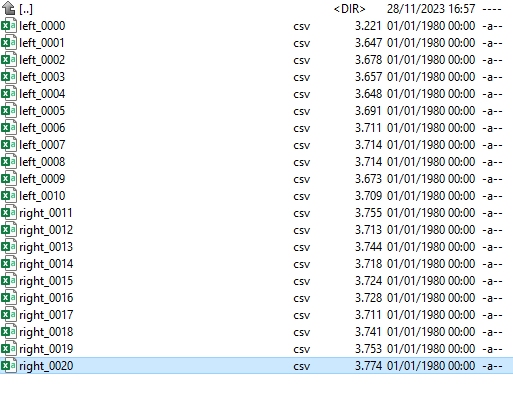
Now disconnect the USB-C cable to power off the board, remove the SD card and insert the SD card itself in the PC. A certain number of files are present
8.3 Collect IMU data through Edge Impulse Forwarder
There is actually another way to collect data: by means of a tool called "Edge Impulse Forwarder". This is a NodeJS application that reads IMU data from RASyn board through the serial port and immediately forward to the Edge Impulse portal. I tried this approach but, despite it looks a convenient way to train a model, actually it does not allow you to "pre-filter" your data and eliminate, for example, wrong gestures or pauses between samples. This spurious data may interfere with the model training, so I preferred to follow the approach based on the SD card.
8.4 Train the model
To train the model, we need to upload data collected on the Edge Impulse portal. The following gallery shows the relevant steps to accomplish this task
| {gallery}Edge Impulse Training |
|---|
|
The original data files collected on SD card |
|
Rename files to match the label they refer to (in my case, I want to distinguish between two gestures: left and right) |
|
Add data on Edge Impulse portal. Here we are creating a template that will be applied to all subsequent data |
|
Choose the file to upload. The label is taken from filename |
|
Upload file |
|
Data preview |
|
Data is a time-series; each row contains a full set of data |
|
Select columns to import |
|
Data import wizard is complete |
|
Upload all collected data files that should be recognized as "left" |
|
Select files and upload |
|
Upload is completed |
|
Repeat the same steps for the data that should be recognize as "right". At the end, you are ready to create you model. In the left menu, click "Impulse design" -> "Create Impulse" |
|
Click "Generate features" to process uploaded data |
|
"Features explorer" shows how labels (left/right) are related to automatically detected features |
|
Whey you are happy with the Impulse design, you can generate the Syntiant model. Click "Start training" |
|
Result of the training |
|
Let's generate the file for the NDP. In the left menu, click "Deployment" |
|
I selected, as deployment target, NDP library TDK v14.1. Click "Build" to create the deployment file |
|
I don't have a calibration dataset, so i left the default selection ("FAR optimized") |
|
Build in progress... |
|
Build completed. The download of synpkg file starts automatically at the end of the build process |
8.5 Deploy the model
The synpkg file can now be copied to the SD card. I simply changed the config.ini file to use the new synpkg file and everything worked smoothly: LED0 was switched on when "left" was detected and LED1 was switched on when "right" was detected. Very nice!
9. Comparison with Arduino Nicla Voice
There is actually a board in the Arduino family that features the same neural processor installed on this board: the Arduino Nicla Voice. Let's compare the two alternatives
| Arduino Nicla Voice | RasynBoard | |
| Neural processor | Syntiant® NDP120 Neural Decision Processor
|
Syntiant® NDP120 Neural Decision Processor
|
| Main processor | Nordic Semiconductor nRF52832:
|
Renesas RA6M4 processor:
|
| Sensors |
|
|
| I/O | Castellated pins with the following features:
|
On the core board
On the Starter kit
|
| Interface |
|
On the core board
On the Starter kit
|
| Memory |
|
|
| Power |
|
|
| Connectivity |
|
|
| Price | 69 Euros |
Starter kit 125.57 euros Core board 70 euros? |
The RASynBoard is better than Nicla board in almost all aspects (the Arduino Nicla Voice features a magnetometer, but all other hardware components are better on the RASynBoard -memory, CPU frequency, etcetera). In my opinion, where the RASynBoard really shine is connectivity: BT and Wifi on such a small board is definitely a plus.
9. Conclusions
To summarize this roadtest, I am going to make a list with three things I like and three things I didn't like
9.1 What I liked
9.2 What I didn't like
The overall experience is absolute positive: from the hardware to the software (both E^2 Studio and Edge Impulse integration), I didn't encounter any major problem and I was enable to go through all my tests with no hassle.
Useful links