RoadTest: Engineers needed to review the element13 Foil Headwave Aluminium aTtenuator DevKit
Author: gordonmx
Creation date:
Evaluation Type: Workshop Tools
Did you receive all parts the manufacturer stated would be included in the package?: True
What other parts do you consider comparable to this product?: Copper foil
What were the biggest problems encountered?: My DUT was too tasty
Detailed Review:
Foil Headwave Aluminium aTtenuator DevKit (FHATD)- Review
First off, I would like to thank Element 14 for the opportunity to evaluate the FHAT Development Kit (“the Hat”) and at the same time have a little fun.
Summary Conclusion –
I must admit, if used properly, the shielding material was well suited for shielding electric field, but the FHATD failed miserably during my thermal testing. Although I wouldn’t recommend the material be used in high temperature environments, the results of my experiment were very tasty.
As far as electric field shielding at high frequencies (above ~1 MHz), the skin effect means most of the RF energy interacts with a thin surface layer. Increasing thickness beyond the skin depth adds little extra shielding. (ref: www.national-shielding.com)
Pros –
Cons –
Overall, the design is workable and I would recommend the FHATD for a potentially good starting point in understanding future product features.
Useful Documents Links-
NOTE: Logging into the respective websites may be required to access some of the documents.
Part I – A Little more about Aluminum
Before digging into details of the “kit”, let’s start with a little information about this metal. Rats! I gave it away. Yes, aluminum is a metal with an atomic number 13, right next to Silicon on the periodic table, for which Element 14 gets its name, but I digress.

Once again courtesy Wikipedia (among other sources), “Aluminum is classified as a post-transition metal in the boron group (group 13). It is in period 3, and its block is p-block. Its most common isotope is ^27Al, with 14 neutrons…” in the nucleus. Although it is a non-ferrous metal, it’s 13 electrons circulating its atomic core makes it a great conductor, as well as a great electric-field shield. However, its not so great at shielding magnetic fields. Being non-ferrous, it won’t rust, but can easily oxidize under certain environmental conditions.
Pure aluminum, in nature, is rarely found in its metal form, but as hydrated aluminum oxides (bauxite) or aluminum potassium sulfate (alum). In 1825, a Danish physicist, Hans Christian Orsted, combined the common element form with potassium amalgam to refine the pure metal.
Part II – The Unpacking:
Welcome to the unpacking, and our first look at the actual FHATD. I have read many different views on the value and/or importance of the unpacking segment, but I feel it is important because it is often our first glimpse into what to expect in the product and support. I’m excited to road test this kit because it was just goofy.
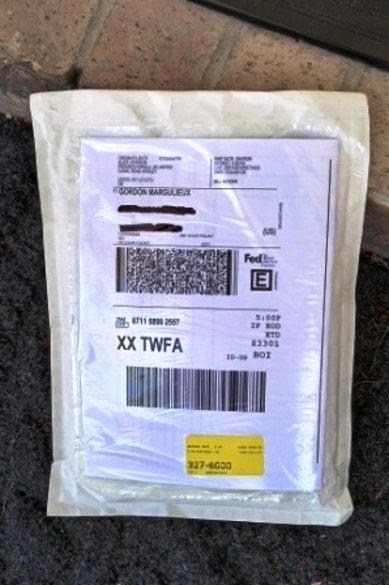
The dev kit arrived in a puffy envelope, yet undamaged due to the masterful folding of the content. The shipping evelope also included a fair number of stickers (not shown here).
Part III – What is the FHATD?
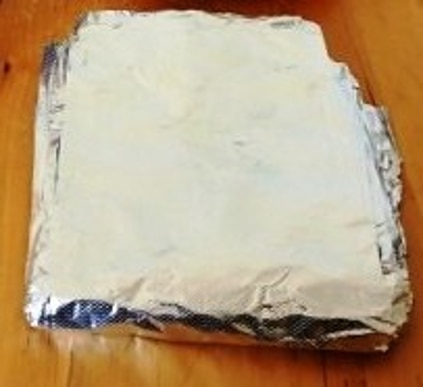
The FHATD consisted of:
Part IV – Assembling the FHATD Experiment (or Now for the fun stuff):
Step 1 – Gather all the stuff needed, including 1) Foil sheets, 2) Olive oil, 3) a Fork (or other poky thing – another technical term) and of course your Device-Under-Test (DUT). Being from Idaho, USA, for my tests the DUT was a potato.

Step 2 – Using a fork (or other poky thing) puncture the surface of the DUT to reduce the internal pressure during the test.

Step 3 – To avoid surface scarring, coat the external of the DUT with olive oil.

Step 4 – Completely wrap the DUT with a foil sheet

Part V – The Thermal Test and Result:
Step 1 - Pre-heat your thermal chamber to 400 Degrees Fahrenheit (F) – Hey, I’m in the USA.
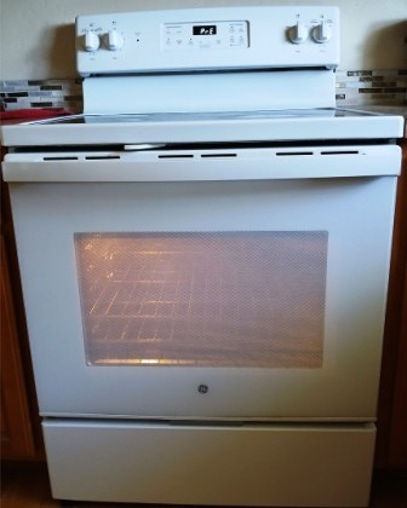
Step 2 - After the thermal chamber has reached the target temperature, place the DUT into the chamber for 1 hour.
Step 3 - Remove the DUT after the test duration is complete and examine for thermal shielding effectiveness.
OOPS! It would seem that a single foil layer did not protect the DUT from a 400 F environment for 1 hour. Although the single layer shield

What I didn’t try (much) and what’s next
* I didn’t get around to trying extra butter.
* Maybe I should try a lower (i.e. 350 F) temperature next time.
* Increase the number of foil layers.
Please let me know if I missed something in my review or if you have any questions. Also please pardon my typos.
Gordon Margulieux
Twin Falls, ID USA


