element14 Community
element14 Community
    Register Log In
  • Site
  • Search
  • Log In Register
  • Community Hub
    Community Hub
    • What's New on element14
    • Feedback and Support
    • Benefits of Membership
    • Personal Blogs
    • Members Area
    • Achievement Levels
  • Learn
    Learn
    • Ask an Expert
    • eBooks
    • element14 presents
    • Learning Center
    • Tech Spotlight
    • STEM Academy
    • Webinars, Training and Events
    • Learning Groups
  • Technologies
    Technologies
    • 3D Printing
    • FPGA
    • Industrial Automation
    • Internet of Things
    • Power & Energy
    • Sensors
    • Technology Groups
  • Challenges & Projects
    Challenges & Projects
    • Design Challenges
    • element14 presents Projects
    • Project14
    • Arduino Projects
    • Raspberry Pi Projects
    • Project Groups
  • Products
    Products
    • Arduino
    • Avnet Boards Community
    • Dev Tools
    • Manufacturers
    • Multicomp Pro
    • Product Groups
    • Raspberry Pi
    • RoadTests & Reviews
  • Store
    Store
    • Visit Your Store
    • Choose another store...
      • Europe
      •  Austria (German)
      •  Belgium (Dutch, French)
      •  Bulgaria (Bulgarian)
      •  Czech Republic (Czech)
      •  Denmark (Danish)
      •  Estonia (Estonian)
      •  Finland (Finnish)
      •  France (French)
      •  Germany (German)
      •  Hungary (Hungarian)
      •  Ireland
      •  Israel
      •  Italy (Italian)
      •  Latvia (Latvian)
      •  
      •  Lithuania (Lithuanian)
      •  Netherlands (Dutch)
      •  Norway (Norwegian)
      •  Poland (Polish)
      •  Portugal (Portuguese)
      •  Romania (Romanian)
      •  Russia (Russian)
      •  Slovakia (Slovak)
      •  Slovenia (Slovenian)
      •  Spain (Spanish)
      •  Sweden (Swedish)
      •  Switzerland(German, French)
      •  Turkey (Turkish)
      •  United Kingdom
      • Asia Pacific
      •  Australia
      •  China
      •  Hong Kong
      •  India
      •  Korea (Korean)
      •  Malaysia
      •  New Zealand
      •  Philippines
      •  Singapore
      •  Taiwan
      •  Thailand (Thai)
      • Americas
      •  Brazil (Portuguese)
      •  Canada
      •  Mexico (Spanish)
      •  United States
      Can't find the country/region you're looking for? Visit our export site or find a local distributor.
  • Translate
  • Profile
  • Settings
Internet of Things
  • Technologies
  • More
Internet of Things
Blog Linkit Smart 7688 Duo Wireless Storage
  • Blog
  • Forum
  • Documents
  • Quiz
  • Events
  • Polls
  • Members
  • Mentions
  • Sub-Groups
  • Tags
  • More
  • Cancel
  • New
Internet of Things requires membership for participation - click to join
  • Share
  • More
  • Cancel
Group Actions
  • Group RSS
  • More
  • Cancel
Engagement
  • Author Author: gsgill112
  • Date Created: 21 Mar 2017 7:03 AM Date Created
  • Views 810 views
  • Likes 0 likes
  • Comments 0 comments
  • linkit 7688 duo
  • 7688
  • linkit
  • mediatek
Related
Recommended

Linkit Smart 7688 Duo Wireless Storage

gsgill112
gsgill112
21 Mar 2017

Hey guys Sorry for late upload ; Last years CHRISTMAS SPECIAL Project. image


Hello Folks,


First of all Wishing you Merry Christmas and a Happy New Year. I am finally Restarting the blog I started few years ago, and what's more fun than getting rid of storage devices occupying my damn USB ports ( @all MAC users You know What I mean ;-) )!!


So,  Lets get started. 


Now there are many wireless storage devices like these that costed me about 3K INR !! hey but where is the fun of learning there ?
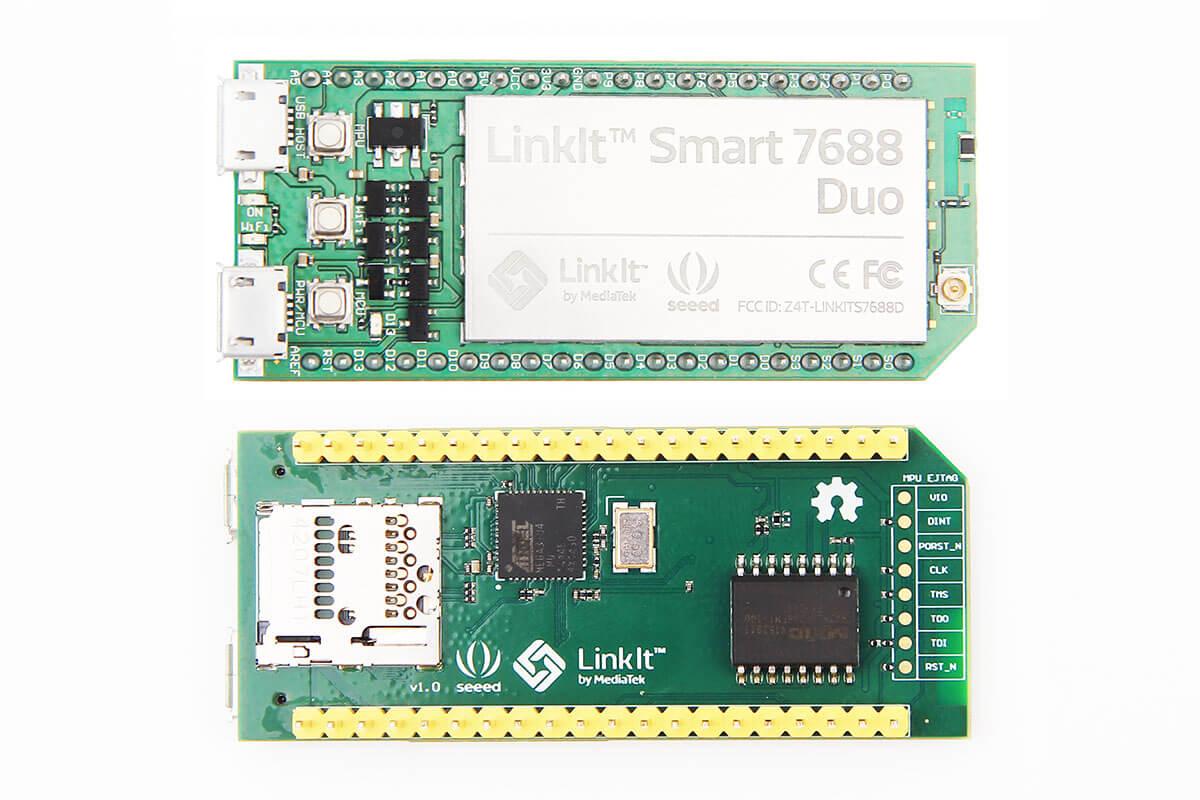
So, I went with buying a Linkit Smart 7688 Duo Board that costed me about 1.6K INR and as I already had a 64 GB Memory card laying around; Why not build something like  this using
Linkit Smart?


image


1.  Introduction

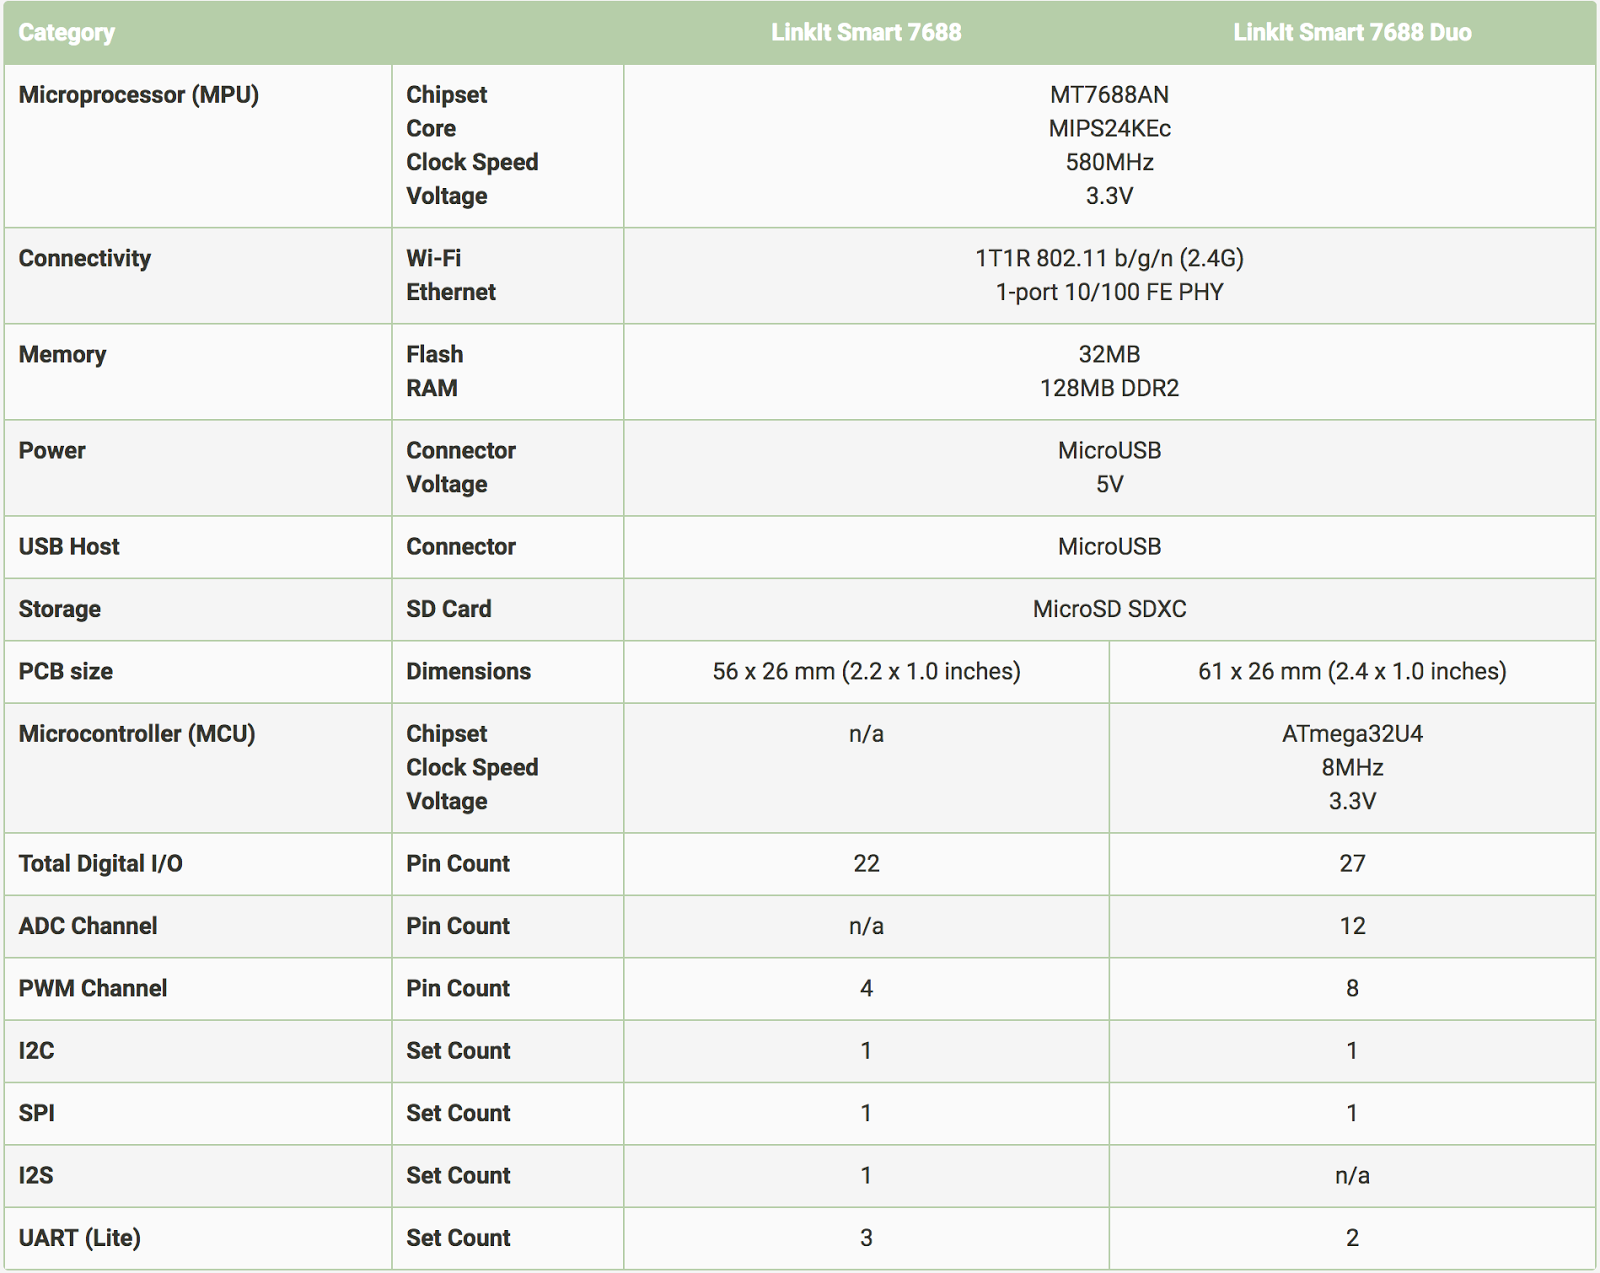
     Linkit Smart 788 Duo is a Small development platform based on OpenWRT, i.e. the same tiny footprint linux based OS running on your routers, Arduino Yun (now changed to Linino OS), and many other development platform. Below listed is some technical data for NErDS!!


image

      So, basically this board is a tiny computer running tiny version of Linux which comes in a tiny box :).


2.  BASIC CONFIGURATION

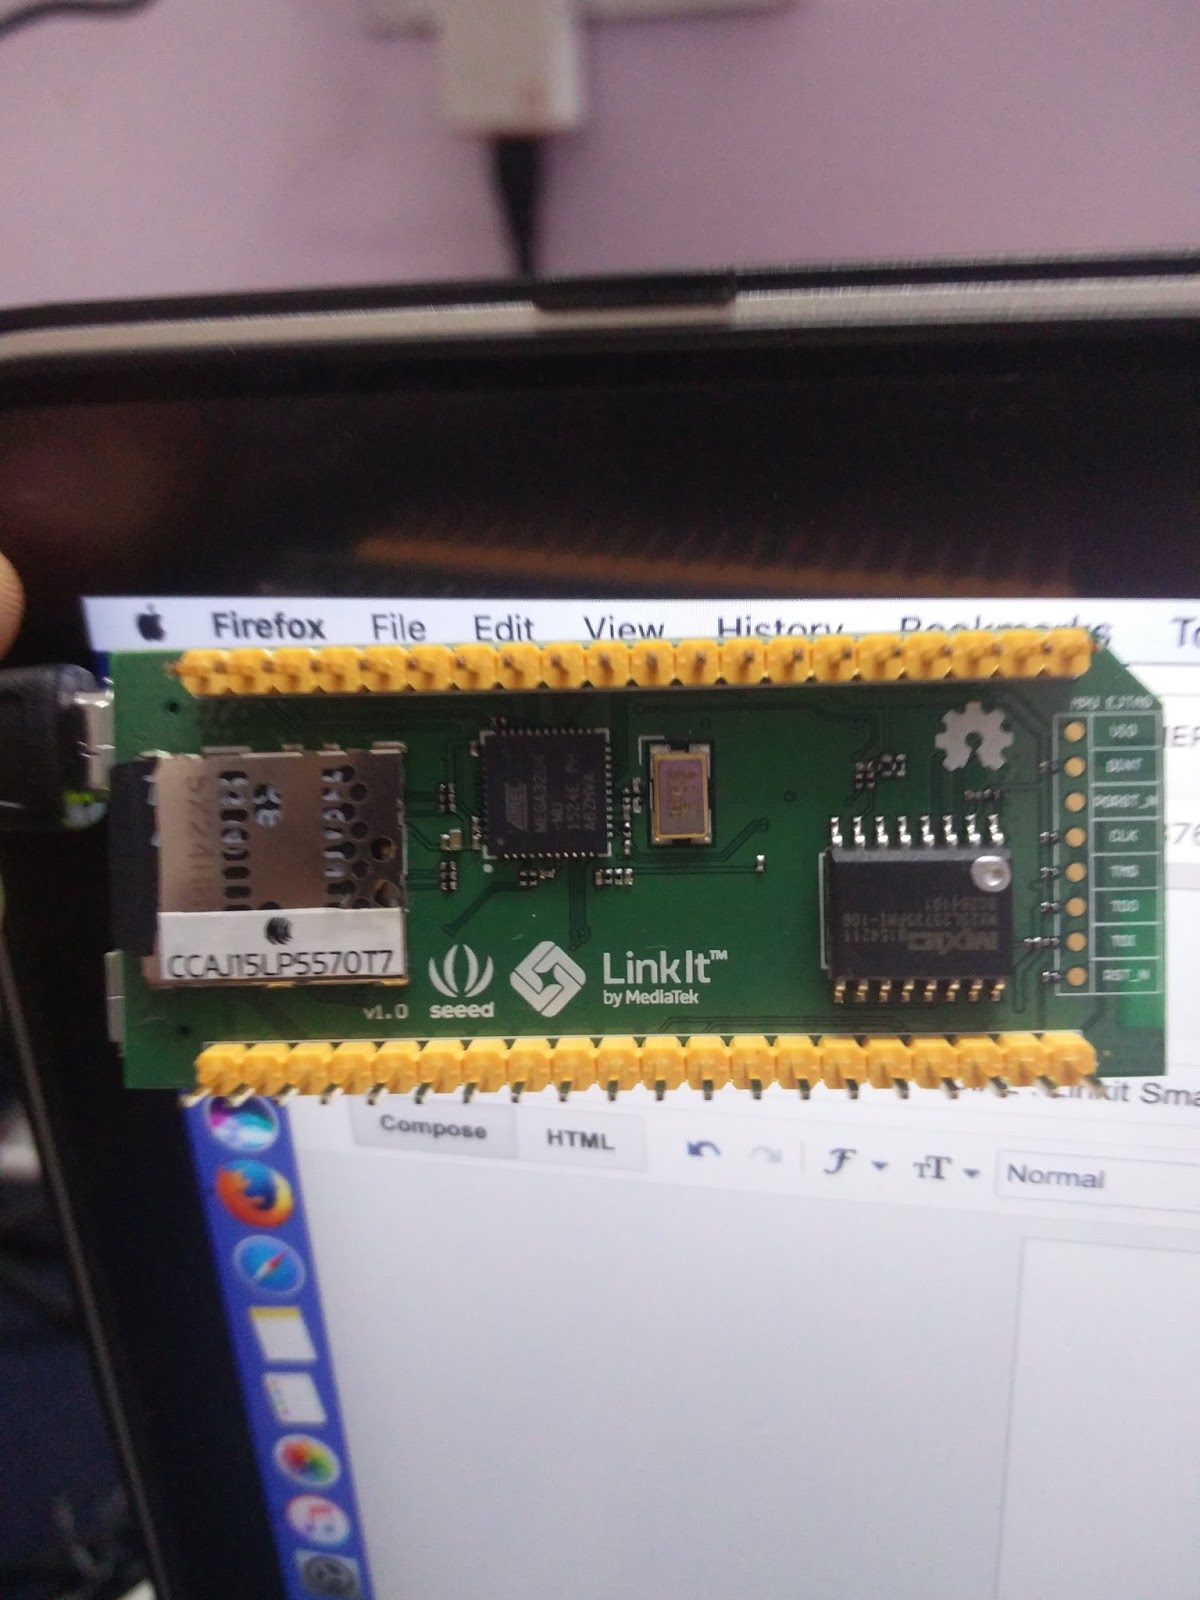
Well next I wanted to get an SD card and mount it on the device; Obviously a 32 MB flash wont even hold anything  image . So we get our mighty 64 GB Memory card laying around and insert it. image That was easy image


image

Ohh boy,; But how to access the card or the device ?


For now just follow the steps, we will cover the later in detail image
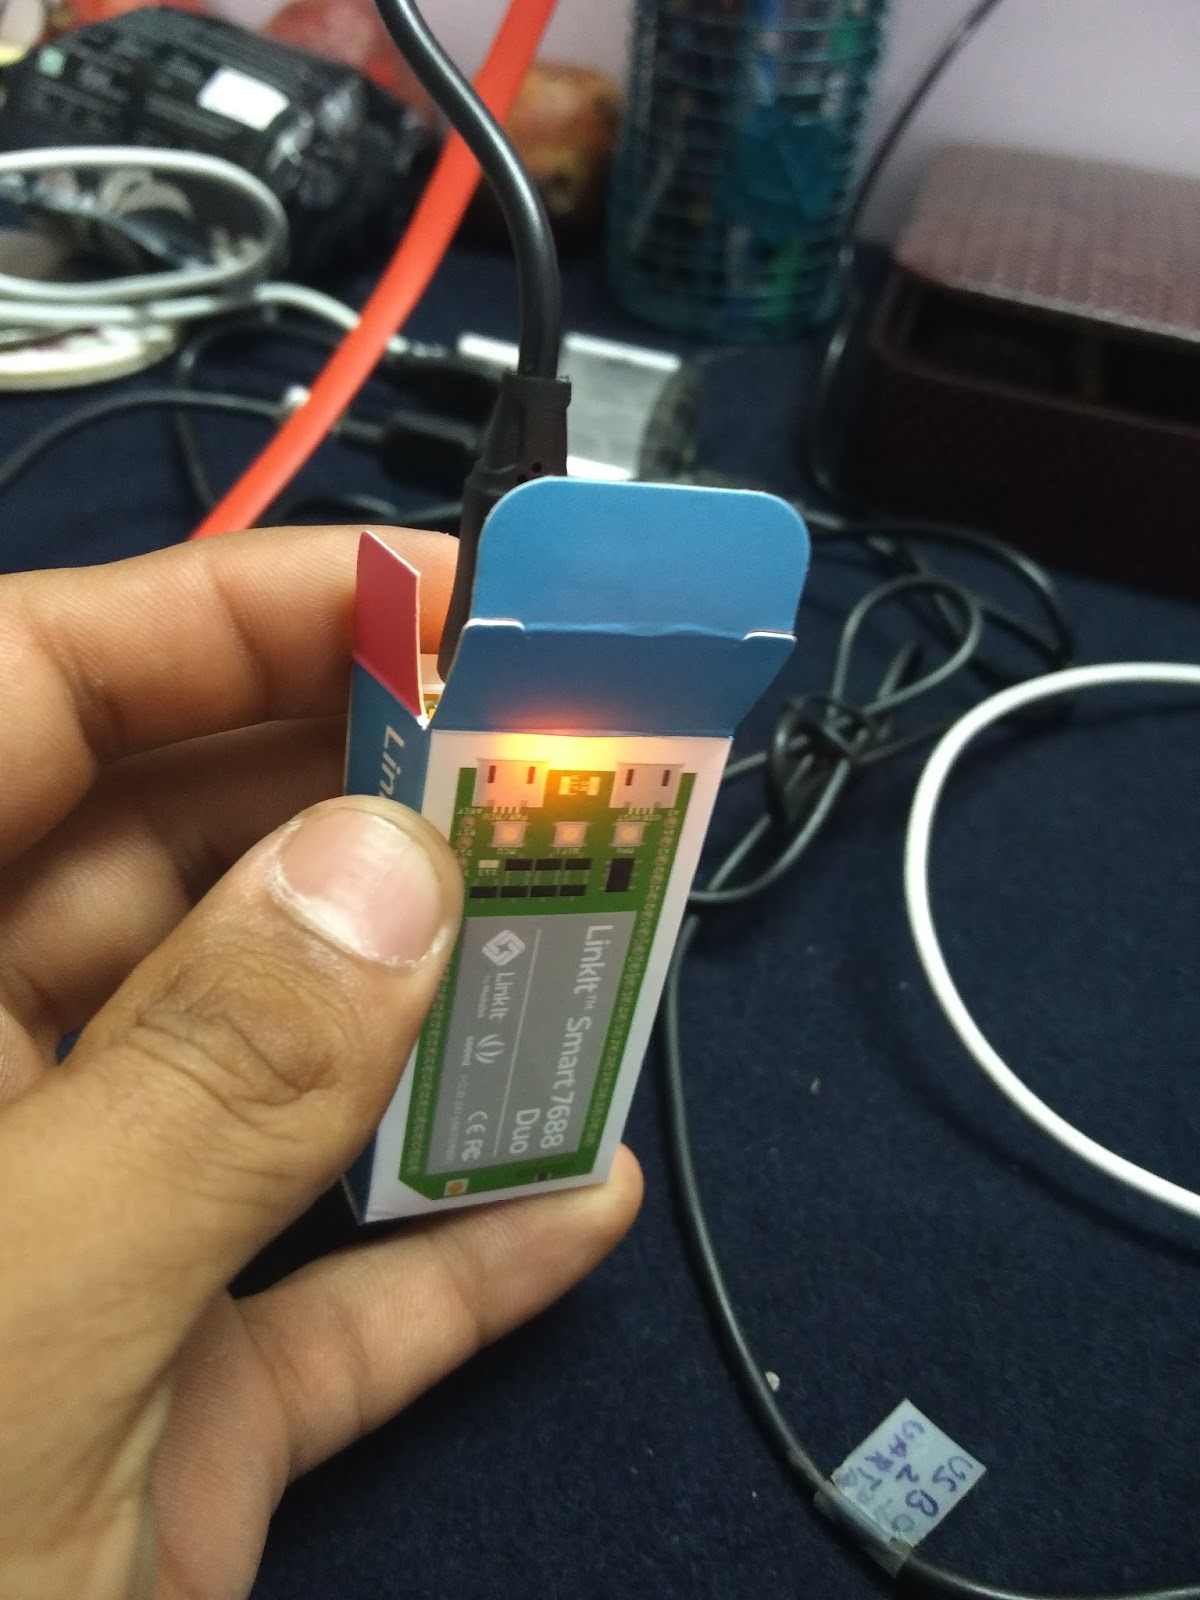
Step1 : Connect Linkit Smart (Left most usb with pwr/mcu label) to power adapter (5v at least 500mA). Ensure green light turning on. The orange light will glow once and then will glow again for about 10 sec before blinking.
Step2 : Connect to the Wirless network created by linkit one something like this LinkIt_Smart_7688_XXXX.
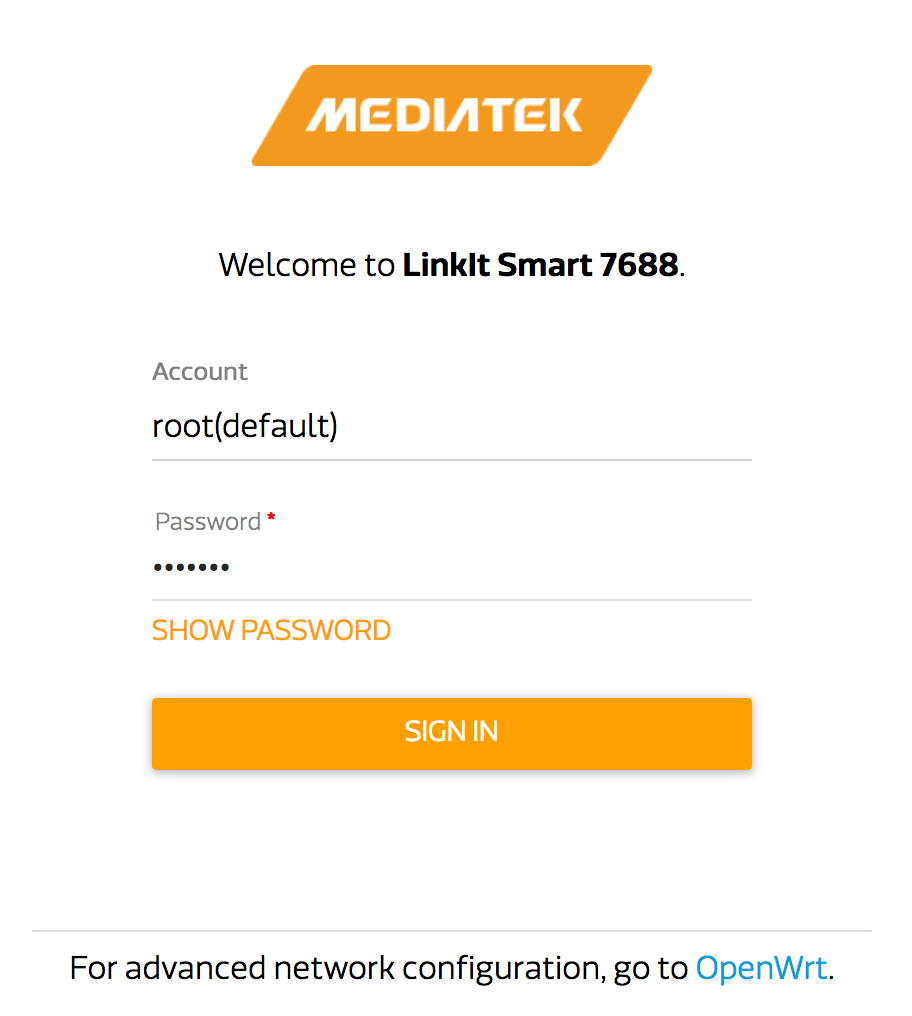
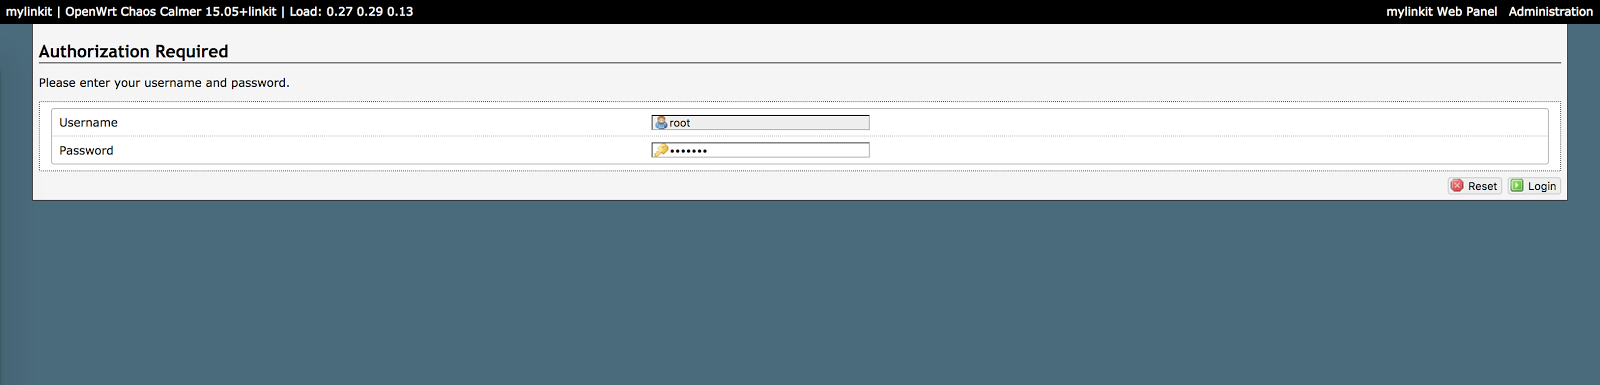
Step3 : Open a web browser and type http://mylinkit.local/
Step4 : The web page will ask you to setup a new password for root. Do that and login on to the page.
Step5 : Find "Current IP Address" tab and note down your IP address.
Step6 : Open your terminal and type
             ssh root@<IP_ADDR> (Replace <IP_ADDR> with IP address )
t will ask you to enter your password. Enter that and you are in image


Now that the card is in , We need to mount the card; well before that I thought, why cant we boot the entire system from the memory card itself ?? Why to boot from 32 MB raw flash that seems to have a limited write cycles ? So a little googling fetched me this

Mounting the root FS on an SD card

This is an essential step as you are now booting the device from the SD card. Don't worry if you are not able to understand this just copy paste the commands given in the above link and you are good to go

3. CREATING NETWORK SHARES

Well now that we have our base ready, all we have to do is sharing a folder that we can access from anywhere. We will do this using openWRT console.

STEP 1 :  Create a folder to share. Type the following on your terminal

                 cd /root

                 mkdir AirDrive

                 chmod o+rwx /root/AirDrive

                 chown nobody /root/AirDrive/


STEP 2 : Open a web browser and type http://mylinkit.local/ ;Clicko Go to OpenWrt

image


STEP 3 : Login using username root and your password.


image


STEP 4 : Click on the Services tab.


image


STEP 5 : Click Network Shares tab. and replicate the contents as given in the image.

image

Click Save and Apply and you are ready to go :).

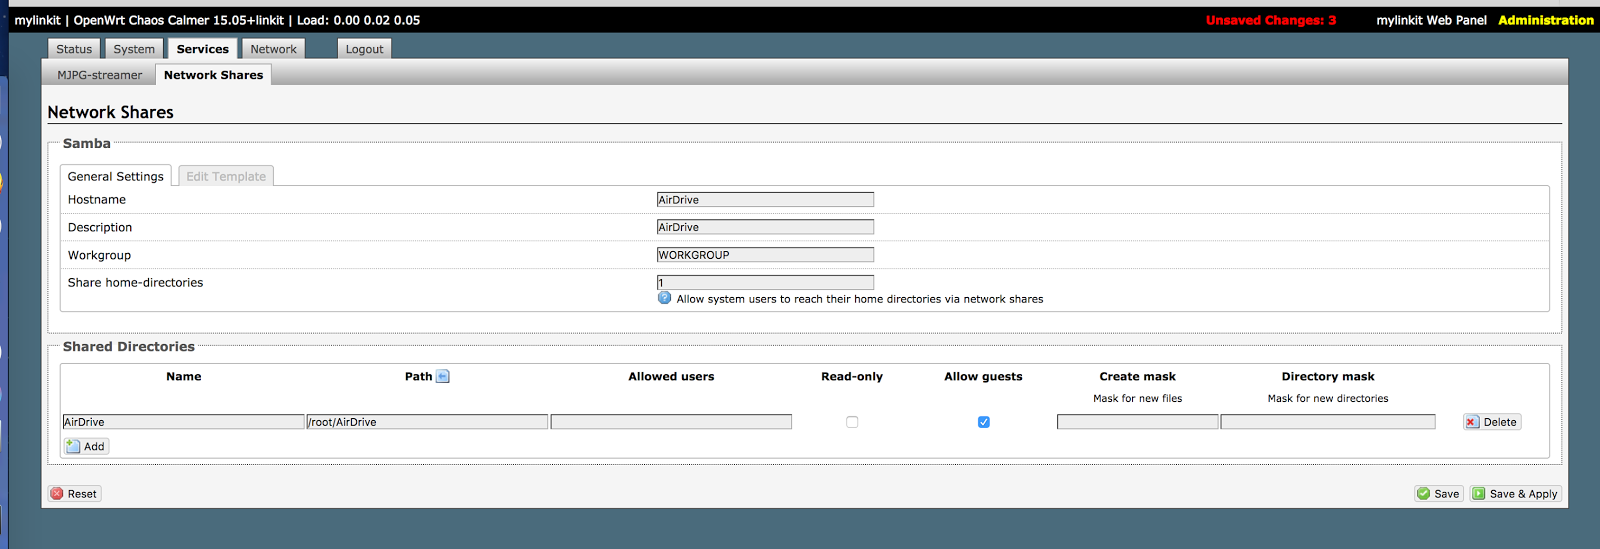
STEP 6 : Now Open File Explorer/ Finder  browse to network and you will be able to see "AirDrive". on opening use Guest login and enjoy your own Wireless Pendrive.

Hope you liked the project image

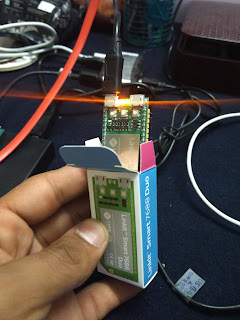
PS : Just for fun I am using the Cute tiny box it came in as its cover  image


imageimage


P.S. : Have updated this project since then with Recycled 18650 Batteries from old Laptop image Will Upload the Updates Soon.
# I am now getting a backup of 5-6 Hours with the battery

REFERRENCES

1.  Seeed Studio Product Page
2.  Seeed Studio Wiki Page
3.  Fab.to.Lab Product Page (To buy in INDIA)
4.  H/W Schematic Files
5.  Mediatek Labs Page
6.  Mediatek Getting Started Guide
Pl.visit my blog technervers.blogspot.in for more.
Website : sites.google.com/site/gsgill112
  • Sign in to reply
element14 Community

element14 is the first online community specifically for engineers. Connect with your peers and get expert answers to your questions.

  • Members
  • Learn
  • Technologies
  • Challenges & Projects
  • Products
  • Store
  • About Us
  • Feedback & Support
  • FAQs
  • Terms of Use
  • Privacy Policy
  • Legal and Copyright Notices
  • Sitemap
  • Cookies

An Avnet Company © 2025 Premier Farnell Limited. All Rights Reserved.

Premier Farnell Ltd, registered in England and Wales (no 00876412), registered office: Farnell House, Forge Lane, Leeds LS12 2NE.

ICP 备案号 10220084.

Follow element14

  • X
  • Facebook
  • linkedin
  • YouTube