


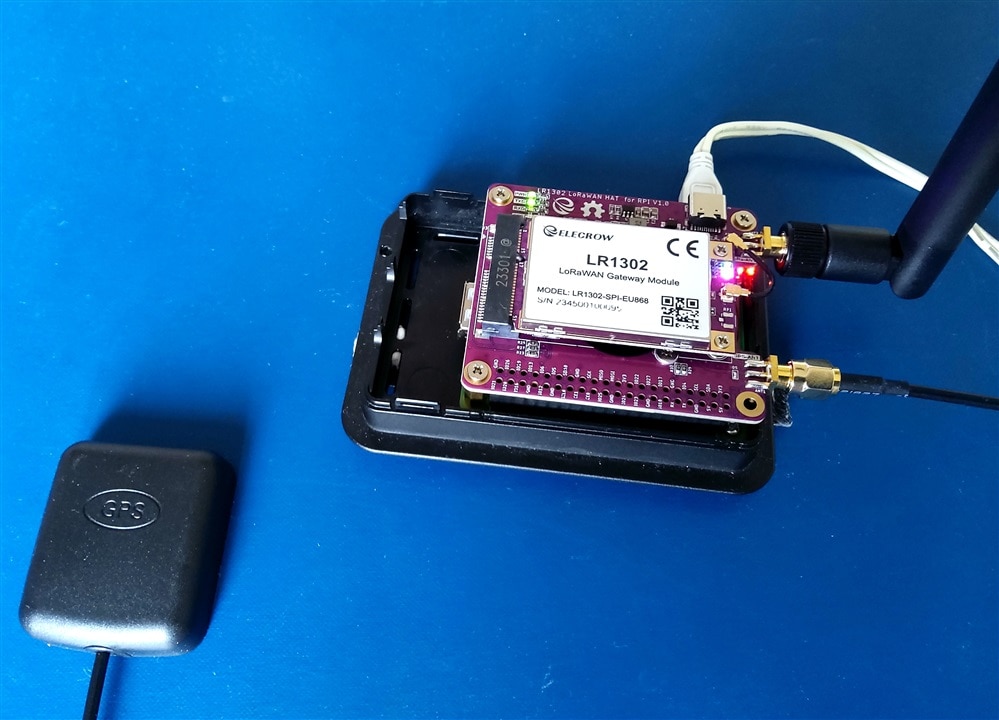
In part 1, Set up Elecrow TTN LoRaWAN gateway on Raspberry Pi - Pt. 1: build and test , I compiled the software for the Elecrow LoRaWAN gateway (see Low-Cost LoRaWAN Gateways! ), and enabled the gateway on The Things Network (TTN). I used Raspberry OS bullseye 32-bit lite on a Raspberry Pi A+. I tested this on a B+ with the same OS too.
In part 2, the software gets properly installed, and I configure it as a systemd service.
Install the software.
I'm going to install it in a bin folder of the user that will run the service (jancumps).
Instructions are on GitHub: SX1302 LoRa Gateway project - 4.2. Install executables and associated files in one directory:
mkdir ~/sx1302_hal
mkdir ~/sx1302_hal/bin
Then navigate to the build folder from post 1 and edit the install config file
cd LR1302_loraWAN
cd LR1302_HAL
cd sx1302_hal
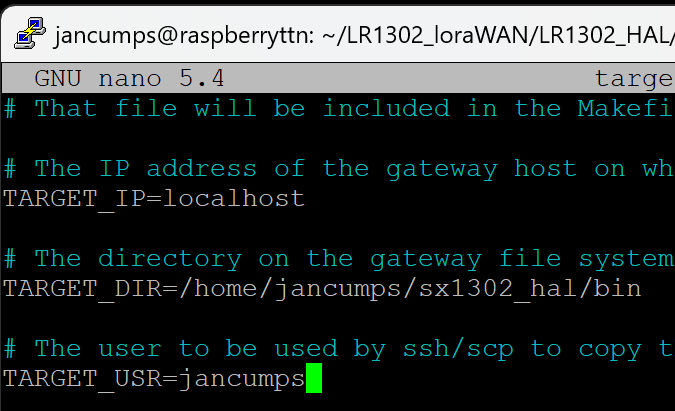
nano target.cfg
Check that the right folder and user are configured. Don't use the relative user path, but the full one.
Then it's time for installing the software in the bin folder we just created. It's worth investigating how to set up ssh certificate logon for localhost, or you'll have to type your password a lot of times. See the link at the start of this section for instructions.
Then install the binaries and config:
make install
make install_conf
Different than the instructions:
cd ~/sx1302_hal/bin
chmod +x reset_lgw.sh
The application is now installed.
Test:
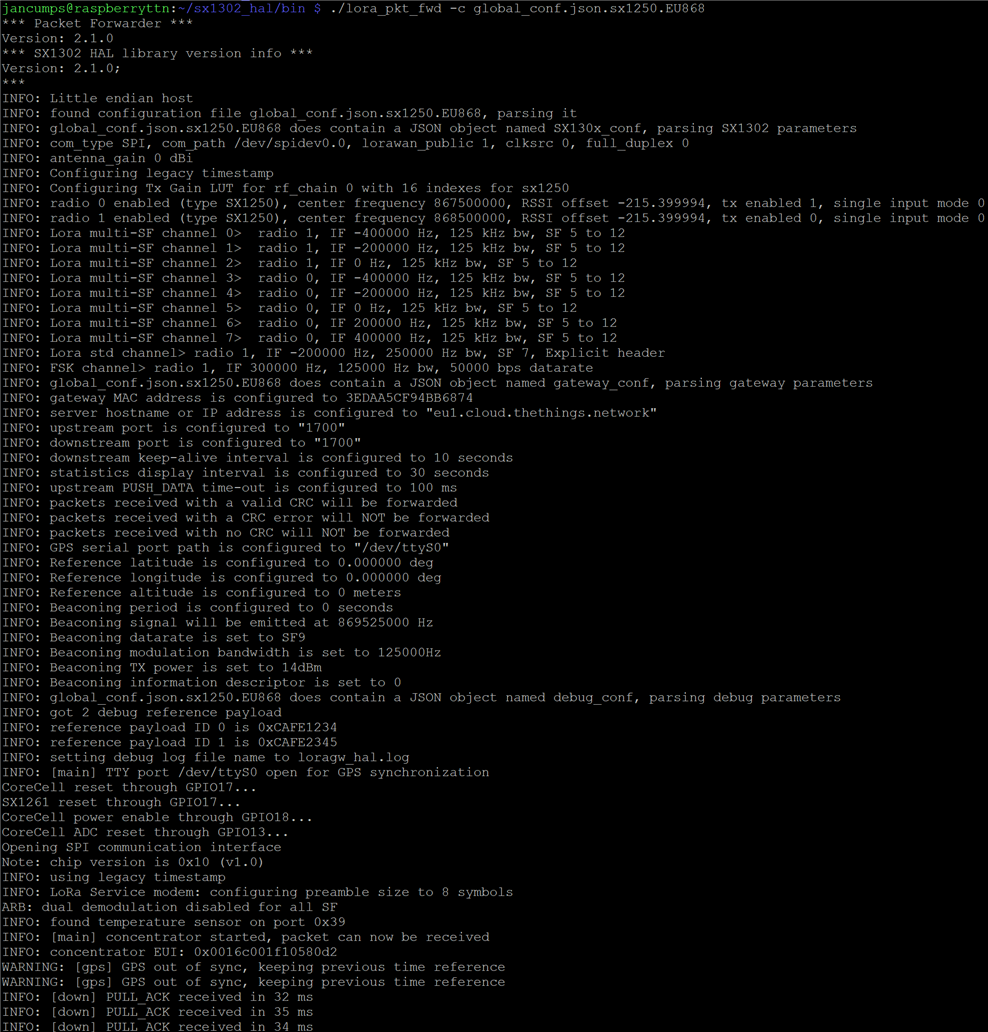
./lora_pkt_fwd -c global_conf.json.sx1250.EU868
success:
Install and run as a daemon
The instructions are also on Github: How to auto-start the with systemd.
In your build directory, there is a script file:
cd ~/LR1302_loraWAN/LR1302_HAL/sx1302_hal/tools/systemd
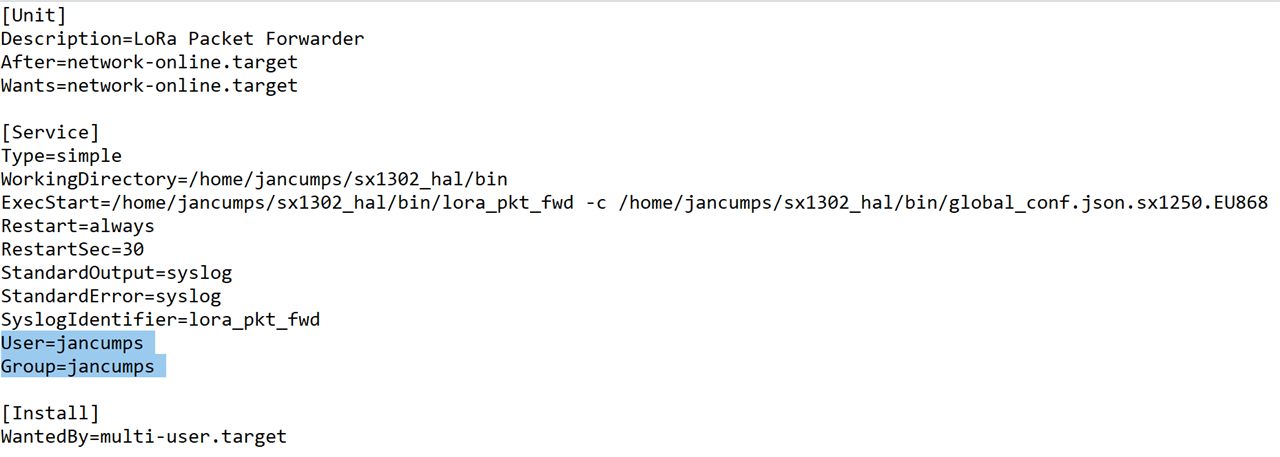
nano lora_pkt_fwd.service
Adapt to the directory structure and user for your install. If you followed my instructions, you should only check the home folder.
I also tell systemd what group and user name to run this particular service under:
User=jancumpsGroup=jancumps
Then copy the service file, register it, and enable:
sudo cp lora_pkt_fwd.service /etc/systemd/system
sudo systemctl daemon-reload
Before starting the service, let's redirect the output, so we can monitor it
sudo cp lora_pkt_fwd.conf /etc/rsyslog.d
sudo systemctl restart rsyslog
Start a second console to the Pi, to view the log (a new PuTTY session, or whatever Terminal program you use):
journalctl -u lora_pkt_fwd -f
Let it sit there. Any message from the service will show up there.
In the original terminal, enable and start the service;
sudo systemctl enable lora_pkt_fwd.service
sudo systemctl start lora_pkt_fwd.service
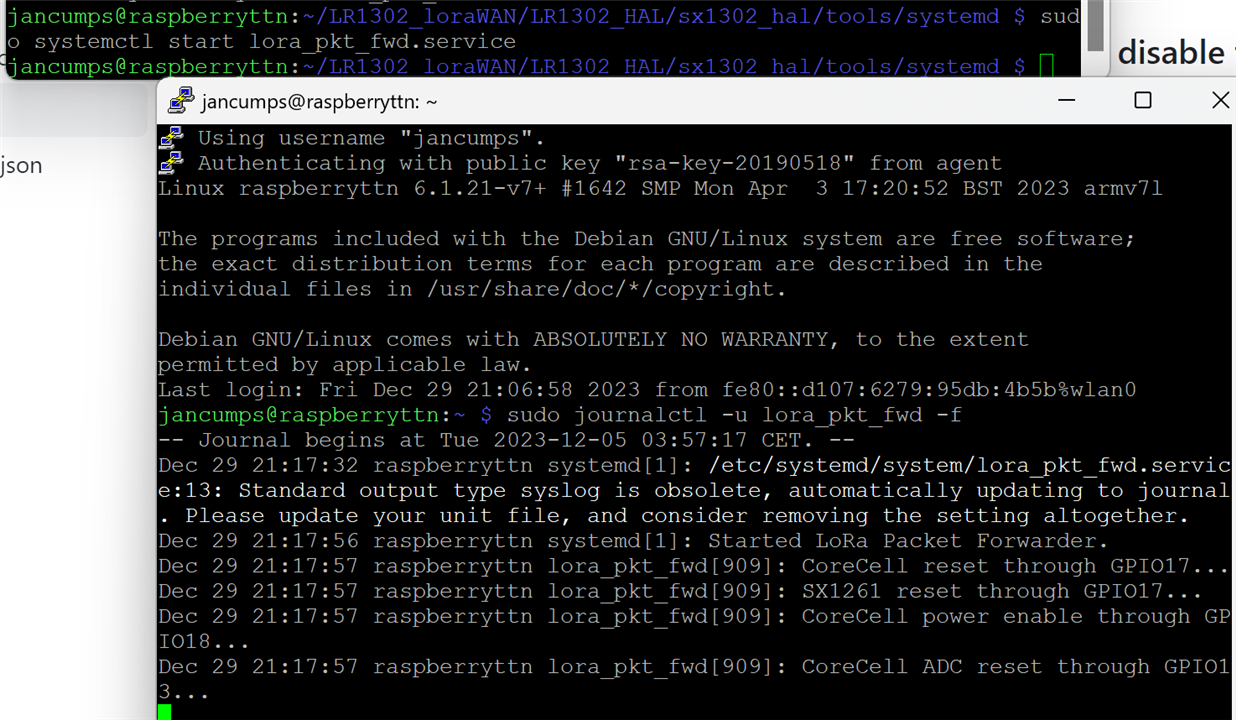
You can safely close all consoles now. Things will keep on running. Even after reboot. Executing this command at any time will show the log:
journalctl -u lora_pkt_fwd -f
And this will show the service status:
systemctl status lora_pkt_fwd.service
Enjoy
In theory, you don't need the build directory structure anymore ...
See also: Set up Elecrow TTN LoRaWAN gateway on Raspberry Pi - Pt. 3: manage the service log size
