

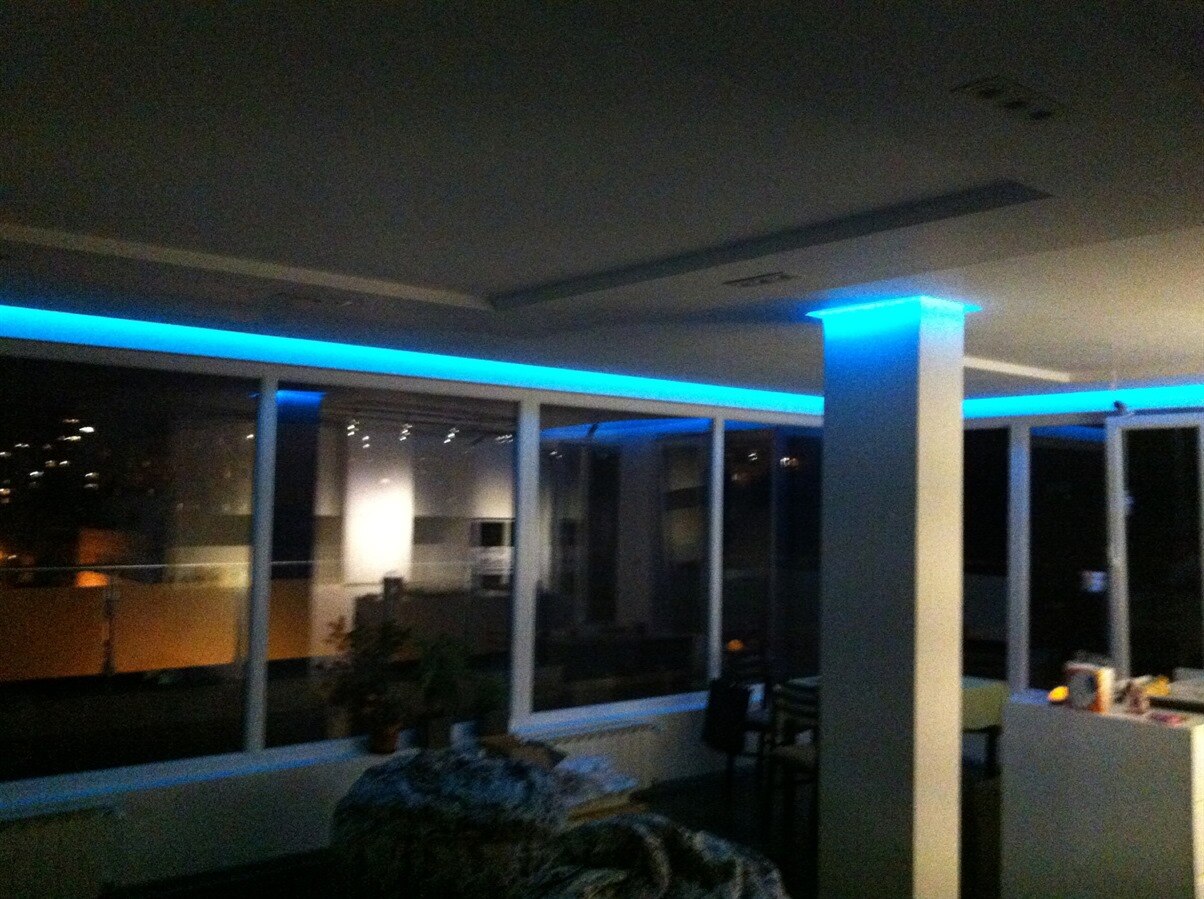
As a keen fan of IoT I wanted to workout something at home and what should be better than starting with the lights?  My living room's ceiling was designed initially to import hidden LED lights at its edges and provide relaxing movie nights atmosphere. In order to have cool effects and even changing colors I have chosen an RGB 5050 LED strip which has 60 leds per meter. The current draw of this strip is estimated at 1.2A per meter if all the colors are at their maximum (white color). For my project I needed 15 meters of LED strip and bought 180W switching power supply that can handle the load. The LED strips are usually sold in 5 meters length and you can connect them to each other using their headers. Be aware that in each 10 meters you will need an amplifier or another power source otherwise the leds at the end of the strip will not light that bright like the other end. I have overcome this by setting a second power line from the power supply to the middle of the strip where initially I measured around 1V drop between the two ends of the strip. Another problem that you might face is the resistance in the headers of the led strip, so I recommend removing them and solder the strips to each other.
In order to control it I decided to use an ArduinoArduino + Wi-FI UART Module and later write a socket application that can be hosted on an IoT router or single deployment written in Java. In order to control a LED you need the IC to have PWM enabled pins. ATMega 328P which I used has 6 of them or in other words you can have two channels of RGB strips that can be controlled separately. To control the different colors of the LED strip I have chosen the STP16NF06L resistor STP16NF06L resistor which is capable to power 16A which is about 750 leds at full bright. In order to fit everything on one board I have moved the Arduino as per this tutorial on a development board Arduino - Setting up an Arduino on a breadboard
Connecting the LED Strip wiring should look like this:
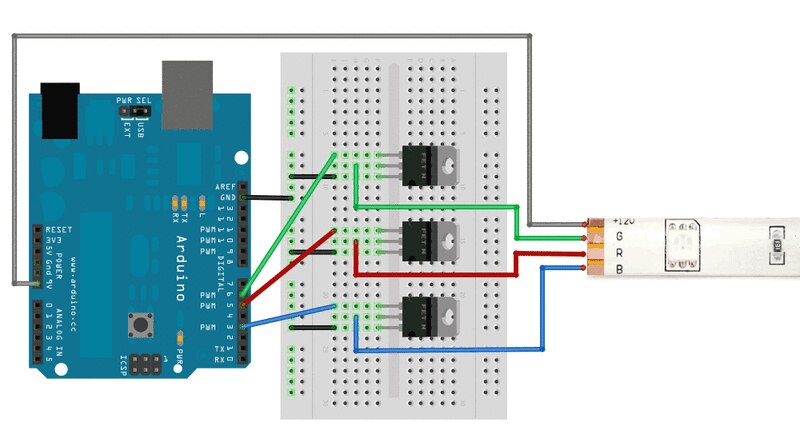
Where in the above picture if you have long strip like mine you should connect the +12v line of the strip directly to your power supply and make sure you have the negative ( - ) connected from the LED power supply to the Arduino if you are supplying it with other power source.
The WI-FI is pretty easy - you need to get an UART module and attach it to RX/TX. Any will work. After doing so you need to connect it to your home WI-FI network as per the module's documentation. Once you are there you should be able to open telnet to the configured IP and port and transmit commands to the Arduino. You can also use Bluetooth module for this functionality which will work the same way.
For having nice effects and also a feature to find a color that best fits my mood I have updated the code to use the HSV color representation - HSL and HSV - Wikipedia, the free encyclopedia. The HSV to RGB transformation is based on this post Arduino Programming – HSB to RGB This allows me to change the color smoothly in a loop with pre-configured step and delay by changing the HUE only instead of mixing the RGB values. Once I find the perfect color for me I just reset the step to 0 and the color will stop changing. In the command controls I have enabled change for all possible values - Hue, Saturation, Brightness, Color step, delay. You can find the code that I have bundled attached to this post.
For the first version of this I accidentally broke my WI-FI module while mounting all this which left me with a hanging cable from the ceiling and I had to connect the laptop in order to change the color - not cool at all Fortunately I had an IR receiver and remote so I retrofitted the code to support IR remote control as most of the stock LED Strips come, just until I have my new WI-FI module. In order the attached code to work you will need to setup the Arduino IR library as per this tutorial https://github.com/shirriff/Arduino-IRremote Using it gives you the power to change the code so any IR remote control in your house can work.
For using telnet or any other terminal to control the lights over WI-FI with the attached code you should use this reference:
H100 - change the hue to value 100 - Hue can be between 0 and 360
S100 - change saturation to value 100 - Saturation can be between 0 and 255
B100 - change the brightness to 100 - Brightness can be between 0 and 255
D1000 - change the delay to 1 second - The color will change with particular step each second
F1 - the hue step value will change by 1. Once it reach 360 it will start from 0
Another feature I have set is to record the last values from the commands into the EEPROM so they are persisted and working on a system restart.
The code can have defects and might be better for sure. I was in a hurry to see it working I might continue updating this document once I have new changes if there is interest.
What is next? Well I can setup the API to work with a Pebble App, deploy an HTML5 webpage to a local server and change the LED values over my home's webpage. I can setup a photo resistorphoto resistor to start them based on outside light or even create a setup to mimic the TVs background color for better experience. You can imagine more...
External References:
http://arduino.cc/en/Main/Standalone
https://learn.adafruit.com/rgb-led-strips/overview
Arduino Programming – HSB to RGB – kasperkamperman.com : creative media technology


