


Table of Contents
- Introduction
- Buying a Surface Device
- What Else is Required?
- Surface-izing Linux
- Choose a Linux Distribution
- Install the Linux Distribution
- Add Sudo Capability for the User
- Download the Linux Surface Patch
- Download the Linux Kernel Source
- Checkout a Linux Kernel release
- Apply the Linux Surface Patch
- Linux Kernel Configuration
- Build the Linux Kernel
- Install the Linux Kernel
- Install Linux Drivers and Configure Settings
- Summary
Introduction
 .
.Buying a Surface Device
What Else is Required?
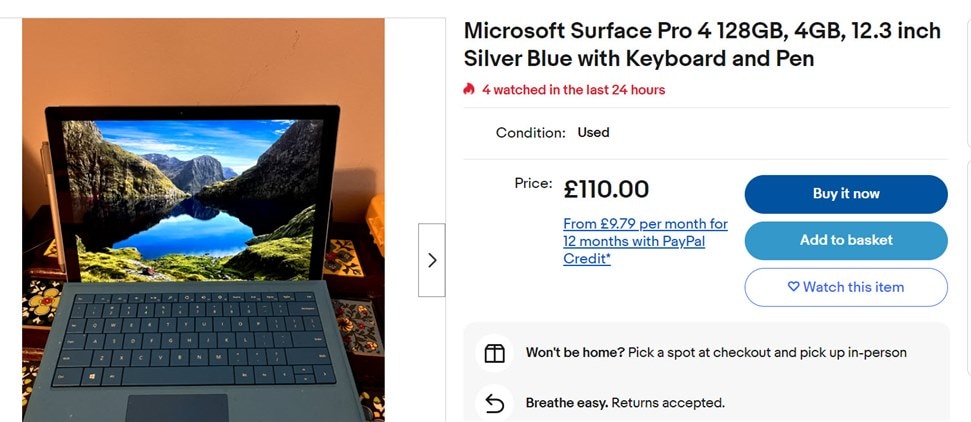
- Surface Tablet
- Mains Power Brick
- USB Hub
- USB Memory Stick
- Keyboard and Mouse
For initial setup, as well as the Surface tablet and its mains power brick, you’ll also need a USB hub (because some Surface devices only have a single USB port). I used a low-cost USB hub with an integrated Ethernet socket. The Ethernet socket is handy as a backup but not essential since the Surface devices have WiFi capability. You will also need a USB memory stick; I used an 8 GB USB 2.0 memory stick (I don’t know if USB 3.0 will work, or if larger memory sizes are usable; I didn’t want to waste time troubleshooting, so I purchased a basic 8 GB USB 2.0 memory stick to dedicate to the task at hand.
Surface-izing Linux
Choose a Linux Distribution
Install the Linux Distribution
#1 536. MB B f ESP (this was the default)#2 30 GB f ext4 /#3 8 GB f ext4 /var#4 6 GB f swap swap#5 3 GB f ext4 /tmp#6 80.3 GB f ext4 /homeAdd Sudo Capability for the User
As root user, type the following (use your username instead of mine!):
/usr/sbin/usermod -aG sudo shabazNow exit out of root user, and exit out of the terminal (technically known as the shell), and then re-open a new terminal for it to take effect.
Download the Linux Surface Patch
git clone https://github.com/linux-surface/linux-surface.gitI went into the linux-surface folder and made a note of which versions of the Linux kernel are supported by the patches; at the time of writing, the versions happened to be 6.1 and 6.6.
Download the Linux Kernel Source
I created a development folder from my home folder, i.e. a path like /home/shabaz/development. In Linux world, you can refer to your home folder as ~ so the path can also be written as ~/development
In that folder, as root user, type:
apt-get install gitapt-get install rsyncapt-get install paholeapt-get install pkg-configapt install build-essential binutils-dev libncurses5-dev libssl-dev ccache bison flex libelf-devgit clone git://git.kernel.org/pub/scm/linux/kernel/git/stable/linux.gitCheckout a Linux Kernel release
I typed uname -r to see what kernel version I was running; it was 6.1.0-16-amd64
I then typed git tag to see what releases I could choose. There’s a lot listed, so you could instead type git tag | grep v6.1 to reduce the results. The latest one for 6.1 was v6.1.69, so I picked that:
git checkout v6.1.69I created my own branch with any chosen custom name by typing:
git switch -c v6.1.69-surfaceApply the Linux Surface Patch
I went into the ~/development/linux folder where the kernel source is, and then typed the following to apply the patch:
for i in ~/development/linux-surface/patches/6.1/*.patch; do patch -p1 < $i; doneLinux Kernel Configuration
To build the kernel, it first needs to be configured to suit your machine. Since you already have Debian installed, you can copy its configuration into the kernel source.
Look inside the /boot folder to see what configuration files are there; they will have names beginning with config-. From uname -r I already knew what kernel version was running, so I chose the config name that was closest. Type the following in the ~/development/linux folder:
./scripts/kconfig/merge_config.sh /boot/config-6.1.0.16-amd64 ~/linux-surface/configs/surface-6.1.configBuild the Linux Kernel
Find out how many processor cores are available for the system to use. Type:
nproc
or
getconf _NPROCESSORS_ONLNType the following to build the Linux kernel:
make -j 4 deb-pkg LOCALVERSION=-linux-surfaceIf you don’t see this, then there may have been build errors to resolve. They will probably have scrolled off the screen. To see the errors, issue the make command as before. This time around, less output will be generated (since the successfully built portions will not be rebuilt), and hopefully the error will be visible, all ready for googling to figure out what went wrong (This Is The Way!).
Install the Linux Kernel
Type the following to become root user with particular sbin paths in your PATH environment variable:
su -Now go to the development folder (replace my name below with your username!):
cd ~shabaz/developmentThen, continuing as root user, type the following (copy-paste the filenames from the listed filenames):
dpkg -i linux-headers-6.1.69-linux-surface_6.1.69-linux-surface-4_amd64.deb linux-image-6.1.69-linux-surface_6.1.69-linux-surface-4_amd64.deb linux-libc-dev_6.1.69-linux-surface-4_amd64.debTime to reboot. Type reboot!
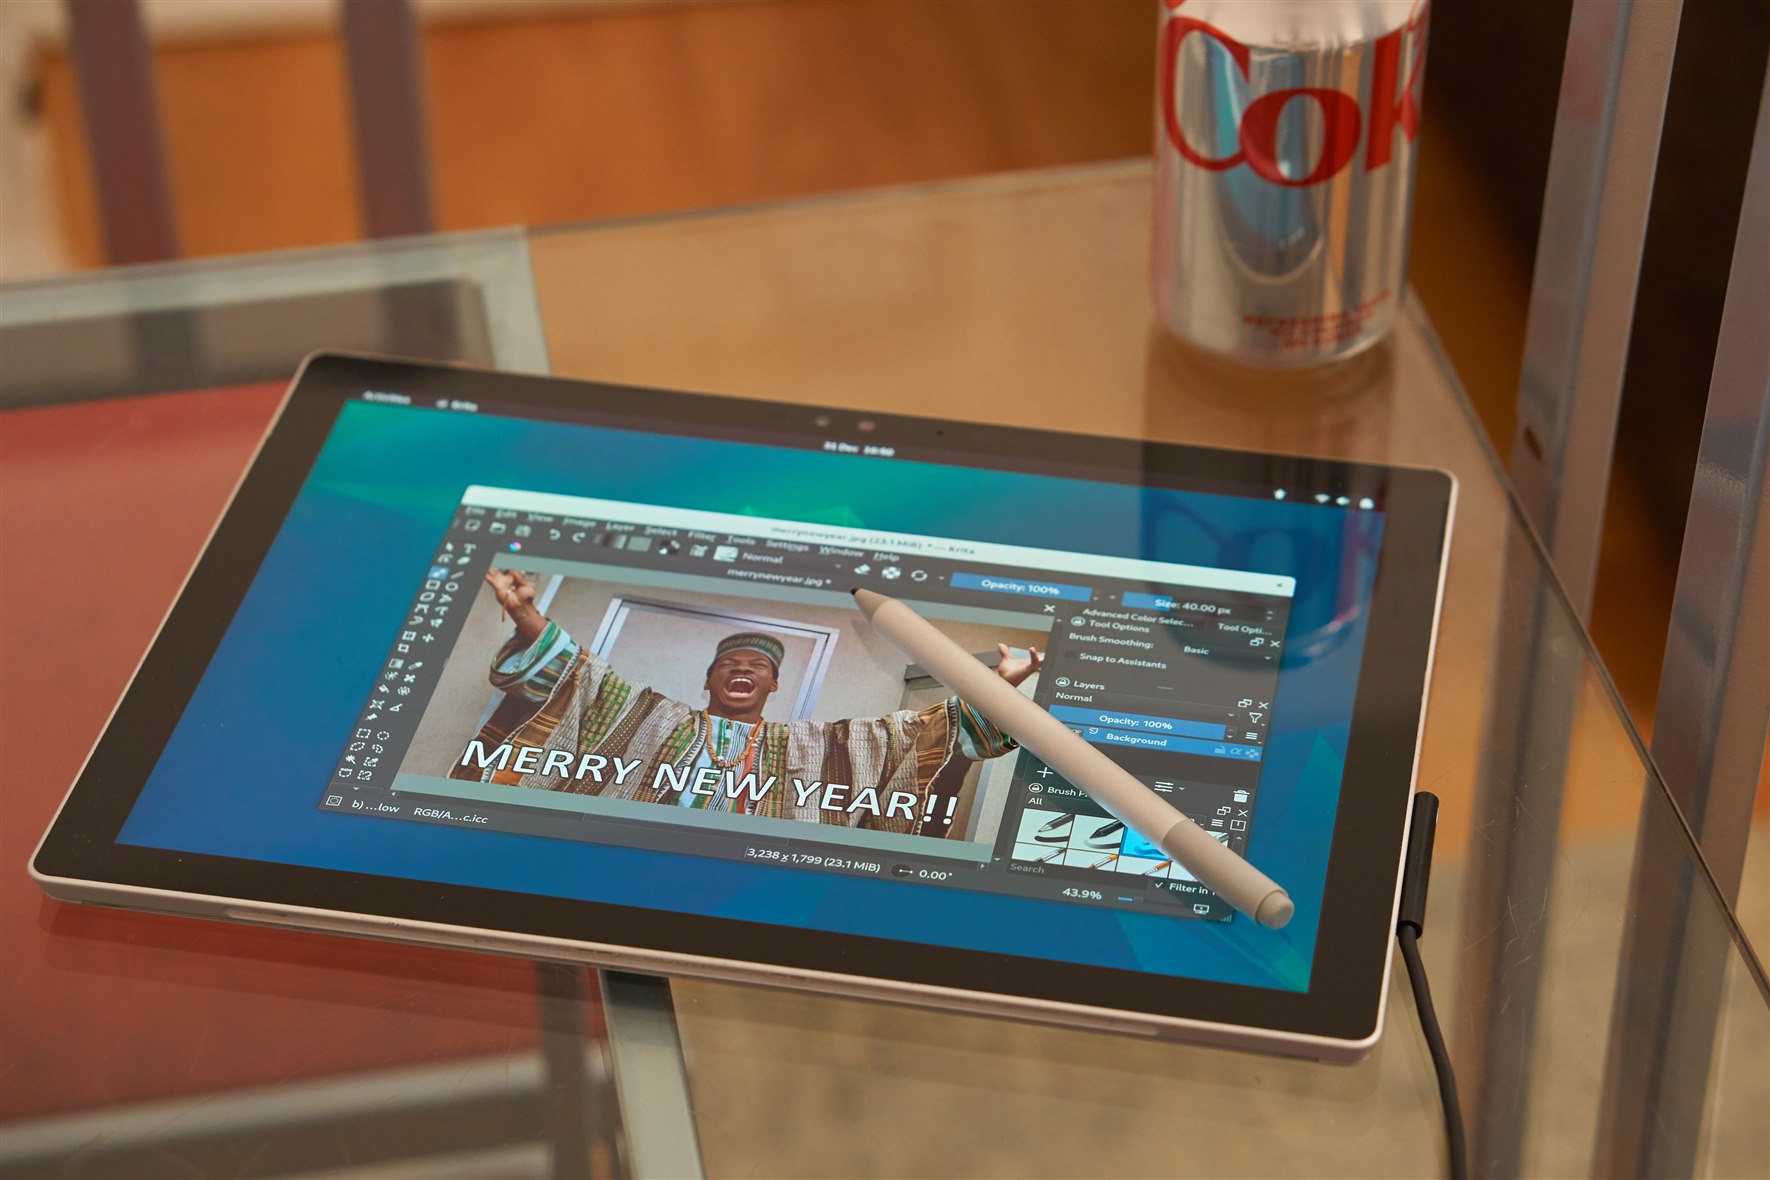
If all goes well, touch should work! That’s the first sign that things are going well : )
Type uname -r in a terminal window, and you should see:
6.1.69-linux-surfaceIt is great that the touchscreen now works, but if you have a pen (the Surface tablets support a Surface Pen) that won’t work, so you need to further configure your Linux system to include specific drivers, as discussed below.
Install Linux Drivers and Configure Settings
In a terminal, type:
wget -qO - https://raw.githubusercontent.com/linux-surface/linux-surface/master/pkg/keys/surface.asc | gpg --dearmor | sudo dd of=/etc/apt/trusted.gpg.d/linux-surface.gpgecho "deb [arch=amd64] https://pkg.surfacelinux.com/debian release main" | sudo tee /etc/apt/sources.list.d/linux-surface.listapt updateapt install libwacom-surface iptsdSummary
(Banner image source: Google Images - Space Odyssey)
-

Andrew J
-
Cancel
-
Vote Up
0
Vote Down
-
-
Sign in to reply
-
More
-
Cancel
Comment-

Andrew J
-
Cancel
-
Vote Up
0
Vote Down
-
-
Sign in to reply
-
More
-
Cancel
Children