Table of Contents
Introduction
In the quest to find a decent low-cost soldering iron, I’ve examined quite a few! All have benefits and some compromises, so I kept searching!
The KSGER C210 looked interesting, so I gave it a try, and I have to say, I like the benefits and the compromises are few!

Background
A lot of recent soldering irons support compatible tips. There are a couple of popular series, called 245 and 210 (also known as C245 and C210). There are maybe a hundred different tip sizes and shapes in the 245 series, and a large amount in the 210 series too.
The history is, that both these tip series are supported by JBC soldering stations and have been around for over a decade.
Both series have heating elements and temperature sensors directly inside the tips. If the tip touches a metal component, then the slight drop in temperature will be sensed (within a fraction of a second), and the iron will immediately boost the power to maintain the temperature.
Since the on-demand power range is large (just a few watts for soldering a small part and tens of watts for large parts), it means that you can do interesting tricks like using a fine tip not just for soldering tiny sensitive parts but also for copper planes and connectors (although the most suitable tip size for the task at hand should be used, often one can build a complete prototype, SMD parts and large connectors and all, without swapping tips once).
As much as I like using the soldering station, I was looking for a compact, lower-cost soldering iron as well. Although not discussed here, there are other series of soldering tips (for instance T12 seems popular as well) that may be worth exploring too. This was not something I explored because I wanted a soldering iron that would be compatible with the existing 210 series tips that I had so that I could interchange them between irons.
Look and Feel
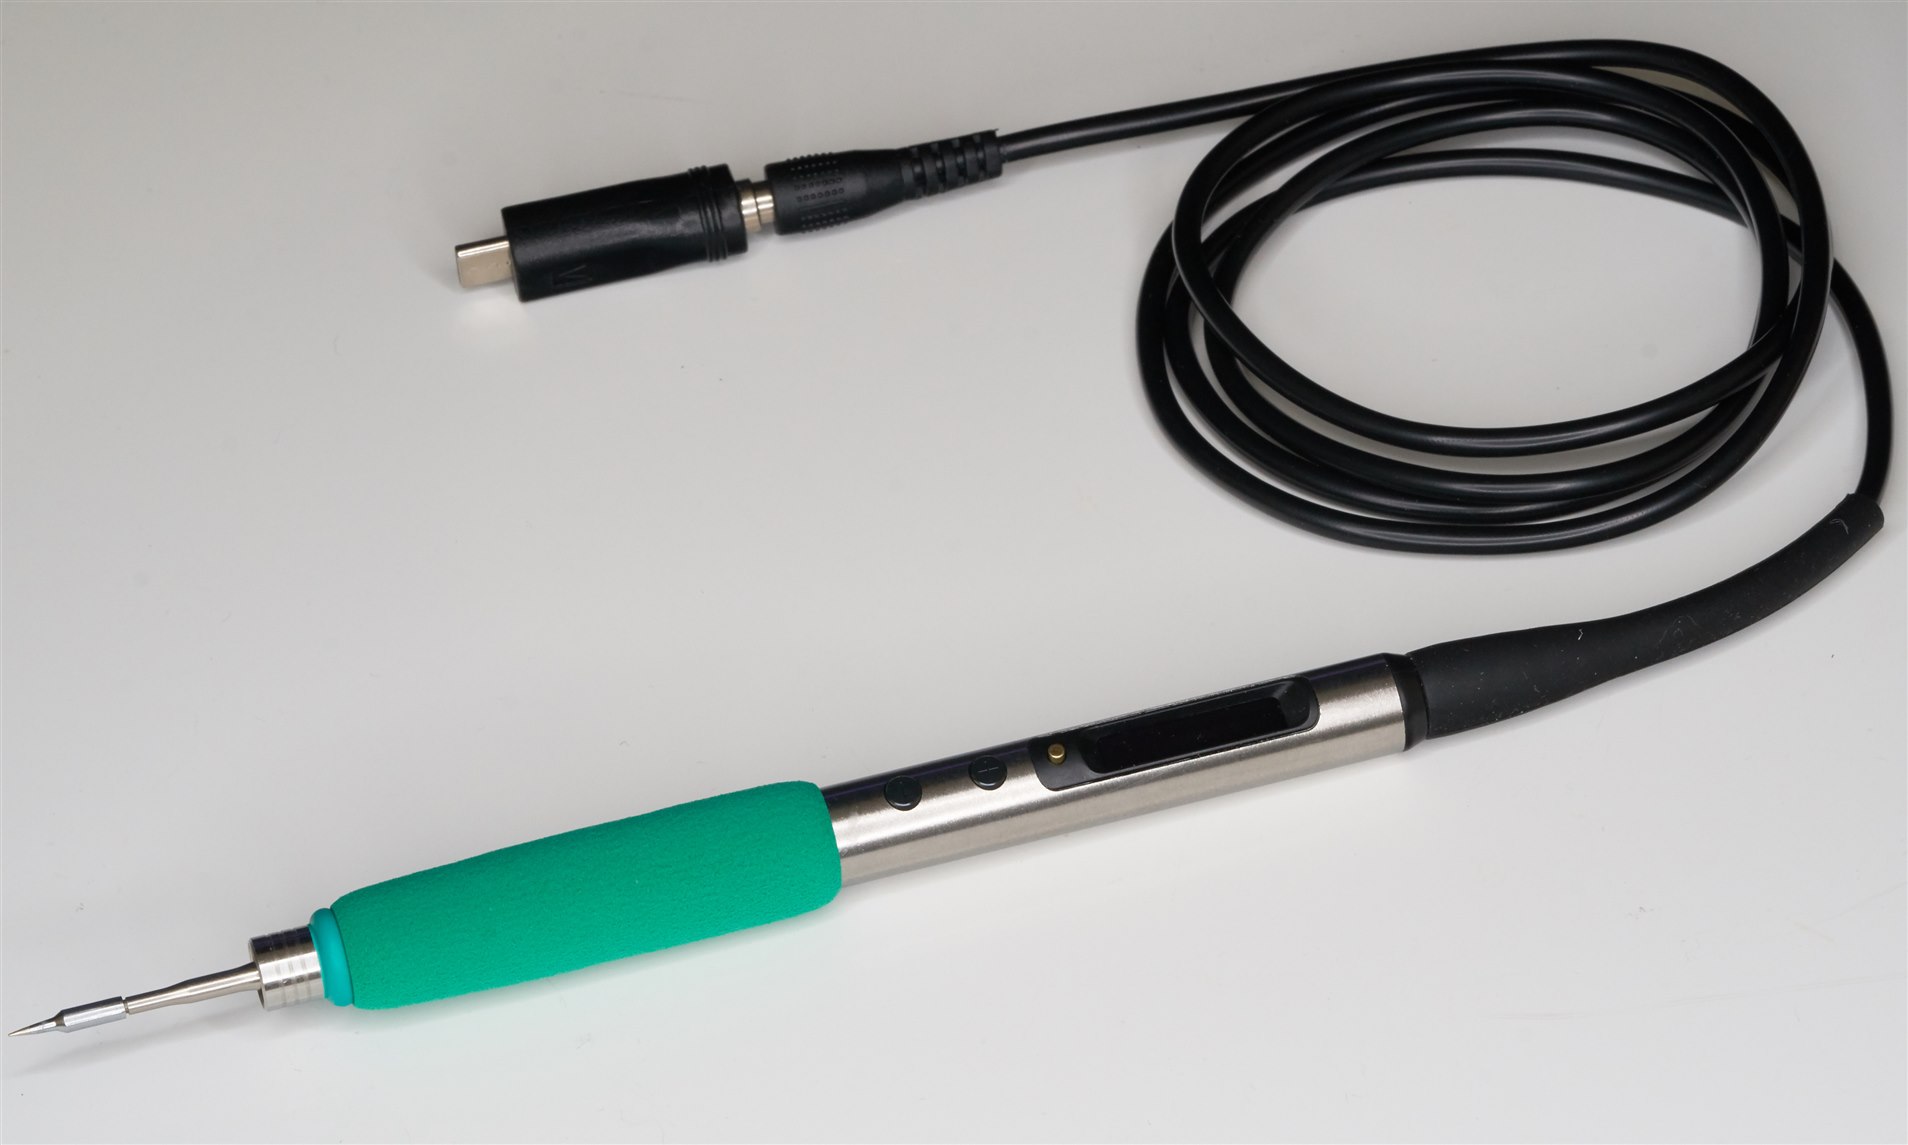
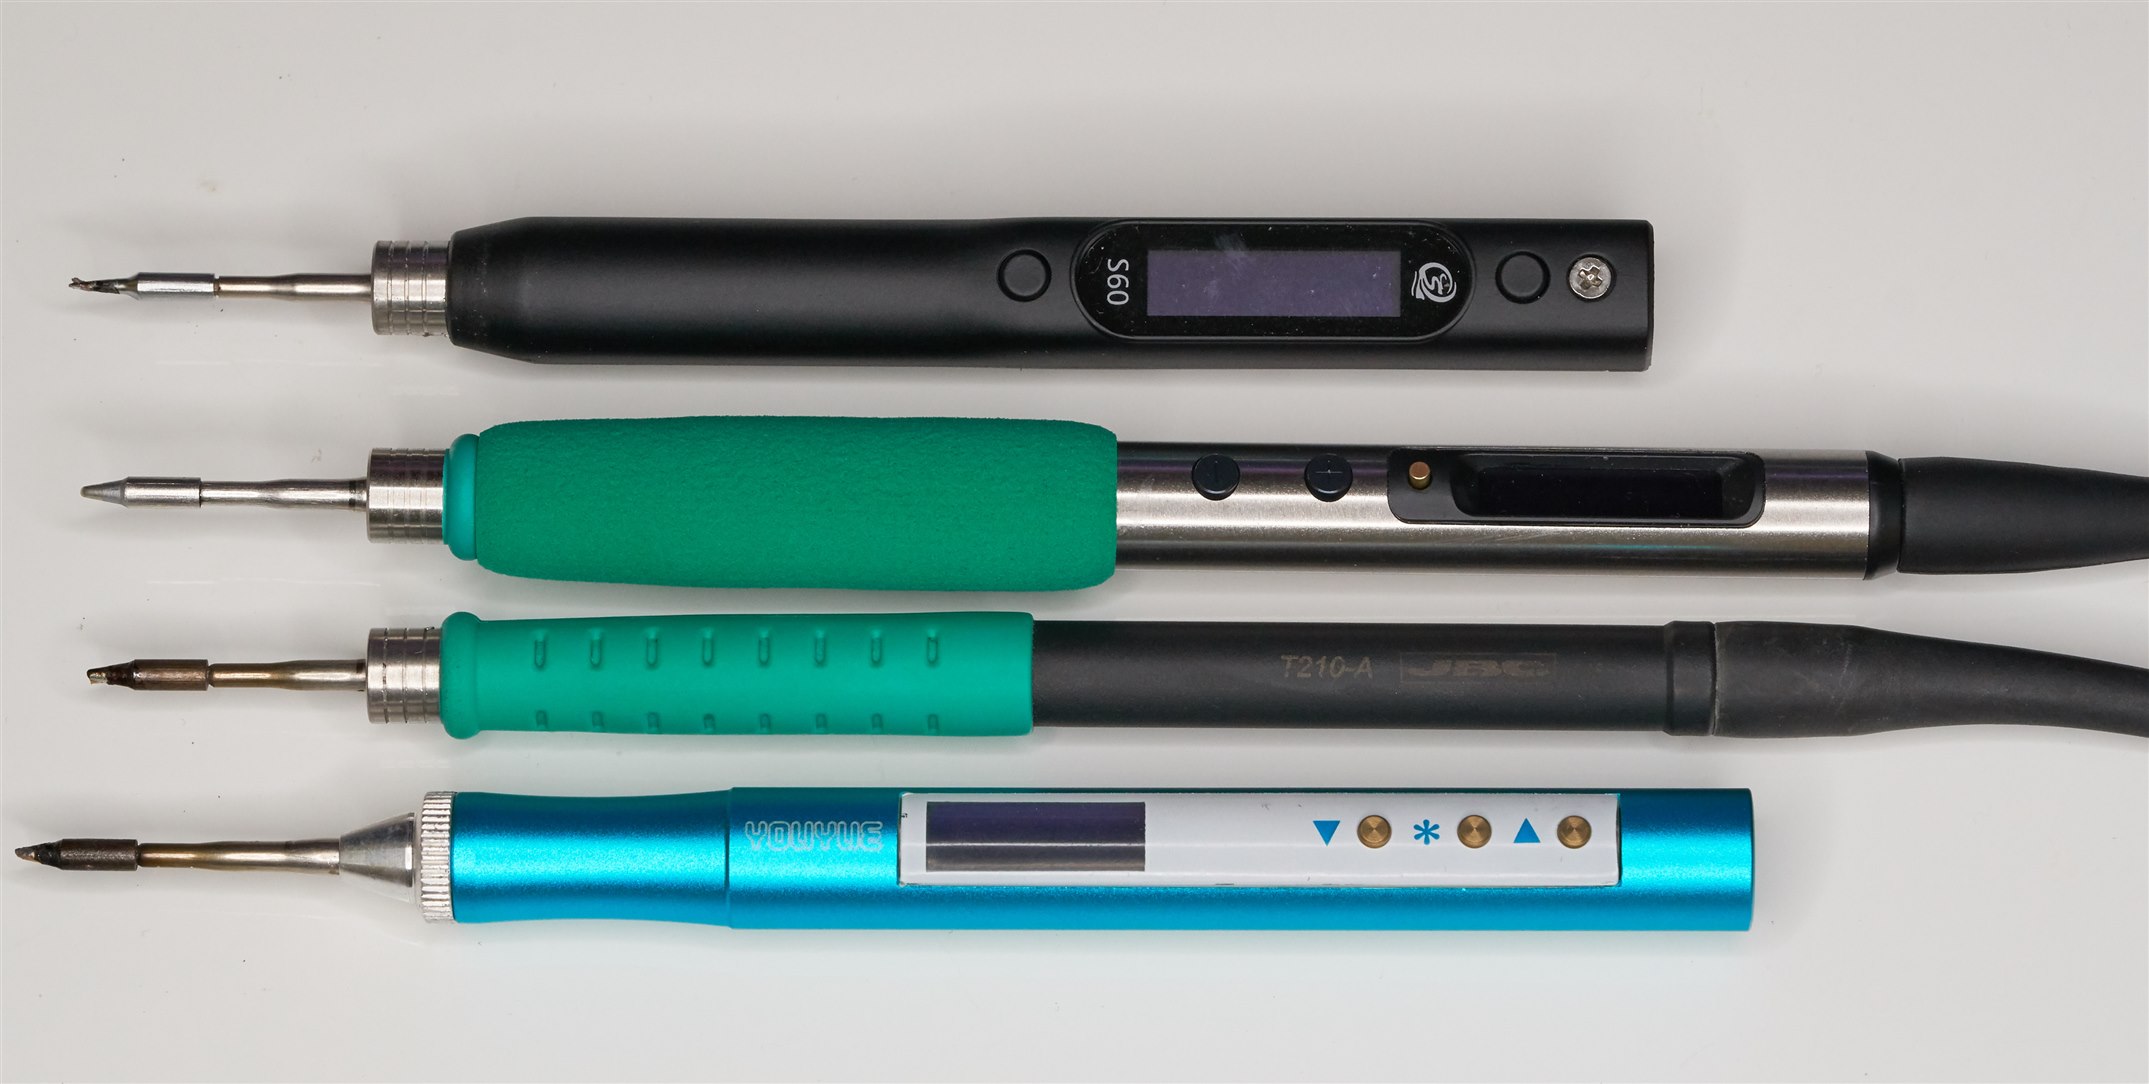
I was super impressed. The iron looks great, The top end of the body is made from a 12mm steel tube, and the other half of the body is made from plastic with a comfy foam grip slid on it. It feels as luxurious as a JBC iron; the experience is identical. The display has a nice bezel and the buttons are metal. It is well styled, the best I’ve seen so far from these portable irons. (Note: with subsequent purchases, the irons have not come with the foamy grip, which is a shame. It would need to be purchased separately).
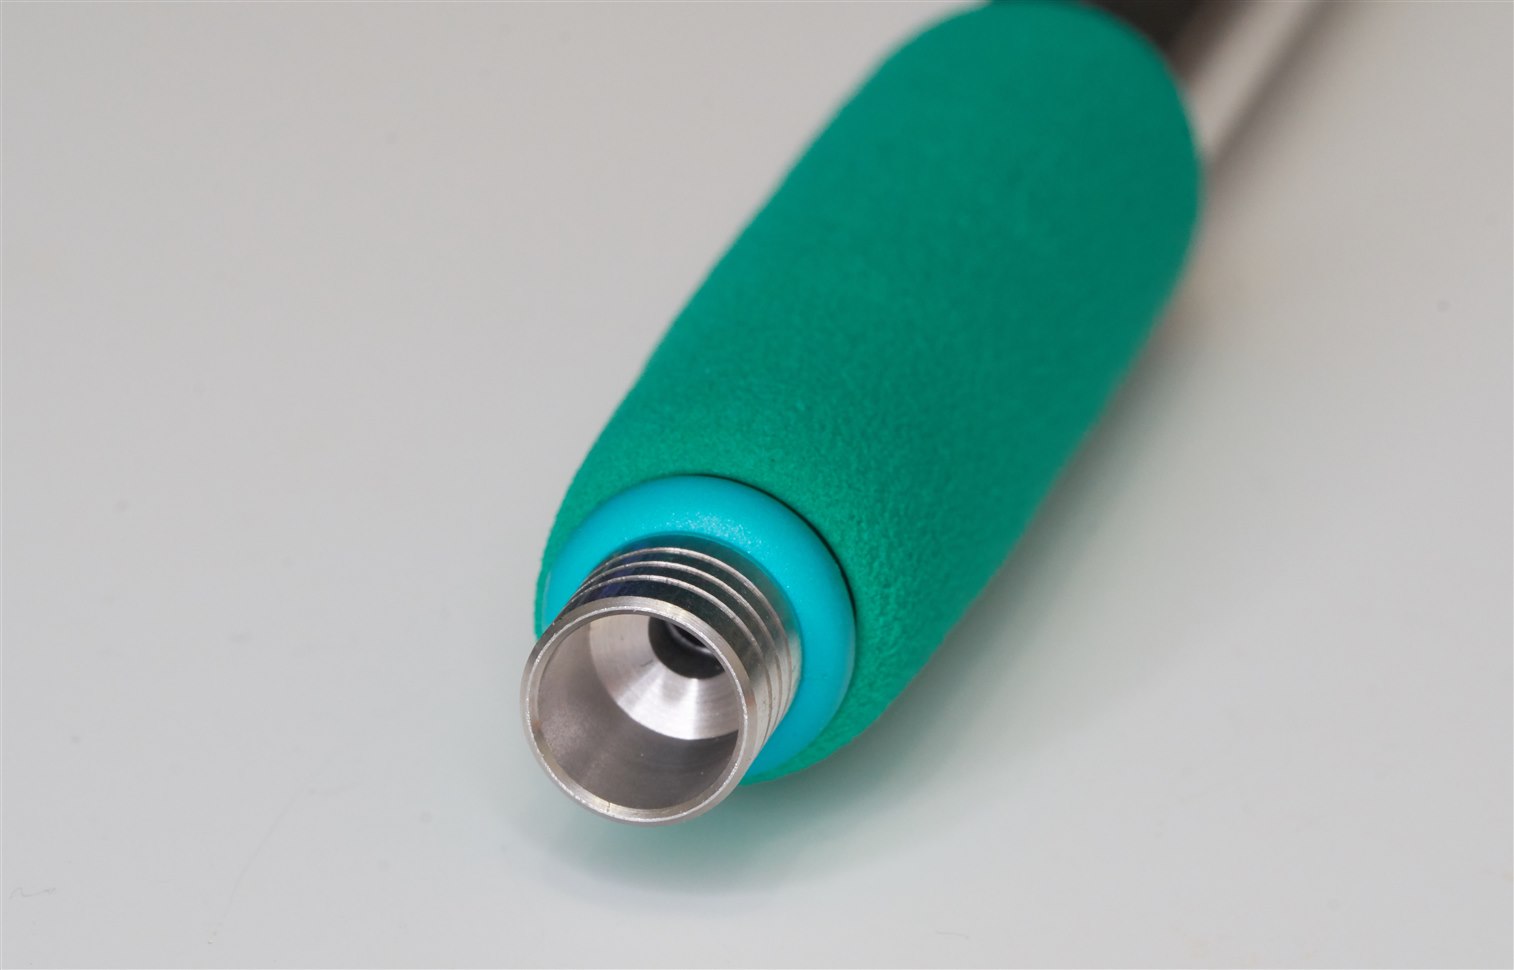
The tip inserts deep inside the iron so that the finger-to-tip distance is very small (the end of the tip is one inch away if your fingers are touching the metal tip surround). The metal tip surround is electrically connected to the soldering tip and stays cool when the iron is hot. This is one reason I really like this iron; the user can hold the iron at the foamy portion but also occasionally touch that metal surround in order to dissipate any charge to provide a bit more ESD protection to components while soldering (of course, a wrist strap or similar should also be used, but it is good to have this extra way of quickly discharging oneself). The genuine JBC iron handles support this feature as well. Other C210-compatible iron manufacturers have missed this trick.

What’s neat is that the iron will fit standard JBC stands or some cheaper alternatives. The photo below shows the iron in a stand that came with an E210 iron. It fits that stand better than the E210 does!

Display, User Interface, and Menu Settings
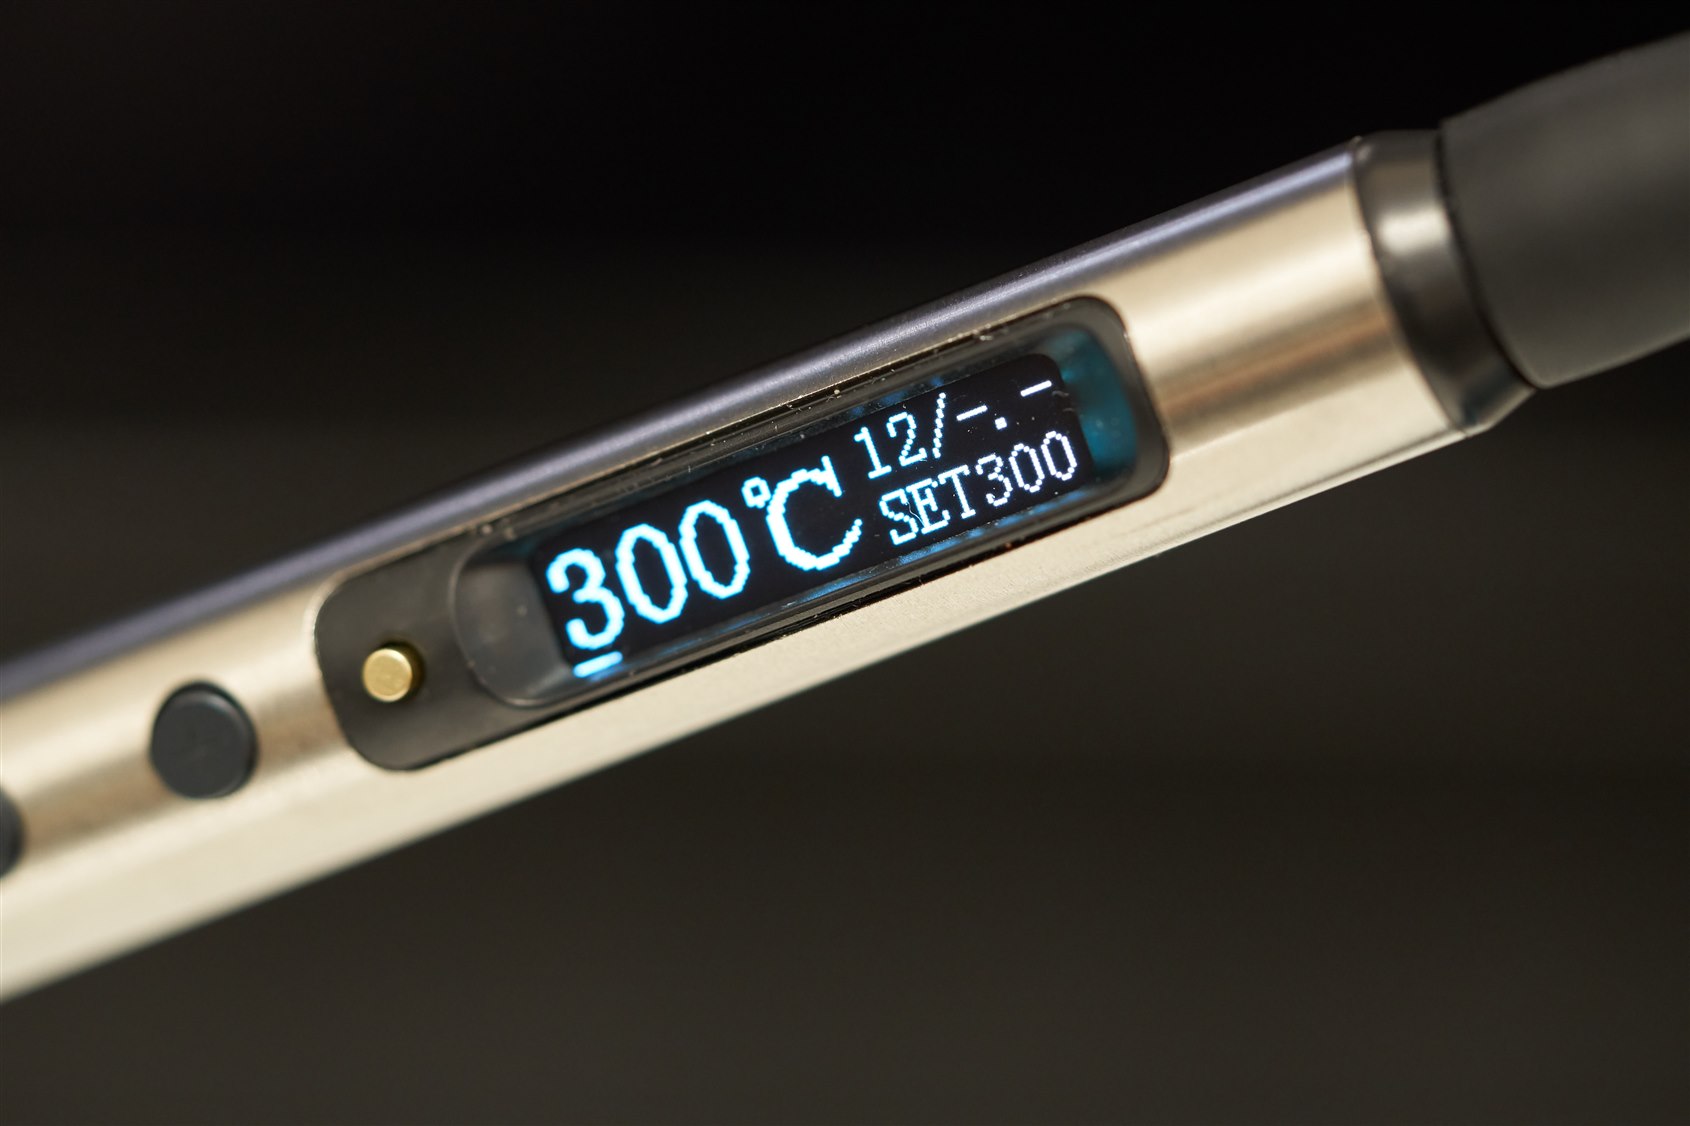
Again, I was very impressed! The display is small, but the temperature text is large and bright. There is no problem reading it, and there is a thin bar graph underneath (you can see it under the digit 3 in the photo below), which quickly extends or decreases to indicate the power draw. The responsiveness of the iron is easy to examine by looking at the bar graph while touching the iron to the target to be soldered.

The menu is simple to use. There are two dark anodized up/down buttons and one gold button. The gold button is used for powering off/on the iron with a short press (it starts up powered on), or for entering the menu with a long-press and for clicking on a selection with a short press. This all feels intuitive.
Incidentally, the menu is initially in Chinese, so to change it to English, move to the item in the photo below (it states ‘Language Selection’ in Chinese) and then press the gold button to enter that selection, and then move up/down until ENG is displayed, and then press the gold button again. To exit, move up/down until Exit is displayed, and then press the gold button.
The menu has a lot of options, but thankfully it is a flat structure with no buried content. Simply move up/down and click the gold button to select a menu item, then move up/down to choose a value, and then press the gold button again.

I didn’t find a description of the menu items, so I wrote my own below. If you try the iron and wish to correct anything, please leave a comment, and I’ll update the table. Most of the defaults were fine, but the timers appear to be set for occasional use to fix a solder joint or so. If you plan on using the iron like a soldering station for longer periods of prototyping work, then you’ll want to change a few settings (described in the table below).
| # | Name | Description | Notes |
| 1 | TempStep | Temperature adjustment step size | The default is 10, I set it to 5 |
| 2 | StbyTemp | If the iron is not used for a while, the iron can reduce the tip temperature to this value. | The default is 150 deg C, which is also the minimum that can be selected. I left it at 150, although I would have preferred to be able to select 100 deg C. |
| 3 | StbyTime | If the iron is not moved, the iron will drop the tip temperature after a number of seconds. | The default is 50 seconds, which is also the maximum. I suggest leaving it at 50, it is inaccurate anyway (in reality, it is about 40 seconds). |
| 4 | Slp Time | After this period, the iron will power off the tip completely and go into a mode where it displays a “Sleeping” message, and the gold button needs to be pressed to wake back up. | The default is 1 minute, but I suggest increasing this to at least 10 minutes if you plan on using this iron like a regular soldering station. |
| 5 | Off Time | After this period, the display will also switch off, and the gold button needs to be pressed to wake back up. | The default is 1 or 2 minutes, but I suggest increasing this to at least 30 minutes if you plan on using this iron like a regular soldering station. |
| 6 | Work Bri | Display brightness level | The default is 8 (maximum is 9). I suggest reducing this to a value between 2 and 5 to preserve OLED display life. |
| 7 | Sleep Bri | Display brightness during sleep | Default is 2 |
| 8 | Language | ||
| 9 | Disp Dir | Display rotation | The default is “NO” which is for right-handed users |
| 10 | AutoWake | The soldering iron can turn on automatically as soon as power is applied with this menu item | I set this to YES, to auto-wake. |
| 11 | Max Volt | I believe this is the maximum voltage you expect the USB-C power delivery to provide. | If you’re using the supplied barrel plug to USB-C connector converter, then you should probably leave this setting where it is. The default is 12 (range is 12-20) |
| 12 | Power Sel | Options are PPS or FIX. I’m presuming this menu item is used to indicate to the iron if the input supply will be variable or not. | The default is PPS. I didn’t change this value. |
| 13 | CurLimit | I don’t know what this menu item does | The default is YES. I left it at that. |
| 14 | PPS Volt | I don’t know what this menu item is for. | The default is 11. The selectable range is 5-12. At a setting of 12, there didn’t seem to be any difference (the tip temperature remained the same). I put this setting back to 11. |
| 15 | FIX Volt | I presume this menu item is to let the soldering iron know what fixed voltage will be applied to the iron. | The default is 12, I left it there. |
| 16 | InitSlp | I don’t know what this menu item is for. I presume it sets if the iron starts up in sleep mode or not, when power is applied. | The default is NO. I left it there. I wish the iron to be hot and up to temperature when power is applied, without having to press the gold button. |
| 17 | 200/ 300/ 400/ 500 Cal | Calibration settings for 200-500 deg C. I didn’t investigate these. I’m happy with the defaults. | |
| 18 | Reset | ||
| 19 | Exit Menu | Use this menu item to get out of the menu! |
Power Source
The soldering iron comes with a permanently wired cable with a 2.1mm center-pin barrel connector, plus a little converter to adapt the barrel connection to USB-C. The supplied converter was faulty (Note: see the comments below; it turns out it requires a USB Type A to C converter! A USB-C to USB-C cable will not work), so I could only use the barrel connection, and I could not test with a USB-C supply. This suited me fine for a reason discussed further below in the Grounding section.
The 110cm cable attached to the iron is soft. It feels like silicone. It is great! I attached that to a 12V bench supply to use the iron for now. In normal use, the current draw is variable but doesn’t exceed a few hundred milliamps. When the iron is touched to a large ground plane, the power supply needs to support at least a few amps. The iron specification states 5A, so that’s the kind of power supply to plan to use.
Grounding
All USB irons connected to a mains USB supply need to be grounded when soldering semiconductors. It is often ignored by the soldering iron manufacturer, leaving the user to figure out how to do that, and it is not always easy.
With this iron however, since it comes with a barrel connector, there is the option to either use a well-isolated 12V supply or you could easily make a ground connection at the barrel connector end. I tested by connecting the barrel to the ground connection on the bench supply, and it seems to work fine.
In summary, I was impressed that it is quite easy to use this iron with a ground connection, whereas the irons with integrated USB-C connection are more difficult to set up.
Performance
I’m happy to report that using this iron feels very much like using a JBC iron. I used my favorite genuine C210-006 tip, which is a 1mm bevel, ideal for many surface-mount parts as well as through-hole, and it had no problem melting solder on a large solid ground plane near-instantaneously. I quickly moved from the ground plane to a tip thermometer and did not observe any significant change in the tip temperature.
With the genuine C210-006 tip, the temperature had a discrepancy of 10-15 degrees compared to the set temperature on the iron. This is so minor that I did not change the calibration settings in the menu. I can mentally subtract 10 degrees if I need to set a specific temperature.
With the supplied clone tip, the temperature discrepancy was significantly higher at 40 degrees C. I don’t really care about that since I intend to use genuine tips. However, it could be worth buying a soldering tip thermometer (the low-cost ones are less than $10) for a spot-check for peace of mind if you’re using a new iron.
Reliability
Reliability is a huge question mark with all these low-cost soldering irons. The typical brand-name soldering stations (JBC, Weller, Metcal) are rock-solid and function for decades. That expectation cannot be applied to the portable soldering irons; they pack a lot of components in a slim tube, and the electrical connections to the tip may not be as rugged either since there is less space for decent metalwork internally for the contacts. I would feel very uncomfortable only having such a low-cost portable soldering iron and no proper soldering station.
Also, throughout my tests with various portable irons, I have had some failures or abnormal behavior. For instance, with some irons, the tips might not make electrical contact occasionally until they are reseated. One soldering iron was supplied with a tip that did not function at all. The soldering iron in this blog was supplied with a barrel-to-USBC converter that did not function. The displays on a lot of the irons are OLED, which won’t last forever.
Despite all that, when things work, the performance can be fantastic, and it might make it all worthwhile even if the iron only lasts a year or two, although you may also need to keep a backup iron. A few decent tips will cost more than the iron anyway, and the 210 series tips can be used with a more reliable soldering station later on too, so not much money is wasted if the iron fails. I hope of course that the iron lasts much longer than a year or two.
Summary
The KSGER C210 iron described here seems to work pretty well! It also seems reasonably well-made and looks good. It is comfortable to use, and if you’ve never used an integrated tip iron, it is a world apart from the old-school irons.
Although it will take time to form a complete opinion and reliability with all compact irons like this have a question mark until they have been used for years, currently, I struggle to find any semi-significant issue with it. It is pretty much everything I could hope for in a low-cost iron. Never say never, but for now, I think my search for a reasonable 210 series tip-compatible iron is complete.
Thanks for reading!


Top Comments
-

michaelkellett
-
Cancel
-
Vote Up
0
Vote Down
-
-
Sign in to reply
-
More
-
Cancel
-

michaelkellett
in reply to michaelkellett
-
Cancel
-
Vote Up
0
Vote Down
-
-
Sign in to reply
-
More
-
Cancel
Comment-

michaelkellett
in reply to michaelkellett
-
Cancel
-
Vote Up
0
Vote Down
-
-
Sign in to reply
-
More
-
Cancel
Children