


This project will be demonstrated to how the report of sensor data is collected to the IoT cloud platform through MQTT service and stored on the database, in which MQTT protocol is used to communicate with each device to the broker. MQTT is a lightweight IoT messaging protocol based on the publish-subscribe model (https://www.emqx.io/mqtt).
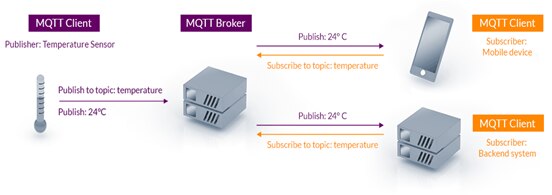
It is designed as an extremely lightweight publish/subscribe messaging transport that is ideal for connecting remote devices with a small code footprint and minimal network bandwidth (https://mqtt.org/).
Now, we will create a project related to the previous project Arduino Nano 33 IoT for Early Warning Detection for Landslide (4) & Environment Monitoring Based on Arduino Nano 33 IoT and BME680. In this project, we will implement remote monitoring via Arduino Nano 33 IoT to sense environment and landslide condition and free public MQTT cloud which is operated and maintained by https://cloud.emqx.io/ and also use Arduino in PlatformIO to program Arduino Nano 33 IoT. We use sensor BME680 for sensing environment (air temperature, humidity, and pressure) and LSM6DS3 IMU Sensor for sensing landslide condition.
Required Components:
- Arduino Nano 33 IoT
- PlatformIO https://platformio.org/
- BME680 environment sensor
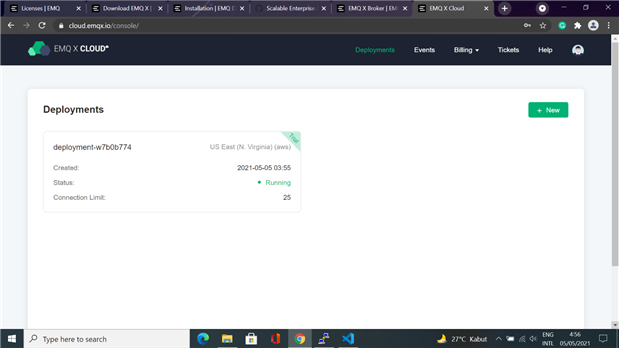
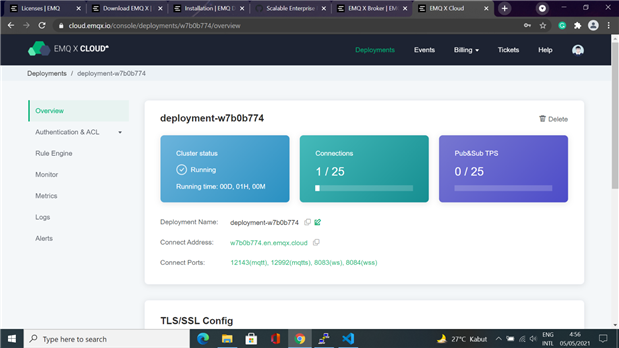
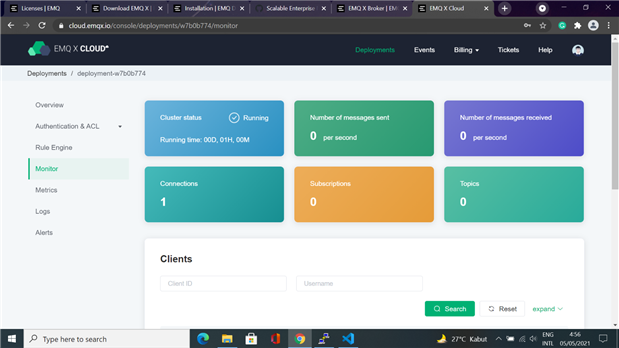
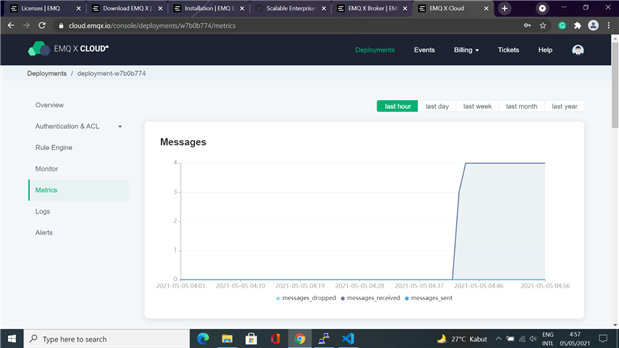
- EMQ X Cloud https://cloud.emqx.io/
- MQTT X Desktop App
- Breadboard Electronic
- USB Cable
Arduino Nano 33 IoT Connection Diagram
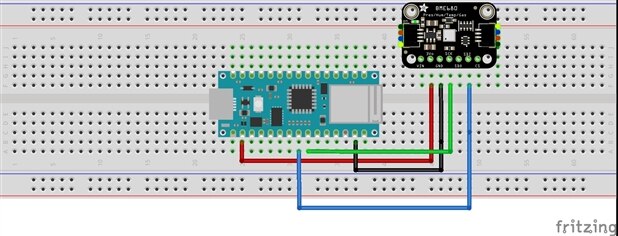
The wiring diagram of the electronic system consists of Arduino Nano 33 IoT, Internal IMU sensor, and external BME680 sensor to collect the data which is then sent to the IoT cloud services. First, we will import WiFiNINA https://www.arduino.cc/en/Reference/WiFiNINA and PubsubClient https://github.com/knolleary/pubsubclient libraries. WiFiNINA can connect the Arduino Nano 33 IoT to the WiFi network, and the PubSubClient library allows us to connect to the MQTT broker and publish/subscribe to topics.
#include <PubSubClient.h>
We will use https://github.com/arduino-libraries/Arduino_LSM6DS3 library to interface with the IMU sensor and https://github.com/adafruit/Adafruit_BME680 for the BME680 environment sensor.
In the detail, we can try to use the source code below:
#include <SPI.h>
#include <WiFiNINA.h>
#include <PubSubClient.h>
#include <Wire.h>
#include <Adafruit_Sensor.h>
#include <Adafruit_BME680.h>
#include <Arduino_LSM6DS3.h>
#include <ArduinoJson.h>
void initialize_sensor();
void initialize_wifi();
boolean reconnect();
void update_sensor();
struct senseData
{
float temperature = 0.0F;
float humidity = 0.0F;
float pressure = 0.0F;
float x = 0.0F;
float y = 0.0F;
float z = 0.0F;
};
static senseData data;
static char payload[256];
StaticJsonDocument<256>doc;
const char ssid[] = "";
const char password[] = "";
WiFiClient net;
PubSubClient mqttClient(net);
const char mqtt_broker[] = "w7b0b774.en.emqx.cloud";
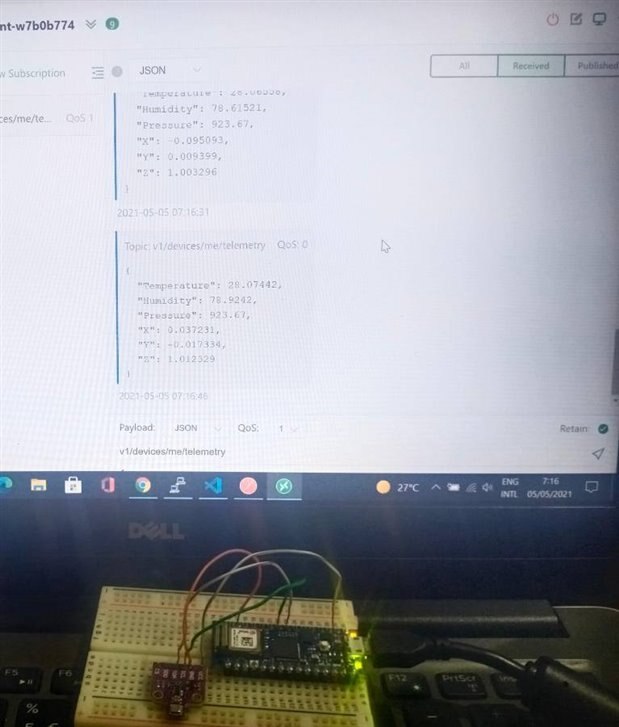
const char publish_topic[] = "v1/devices/me/telemetry";
#define CLIENT_ID ""
#define USERNAME ""
#define PASSWORD ""
Adafruit_BME680 bme;
const long interval = 15000;
unsigned long lastMillis = 0;
long lastReconnectAttempt = 0;
void setup() {
Serial.begin(9600);
pinMode(LED_BUILTIN, OUTPUT);
Wire.begin();
initialize_sensor();
initialize_wifi();
mqttClient.setServer(mqtt_broker, 12143);
lastReconnectAttempt = 0;
}
void loop() {
if (WiFi.status() != WL_CONNECTED)
{
initialize_wifi();
}
if (!mqttClient.connected())
{
long now = millis();
if (now - lastReconnectAttempt > 5000)
{
lastReconnectAttempt = now;
if (reconnect())
{
lastReconnectAttempt = 0;
}
}
} else
{
mqttClient.loop();
}
if (millis() - lastMillis > interval) {
lastMillis = millis();
update_sensor();
}
}
void initialize_sensor(){
if (!bme.begin())
{
Serial.println("Could not find a valid BME680");
while (1);
}
bme.setTemperatureOversampling(BME680_OS_8X);
bme.setHumidityOversampling(BME680_OS_2X);
bme.setPressureOversampling(BME680_OS_4X);
bme.setIIRFilterSize(BME680_FILTER_SIZE_3);
if (!IMU.begin())
{
Serial.println("Failed to initialize IMU!");
while(1);
}
}
void initialize_wifi(){
delay(100);
WiFi.disconnect();
Serial.println();
Serial.print("Firmware version: ");
Serial.println(WiFi.firmwareVersion());
Serial.print("Connecting WiFi to: ");
Serial.println(ssid);
while(WiFi.status() != WL_CONNECTED)
{
WiFi.begin(ssid, password);
Serial.print("Attempting WiFi connection .....");
if (WiFi.status() == WL_CONNECTED)
{
Serial.println("WiFi connected");
Serial.println("IP address: ");
Serial.println(WiFi.localIP());
Serial.println("\nWiFi RSSI: ");
Serial.println(WiFi.RSSI());
digitalWrite(LED_BUILTIN, HIGH);
}
else
{
Serial.print("Failed to connect to WiFi");
Serial.println(", Try again in 5 seconds");
digitalWrite(LED_BUILTIN, LOW);
delay(5000);
}
}
}
boolean reconnect(){
Serial.println("Attempting to connect MQTT");
if (mqttClient.connect(CLIENT_ID, USERNAME, PASSWORD))
{
Serial.println("Connected to MQTT broker");
}
return mqttClient.connected();
}
void update_sensor(){
if (!bme.performReading())
{
Serial.println("Failed to perform reading");
return;
}
float t = bme.temperature;
float h = bme.humidity;
float p = bme.pressure / 100.0;
data.temperature = t;
data.humidity = h;
data.pressure = p;
float x, y, z;
if (IMU.accelerationAvailable())
{
IMU.readAcceleration(x, y, z);
data.x = x;
data.y = y;
data.z = z;
}
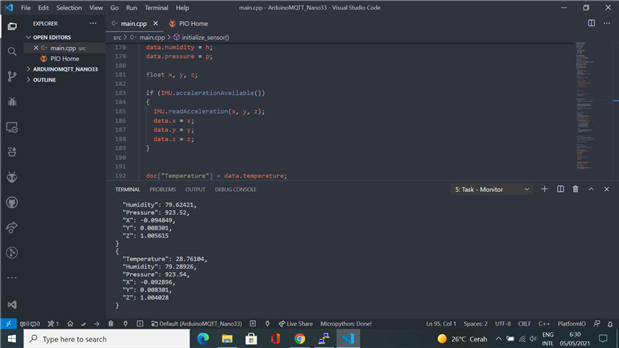
doc["Temperature"] = data.temperature;
doc["Humidity"] = data.humidity;
doc["Pressure"] = data.pressure;
doc["X"] = data.x;
doc["Y"] = data.y;
doc["Z"] = data.z;
serializeJsonPretty(doc, payload);
mqttClient.publish(publish_topic, payload);
Serial.println(payload);
}
We can use the ArduinoJson library (https://arduinojson.org/ ) for packet data format to send all data sensors to the cloud.
EMQ X Cloud is the MQTT IoT Cloud Service Platform launched by EMQ, which provides the MQTT 5.0 access service with one-stop operations and maintenance managed and unique isolation environment.
To visualize all data published to the MQTT broker, we could use https://mqttx.app/.
GPS Tracking System:
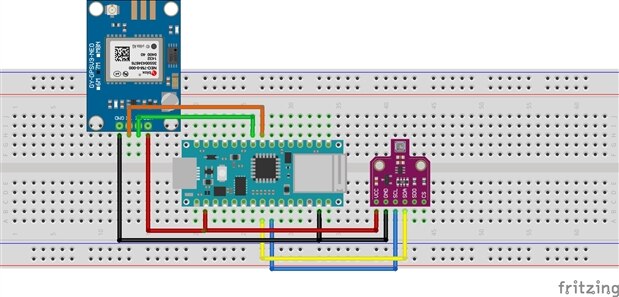
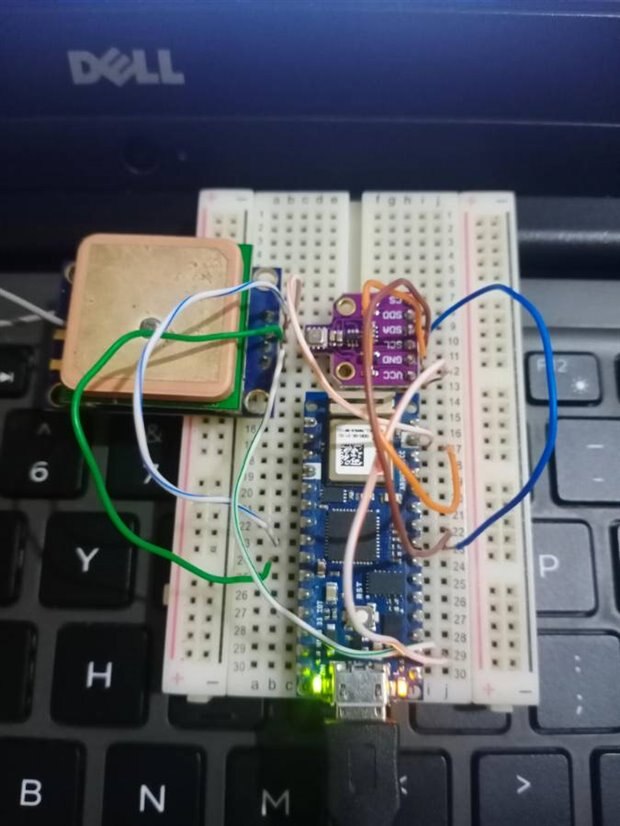
Overall, the part of the design is integrated system of Arduino Nano 33 IoT for data acquisition dan GPS for tracking location, MEMS sensor for environmental monitoring, and internal IMU sensor as accelerometer and gyroscope. We can import this library https://github.com/mikalhart/TinyGPSPlus to read GPS data.
We could find all source code: https://github.com/radhyahmad/Nano33IoT_Ublox_Neo-7N
So far, we have successfully implemented remote monitoring of landslide and environment use-cases using Arduino Nano 33 IoT and a free public MQTT broker. This project only describes a simple scenario for collecting data related to landslides and environmental conditions. For real implementation, we could deploy it by using Arduino MKR WAN as low-power devices.